2015 VAUXHALL MOVANO_B change wheel
[x] Cancel search: change wheelPage 13 of 209

In brief11
1Fixed air vents .................... 106
2 Headlight range
adjustment ........................... 90
Ultrasonic parking assist .....128
Traction control system ......123
Electronic stability program 124
3 Side air vents .....................106
4 Light switch .......................... 89
Turn and lane-change
signals .................................. 91
High beam and low beam,
headlight flash ......................90
Sidelights .............................. 89
Automatic light control .......... 89
Exit lighting ........................... 94
Front fog lights .....................91
Rear fog light ........................ 92
5 Instruments .......................... 74
Transmission display ............76
Driver Information Centre ...... 846 Horn ..................................... 70
Driver airbag ........................ 50
7 Remote control on
steering wheel .......................69
Cruise control .....................125
8 Windscreen wiper,
windscreen washer system ..70
Trip computer ........................ 86
9 Coin tray ............................... 61
10 Power outlet ......................... 72
11 Centre air vents .................. 106
12 Storage compartment ...........61
13 Front passenger airbag .........50
Storage compartment ..........61
14 Glovebox .............................. 62
15 Cupholders ........................... 62
16 Climate control system ......... 96
17 Cigarette lighter .................... 73
Power outlet ......................... 7218Gear lever, Manual
transmission ........................ 117
Manual transmission
automated ........................... 117
19 Cruise control and speed
limiter ................................. 125
Manual transmission
automated,
Winter and Laden modes ....119
Idle speed control ...............111
Stop-start system ................111
20 Ignition switch with
steering wheel lock ............110
21 Steering column controls .....70
22 Steering wheel adjustment ..69
23 Bonnet release lever ..........137
24 Auxiliary heater ...................102
25 Storage compartment ..........61
Fuse box ............................ 154
Page 92 of 209

90Lighting
Automatic headlight activation
During poor lighting conditions the
headlights are switched on.
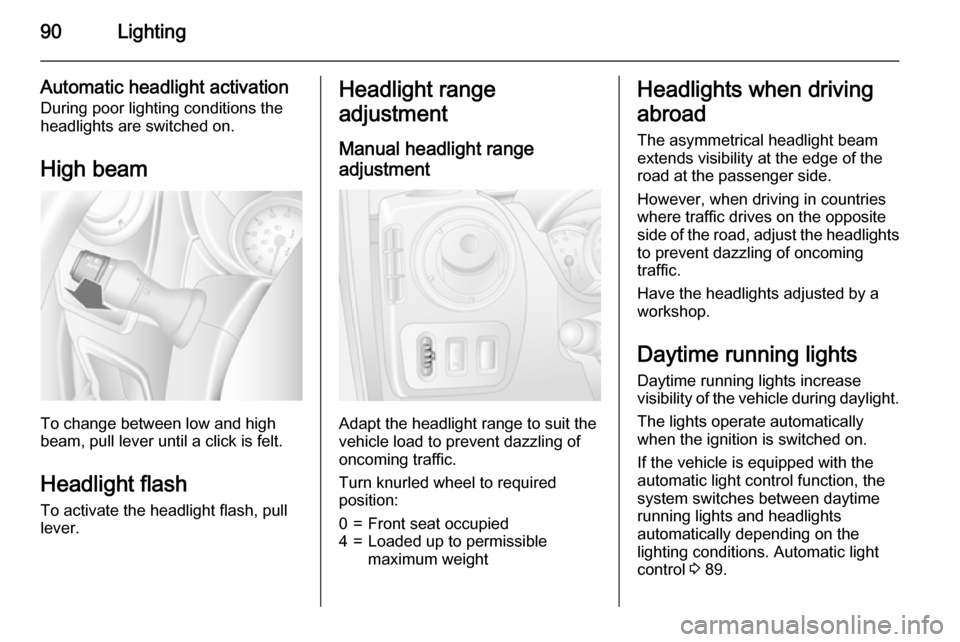
High beam
To change between low and high
beam, pull lever until a click is felt.
Headlight flash To activate the headlight flash, pull
lever.
Headlight range
adjustment
Manual headlight range
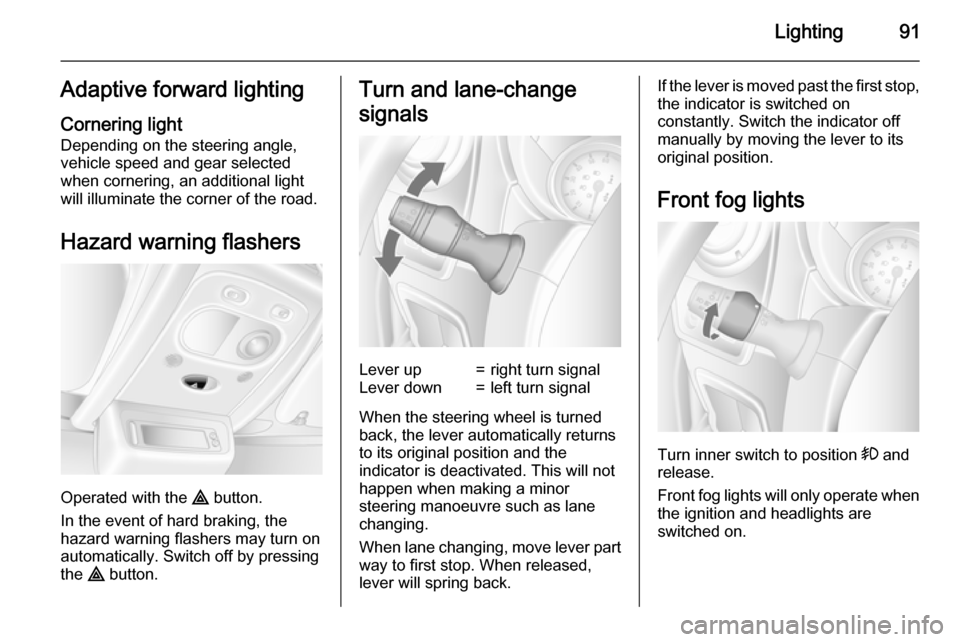
adjustment
Adapt the headlight range to suit the
vehicle load to prevent dazzling of
oncoming traffic.
Turn knurled wheel to required position:
0=Front seat occupied4=Loaded up to permissible
maximum weightHeadlights when driving
abroad
The asymmetrical headlight beam
extends visibility at the edge of the
road at the passenger side.
However, when driving in countries
where traffic drives on the opposite
side of the road, adjust the headlights to prevent dazzling of oncoming
traffic.
Have the headlights adjusted by a
workshop.
Daytime running lights
Daytime running lights increase
visibility of the vehicle during daylight.
The lights operate automatically
when the ignition is switched on.
If the vehicle is equipped with the automatic light control function, the
system switches between daytime
running lights and headlights
automatically depending on the
lighting conditions. Automatic light
control 3 89.
Page 93 of 209

Lighting91Adaptive forward lightingCornering light
Depending on the steering angle,
vehicle speed and gear selected
when cornering, an additional light
will illuminate the corner of the road.
Hazard warning flashers
Operated with the ¨ button.
In the event of hard braking, the
hazard warning flashers may turn on
automatically. Switch off by pressing
the ¨ button.
Turn and lane-change
signalsLever up=right turn signalLever down=left turn signal
When the steering wheel is turned
back, the lever automatically returns
to its original position and the
indicator is deactivated. This will not happen when making a minor
steering manoeuvre such as lane
changing.
When lane changing, move lever part
way to first stop. When released,
lever will spring back.
If the lever is moved past the first stop, the indicator is switched on
constantly. Switch the indicator off
manually by moving the lever to its
original position.
Front fog lights
Turn inner switch to position > and
release.
Front fog lights will only operate when
the ignition and headlights are
switched on.
Page 136 of 209

134Driving and operating
The pitch of the audible warning will
change if a turn signal light on the
trailer or the towing vehicle fails.
Trailer stability assist
If the system detects snaking
movements, engine power is reduced
and the vehicle/trailer combination is
selectively braked until the snaking ceases. While the system is working,keep steering wheel as still as
possible.
Trailer stability assist (TSA) is a
function of the Electronic stability
program (ESP) 3 124.Auxiliary features
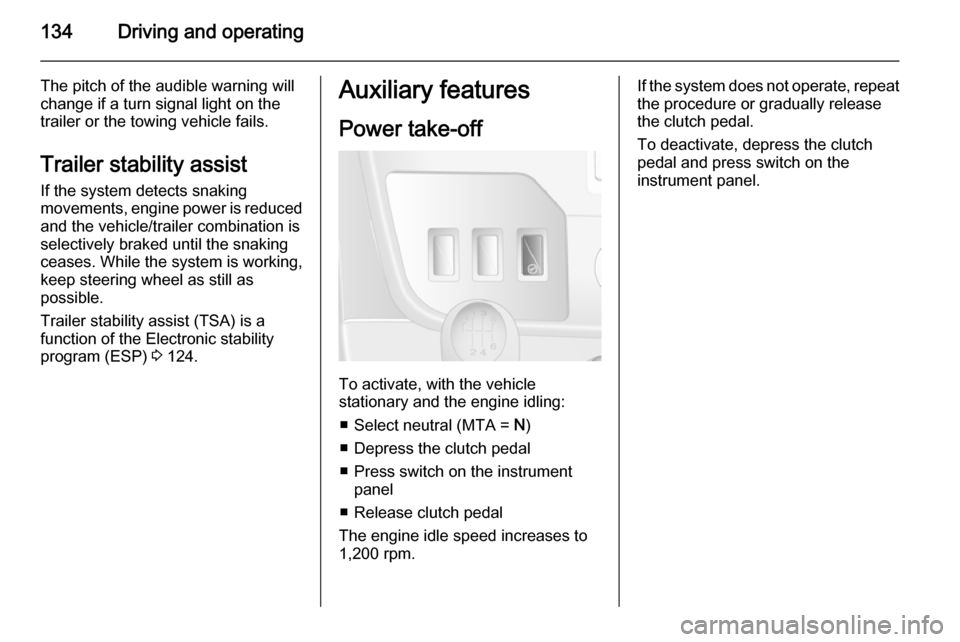
Power take-off
To activate, with the vehicle
stationary and the engine idling:
■ Select neutral (MTA = N)
■ Depress the clutch pedal
■ Press switch on the instrument panel
■ Release clutch pedal
The engine idle speed increases to 1,200 rpm.
If the system does not operate, repeat
the procedure or gradually release
the clutch pedal.
To deactivate, depress the clutch
pedal and press switch on the
instrument panel.
Page 137 of 209

Vehicle care135Vehicle careGeneral Information...................135
Vehicle checks ........................... 136
Bulb replacement .......................144
Electrical system ........................152
Vehicle tools .............................. 155
Wheels and tyres .......................156
Jump starting ............................. 168
Towing ....................................... 170
Appearance care .......................171General Information
Accessories and vehicle
modifications
We recommend the use of genuine parts and accessories and factory
approved parts specific for your
vehicle type. We cannot assess or
guarantee reliability of other products
- even if they have a regulatory or
otherwise granted approval.
Do not make any modifications to the electrical system, e.g. changes of
electronic control units (chip tuning).Caution
When transporting the vehicle on
a train or on a recovery vehicle, the
mud flaps might be damaged.
Vehicle storage
Storage for a long period of time
If the vehicle is to be stored for several months:
■ Wash and wax the vehicle.
■ Have the wax in the engine compartment and underbody
checked.
■ Clean and preserve rubber seals.
■ Change engine oil.
■ Drain washer fluid reservoir.
■ Check coolant antifreeze and corrosion protection.
■ Adjust tyre pressure to the value specified for full load.
■ Park vehicle in a dry, well ventilated
place. Engage first or reverse gear.
Prevent the vehicle from rolling.
■ Do not apply parking brake.
Page 166 of 209

164Vehicle care
not be driven. Seek the
assistance of a workshop.
20. Stow tyre repair kit under the front
seat.
Notice
The driving characteristics of the repaired tyre are severely affected,
therefore have this tyre replaced.
If unusual noise is heard or the
compressor becomes hot, turn
compressor off for at least
30 minutes.
The built-in safety valve opens at a
pressure of 7 bar (102 psi).
Note the expiry date of the kit. After
this date its sealing capability is no
longer guaranteed. Pay attention to
storage information on sealant
bottle.
Replace the used sealant bottle. Dispose of the bottle as prescribed
by applicable laws.
The compressor and sealant can be
used from approx. -30 °C.
The adapters supplied can be used
to pump up other items e.g.
footballs, air mattresses, inflatabledinghies etc. They are located on the underside of the compressor. To
remove, screw on compressor air
hose and withdraw adapter.
Wheel changing Some vehicles are equipped with a
tyre repair kit instead of a spare wheel 3 161.
Make the following preparations and
observe the following information:
■ Park the vehicle on a level, firm and
non-slippery surface. The front wheels must be in the straight-ahead position.
■ Apply the parking brake and engage first gear or reverse gear.
■ Switch off the air suspension system 3 114.
■ Remove the spare wheel 3 166.
■ Never change more than one wheel
at a time.
■ Use the jack only to change wheels
in case of puncture, not for
seasonal winter or summer tyre
change.
■ The jack is maintenance-free.■ If the ground on which the vehicle is standing is soft, a solid board
(max. 1 cm thick) should be placed
under the jack.
■ No people or animals may be in the
vehicle when it is jacked-up.
■ Never crawl under a jacked-up vehicle.
■ Do not start the engine when the vehicle is raised on the jack.
■ Clean wheel bolts/nuts and their threads before mounting the wheel.9 Warning
Do not grease wheel bolt, wheel
nut and wheel nut cone.
1. Remove the wheel cover using the hook supplied. Vehicle tools
3 155.
2. Install the wheel wrench ensuring that it locates securely and loosen
each wheel bolt/nut by half a turn.
Page 167 of 209

Vehicle care165
3. Vehicles with Front-wheel drive:Raise vehicle by placing lifting
pad spigot of the jack under the
jacking hole located nearest the
wheel concerned.
Ensure the jack is positioned
correctly. The jack base must be
on the ground directly below the
jacking hole in a manner that
prevents it from slipping.
Attach wheel wrench onto the jack
and raise the vehicle by turning
the wrench until the wheel is clear of the ground.
Vehicles with Rear-wheel drive:
Pay attention to the operating
instructions supplied with the
hydraulic jack and assemble the
parts required as specified.
Position the adapter at the jacking
hole located nearest the wheel
concerned.
Ensure the jack is positioned
correctly. The jack head must be
level with the jacking hole. Pump
the jack by pressing the wheel
wrench, to position the base plate
correctly.
Raise the vehicle by pressing the wheel wrench until the wheel is
clear of the ground.
4. Unscrew wheel bolts/nuts completely and wipe clean with a
cloth.
Put wheel bolts/nuts somewhere
where the threads will not be
soiled.
5. Change the wheel.
6. Screw in the wheel bolts/nuts.
7. Lower vehicle.
8. Install the wheel wrench ensuring that it locates securely and tighten
each wheel bolt/nut in a crosswise sequence. Tightening torque is:
172 Nm (Front-wheel drive),
235 Nm (Rear-wheel drive with
Page 208 of 209

206
Traction Control system ............. 123
Trailer coupling ........................... 132
Trailer stability assist .................134
Trailer towing ............................. 133
Transmission ............................... 15
Transmission display ...........76, 117
Tread depth ............................... 160
Trip computer .............................. 86
Triple-Info-Display .......................85
Trip odometer .............................. 74
Turn and lane-change signals .....91
Turn signal ................................... 79
Tyre chains ................................ 161
Tyre changing ............................. 164
Tyre designations ......................156
Tyre pressure ............................ 156
Tyre pressure monitoring system ............................... 82, 157
Tyre pressures ........................... 198
Tyre repair kit ............................. 161
Tyres .......................................... 156
Tyres and wheel size, changing. 160
U
Ultrasonic parking assist............. 128
Underseat storage .......................63
Upholstery .................................. 173
Upshift .......................................... 81
Using this manual ..........................3V
Vehicle battery ........................... 141
Vehicle checks............................ 136
Vehicle data ................................ 181
Vehicle data recording and privacy ..................................... 200
Vehicle dimensions .................... 189
Vehicle Identification Number ....178
Vehicle jack ................................ 155
Vehicle messages .......................85
Vehicle security ............................ 27
Vehicle specific data ......................3
Vehicle storage ........................... 135
Vehicle tools ............................... 155
Vehicle unlocking ........................... 6
Vehicle weight ........................... 184
Ventilation ..................................... 96
W
Warning chimes ........................... 86
Warning lights ............................... 74
Warning triangle .......................... 66
Washer and wiper systems .........14
Washer fluid ............................... 140
Washing the vehicle ...................171
Wheel changing .........................164
Wheel covers ............................. 160
Wheels and tyres .......................156
Wide view mirror ........................... 31Windows....................................... 32
Windscreen wiper/washer ...........70
Winter tyres ............................... 156
Wiper blade replacement ..........143