Page 123 of 348
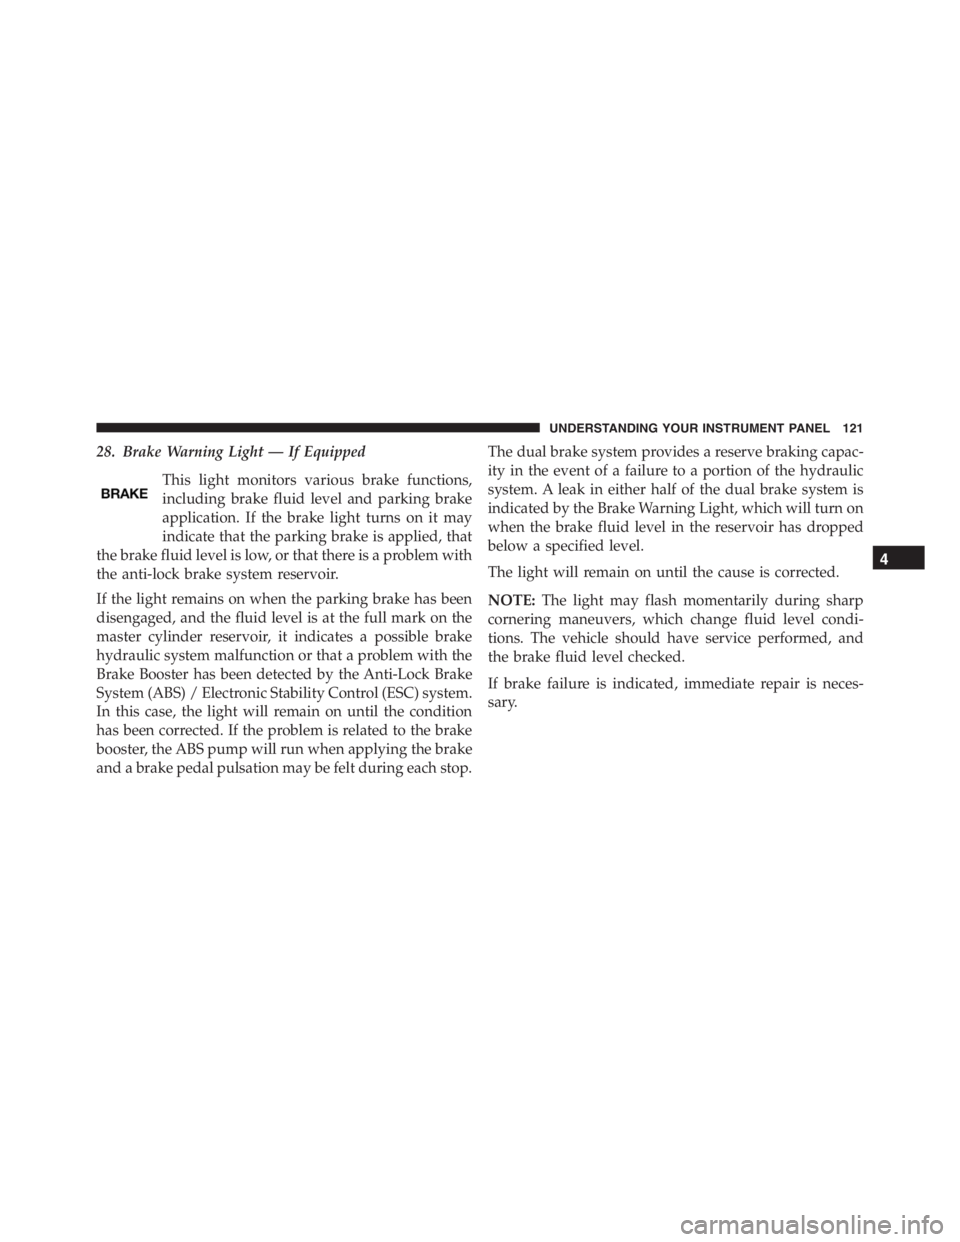
28. Brake Warning Light — If Equipped
This light monitors various brake functions,
including brake fluid level and parking brake
application. If the brake light turns on it may
indicate that the parking brake is applied, that
the brake fluid level is low, or that there is a problem with
the anti-lock brake system reservoir.
If the light remains on when the parking brake has been
disengaged, and the fluid level is at the full mark on the
master cylinder reservoir, it indicates a possible brake
hydraulic system malfunction or that a problem with the
Brake Booster has been detected by the Anti-Lock Brake
System (ABS) / Electronic Stability Control (ESC) system.
In this case, the light will remain on until the condition
has been corrected. If the problem is related to the brake
booster, the ABS pump will run when applying the brake
and a brake pedal pulsation may be felt during each stop.The dual brake system provides a reserve braking capac-
ity in the event of a failure to a portion of the hydraulic
system. A leak in either half of the dual brake system is
indicated by the Brake Warning Light, which will turn on
when the brake fluid level in the reservoir has dropped
below a specified level.
The light will remain on until the cause is corrected.
NOTE:The light may flash momentarily during sharp
cornering maneuvers, which change fluid level condi-
tions. The vehicle should have service performed, and
the brake fluid level checked.
If brake failure is indicated, immediate repair is neces-
sary.
4
UNDERSTANDING YOUR INSTRUMENT PANEL 121
Page 124 of 348
WARNING!
Driving a vehicle with the red brake light on is
dangerous. Part of the brake system may have failed.
It will take longer to stop the vehicle. You could have
a collision. Have the vehicle checked immediately.
Vehicles equipped with the Anti-Lock Brake System
(ABS), are also equipped with Electronic Brake Force
Distribution (EBD). In the event of an EBD failure, the
Brake Warning Light will turn on along with the ABS
Light. Immediate repair to the ABS system is required.
Operation of the Brake Warning Light can be checked by
turning the ignition switch from the OFF position to the
ON/RUN position. The light should illuminate for ap-
proximately two seconds. The light should then turn off
unless the parking brake is applied or a brake fault is
detected. If the light does not illuminate, have the light
inspected by an authorized dealer.The light also will turn on when the parking brake is
applied with the ignition switch in the ON/RUN posi-
tion.
NOTE:This light shows only that the parking brake is
applied. It does not show the degree of brake application.
29. Brake Warning Light — If Equipped
This light monitors various brake functions, in-
cluding brake fluid level and parking brake ap-
plication. If the brake light turns on it may indicate that
the parking brake is applied, that the brake fluid level is
low, or that there is a problem with the anti-lock brake
system reservoir.
If the light remains on when the parking brake has been
disengaged, and the fluid level is at the full mark on the
master cylinder reservoir, it indicates a possible brake
hydraulic system malfunction or that a problem with the
Brake Booster has been detected by the Anti-Lock Brake
System (ABS) / Electronic Stability Control (ESC) system.
122 UNDERSTANDING YOUR INSTRUMENT PANEL
Page 125 of 348
In this case, the light will remain on until the condition
has been corrected. If the problem is related to the brake
booster, the ABS pump will run when applying the brake
and a brake pedal pulsation may be felt during each stop.
The dual brake system provides a reserve braking capac-
ity in the event of a failure to a portion of the hydraulic
system. A leak in either half of the dual brake system is
indicated by the Brake Warning Light, which will turn on
when the brake fluid level in the reservoir has dropped
below a specified level.
The light will remain on until the cause is corrected.
NOTE:The light may flash momentarily during sharp
cornering maneuvers, which change fluid level condi-
tions. The vehicle should have service performed, and
the brake fluid level checked.
If brake failure is indicated, immediate repair is neces-
sary.WARNING!
Driving a vehicle with the red brake light on is
dangerous. Part of the brake system may have failed.
It will take longer to stop the vehicle. You could have
a collision. Have the vehicle checked immediately.
Vehicles equipped with the Anti-Lock Brake System
(ABS), are also equipped with Electronic Brake Force
Distribution (EBD). In the event of an EBD failure, the
Brake Warning Light will turn on along with the ABS
Light. Immediate repair to the ABS system is required.
Operation of the Brake Warning Light can be checked by
turning the ignition switch from the OFF position to the
ON/RUN position. The light should illuminate for ap-
proximately two seconds. The light should then turn off
unless the parking brake is applied or a brake fault is
detected. If the light does not illuminate, have the light
inspected by an authorized dealer.
4
UNDERSTANDING YOUR INSTRUMENT PANEL 123
Page 126 of 348
The light also will turn on when the parking brake is
applied with the ignition switch in the ON/RUN posi-
tion.
NOTE:This light shows only that the parking brake is
applied. It does not show the degree of brake application.
30. Anti-Lock Brake (ABS) Light
This light monitors the Anti-Lock Brake System
(ABS). The light will turn on when the ignition
switch is turned to the ON/RUN position and
may stay on for as long as four seconds.If the ABS light remains on or turns on while driving, it
indicates that the Anti-Lock portion of the brake system
is not functioning and that service is required. However,
the conventional brake system will continue to operate
normally if the BRAKE warning light is not on.
If the ABS light is on, the brake system should be serviced
as soon as possible to restore the benefits of Anti-Lock
brakes. If the ABS light does not turn on when the
ignition switch is turned to the ON/RUN position, have
the light inspected by an authorized dealer.
124 UNDERSTANDING YOUR INSTRUMENT PANEL
Page 136 of 348
3. When accessing the “Temperature” submenu: briefly
push theSET/BACKbutton. Either “°F” or “°C” will
appear on the display (according to the previous
setting).
4. Push and release the UP
or DOWNbutton for
setting.
5. Briefly push theSET/BACKbutton to return to the
sub-menu.
When you have made the required settings, briefly push
theSET/BACKbutton to go back to the sub-menu screen,
or push and hold theSET/BACKbutton (approximately
one second) to go back to the main screen without storing
the settings.
Language (Selecting The Language)
The messages can be displayed in the following lan-
guages: Italian, English (USA), German, Portuguese,
Spanish, French, Chinese, Russian, and Mexican.To set the required language, proceed as follows:
1. Briefly push theSET/BACKbutton. The previously
set “language” will flash on the display.
2. Push and release the UP
or DOWNbutton for
setting.
3. Briefly push theSET/BACKbutton to go back to the
menu screen, or push and hold theSET/BACKbutton
(approximately one second) to go back to the main
screen without storing the settings.
Buzzer Volume (Adjusting The Failure/Warning
Buzzer Volume)
With this function the volume of the buzzer accompany-
ing any failure/warning indication can be adjusted to
one of eight volume levels.
134 UNDERSTANDING YOUR INSTRUMENT PANEL
Page 138 of 348
NOTE:The “Scheduled Servicing Plan” includes car
maintenance at fixed intervals, refer to the�Maintenance�
chapter. This message is displayed automatically along
with the
warning light when the key is turned to
MAR-ON - 1242 miles (2,000 km) before these dead-
lines and reappears every 124 miles (200 km). Below
124 miles (200 km) servicing indications are more
frequent. The indication will appear in miles or kilo-
meters according to the�Unit Of Measurement�set-
tings. When the next scheduled service is approaching
and the key is turned to MAR-ON, the word Service
will appear on the display, followed by the number of
miles or kilometers left. Contact a dedicated Alfa
Romeo Dealership. The operations in the “Scheduled
Servicing Plan” will be performed and the message
will be
reset.Day Lights — If Equipped
This function may be used to activate / deactivate the
Daytime Running Lamps.
Proceed as follows to switch this function on or off:
1. Briefly push theSET/BACKbutton to display the
three submenus.
2. Briefly push theSET/BACKbutton. “On” or “Off”
will flash on the display (according to previous set-
ting).
3. Push and release the UP
or DOWNbutton for
setting.
4. Briefly push theSET/BACKbutton to go back to the
menu screen, or push and hold the button (approxi-
mately one second) to go back to the main screen
without storing the settings.
136 UNDERSTANDING YOUR INSTRUMENT PANEL
Page 139 of 348
Exit Menu
This function closes the initial menu screen.
Briefly push theSET/BACKbutton to go back to the
main screen.
Push and release the
button to return to the first
menu option (Speed Buzzer).
Push and releasethebutton to return to the last
menu option (Daylights).
Change Engine Oil Indicator System
Your vehicle is equipped with an engine oil
change indicator system. The “Change Engine Oil” mes-
sage will flash in the EVIC display for approximately 10
seconds and the Oil Pressure Warning Light will illumi-
nate. The “Change Engine Oil” message in the EVIC and
the Oil Pressure Warning Light will turn off after ap-
proximately 10 seconds.NOTE:The reset of the Oil Change message must be
performed by an authorized dealer.
Trip Computer
The Trip Computer is located in the instrument cluster. It
features a driver-interactive display (displays informa-
tion such as trip information, range, fuel consumption,
average speed, and travel time).
Trip Button
TheTRIPbutton, located on the right steering column
stalk, can be used to display and to reset the trip values.
4
UNDERSTANDING YOUR INSTRUMENT PANEL 137
Page 150 of 348
3. Move the Recirculation Control to.
4. Turn the Mode Control to.
5. Press the A/C button.
Cooling Adjustment
Proceed as follows:
1. Move the Recirculation Control to
.
2. Rotate the Temperature Control towards the red sec-
tion to increase the temperature.
3. Turn the Blower Control counterclockwise to reduce
the fan speed.
Door Mirror Demisting
•Press thebutton to activate this function.
•Press thebutton again to deactivate the function.
Activation is indicated by the digital warning light on the
display.
Demist/Defrost Button
148 UNDERSTANDING YOUR INSTRUMENT PANEL