Page 33 of 341
31
208_en_Chap02_ Acces-Demarrage_ed01-2015
Advice
Doors
Driver's door
Insert the key in the lock to lock or unlock the
d o o r.
Tailgate release
System for mechanical unlocking of the boot in
the event of a central locking malfunction.
Unlocking
F Fold back the rear seats to gain access to
the lock from inside the boot.
F Insert a small screwdriver into hole A of the
lock to unlock the tailgate.
Back-up manual locking
For mechanically locking and unlocking the
doors in the event of a fault with the central
locking system or a battery failure.
Passenger doors
F On the rear doors, check that the child lock
is not on.
F Remove the black cap located on the edge
of the door, using the key.
F Insert the key into the aperture without
forcing, then without turning, move the
latch sideways towards the inside of the
d o o r.
F Remove the key and refit the cap.
Boot
2
Access and starting
Page 49 of 341
47
208_en_Chap03_Indicateurs_ed01-2015
Warning / indicator lampStateCause Action / Observations
Airbags on temporarily. This lamp comes on for a
few seconds when you turn on the
ignition, then goes off. This lamp should go off when the engine is started.
If it does not go off, contact a PEUGEOT dealer or a
qualified workshop.
fixed. One of the airbag or seat belt
pretensioner systems has a fault. Have it checked by a PEUGEOT dealer or a qualified
workshop.
Seat belt(s)
not fastened /
unfastened
fixed then flashing
accompanied by an
increasing audible
signal. A seat belt has not been fastened or
has been unfastened.
Pull the strap then insert the tongue in the buckle.
Door(s) open
fixed, associated with
a message identifying
the door, if the speed is
below 6 mph (10 km/h). A door or the boot is still open.
Close the door or boot.
fixed, associated with a
message identifying the
door, and accompanied
by an audible signal
if the speed is above
6 mph (10 km/h).
3
Indicators
Page 69 of 341
67
208_en_Chap04_confort_ed01-2015
Head restraints
These have one position for use (up) and a
stowed position (down).
They can be removed and are interchangeable
side to side.
To remove a head restraint:
F pull the head restraint fully up,
F then, press the lug A .
2/3 - 1/3 split rear seats
Folding the backrest
F Release the backrest by pressing control 1
for the seat backrest 2 .
F
Fold the seat backrest 2 on to the fixed cushion.
Bench seat with fixed one-piece cushion and
split backrest (left hand 2/3, right hand 1/3)
which can be folded individually to adapt the
load space in the boot.
F Move the corresponding front seat for ward
if necessary.
F Position the corresponding outer seat belt
against the backrest and buckle it.
F Fully lower or remove the head restraint. The rear cushion is not removable.
Seat backrest
4
Comfort
Page 70 of 341
68
208_en_Chap04_confort_ed01-2015
When folding the seat, the centre seat
belt should not be fastened, but laid out
flat on the seat.
The rear seat cushion does not fold,
just the seat backrest can be folded to
increase the boot loading space.Head restraints
These have one position for use (up) and a
stowed position (down).
They can be removed and are interchangeable
side to side.
To remove a head restraint:
F pull the head restraint fully up,
F then, press the lug A . When repositioning the seat backrest,
take care not to trap the seat belts.
Repositioning the seat backrest
F
Raise the seat backrest 2 .
F Secure it, checking that the red indicator in
the control 1 is no longer visible.
F Unbuckle and reposition the seat belts
ready for use.
F Refit the head restraint(s). Never drive with the head restraints
removed; they must be fitted and
correctly adjusted.
Comfort
Page 72 of 341

70
208_en_Chap04_confort_ed01-2015
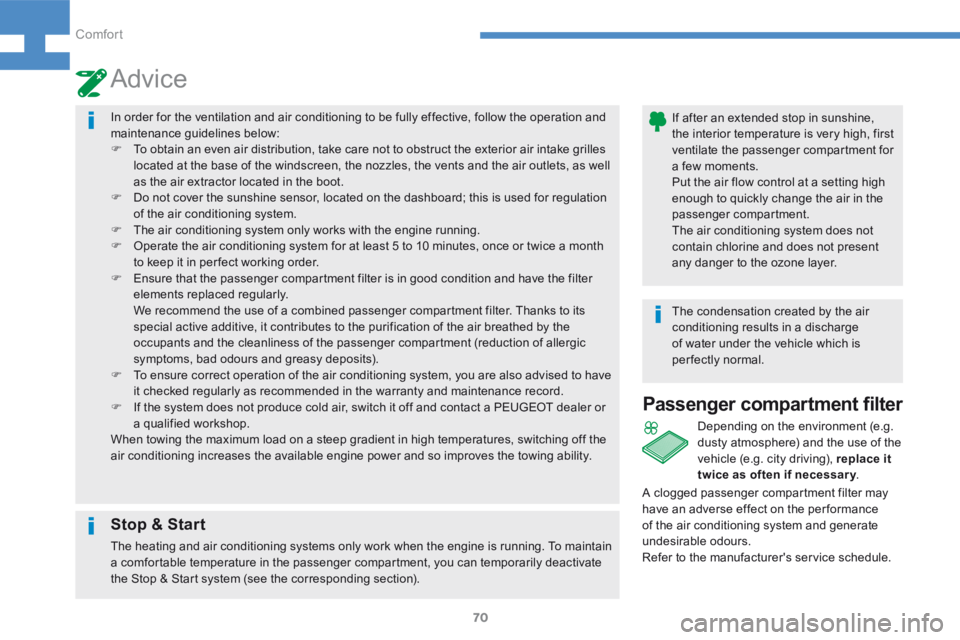
In order for the ventilation and air conditioning to be fully effective, follow the operation and
maintenance guidelines below:
F To obtain an even air distribution, take care not to obstruct the exterior air intake grilles
located at the base of the windscreen, the nozzles, the vents and the air outlets, as well
as the air extractor located in the boot.
F Do not cover the sunshine sensor, located on the dashboard; this is used for regulation
of the air conditioning system.
F The air conditioning system only works with the engine running.
F Operate the air conditioning system for at least 5 to 10 minutes, once or twice a month
to keep it in per fect working order.
F Ensure that the passenger compartment filter is in good condition and have the filter
elements replaced regularly.
We recommend the use of a combined passenger compartment filter. Thanks to its
special active additive, it contributes to the purification of the air breathed by the
occupants and the cleanliness of the passenger compartment (reduction of allergic
symptoms, bad odours and greasy deposits).
F To ensure correct operation of the air conditioning system, you are also advised to have
it checked regularly as recommended in the warranty and maintenance record.
F If the system does not produce cold air, switch it off and contact a PEUGEOT dealer or
a qualified workshop.
When towing the maximum load on a steep gradient in high temperatures, switching off the
air conditioning increases the available engine power and so improves the towing ability.
Advice
If after an extended stop in sunshine,
the interior temperature is very high, first
ventilate the passenger compartment for
a few moments.
Put the air flow control at a setting high
enough to quickly change the air in the
passenger compartment.
The air conditioning system does not
contain chlorine and does not present
any danger to the ozone layer.
The condensation created by the air
conditioning results in a discharge
of water under the vehicle which is
perfectly normal.
Stop & Start
The heating and air conditioning systems only work when the engine is running. To maintain
a comfortable temperature in the passenger compartment, you can temporarily deactivate
the Stop & Start system (see the corresponding section).
Passenger compartment filter
Depending on the environment (e.g.
dusty atmosphere) and the use of the
vehicle (e.g. city driving), replace it
twice as often if necessar y .
A clogged passenger compartment filter may
have an adverse effect on the per formance
of the air conditioning system and generate
undesirable odours.
Refer to the manufacturer's service schedule.
Comfort
Page 87 of 341
85
208_en_Chap04_confort_ed01-2015
Rear
If a significant accumulation of snow or
ice is present, or when using a bicycle
carrier on the boot, deactivate the
automatic rear wiper via the vehicle
configuration menu.
Rear wiper selection ring:
Park.
Intermittent wipe.
Wash-wipe (set duration).
Reverse gear
When reverse gear is engaged, the rear wiper
will come into operation if the windscreen
wipers are operating.
Switching on Press "MENU" to display the "MAIN
MENU" .
Select "Driving" .
Select "Secondary page" .
Select "Vehicle settings" .
Select the "Driving assistance" tab.
Activate the "Auto rear wiper in
reverse" function.
Windscreen wash
Pull the wiper stalk towards you. The
windscreen wash, then the windscreen wipers,
operate for a pre-determined time.
Configuration
This function is activated by default.
Switching off
Deactivate the "Auto rear wiper in reverse"
function.
4
Comfort
Page 145 of 341

143
208_en_Chap05_conduite_ed01-2015
Limit the causes of excess consumption
Spread loads throughout the vehicle; place the heaviest items in the
bottom of the boot, as close as possible to the rear seats.
Limit the loads carried in the vehicle and reduce wind resistance (roof
bars, roof rack, bicycle carrier, trailer...). Use a roof box in preference.
Remove roof bars and roof racks after use.
At the end of winter, remove snow tyres and refit your summer tyres.
Observe the recommendations on
maintenance
Check the tyre pressures regularly, when cold, referring to the label in
the door aperture, driver's side.
Carry out this check in particular:
- before a long journey,
- at each change of season,
- after a long period out of use.
Don't forget the spare wheel and the tyres on any trailer or caravan.
Have your vehicle serviced regularly (engine oil, oil filter, air filter,
passenger compartment filter...) and observe the schedule of
operations recommended in the manufacturer's service schedule.
With a BlueHDi Diesel engine, if the SCR system is faulty your vehicle
becomes polluting; go to a PEUGEOT dealer or a qualified workshop
without delay to have the emissions of nitrous oxides brought back to
the legal level.
When refuelling, do not continue after the third cut-off of the nozzle to
avoid any over flow.
At the wheel of your new vehicle, it is only after the first 1 800 miles
(3 000 kilometres) that you will see the fuel consumption settle down to
a consistent average.
5
Driving
Page 161 of 341
159
208_en_Chap06_Feux-Signalisations_ed01-2015
Changing reversing lamp and
direction indicator bulbs
These two bulbs are changed from inside the
boot:
F open the boot,
F remove the access grille from the
corresponding side trim panel,
F slacken and remove the nut,
F disconnect the lamp unit connector,
F unclip the lamp unit carefully extract it
pulling in line towards the outside, F
press the four tabs and remove the bulb
h o l d e r,
F turn the bulb a quarter of a turn and
change it.
To reassemble, carry out these operations in
reverse order.
Take care to engage the lamp unit in its guides,
while keeping it in line with the vehicle.
Tighten sufficiently to ensure sealing, but
without damaging the lamp.
Light emitting diodes-LEDs
For replacement, contact a PEUGEOT dealer
or qualified workshop.
6
Lighting and signalling