2015 NISSAN LEAF light
[x] Cancel search: lightPage 252 of 412
8. The indicator of “Timer 1” illuminates after theClimate Ctrl. Timer is set. Use the same pro-
cedure to set the Timer 2 setting.
9. Place the power switch to the OFF position, and then connect the charge connector to the
vehicle.
Operation tips:
• The Climate Ctrl. Timer will only start when the power switch is in the “OFF” position. Always
turn the power switch to the “OFF” position after
the Climate Ctrl. Timer is set.
• Touch “Timer 1” or “Timer 2” to turn off the Climate Ctrl. Timer function. After this operation
has been performed, the indicator turns off and
the Climate Ctrl. Timer function will be turned
off. The start and stop time settings are not
deleted even if the Climate Ctrl. Timer function
is turned off. • If OFF is selected for a day of the week, the
Climate Ctrl. timer will not operate on that day.
The system will wait until the next charging timer
set to perform charging.
• While the Climate Ctrl. Timer operates, the Cli- mate Ctrl. Timer indicator and the charging sta-
tus indicator lights flash. If the Climate Ctrl.
Timer is set to activate, the Climate Ctrl. Timer
indicator illuminates.
• If the timer charge function and the Climate Ctrl. Timer are in operation at the same time due to
an overlap of the timer settings, either function
can be set to be preferentially provided with
electric power. For the details of “Timer Priority”
settings, refer to separate LEAF Navigation
System Owner’s Manual.
• The temperature in the passenger compartment may not be comfortable if entering the vehicle
too soon before or too long after the scheduled
time of departure.
• Air conditioning is limited to the capacity of the electric power when the charge connector is
connected. Therefore, the temperature may not
reach the factory default setting due to limita-
tions in air conditioning performance, if ambient
temperature is excessively high or low, or if the charge connector is connected to a 120V
outlet.
• While the battery is being charged, the Climate Ctrl. Timer cannot be operated until the Li-ion
battery available charge gauge reached the full
mark. When the battery is not being charged,
the Climate Ctrl. Timer can be operated, even if
the Li-ion battery available charge gauge has
not reached the full mark.
• When the climate control is set on first priority, the Climate Ctrl. Timer works regardless of the
remaining battery energy.
• If the Climate Ctrl. Timer starts its operation while the vehicle is being charged, the charging
time will be prolonged.
• Operating the Climate Ctrl. Timer or remote climate control in an environment with low tem-
perature may decrease the rate of battery
charge.
• The Climate Ctrl. Timer settings cannot be modified while it is operating. If timer settings
are modified while the Climate Ctrl. Timer is
operating, these changes will be reflected the
next time the Climate Ctrl. Timer operates.
Display screen, heater, air conditioner, audio and phone systems4-25
Page 255 of 412
Note
•The temperature in the passenger com-
partment may not be comfortable if enter-
ing the vehicle too soon before or too long
after the scheduled time of departure.
• Air conditioning is limited to the capacity
of the electric power when the charge
connector is connected. Therefore, the
temperature may not reach the set tem-
perature due to limitations in air condi-
tioning performance, if ambient tempera-
ture is excessively high or low, or if the
charge connector is connected to a 120 V
plug outlet.
• The Climate Ctrl. Timer operates the cli-
mate control function so that a comfort-
able temperature is provided in the pas-
senger compartment at the scheduled
time of departure. The climate control is
set to stop at the scheduled time of
departure.
RADIO
Push the power switch to the ACC or ON posi-
tion and press the radio band select button to
turn on the radio. If you listen to the radio while
the READY to drive indicator light is off, the
power switch should be pushed to the ACC
position.
Radio reception is affected by station signal
strength, distance from radio transmitter, build-
ings, bridges, mountains and other external influ-
ences. Intermittent changes in reception quality
normally are caused by these external influences.
Using a cellular phone in or near the vehicle
may influence radio reception quality.
Radio reception
Your NISSAN radio system is equipped with
state-of-the-art electronic circuits to enhance ra-
dio reception. These circuits are designed to
extend reception range, and to enhance the qual-
ity of that reception. However, there are some general characteristics
of both FM and AM radio signals that can affect
radio reception quality in a moving vehicle, even
when the finest equipment is used. These char-
acteristics are completely normal in a given re-
ception area and do not indicate any malfunction
in your NISSAN radio system.
Reception conditions will constantly change be-
cause of vehicle movement. Buildings, terrain,
signal distance and interference from other ve-
hicles can work against ideal reception. De-
scribed below are some of the factors that can
affect your radio reception.
Some cellular phones or other devices may
cause interference or a buzzing noise to come
from the audio system speakers. Storing the de-
vice in a different location may reduce or elimi-
nate the noise.
AUDIO SYSTEM (MODELS WITHOUT
NAVIGATION SYSTEM)
4-28Display screen, heater, air conditioner, audio and phone systems
Page 256 of 412
FM RADIO RECEPTION
Range: FM range is normally limited to 25 – 30 mi
(40 – 48 km) , with monaural (single channel) FM
having slightly more range than stereo FM. External
influences may sometimes interfere with FM station
reception even if the FM station is within 25 mi
(40 km) . The strength of the FM signal is directly
related to the distance between the transmitter and
receiver. FM signals follow a line-of-sight path, ex-
hibiting many of the same characteristics as light.
For example, they will reflect off objects.
Fade and drift: As your vehicle moves away from
a station transmitter, the signals will tend to fade
and/or drift.Static and flutter: During signal interference from
buildings, large hills or due to antenna position
(usually in conjunction with increased distance
from the station transmitter) , static or flutter can
be heard. This can be reduced by adjusting the
treble control to reduce treble response.
Multipath reception: Because of the reflective
characteristics of FM signals, direct and reflected
signals reach the receiver at the same time. The
signals may cancel each other, resulting in mo-
mentary flutter or loss of sound.
AM RADIO RECEPTION
AM signals, because of their low frequency, can
bend around objects and skip along the ground.
In addition, the signals can be bounced off the
ionosphere and bent back to earth. Because of
these characteristics, AM signals are also sub-
ject to interference as they travel from transmitter
to receiver.
Fading: Occurs while the vehicle is passing
through freeway underpasses or in areas with
many tall buildings. It can also occur for several
seconds during ionospheric turbulence even in
areas where no obstacles exist.
Static: Caused by thunderstorms, electrical
power lines, electric signs and even traffic lights.
SATELLITE RADIO RECEPTION
When the satellite radio is used for the first time
or the battery has been replaced, the satellite
radio may not work properly. This is not a mal-
function. Wait more than 10 minutes with satellite
radio ON and the vehicle outside of any metal or
large building for satellite radio to receive all of
the necessary data.
No satellite radio reception is available and “NO
SAT” is displayed when the SAT band option is
selected unless optional satellite receiver and
antenna are installed and a SiriusXM® Satellite
Radio service subscription is active. Satellite ra-
dio is not available in Alaska, Hawaii and Guam.
Satellite radio performance may be affected if
cargo carried on the roof blocks the satellite radio
signal.
If possible, do not put cargo over the satellite
antenna.
A build up of ice on the satellite radio antenna can
affect satellite radio performance. Remove the
ice to restore satellite radio reception.
Display screen, heater, air conditioner, audio and phone systems4-29
Page 257 of 412
AUDIO OPERATION PRECAUTIONS
Compact disc (CD) player
CAUTION
• Do not force a compact disc into the CD insert slot. This could damage the
CD and/or CD player.
• Trying to load a CD with the CD door closed could damage the CD and/or
CD player.
• Only one CD can be loaded into the CD player at a time.
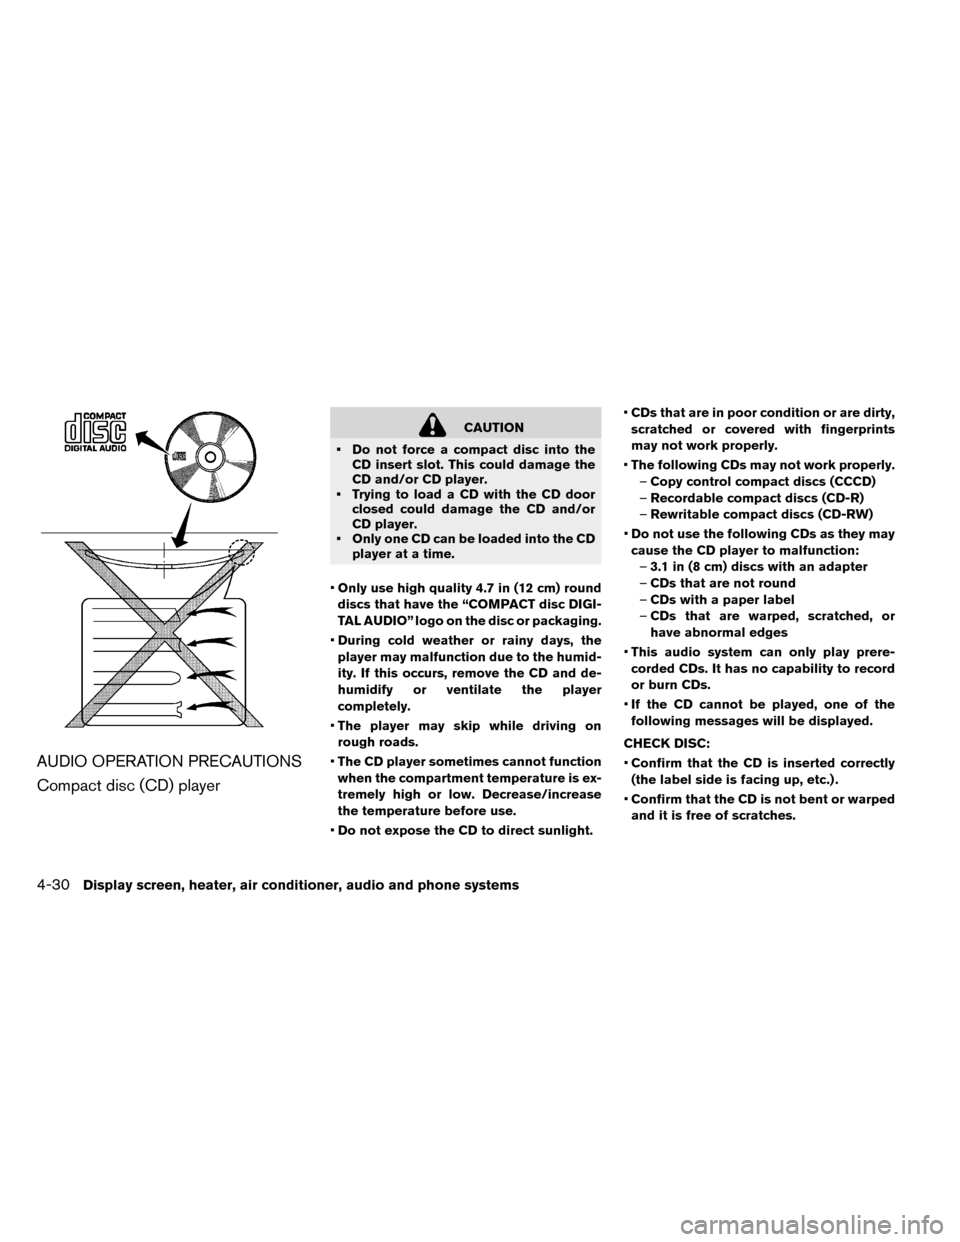
• Only use high quality 4.7 in (12 cm) round
discs that have the “COMPACT disc DIGI-
TAL AUDIO” logo on the disc or packaging.
• During cold weather or rainy days, the
player may malfunction due to the humid-
ity. If this occurs, remove the CD and de-
humidify or ventilate the player
completely.
• The player may skip while driving on
rough roads.
• The CD player sometimes cannot function
when the compartment temperature is ex-
tremely high or low. Decrease/increase
the temperature before use.
• Do not expose the CD to direct sunlight. •
CDs that are in poor condition or are dirty,
scratched or covered with fingerprints
may not work properly.
• The following CDs may not work properly.
– Copy control compact discs (CCCD)
– Recordable compact discs (CD-R)
– Rewritable compact discs (CD-RW)
• Do not use the following CDs as they may
cause the CD player to malfunction:
– 3.1 in (8 cm) discs with an adapter
– CDs that are not round
– CDs with a paper label
– CDs that are warped, scratched, or
have abnormal edges
• This audio system can only play prere-
corded CDs. It has no capability to record
or burn CDs.
• If the CD cannot be played, one of the
following messages will be displayed.
CHECK DISC:
• Confirm that the CD is inserted correctly
(the label side is facing up, etc.) .
• Confirm that the CD is not bent or warped
and it is free of scratches.
4-30Display screen, heater, air conditioner, audio and phone systems
Page 274 of 412
WARNING
• Use a phone after stopping your ve- hicle in a safe location. If you have to
use a phone while driving, exercise ex-
treme caution at all times so full atten-
tion may be given to vehicle operation.
• If you are unable to devote full atten- tion to vehicle operation while talking
on the phone, pull off the road to a safe
location and stop your vehicle.
CAUTION
To avoid draining the vehicle battery, use
a phone after the READY to drive indica-
tor light is on.
Your NISSAN is equipped with the Bluetooth®
Hands-Free Phone System. If you have a com-
patible Bluetooth® enabled cellular phone, you
can set up the wireless connection between your
cellular phone and the in-vehicle phone module.
With Bluetooth® wireless technology, you can
make or receive a hands-free telephone call with
your cellular phone in the vehicle.
Once your cellular phone is connected to the
in-vehicle phone module, no other phone con- necting procedure is required. Your phone is
automatically connected with the in-vehicle
phone module when the power switch is placed
in the ON position with the previously connected
cellular phone turned on and carried in the ve-
hicle.
NOTE:
Some devices require the user to accept
connections to other Bluetooth® devices. If
your phone does not connect automatically
to the system, consult the phone’s Owner’s
Manual for details on device operation.
BLUETOOTH® HANDS-FREE PHONE
SYSTEM WITHOUT NAVIGATION
SYSTEM
Display screen, heater, air conditioner, audio and phone systems4-47
Page 289 of 412
WARNING
• Do not leave children or adults who would normally require the support of
others alone in your vehicle. Pets
should not be left alone either. They
could accidentally injure themselves or
others through inadvertent operation
of the vehicle. Also, on hot, sunny days,
temperatures in a closed vehicle could
quickly become high enough to cause
severe or possibly fatal injuries to
people or animals.
• Properly secure all cargo with ropes or straps to help prevent it from sliding or
shifting. Do not place cargo higher
than the seatbacks. In a sudden stop or
collision, unsecured cargo could cause
personal injury.
TIRE PRESSURE MONITORING
SYSTEM (TPMS)
Each tire, should be checked monthly when cold
and inflated to the inflation pressure recom-
mended by the vehicle manufacturer on the ve-
hicle placard or tire inflation pressure label. (If
your vehicle has tires of a different size than the
size indicated on the vehicle placard or tire infla- tion pressure label, you should determine the
proper tire inflation pressure for those tires.)
As an added safety feature, your vehicle has been
equipped with a Tire Pressure Monitoring System
(TPMS) that illuminates a low tire pressure telltale
when one or more of your tires is significantly
under-inflated. Accordingly, when the low tire
pressure telltale illuminates, you should stop and
check your tires as soon as possible, and inflate
them to the proper pressure. Driving on a signifi-
cantly under-inflated tire causes the tire to over-
heat and can lead to tire failure. Under-inflation
also reduces power efficiency and tire tread life,
and may affect the vehicle’s handling and stop-
ping ability.
Please note that the TPMS is not a substitute for
proper tire maintenance, and it is the driver’s
responsibility to maintain correct tire pressure,
even if under-inflation has not reached the level to
trigger illumination of the TPMS low tire pressure
telltale.
Your vehicle has also been equipped with a
TPMS malfunction indicator to indicate when the
system is not operating properly. The TPMS mal-
function indicator is combined with the low tire
pressure telltale. When the system detects a
malfunction, the telltale will flash for approxi-mately one minute and then remain continuously
illuminated. This sequence will continue upon
subsequent vehicle start-ups as long as the mal-
function exists. When the malfunction indicator is
illuminated, the system may not be able to detect
or signal low tire pressure as intended. TPMS
malfunctions may occur for a variety of reasons,
including the installation of replacement or alter-
nate tires or wheels on the vehicle that prevent
the TPMS from functioning properly. Always
check the TPMS malfunction telltale after replac-
ing one or more tires or wheels on your vehicle to
ensure that the replacement or alternate tires and
wheels allow the TPMS to continue to function
properly.
Additional information
• The TPMS will activate only when the vehicle is
driven at speeds above 16 MPH (25 km/h) .
Also, this system may not detect a sudden drop
in tire pressure (for example, a flat tire while
driving) .
• The low tire pressure warning light does not automatically turn off when the tire pressure is
adjusted. After the tire is inflated to the recom-
mended pressure, the vehicle must be driven at
speeds above 16 MPH (25 km/h) to activate the
TPMS and turn off the low tire pressure warning
PRECAUTIONS WHEN STARTING
AND DRIVING
5-2Starting and driving
Page 290 of 412
light. Use a tire pressure gauge to check the tire
pressure.
• The CHECK TIRE PRESSURE warning ap- pears on the vehicle information display when
the low tire pressure warning light is illuminated
and low tire pressure is detected. The CHECK
TIRE PRESSURE warning turns off when the
low tire pressure warning light turns off.
The CHECK TIRE PRESSURE warning ap-
pears each time the ignition switch is placed in
the ON position as long as the low tire pres-
sure warning light remains illuminated.
The CHECK TIRE PRESSURE warning does not
appear if the low tire pressure warning light illu-
minates to indicate a TPMS malfunction.
• Tire pressure rises and falls depending on the heat caused by operation of the vehicle and the
outside temperature. A low outside temperature
can decrease the temperature of the air inside
the tire, which can cause a lower tire inflation
pressure. This may cause the low tire pressure
warning light to illuminate. If the warning light
illuminates in low ambient temperature, check
the tire pressure for all four tires.
For additional information, see “Low tire pressure
warning light” in the “Instruments and controls” section and “Tire Pressure Monitoring System
(TPMS)” in the “In case of emergency” section.
WARNING
• Radio waves could adversely affect electric medical equipment. Those
who use a pacemaker should contact
the electric medical equipment manu-
facturer for the possible influences be-
fore use.
• If the low tire pressure warning light illuminates while driving, avoid sud-
den steering maneuvers or abrupt
braking, reduce vehicle speed, pull off
the road to a safe location and stop the
vehicle as soon as possible. Driving
with under-inflated tires may perma-
nently damage the tires and increase
the likelihood of tire failure. Serious
vehicle damage could occur and may
lead to an accident and could result in
serious personal injury. Check the tire
pressure for all four tires. Adjust the
tire pressure to the recommended
COLD tire pressure shown on the Tire
and Loading Information label to turn
the low tire pressure warning light
OFF. If the tire is flat, repair it as soon
as possible. (See “Flat tire” in the “In
case of emergency” section for chang-
ing a flat tire.) • When a wheel is replaced, the TPMS
will not function and the low tire pres-
sure warning light will flash for ap-
proximately 1 minute. The light will re-
main on after 1 minute. Contact a
NISSAN certified LEAF dealer as soon
as possible for tire replacement
and/or system resetting.
• Replacing tires with those not origi- nally specified by NISSAN could affect
the proper operation of the TPMS.
• Contact a NISSAN certified LEAF dealer as soon as possible after using
tire repair sealant (for models
equipped with the emergency tire
puncture repair kit) .
CAUTION
• The TPMS may not function properly when the wheels are equipped with
tire chains or the wheels are buried in
snow.
• Do not place metalized film or any metal parts (antenna, etc.) on the win-
dows. This may cause poor reception
of the signals from the tire pressure
sensors, and the TPMS will not func-
tion properly.
Starting and driving5-3
Page 291 of 412
Some devices and transmitters may temporarily
interfere with the operation of the TPMS and
cause the low tire pressure warning light to illu-
minate. Some examples are:
• Facilities or electric devices using similar radiofrequencies that are near the vehicle.
• If a transmitter set to similar frequencies is being used in or near the vehicle.
• If a computer (or similar equipment) or a DC/AC converter is being used in or near the vehicle.
FCC Notice:
For USA:
This device complies with Part 15 of the
FCC Rules. Operation is subject to the fol-
lowing two conditions: (1) This device may
not cause harmful interference, and (2) this
device must accept any interference re-
ceived, including interference that may
cause undesired operation.
NOTE:
Changes or modifications not expressly ap-
proved by the party responsible for compli-
ance could void the user’s authority to op-
erate the equipment. For Canada:
This device complies with Industry Canada
licence-exempt RSS standard(s) . Opera-
tion is subject to the following two condi-
tions: (1) this device may not cause inter-
ference, and (2) this device must accept any
interference, including interference that
may cause undesired operation of the de-
vice.
TPMS with Easy Fill Tire Alert
When tire pressure is low, the low tire pressure
warning light illuminates.
This vehicle provides visual and audible signals to
help you inflate the tires to the recommended
COLD tire pressure.
Vehicle set-up:
1. Park the vehicle in a safe and level place.
2. Apply the parking brake and push the P (Park)
position switch on the shift lever.
3. Place the power switch in the ON position. Do not place in the READY to drive mode.
Operation:
1. Add air to the tire. 2. After a few seconds, the hazard indicators will
start flashing.
3. When the designated pressure is reached, the horn beeps once and the hazard indica-
tors stop flashing.
4. Perform the above steps for each tire.
• If the tire is over-inflated more than approxi- mately 4 psi (30 kPa) , the horn beeps and the
hazard indicators flash 3 times. To correct the
pressure, push the core of the valve stem on the
tire briefly to release pressure. When the pres-
sure reaches the designated pressure, the horn
beeps once.
• If the hazard indicator does not flash within approximately 15 seconds after starting to in-
flate the tire, it indicates that the Easy Fill Tire
Alert is not operating.
• The TPMS will not activate the Easy Fill Tire Alert under the following conditions: – If there is interference from an external de- vice or transmitter.
– The air pressure from the inflation device is not sufficient to inflate the tire such as those
using a power socket.
– If an electrical equipment is being used in or near the vehicle.
– There is a malfunction in the TPMS system.
5-4Starting and driving