Page 5 of 384
Interior 1-3 Overview
1
N00100302297
Interior
Sun visors P.5-159 Vanity mirror P.5-159 Card holder P.5-159
Dome light (rear) (if so equipped) P.5-162
Dome light (front)/Reading lights P.5-162Sunshade switch (if so equipped) P.5-39 Bluetooth
® 2.0 interface microphone
(if so equipped) P.5-136
Assist grips P.5-169 Coat hook P.5-169
Cargo area cover (if so equipped) P.5-168
Supplemental restraint system (SRS) - air bag (for front passenger’s seat) P.4-26, 4-33
Bottle holder P.5-168
Arm rest (if so equipped) P.4-7 Cup holder (if so equipped) P.5-168
Arm rest (if so equipped) P.4-6 Floor console box P.5-166 12V power outlet P.5-160 USB input terminal (i
f so equipped) P.5-157
Rear seat P.4-7
BK0206700US.bo
ok 3 ページ 2014年3月25日 火曜日 午後4時42分
Page 6 of 384
Interior
Overview 1-4
1
Electric remote-controlled outside mirror switch P.5-43
Lock switch P.5-38
Power door lock switch P.5-30
Supplemental restraint system (SRS) - curtain airbags P.4-37
Power window switch P.5-36
Sunshade illumination lamp dimming control switch (if so equipped) P.5-163
Seat belts P.4-11
Adjustable seat belt shoulder anchor P.4-16
Inside rearview mirror P.5-41
Tether anchors for child restraint system P.4-21
Front seat P.4-2 Heated seat (if so equipped) P.4-6
Supplemental restraint system (SRS) - side airbag (for front seats) P.4-37
Cargo room light P.5-163
Head restraints P.4-7
BK0206700US.bo
ok 4 ページ 2014年3月25日 火曜日 午後4時42分
Page 8 of 384
Outside
Overview 1-6
1
N00100602447
Outside
Power window P.5-36
Windshield wipers P.5-129
Engine hood P.9-3
Fuel tank filler P.3-3 Outside rearview mirrors P.5-43
Front turn signal lights P.5-127, 9-29, 9-33
Side turn signal light P.5-127, 9-29, 9-34
Headlights, high beam P.5-125, 9-29, 9-32
Front side-marker lights Parking lights (type 1) (if so equipped)P.5-121, 9-29, 9-33
Front fog lights (if so equipped) P.5-128, 9-29, 9-34
Headlights, low beam P.5-125, 9-29, 9-31
Daytime running lights (if so equipped) Parking lights (type 2)
(if so equipped)
P.5-121, 9-29, 9-35
BK0206700US.bo
ok 6 ページ 2014年3月25日 火曜日 午後4時42分
Page 104 of 384

Steering wheel height and reach adjustment
Features and controls 5-41
5
N00511500228
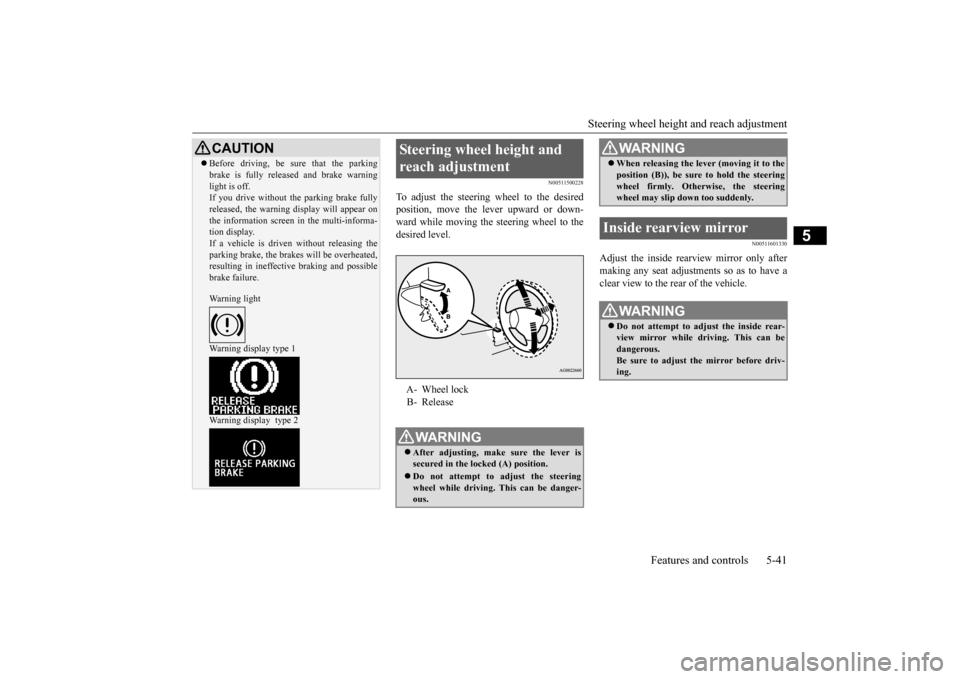
To adjust the steering wheel to the desired position, move the lever upward or down-ward while moving the steering wheel to the desired level.
N00511601330
Adjust the inside rearview mirror only after making any seat adjustments so as to have a clear view to the rear of the vehicle.
CAUTION Before driving, be sure that the parking brake is fully released and brake warning light is off. If you drive without the parking brake fully released, the warning display will appear onthe information screen in the multi-informa- tion display. If a vehicle is driven without releasing theparking brake, the brakes will be overheated, resulting in ineffective braking and possible brake failure. Warning light Warning display type 1 Warning display type 2
Steering wheel height and reach adjustment A- Wheel lock B- ReleaseWA R N I N G After adjusting, make sure the lever is secured in the locked (A) position. Do not attempt to adjust the steering wheel while driving. This can be danger-ous.
When releasing the lever (moving it to the position (B)), be sure to hold the steering wheel firmly. Otherwise, the steering wheel may slip down too suddenly.
Inside rearview mirror
WA R N I N G Do not attempt to adjust the inside rear- view mirror while driving. This can bedangerous. Be sure to adjust the mirror before driv- ing.WA R N I N G
BK0206700US.bo
ok 41 ページ 2014年3月25日 火曜日 午後4時42分
Page 105 of 384
Inside rearview mirror 5-42 Features and controls
5
Adjust the inside mirror to maximize the view through the rear window. It is possible to move
the mirror up and down
to adjust its position.
It is possible to move the mirror up/down and left/right to adjust its position.
The day/night knob (A) at the bottom of the mirror can be used to adjust the mirror toreduce the glare from the headlights of vehi- cles behind you during night driving. When the headlights of the vehicles behind you are very bright, the reflection factor ofthe rearview mirror is automatically changed to reduce the glare.
To adjust the vertical mirror position Type 1 Type 2
To adjust the mirror position
To reduce the glare Ty p e 1 1- Daytime position 2- Night positionTy p e 2
BK0206700US.bo
ok 42 ページ 2014年3月25日 火曜日 午後4時42分
Page 106 of 384

Outside rearview mirrors
Features and controls 5-43
5
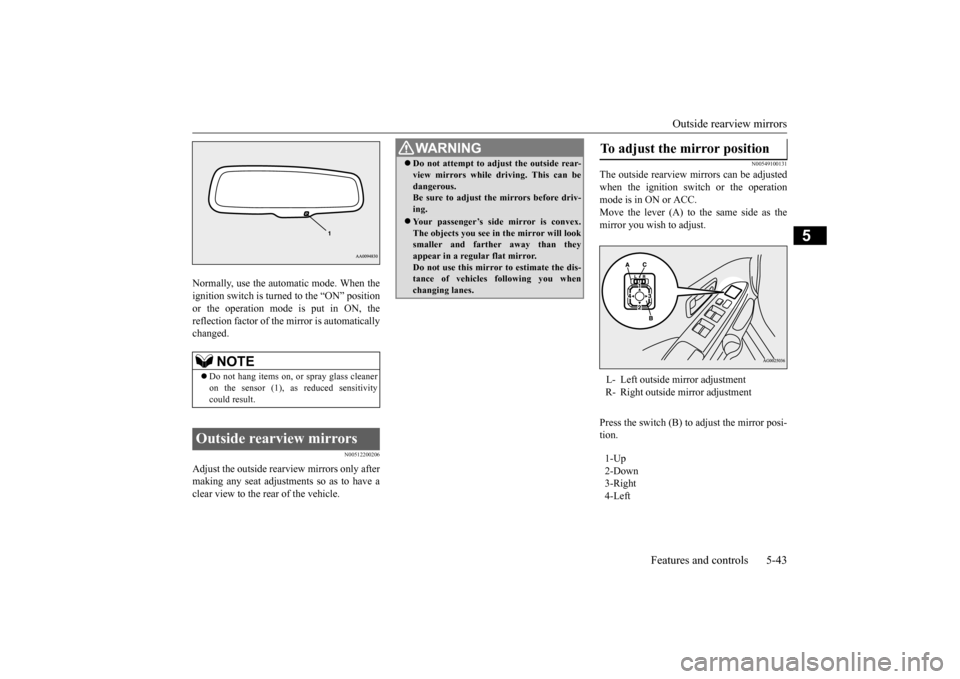
Normally, use the automatic mode. When the ignition switch is turned to the “ON” position or the operation mode is put in ON, thereflection factor of the mirror is automatically changed.
N00512200206
Adjust the outside rearview mirrors only aftermaking any seat adjustments so as to have a clear view to the rear of the vehicle.
N00549100131
The outside rearview mirrors can be adjustedwhen the ignition switch or the operationmode is in ON or ACC. Move the lever (A) to the same side as the mirror you wish to adjust. Press the switch (B) to adjust the mirror posi- tion.
NOTE
Do not hang items on, or spray glass cleaner on the sensor (1), as reduced sensitivity could result.
Outside rearview mirrors
WA R N I N G Do not attempt to adjust the outside rear- view mirrors while driving. This can be dangerous. Be sure to adjust the mirrors before driv- ing. Your passenger’s side mirror is convex. The objects you see in the mirror will looksmaller and farther away than they appear in a regular flat mirror. Do not use this mirror to estimate the dis-tance of vehicles following you when changing lanes.
To adjust the mirror position L- Left outside mirror adjustment R- Right outside mirror adjustment 1-Up 2-Down 3-Right4-Left
BK0206700US.bo
ok 43 ページ 2014年3月25日 火曜日 午後4時42分
Page 107 of 384

Ignition switch 5-44 Features and controls
5
N00549200086
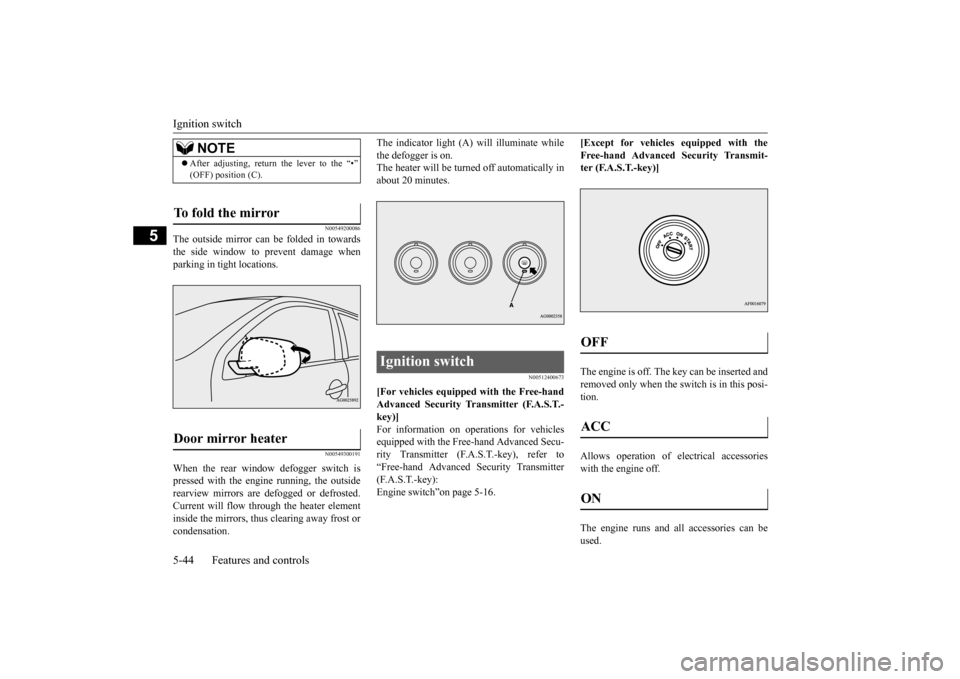
The outside mirror can be folded in towards the side window to prevent damage when parking in tight locations.
N00549300191
When the rear window defogger switch ispressed with the engine running, the outside rearview mirrors are defogged or defrosted. Current will flow through the heater elementinside the mirrors, thus clearing away frost or condensation.
The indicator light (A) will illuminate while the defogger is on. The heater will be turned off automatically in about 20 minutes.
N00512400673
[For vehicles equipped with the Free-hand Advanced Security Transmitter (F.A.S.T.- key)]For information on operations for vehicles equipped with the Free-hand Advanced Secu- rity Transmitter (F.A.S.T.-key), refer to“Free-hand Advanced Security Transmitter (F.A.S.T.-key): Engine switch”on page 5-16.
[Except for vehicles equipped with the Free-hand Advanced Security Transmit- ter (F.A.S.T.-key)] The engine is off. The key can be inserted and removed only when the switch is in this posi- tion. Allows operation of electrical accessories with the engine off. The engine runs and all accessories can be used.
NOTE
After adjusting, return the lever to the “•” (OFF) position (C).
To fold the mirror Door mirror heater
Ignition switch
OFF ACC ON
BK0206700US.bo
ok 44 ページ 2014年3月25日 火曜日 午後4時42分
Page 144 of 384

Instrument cluster
Features and controls 5-81
5
N00519000388
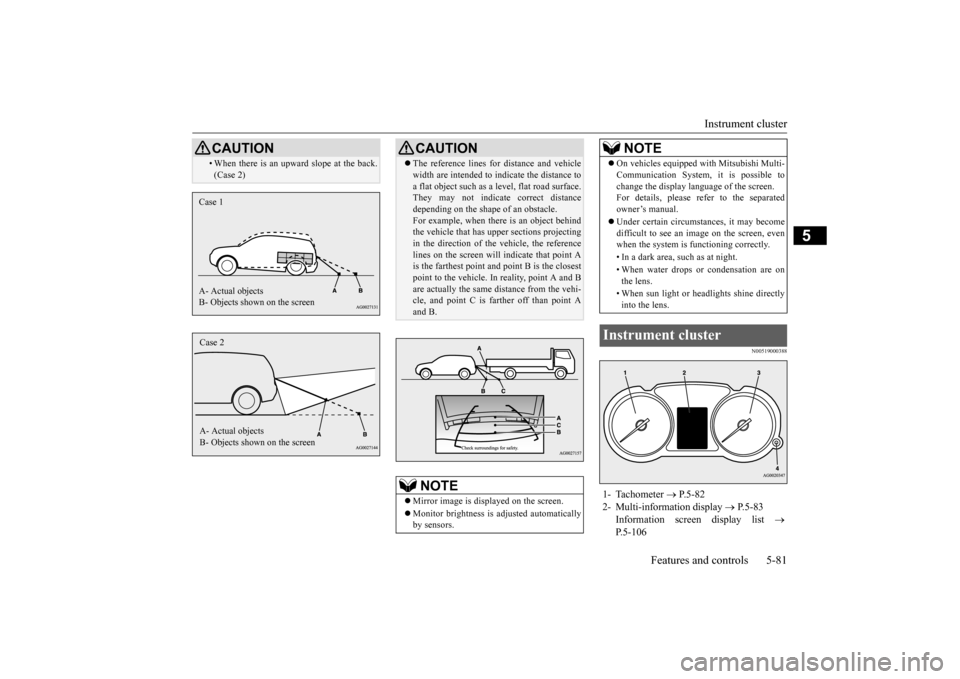
• When there is an upward slope at the back. (Case 2)CAUTION
Case 1 A- Actual objects B- Objects shown on the screenCase 2 A- Actual objects B- Objects shown on the screen
CAUTION The reference lines for distance and vehicle width are intended to indicate the distance to a flat object such as a level, flat road surface. They may not indicate correct distance depending on the shape of an obstacle.For example, when there is an object behind the vehicle that has upper sections projecting in the direction of the vehicle, the referencelines on the screen will indicate that point A is the farthest point a
nd point B is the closest
point to the vehicle. In reality, point A and Bare actually the same distance from the vehi- cle, and point C is farther off than point A and B.NOTE
Mirror image is displayed on the screen. Monitor brightness is adjusted automatically by sensors.
On vehicles equipped with Mitsubishi Multi- Communication System, it is possible to change the display language of the screen. For details, please refer to the separated owner’s manual. Under certain circumstances, it may become difficult to see an image on the screen, evenwhen the system is functioning correctly. • In a dark area, such as at night. • When water drops or condensation are on the lens. • When sun light or headlights shine directly into the lens.
Instrument cluster 1- Tachometer
P.5-82
2- Multi-information display
P.5-83
Information screen display list
P.5-106NOTE
BK0206700US.bo
ok 81 ページ 2014年3月25日 火曜日 午後4時42分