Page 174 of 286

Display messagesPossible causes/consequences andMSolutions
X
Visit a qualified specialist workshop immediately.
For further information about the Occupant Classification System, see ( Ypage 52).
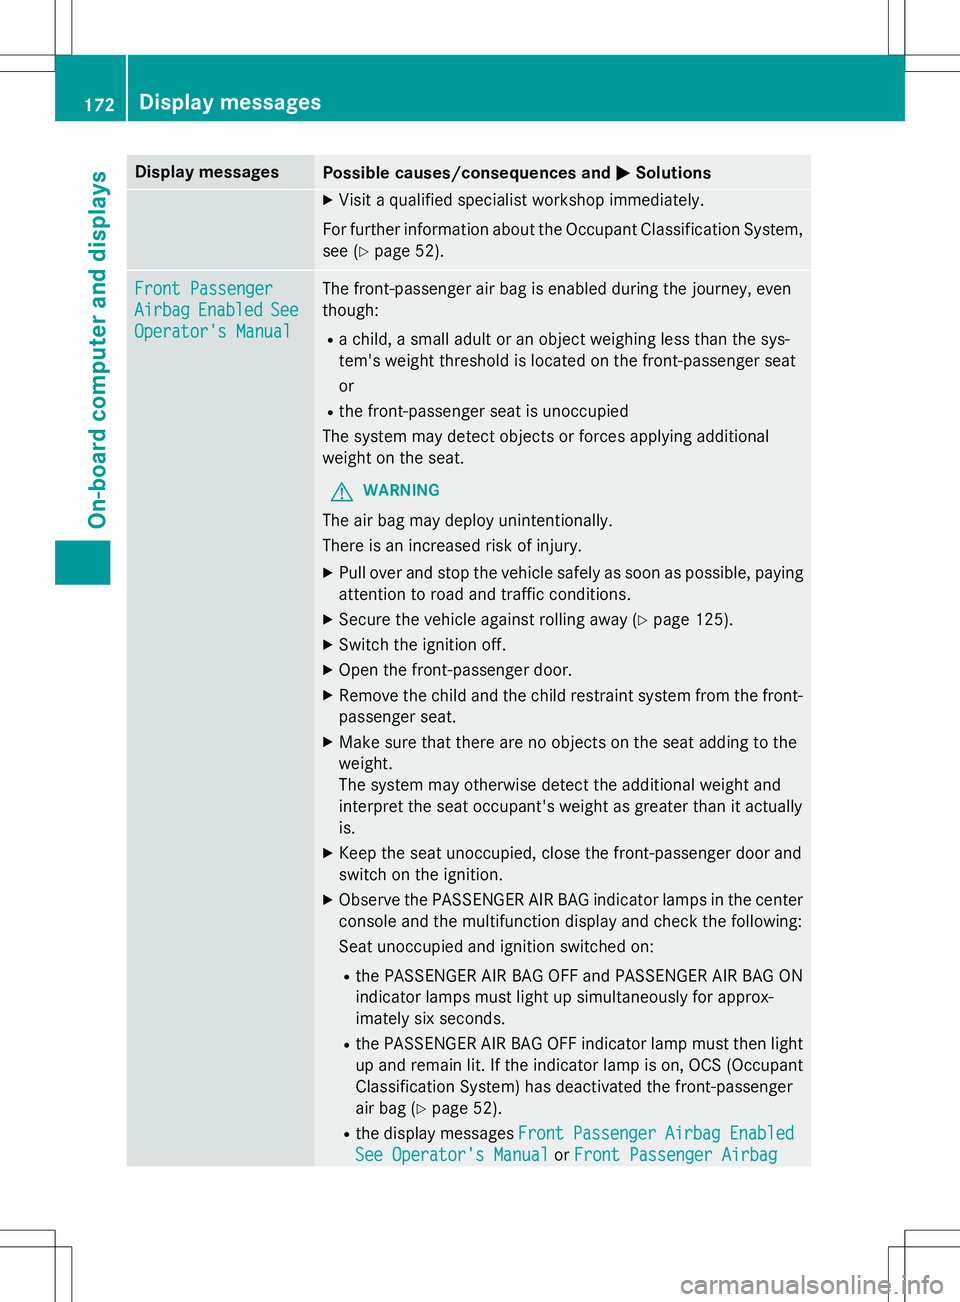
Front Passenger
AirbagEnabledSee
Operator's Manual
The front-passenger air bag is enabled during the journey, even
though:
R a child, a small adult or an object weighing less than the sys-
tem's weight threshold is located on the front-passenger seat or
R the front-passenger seat is unoccupied
The system may detect objects or forces applying additional
weight on the seat.
GWARNING
The air bag may deploy unintentionally.
There is an increased risk of injury.
X Pull over and stop the vehicle safely as soon as possible, paying
attention to road and traffic conditions.
X Secure the vehicle against rolling away ( Ypage 125).
X Switch the ignition off.
X Open the front-passenger door.
X Remove the child and the child restraint system from the front-
passenger seat.
X Make sure that there are no objects on the seat adding to the
weight.
The system may otherwise detect the additional weight and
interpret the seat occupant's weight as greater than it actuallyis.
X Keep the seat unoccupied, close the front-passenger door and
switch on the ignition.
X Observe the PASSENGER AIR BAG indicator lamps in the center
console and the multifunction display and check the following:
Seat unoccupied and ignition switched on:
R the PASSENGER AIR BAG OFF and PASSENGER AIR BAG ON
indicator lamps must light up simultaneously for approx-
imately six seconds.
R the PASSENGER AIR BAG OFF indicator lamp must then light
up and remain lit. If the indicator lamp is on, OCS (Occupant
Classification System) has deactivated the front-passenger
air bag ( Ypage 52).
R the display messages
FrontPassengerAirbagEnabled
See Operator's ManualorFront Passenger Airbag
172Display messages
On-board computer and displays
Page 192 of 286
COMAND operating system
Overview
Components
:COMAND display
;DVD changer/single DVD drive
=Touchpad
?Controller and buttons
COMAND consists of:
R the COMAND display
The COMAND display has 1440 x 540 pixels.
R the DVD changer/single DVD drive
R the controller
R the touchpad
R the buttons
R ports in the center console (2x USB, AUX)
An iPod ®
is connected via USB cable.
R headphones for the front passenger (cordless or connected by means of a cable to the audio
jack in the footwell)
iCOMAND can be operated from the front-passenger side using the corresponding remote
control if your vehicle is equipped with the front-passenger entertainment system. The
COMAND display can show separate information for the driver and the front passenger. The
front passenger views the display in SPLITVIEW.
190COMAND operating system
COMAND
Page 195 of 286

BNavigation button
CRadio button
DMedia button
ETelephone, address book and Internet button
FVehicle and system settings button
GController
Back button
You can use the%button to exit a menu or
to call up the basic display of the current
operating mode.
X To exit the menu: briefly press the%
button.
COMAND changes to the next higher menu
level in the current operating mode.
X To call up the basic display: press the
% button for longer than two seconds.
COMAND changes to the basic display of
the current operating mode.
Controller
The controller in the center console lets you:
R select menu items on the display
R enter characters
R select a destination on the map
R save entries
The controller can be:
R turned
R slid left or right 1
R slid forwards or back 4
R slid diagonally 2
R pressed briefly or pressed and held
Touchpad
As an alternative to the controller, the touch-
pad enables menu items to be selected and
character entry including handwriting recog-
nition, for example.
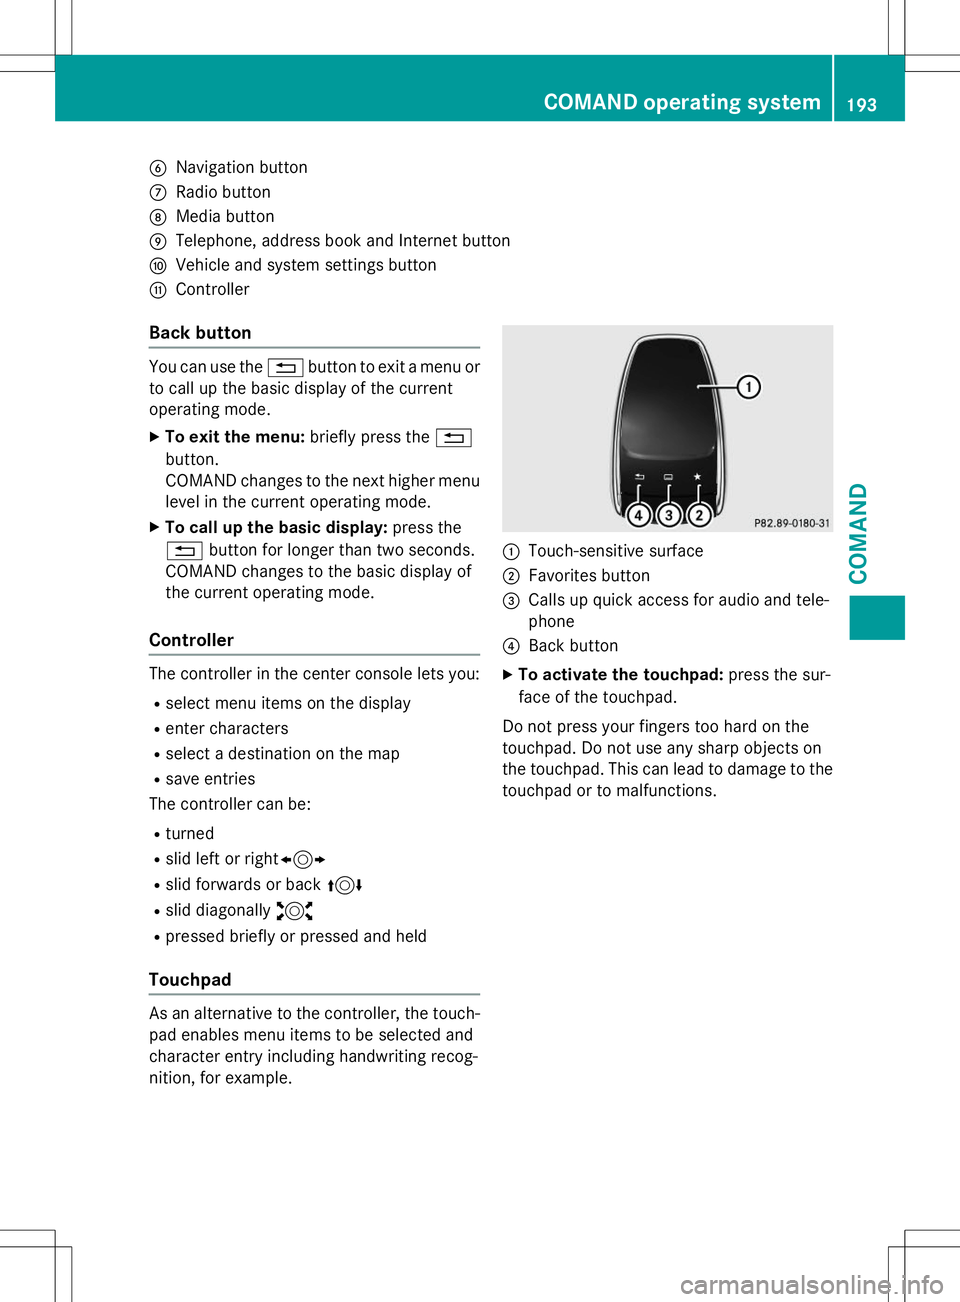
:Touch-sensitive surface
;Favorites button
=Calls up quick access for audio and tele- phone
?Back button
X To activate the touchpad: press the sur-
face of the touchpad.
Do not press your fingers too hard on the
touchpad. Do not use any sharp objects on
the touchpad. This can lead to damage to the touchpad or to malfunctions.
COMAND operating system193
COMAND
Z
Page 199 of 286

RClose lockable stowage compartments
while driving.
R Stow and secure objects that are heavy,
hard, pointy, sharp-edged, fragile or too
large in the trunk.
Observe the loading guidelines ( Ypage 196).
Information in the Digital Operator's
Manual
In the Digital Operator's Manual you will find
information on the following topics:
R Glove box
R Eyeglasses compartment
R Stowage compartments in the center con-sole
R Stowage compartment under the armrest
R Stowage compartment under the front
seats
R Stowage compartments in the doors
R Stowage compartment in the rear-com-
partment center console
R Stowage box in the rear seat backrest
Stowage nets
Stowage nets are located:
R in the front-passenger footwell
R on the back of the driver's and the front-
passenger seat
R on the left and right-hand side in the trunk
Observe the loading guidelines ( Ypage 196)
and the safety notes regarding stowage
spaces ( Ypage 196).
Securing loads using parcel net hooks
General notes
Observe the following notes on securing
loads:
R Secure the load using the parcel net hooks.
R Do not use elastic straps or nets to secure
a load, as these are only intended as an
anti-slip protection for light loads.
R Do not route tie-downs across sharp edges
or corners.
R Pad sharp edges for protection.
Trunk
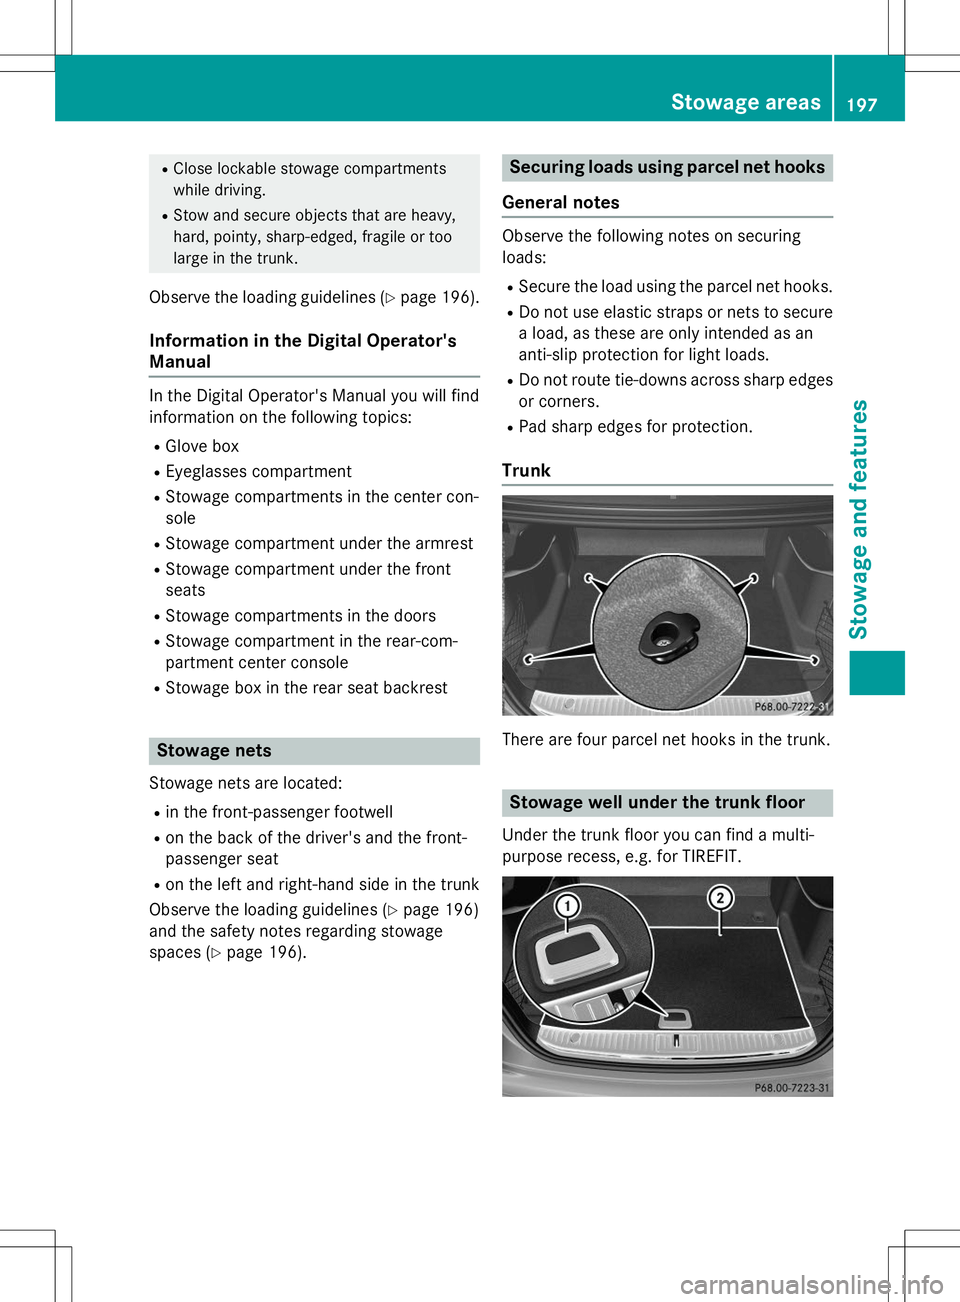
There are four parcel net hooks in the trunk.
Stowage well under the trunk floor
Under the trunk floor you can find a multi-
purpose recess, e.g. for TIREFIT.
Stowage areas197
Stowage and features
Z