2015 MERCEDES-BENZ S-Class comand
[x] Cancel search: comandPage 262 of 502
Object detection
The rear view camera can detect moving and
stationary objects. If, for example, a pedes-
trian or another vehicle is detected, these
objects are marked with bars. The system is
only able to detect and mark stationary
objects when your vehicle is moving. When
the vehicle is stationary, moving objects can
be detected and marked.
To ensure that you can use the function, it
must be switched on in COMAND (see the
separate operating instructions). 360° camera (surround view)
General notes The 360° camera is a system consisting of
four cameras.
The system analyzes images from the follow- ing cameras:
R Rear view camera
R Front camera
R Two side cameras in the exterior mirrors
The cameras capture the immediate sur-
roundings of the vehicle. The 360° camera
assists you, for instance when parking or at
exits with reduced visibility.
The 360° camera images can be shown in full screen mode or in seven different split-screenviews on the COMAND display. A split-screen
view also includes a top view of the vehicle.
This view is calculated from the data supplied by the installed cameras (virtual camera).
The seven split-screen views are: R top view and picture from the rear view
camera (130° viewing angle)
R top view and image from the front camera
(130° viewing angle without displaying the
maximum steering wheel angle)
R top view and enlarged rear view
R top view and enlarged front view
R top view and trailer view (vehicles with
trailer tow hitch) R
top view and images from the rear-facing
side cameras (rear wheel view)
R top view and images from the forward-
facing side cameras (front wheel view)
When the function is active and you shift the
transmission from Dor Rto N, the guide lines
in the COMAND display are hidden.
When you change between transmission
positions Dand R, you see the previously
selected front or rear view.
Important safety notes The 360°camera is only an aid and may show
a distorted view of obstacles, show them
incorrectly or not at all. The 360°camera is
not a substitute for attentive driving.
You are always responsible for safe maneu-
vering and parking. When maneuvering or
parking, make sure that there are no persons, animals or objects in the area in which you are
maneuvering.
You are always responsible for safety, and
must always pay attention to your surround-
ings when parking and maneuvering. This
applies to the areas behind, in front of and
beside the vehicle. You could otherwise
endanger yourself and others.
The 360° camera will not function or will
function in a limited manner:
R if the doors are open
R if the exterior mirrors are folded in
R if the trunk lid is open
R in heavy rain, snow or fog
R at night or in very dark places
R if the cameras are exposed to very bright
light
R if the area is lit by fluorescent bulbs or LED
lighting (the display may flicker)
R if the camera lenses fog up, e.g. when driv-
ing into a heated garage in winter, causing
a rapid change in temperature 260
Driving systemsDriving and parking
Page 263 of 502
R
if the camera lenses are dirty or covered.
Observe the notes on cleaning
(Y page 416)
R if the vehicle components in which the
cameras are installed are damaged. In this
event, have the camera position and setting checked at a qualified specialist workshop.
Do not use the 360° camera in this case. You
can otherwise injure others or cause damage to objects or the vehicle.
The guide lines in the COMAND display showthe distances to your vehicle. The distances
only apply to road level.
In trailer mode, the guide lines show the dis-
tances at the level of the trailer coupling.
The cameras in the front and in the rear area
are each protected by a flap. These flaps are
opened when the 360° camera is activated.
Observe the notes on cleaning (Y page 416).
For technical reasons, the flaps may remain
open briefly after the 360° camera has been
deactivated.
Activation conditions The 360° camera image can be displayed if:
R COMAND is switched on (see the separate
operating instructions)
R The 360° Camera
360° Camera function is switched on.
i If the 360° camera is activated at speeds
above approximately 19 mph (30 km/h), a
warning message appears.
The warning message disappears if:
R the vehicle's speed falls below approx-
imately 19 mph (30 km/h). The 360°
camera is then activated.
R the message is confirmed with the %
button. Switching the 360° camera on and off
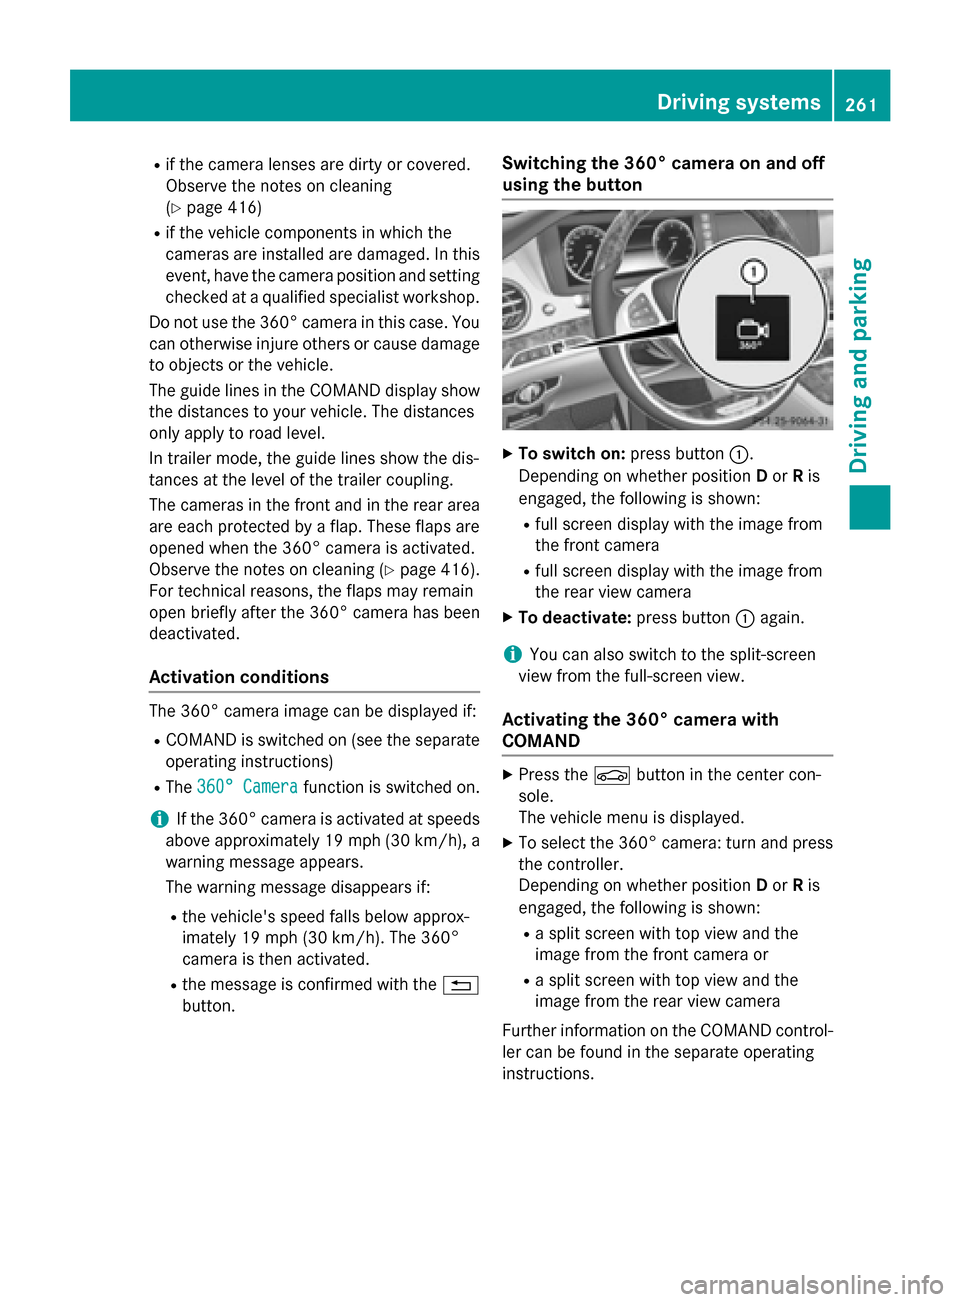
using the button X
To switch on: press button:.
Depending on whether position Dor Ris
engaged, the following is shown:
R full screen display with the image from
the front camera
R full screen display with the image from
the rear view camera
X To deactivate: press button:again.
i You can also switch to the split-screen
view from the full-screen view.
Activating the 360° camera with
COMAND X
Press the Øbutton in the center con-
sole.
The vehicle menu is displayed.
X To select the 360° camera: turn and press
the controller.
Depending on whether position Dor Ris
engaged, the following is shown:
R a split screen with top view and the
image from the front camera or
R a split screen with top view and the
image from the rear view camera
Further information on the COMAND control-
ler can be found in the separate operating
instructions. Driving systems
261Driving and parking Z
Page 264 of 502

Activating the 360° camera using
reverse gear The 360° camera images can be automati-
cally displayed by engaging reverse gear.
X Make sure that the SmartKey is in position
2 in the ignition lock.
X Make sure that the Activation by R
Activation by R
gear gear function is selected in COMAND (see
separate operating instructions).
X To show the 360° camera image: engage
reverse gear.
The area behind the vehicle is shown in the
COMAND display in split-screen mode. You see the top view of the vehicle and the
image from the rear view camera.
Selecting the split-screen and full
screen displays Switching between split screen views:
X To switch to the line with the vehicle icons:
slide ZVthe controller.
X To select a vehicle icon: turn the controller.
Switching to full screen mode:
X 180° View
180° View Turn and press the controller.
i The 180° option is only available in the
following views:
R Top view with picture from the rear view
camera
R Top view with picture from the front cam-
era
Displays in the COMAND display Important safety notes
The camera system may show a distorted
view of obstacles, show them incorrectly or
not at all. Obstacles are not shown by the
system in the following locations:
R under the front and rear bumpers
R very close to the front and rear bumpers
R in close range above the handle on the
trunk lid R
very close to the exterior mirrors
R in the transitional areas between the vari-
ous cameras in the virtual top view
! Objects not at ground level may appear to
be further away than they actually are, e.g.:
R the bumper of a parked vehicle
R the drawbar of a trailer
R the ball coupling of a trailer tow hitch
R the rear section of an HGV
R a slanted post
Use the guidelines only for orientation.
Approach objects no further than the bot-
tom-most guideline.
Top view with picture from the rear view
camera :
Yellow guide line at a distance of approx-
imately 13 ft (4.0 m) from the rear of the
vehicle
; Symbol for the split screen setting with
top view and rear view camera image
= Guide line for the maximum steering angle
? Yellow lane marking tires at current steer-
ing wheel angle (dynamic)
A Yellow guide line for the vehicle width
including the exterior mirrors, for current
steering wheel angle (dynamic) 262
Driving systemsDriving an
d parking
Page 266 of 502

Top view with image from the side cam-
eras :
Symbol for the top view and forward-
facing side camera setting
; Yellow guide line for the vehicle width
including the exterior mirrors (right side of vehicle)
= Yellow guide line for the vehicle width
including the exterior mirrors (left side of
vehicle)
i You can also select the side camera set-
ting for the rear-facing view.
Wide-angle function :
Symbol for the full screen setting with rear
view camera image
; Own vehicle
= PARKTRONIC warning displays
If the vehicle is equipped with PARKTRONIC
and the function is active (Y page 250), warn-
ing displays =in the COMAND display are
also active or light up accordingly. PARKTRONIC appears:
R in split screen view as red or yellow brack-
ets around the vehicle icon in the top view, or
R in the full screen view, on the right-hand
side at the bottom as red or yellow brackets
around the vehicle icon
i The full screen display can also be selec-
ted as front view.
Select this view when you are driving out of an exit and the view of crossing traffic is restric-
ted, for example.
i If you select the
%symbol in the dis-
play and confirm with the controller, the
split-screen view appears.
Exiting 360° camera display mode The 360° camera display is stopped
R when you select transmission position P, or
R when you are driving at moderate speeds
The view which was active before the 360°
camera was displayed appears in the
COMAND display. You can also stop the 360° camera display split-screen view by selecting
the % symbol in the display and then con-
firming with the COMAND controller. ATTENTION ASSIST
General notes ATTENTION ASSIST helps you during long,
monotonous journeys, such as on highways.
It is active in the 37 mph (60 km/h) to
125 mph (200 km/h) range. If ATTEN-
TION ASSIST detects typical indicators of fati-
gue or increasing lapses in concentration on
the part of the driver, it suggests taking a
break.
Important safety notes ATTENTION ASSIST is only an aid to the
driver. It might not always recognize fatigue
or increasing inattentiveness in time or fail to264
Driving systemsDriving an
d parking
Page 268 of 502

In addition to the message shown in the mul-
tifunction display, you will then hear a warn-
ing tone.
X If necessary, take a break.
X Confirm the message by pressing the a
button on the steering wheel.
On long journeys, take regular breaks in good time to allow yourself to rest properly. If you
do not take a break and ATTENTION ASSIST
continues to detect increasing lapses in con-centration, you will be warned again after
15 minutes at the earliest. This will only hap-
pen if ATTENTION ASSIST still detects typical indicators of fatigue or increasing lapses in
concentration.
If a warning is output in the multifunction dis-
play, a service station search is performed in
COMAND. You can select a service station
and navigation to this service station will then
begin. This function can be activated and
deactivated in COMAND. Night View Assist Plus
General notes In addition to the illumination provided by the
normal headlamps, Night View Assist Plus
uses infrared light to illuminate the road.
Night View Assist Plus camera ;picks up the
infrared light and displays a monochrome
image in the multifunction display. The image
shown in the display corresponds to a road lit
up by high-beam headlamps. This enables you to see the road's course and any obstacles in
good time. When pedestrian recognition is active, pedestrians recognized by the system
are visually highlighted in color in the Night
View Assist Plus display with small frame cor- ners.
In addition, an infrared camera is integrated
into the radiator trim :. The camera helps
detect pedestrians and animals. Observe the notes on cleaning the infrared camera
(Y page 417).
i Infrared light is not visible to the human
eye and therefore does not glare. Night
View Assist Plus can therefore remain
switched on even if there is oncoming traf- fic.
Important safety notes Night View Assist Plus is only an aid and is not
a substitute for attentive driving. Do not rely
on the Night View Assist Plus display. You are responsible for the distance to the vehicle in
front, for vehicle speed and for braking in
good time. Drive carefully and always adapt
your driving style to suit the prevailing road
and traffic conditions.
The system may be impaired or may not func-
tion if:
R if there is poor visibility, e.g. due to snow,
rain, fog or spray
R if the windshield is dirty, fogged up or cov-
ered, for instance by a sticker, in the vicinity of the camera
R if the thermal imaging camera in the radia-
tor grill is dirty, fogged up or covered
R on bends, hilltops or downhill gradients
R at high outside temperatures
Night View Assist Plus cannot display objects
directly in front of or beside the vehicle.
It may be the case that other objects are
marked or highlighted as well as pedestrians
and animals. 266
Driving systemsDriving and parking
Page 283 of 502
E-SAVE R
Electric mode or driving
with the internal com-
bustion engine is possi-
ble
R Automatic selection of
drive mode with electric
mode as often as possi-
ble
R The current condition of
charge of the high-volt-
age battery is main-
tained so the electrical
energy can be used at a
later time. CHARGE R
Electric drive is not pos-
sible
R Charging the high-volt-
age battery while driv-
ing using the combus-
tion engine In automatic drive program
S(Y page 285)
and in manual drive program M(Y page 286),
only HYBRID operating mode is available.
If you switch from automatic drive program S
to automatic drive program Eor E+ ,HYBRID
operating mode continues to be selected.
If manual drive program Mis deactivated, the
automatic transmission shifts:
R into the automatic drive program that was
last selected
R into the driving mode that was last selected
Operating the on-board computer You can display the current operating condi-
tion of the hybrid system in the multifunction
display and the COMAND display
(Y page 281).
In the COMAND display, you can also call up a graphic display of the fuel consumption and
generated electricity (Y page 285). Menus and submenus
Selecting displays in the COMAND dis-
play X
Press button Øon the controller.
The vehicle menu is displayed.
X To select Energy EnergyFlow
Flow: turn and press the
controller.
The energy flow is displayed.
X To select Consumption Consumption: turn and press the
controller.
Fuel consumption and the generated elec-
tric energy are displayed.
X To exit the display: press the %button
on the controller.
Selecting the energy flow display in the
multifunction display X
Use Ñ on the steering wheel to call up
the list of menus.
X Press the :or9 button on the steer-
ing wheel to select the Trip Tripmenu.
X Confirm by pressing aon the steering
wheel.
X Use : or9 to select Energy Flow
Energy Flow .
The active hybrid components are highligh-
ted in the energy flow display.
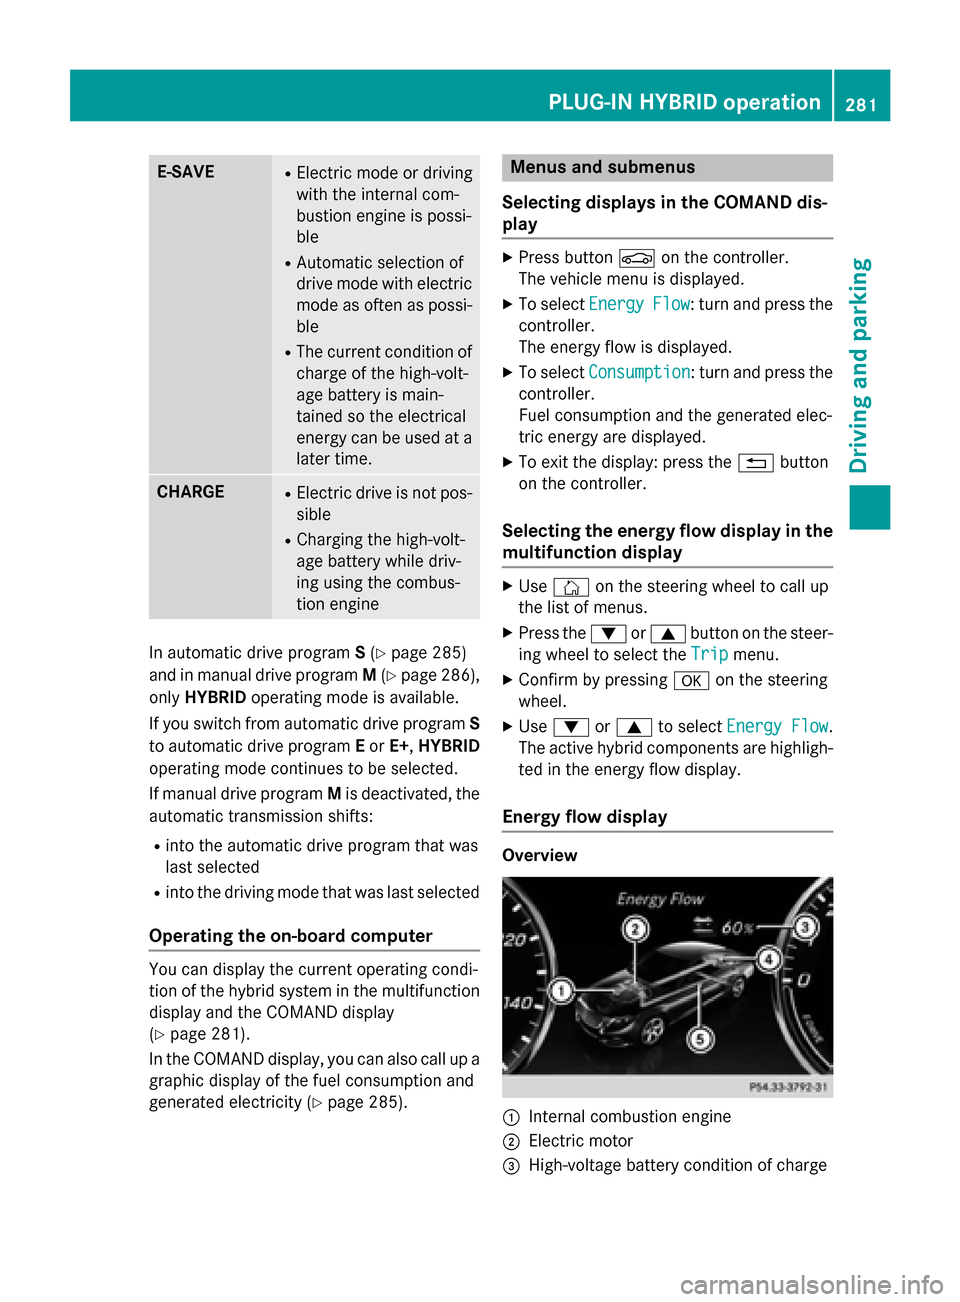
Energy flow display Overview
:
Internal combustion engine
; Electric motor
= High-voltage battery condition of charge PLUG-IN HYBRID operation
281Driving and parking Z
Page 287 of 502
Displaying fuel consumption and generated electricity
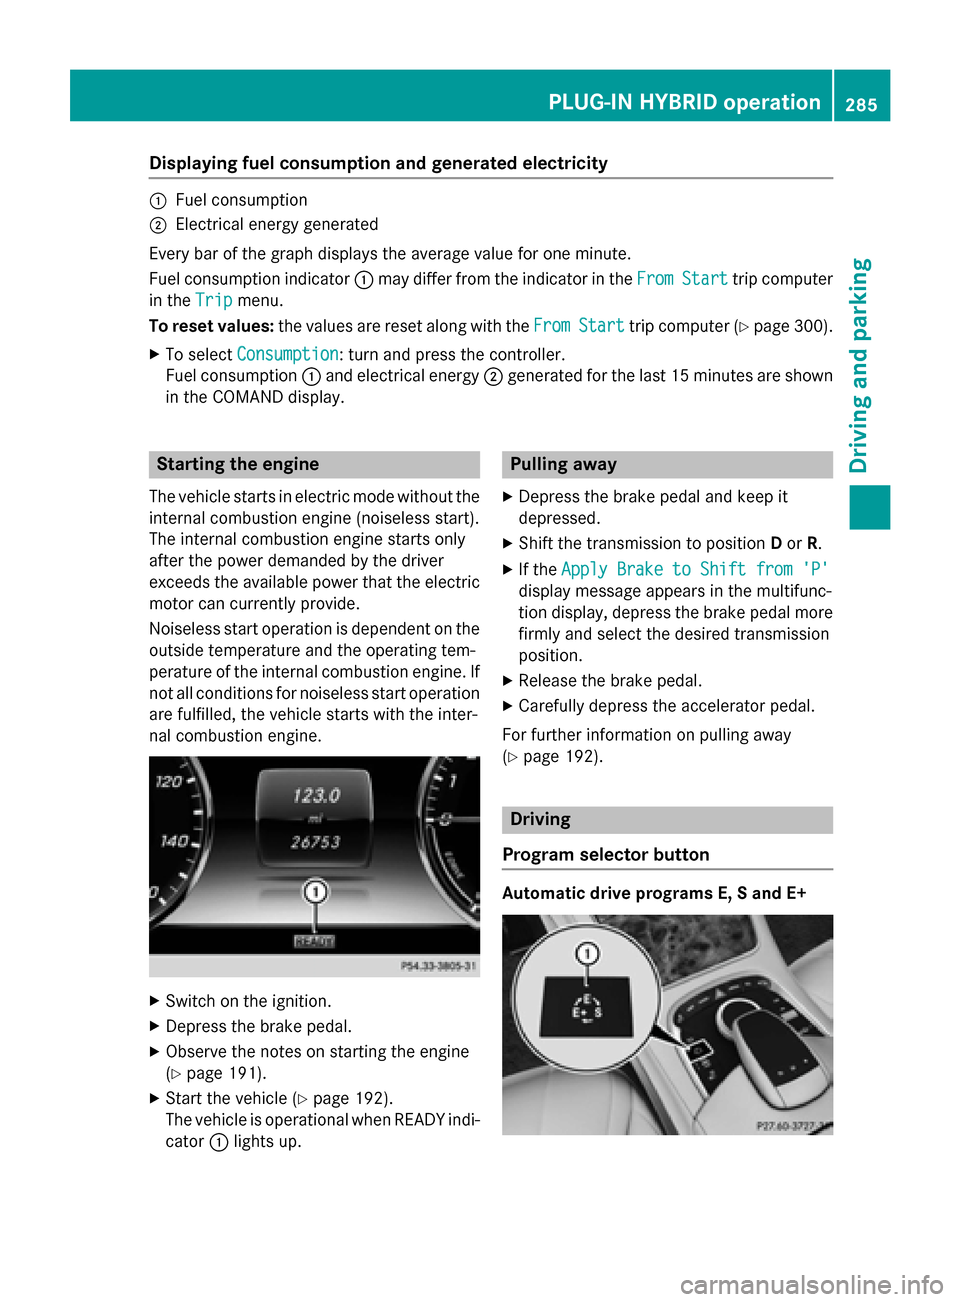
:
Fuel consumption
; Electrical energy generated
Every bar of the graph displays the average value for one minute.
Fuel consumption indicator :may differ from the indicator in the From
FromStart
Start trip computer
in the Trip
Trip menu.
To reset values: the values are reset along with the From
FromStart
Start trip computer (Y page 300).
X To select Consumption
Consumption: turn and press the controller.
Fuel consumption :and electrical energy ;generated for the last 15 minutes are shown
in the COMAND display. Starting the engine
The vehicle starts in electric mode without the
internal combustion engine (noiseless start).
The internal combustion engine starts only
after the power demanded by the driver
exceeds the available power that the electric motor can currently provide.
Noiseless start operation is dependent on the
outside temperature and the operating tem-
perature of the internal combustion engine. If
not all conditions for noiseless start operation are fulfilled, the vehicle starts with the inter-
nal combustion engine. X
Switch on the ignition.
X Depress the brake pedal.
X Observe the notes on starting the engine
(Y page 191).
X Start the vehicle (Y page 192).
The vehicle is operational when READY indi-
cator :lights up. Pulling away
X Depress the brake pedal and keep it
depressed.
X Shift the transmission to position Dor R.
X If the Apply Brake to Shift from 'P' Apply Brake to Shift from 'P'
display message appears in the multifunc-
tion display, depress the brake pedal more firmly and select the desired transmission
position.
X Release the brake pedal.
X Carefully depress the accelerator pedal.
For further information on pulling away
(Y page 192). Driving
Program selector button Automatic drive programs E, S and E+ PLUG-IN HYBRID ope
ration
285Driving an d parking Z
Page 291 of 502
Automatic engine start
The automatically switched-off internal com-
bustion engine starts automatically in certain situations, if:
R the power demand from the driver via the
accelerator pedal is greater than the elec-
tric motor alone can provide
R the driver switches to drive program Sor M
R the condition of charge of the high-voltage
battery has reached the lower limit
R the settings of the automatic climate con-
trol require it, e.g. at external temperatures
above 30 †
Overrun mode
In overrun mode, the combustion engine is
switched off and is disconnected from the
drive train. The electric motor:
R generates low thrust, which corresponds to
the overrun mode of an active combustion
engine
R functions as a generator and produces the
necessary energy for the auxiliary consum-
ers and charges the high-voltage battery
Overrun mode is possible in the following
speed range:
R in drive program Ebelow 130 km/h
R in drive program E+below 180 km/h
In drive program E+, after the accelerator
pedal has been released the coasting char-
acteristics of the vehicle are adapted to the
traffic conditions. Further information about
the haptic accelerator pedal (Y page 286).
Map-based energy management For map-based energy management, the sys-
tem factors in information about the expec-
ted route when route guidance is active.
The information on the route is provided by
COMAND and includes the following:
R road categories
R speed limitations
R data on downhill gradients The use of electric energy is automatically
optimally distributed from the beginning to
the end of the journey, using information
about the route. The distribution is pre-emp-
tive and takes into consideration:
R the sections of the journey ahead
R the energy consumption on the whole route
The condition of charge of the high-voltage
battery is thus systematically controlled. In
addition, the control function takes into
account that:
R the fuel saving through the use of electrical
energy can vary, dependent on the route
(e.g. urban, interurban or highway)
R the use of electrical energy is held available
for electric driving, particularly for urban
routes
The vehicle thus automatically selects the
optimum driving mode for the respective sec- tion of the route.
Map-based energy management is available
under the following conditions:
R drive program E+is selected
R HYBRID driving mode is selected
R active route guidance is activated
R suitable map data is available
When map-based energy management is
engaged, the area in front of the vehicle in the
multifunction display will be green. Parking
X Apply the electric parking brake.
The red !indicator lamp in the instru-
ment cluster lights up.
X Use the DIRECT SELECT lever to shift the
automatic transmission to P.
X Switch the ignition off.
The READY indicator in the instrument clus-
ter goes out.
Further information on parking and switching off the internal combustion engine
(Y page 221). PLUG-IN HYBRID operation
289Driving and parking Z