Page 281 of 298

To indicate this, the
0047symbol appears in
the display.
Stopping a film or skipping to the begin-
ning or end of a scene X
Select any menu item from the DVD menu.
The menu appears.
X To stop the film: select theStop
Stopmenu
item and press the 008Bbutton on the remote
control to confirm.
X To skip to the end of a scene: select the
0049 menu item and press 008Bto confirm.
X To skip to the start of a scene: select the
0048 menu item and press 008Bto confirm.
Moving up one level in the DVD menu X
Show the DVD menu.
X Press the 0038back button on the remote
control or select the corresponding menu
item in the DVD menu.
Back to the film X
Press the 0038back button repeatedly
until you see the movie. Setting the audio format
This function is not available on all DVDs. If it
is available, you can set the audio language or the audio format. The number of settings is
determined by the DVD content. It may also
be possible to access the settings from the
DVD menu.
X Press the 008Bbutton on the remote control
and show the menu.
X Select DVD-Video
DVD-Video using the
0063006400590065 buttons on the
remote control and press the 008Bbutton to
confirm.
X Select DVD Functions
DVD Functions and press the008B
button to confirm. X
Select Audio Language Audio Language and press the008B
button to confirm.
A menu appears after a short while. The 003B
dot in front of an entry indicates the cur-
rently selected language.
X Select the language using the 00630064
buttons and press the 008Bbutton to confirm.
X To exit the menu: press the0059or0065
button. Subtitles and camera angle
These functions are not available on all DVDs.
The number of subtitle languages and camera
angles available depends on the content of
the DVD. It may also be possible to access the settings from the DVD menu.
X Press the 008Bbutton on the remote control
and show the menu.
X Select DVD-Video DVD-Video using the
0063006400590065 buttons on the
remote control and press the 008Bbutton to
confirm.
X Select DVD Functions
DVD Functions and press the008B
button to confirm.
X Select Subtitles
Subtitles orCamera Angle
Camera Angle and
press the 008Bbutton to confirm.
In both cases, a menu appears after a few
seconds. The 003Bdot in front of an entry indi-
cates the current setting.
X Select the setting using the 00630064but-
tons and press the 008Bbutton to confirm.
X To exit the menu: press the0059or0065
button. Interactive content
DVDs can also contain interactive content
(e.g. a video game). In a video game, you may be able to influence events by selecting and
triggering actions. The type and number of
actions depend on the DVD. Video DVD mode
279Rear Seat Entertainment System Z
Page 282 of 298

X
Select an action using the
006300650064 buttons on the
remote control and press the 008Bbutton to
execute it.
A menu appears and the first entry, Select Select,
is highlighted.
X Press the 008Bbutton. AUX mode
General notes
You can connect an external video source in
the rear compartment.
Depending on the vehicle model and equip-
ment level, the AUX jacks are found:
R in the stowage box between the rear seats
or
R in the rear-compartment armrest
(Y page 264).
Please see the corresponding operating
instructions for information on how to oper-
ate the external video source.
For further details about external video sour- ces, please consult an authorized Mercedes-
Benz Center. Connecting AUX equipment
X Insert the audio plugs for the left and right
signals into the corresponding Land R
jacks.
X Insert the video plug into the Vjack. Activating AUX mode
X Select AUX AUXusing the 006300590065 but-
tons on the remote control and press the
008B button to confirm.
The AUX source is switched on once the
AUX device is active. 280
AUX modeRear Seat Entertainment System
Page 288 of 298

Weather map
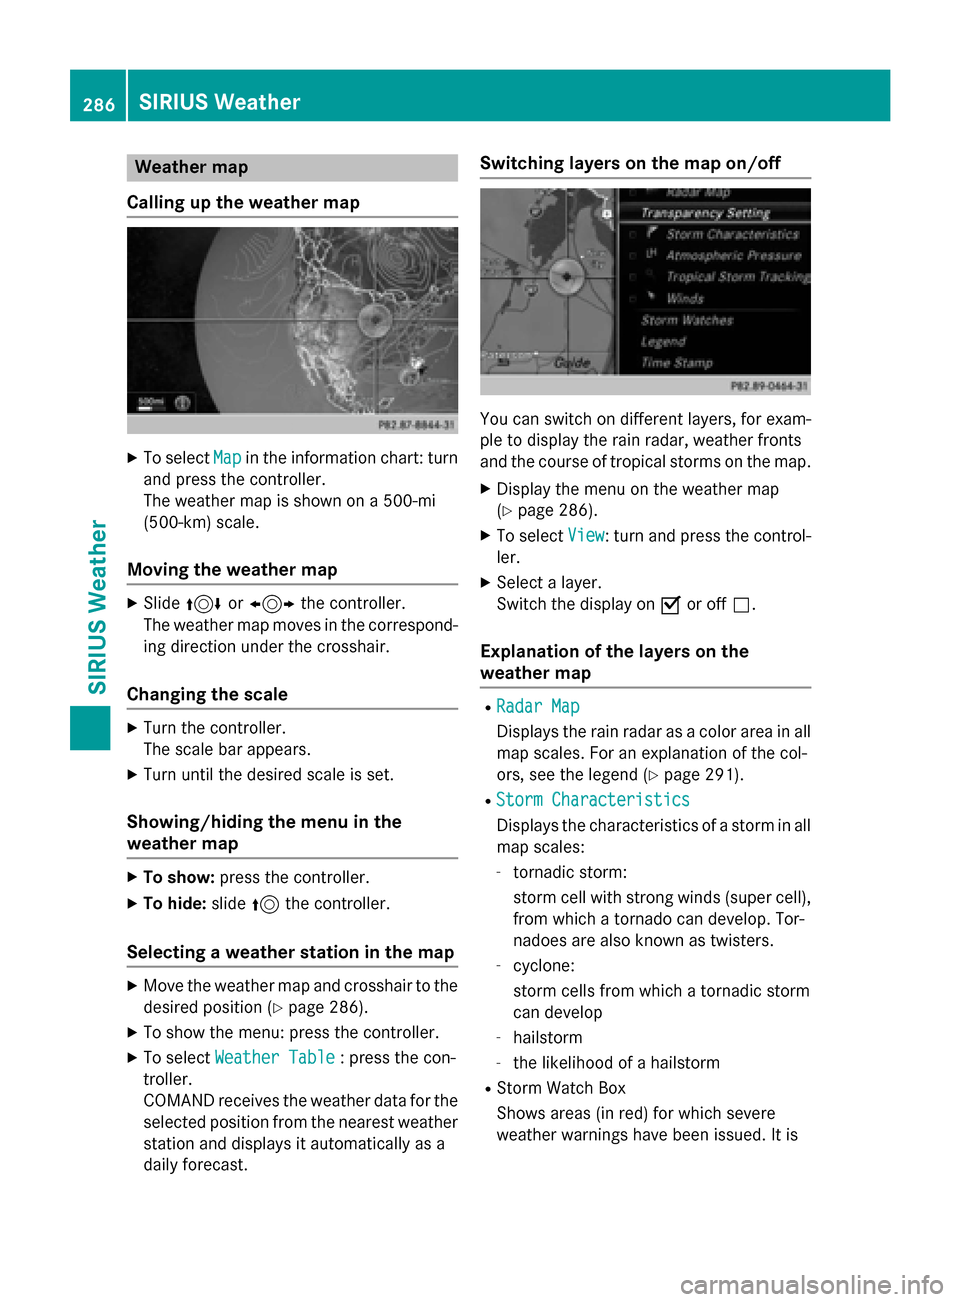
Calling up the weather map X
To select Map
Mapin the information chart: turn
and press the controller.
The weather map is shown on a 500-mi
(500-km) scale.
Moving the weather map X
Slide 4 or1 the controller.
The weather map moves in the correspond-
ing direction under the crosshair.
Changing the scale X
Turn the controller.
The scale bar appears.
X Turn until the desired scale is set.
Showing/hiding the menu in the
weather map X
To show: press the controller.
X To hide: slide5the controller.
Selecting a weather station in the map X
Move the weather map and crosshair to the
desired position (Y page 286).
X To show the menu: press the controller.
X To select Weather Table
Weather Table : press the con-
troller.
COMAND receives the weather data for the
selected position from the nearest weather
station and displays it automatically as a
daily forecast. Switching layers on the map on/off
You can switch on different layers, for exam-
ple to display the rain radar, weather fronts
and the course of tropical storms on the map.
X Display the menu on the weather map
(Y page 286).
X To select View View: turn and press the control-
ler.
X Select a layer.
Switch the display on 0073or off 0053.
Explanation of the layers on the
weather map R
Radar Map Radar Map
Displays the rain radar as a color area in all
map scales. For an explanation of the col-
ors, see the legend (Y page 291).
R Storm Characteristics Storm Characteristics
Displays the characteristics of a storm in all
map scales:
- tornadic storm:
storm cell with strong winds (super cell),
from which a tornado can develop. Tor-
nadoes are also known as twisters.
- cyclone:
storm cells from which a tornadic storm
can develop
- hailstorm
- the likelihood of a hailstorm
R Storm Watch Box
Shows areas (in red) for which severe
weather warnings have been issued. It is 286
SIRIUS WeatherSIRIUS Weather
Page 293 of 298

You can also see the time stamp for the weather data on map scales of 50 miles and smaller.
The weather map shows wind directions and wind speeds.
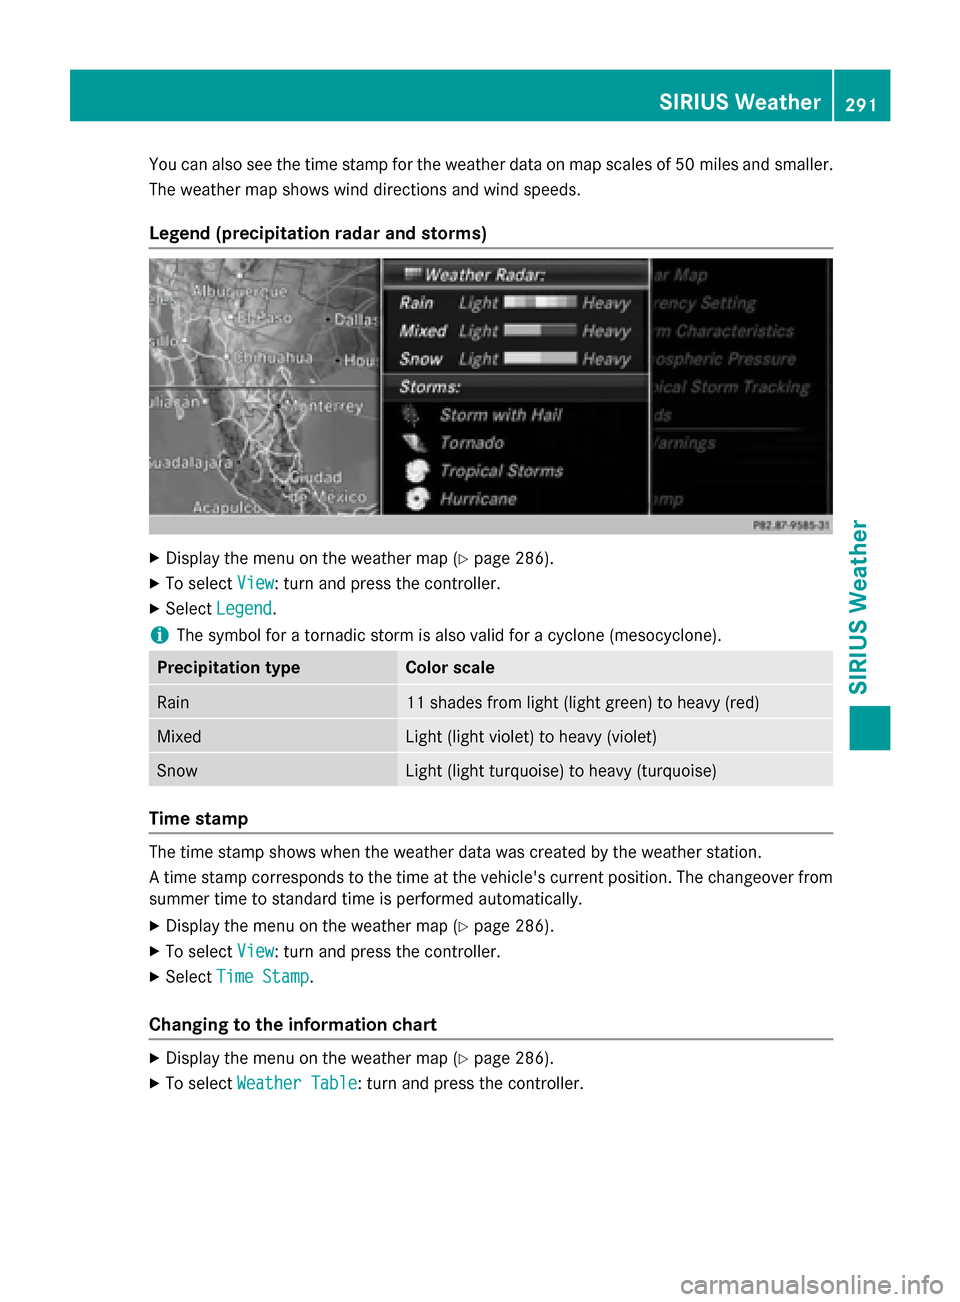
Legend (precipitation radar and storms) X
Display the menu on the weather map (Y page 286).
X To select View
View : turn and press the controller.
X Select Legend
Legend.
i The symbol for a tornadic storm is also valid for a cyclone (mesocyclone). Precipitation type Color scale
Rain 11 shades from light (light green) to heavy (red)
Mixed Light (light violet) to heavy (violet)
Snow Light (light turquoise) to heavy (turquoise)
Time stamp
The time stamp shows when the weather data was created by the weather station.
A time stamp corresponds to the time at the vehicle's current position. The changeover from
summer time to standard time is performed automatically.
X Display the menu on the weather map (Y page 286).
X To select View
View : turn and press the controller.
X Select Time Stamp Time Stamp.
Changing to the information chart X
Display the menu on the weather map (Y page 286).
X To select Weather Table
Weather Table: turn and press the controller. SIRIUS Weather
291SIRIUS Weather