2015 MERCEDES-BENZ GLE SUV ground clearance
[x] Cancel search: ground clearancePage 204 of 453
reduce the risk of an accident to yourself and
other road users.
X If the Off-road orOff-road Plus drive pro-
gram is selected: select the Individual,
Sport, Comfort orSlippery drive program
(Y page 166).
X Deactivate the LOW RANGE offroad gear
(Y page 255).
X Deactivate DSR (Y page 252).
X Lower the vehicle level again to a level suita-
ble to the road conditions, e.g. to the normal
level.
X Clean the headlamps and rear lights and
check for damage.
X Clean the front and rear licence plates.
X Clean the wheels and tyres with a water jet
and remove any foreign objects.
X Clean the wheels, wheel arches and the vehi-
cle underside with a water jet; check for any
foreign objects and damage.
X Check whether twigs or other parts of plants
have become trapped. These increase the risk
of fire and can damage fuel pipes, brake
hoses or the rubber bellows of the axle joints
and propeller shafts.
X After the trip, examine without fail the entire
undercarriage, wheels, tyres, brakes, body-
work structure, steering, chassis and exhaust system for damage.
X After driving for extended periods across
sand, mud, gravel, water or in similarly dirty
conditions, have the brake discs, wheels,
brake pads/linings and axle joints checked
and cleaned.
X If you detect strong vibrations after driving
off-road, check for foreign objects in the
wheels and drive train and remove them if
necessary. Foreign objects can disturb the
balance and cause vibrations.
Driving on sand Observe the following rules when driving on
sand:
R Select the Offroaddrive program (vehicles
with Off-Road Engineering package)
(Y page 254).
R Select the Offroaddrive program (vehicles
without Off-Road Engineering package)
(Y page 254).
R Select a higher vehicle level. R
Avoid high engine speeds.
R Use the left-hand steering wheel gearshift
paddle to shift to a lower gear appropriate to the terrain.
R Drive quickly to overcome the rolling resist-
ance. Otherwise, the vehicle could dig itself
into the sand.
R Drive in the tracks of other vehicles if possi-
ble. Make sure that:
- the tyre ruts are not too deep
- the sand is firm enough
- your vehicle has sufficient ground clear-
ance
Tyre ruts and gravel roads !
Check that the ruts are not too deep and
that your vehicle has sufficient clearance.
Otherwise, your vehicle could be damaged or bottom out and get stuck.
Observe the following rules when driving along
ruts in off-road terrain or on roads with loose
gravel: R Select the Offroaddrive program (vehicles
with Off-Road Engineering package)
(Y page 254).
R Select the Offroaddrive program (vehicles
without Off-Road Engineering package)
(Y page 254).
R Select a higher vehicle level.
R Avoid high engine speeds.
R Shift to a lower gear using the left-hand steer-
ing wheel gearshift paddle.
R Drive slowly.
R Where ruts are too deep, drive with the
wheels on one side on the middle section of
turf if possible.
Driving over obstacles !
Obstacles could damage the floor of the
vehicle or components of the chassis. Ask
passengers for guidance when driving over
large obstacles. Any damage to the vehicle
always increases the risk of an accident. Driving tips
201Driving and parking Z
Page 223 of 453
Activating the HOLD function
X
Make sure that the activation conditions are
met.
X Depress the brake pedal.
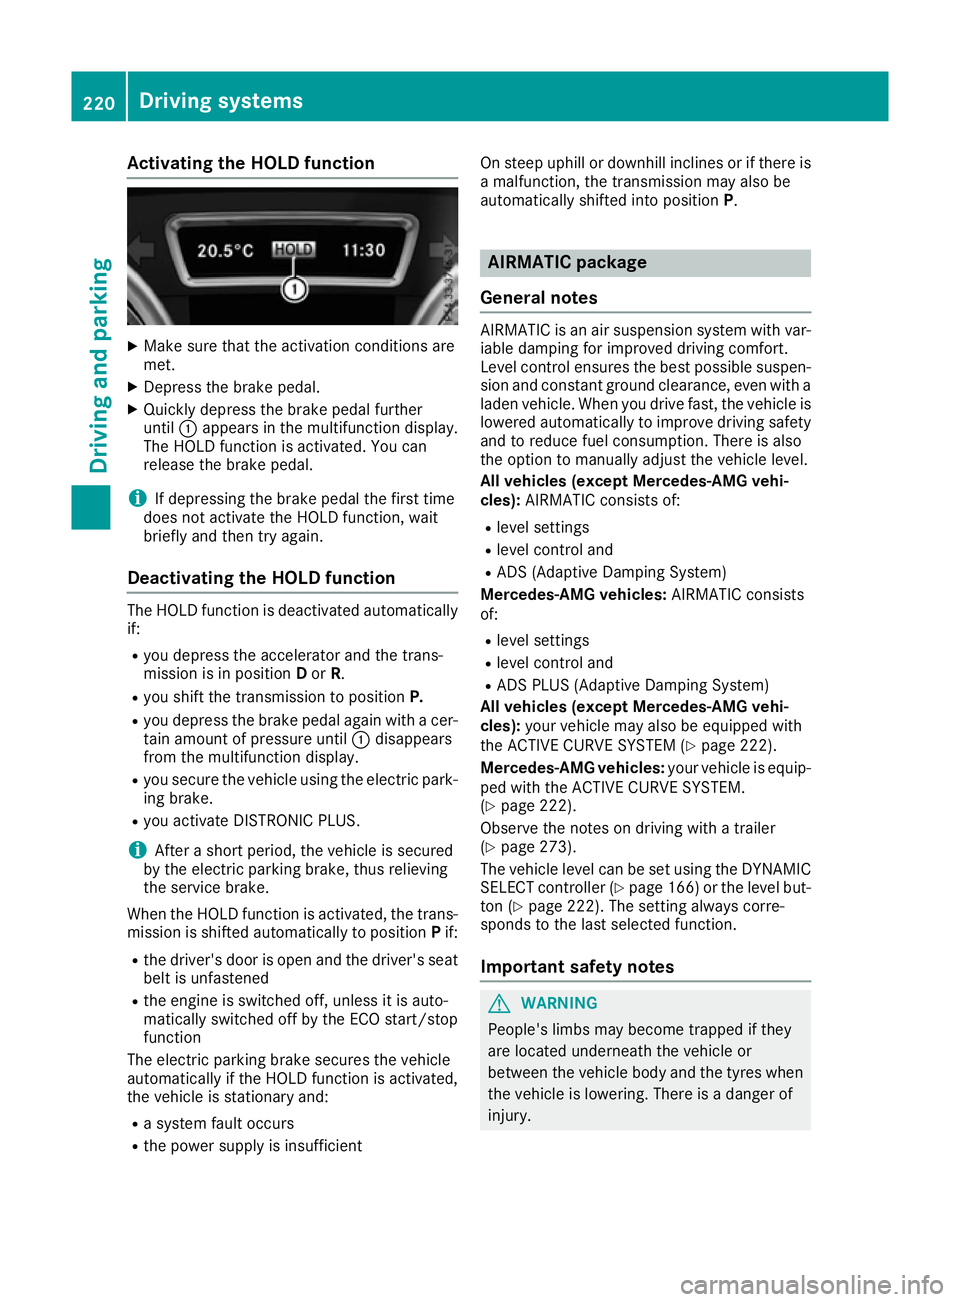
X Quickly depress the brake pedal further
until :appears in the multifunction display.
The HOLD function is activated. You can
release the brake pedal.
i If depressing the brake pedal the first time
does not activate the HOLD function, wait
briefly and then try again.
Deactivating the HOLD function The HOLD function is deactivated automatically
if:
R you depress the accelerator and the trans-
mission is in position Dor R.
R you shift the transmission to position P.
R you depress the brake pedal again with a cer-
tain amount of pressure until :disappears
from the multifunction display.
R you secure the vehicle using the electric park-
ing brake.
R you activate DISTRONIC PLUS.
i After a short period, the vehicle is secured
by the electric parking brake, thus relieving
the service brake.
When the HOLD function is activated, the trans-
mission is shifted automatically to position Pif:
R the driver's door is open and the driver's seat
belt is unfastened
R the engine is switched off, unless it is auto-
matically switched off by the ECO start/stop
function
The electric parking brake secures the vehicle
automatically if the HOLD function is activated,
the vehicle is stationary and:
R a system fault occurs
R the power supply is insufficient On steep uphill or downhill inclines or if there is
a malfunction, the transmission may also be
automatically shifted into position P. AIRMATIC package
General notes AIRMATIC is an air suspension system with var-
iable damping for improved driving comfort.
Level control ensures the best possible suspen- sion and constant ground clearance, even with a laden vehicle. When you drive fast, the vehicle is
lowered automatically to improve driving safety
and to reduce fuel consumption. There is also
the option to manually adjust the vehicle level.
All vehicles (except Mercedes-AMG vehi-
cles): AIRMATIC consists of:
R level settings
R level control and
R ADS (Adaptive Damping System)
Mercedes-AMG vehicles: AIRMATIC consists
of:
R level settings
R level control and
R ADS PLUS (Adaptive Damping System)
All vehicles (except Mercedes-AMG vehi-
cles): your vehicle may also be equipped with
the ACTIVE CURVE SYSTEM (Y page 222).
Mercedes-AMG vehicles: your vehicle is equip-
ped with the ACTIVE CURVE SYSTEM.
(Y page 222).
Observe the notes on driving with a trailer
(Y page 273).
The vehicle level can be set using the DYNAMIC
SELECT controller (Y page 166) or the level but-
ton (Y page 222). The setting always corre-
sponds to the last selected function.
Important safety notes G
WARNING
People's limbs may become trapped if they
are located underneath the vehicle or
between the vehicle body and the tyres when the vehicle is lowering. There is a danger of
injury. 220
Driving systemsDriving and pa
rking
Page 282 of 453
Problems with trailer towing
Problem
Possible causes/consequences and
M
MSolutions The displaced ball cou-
pling does not reach the
securely locked position. R
The indicator lamp in the button flashes.
R The Check trailer hitch lock Check trailer hitch lock message appears in the multi-
function display.
X Initiate a new swivelling procedure.
If the ball coupling does not reach the safely engaged position as a
result:
X Start the engine
or
X Pull and hold the button during the whole swivelling procedure.
If the unlocked ball coupling does not reach the safely engaged posi- tion even after several attempts:
X Make sure that there is sufficient ground clearance before continu-
ing the journey.
X Consult a qualified specialist workshop.
As long as the Check trailer hitch lock
Check trailer hitch lock display message is
shown in the multifunction display, no trailer should be attached. Unlocking using the
button in the tailgate:
The ball coupling does
not swivel, even though:
R
the vehicle is station-
ary
R no trailer cable is con-
nected
R the button was briefly
pulled The on-board voltage is too low.
X Start the engine.
If the ball coupling still does not unlock:
X Consult a qualified specialist workshop. Towing a trailer
279Driving and parking Z
Page 325 of 453
Driving systems
Display messages
Possible causes/consequences and
M
MSolutions À
Attention Assist: Attention Assist:
Take a break! Take a break! Based on certain criteria, ATTENTION ASSIST has detected fatigue or
a lack of concentration on the part of the driver. A warning tone also
sounds.
X If necessary, take a break.
During long journeys, take regular breaks in good time so that you get
enough rest. À
Attention Assist Attention Assist
inoperative inoperative ATTENTION ASSIST is inoperative.
X Consult a qualified specialist workshop. Á
Please reduce speed Please reduce speed You cannot change the vehicle level.
Possible causes:
R You are driving too fast for the selected vehicle level.
R You are driving too fast with a trailer or the trailer-coupling socket is
being used, e.g. for a bicycle rack.
X Drive more slowly and then select the desired vehicle level again:
R Vehicles with the Off-Road Engineering package (Y page 216)
R Vehicles with the AIRMATIC package (Y page 222)
X Observe the notes on towing a trailer (Y page 273).Á
Compressor is cool‐ Compressor is cool‐
ing ing You have selected a higher vehicle level. The compressor first needs
to cool down because of frequent level changes.
X Drive in a manner appropriate for the current vehicle level.
X Make sure that there is sufficient ground clearance.
X Allow the compressor to cool down.
When the compressor has cooled down, the display message dis-
appears. The vehicle then continues rising to the selected level. Á
Malfunction Malfunction AIRMATIC is faulty.
X Drive as appropriate for the current vehicle level, but do not exceed
80 km/h.
X Make sure that there is sufficient ground clearance.
X Consult a qualified specialist workshop. 322
Display
messagesOn-board computer and displays
Page 337 of 453
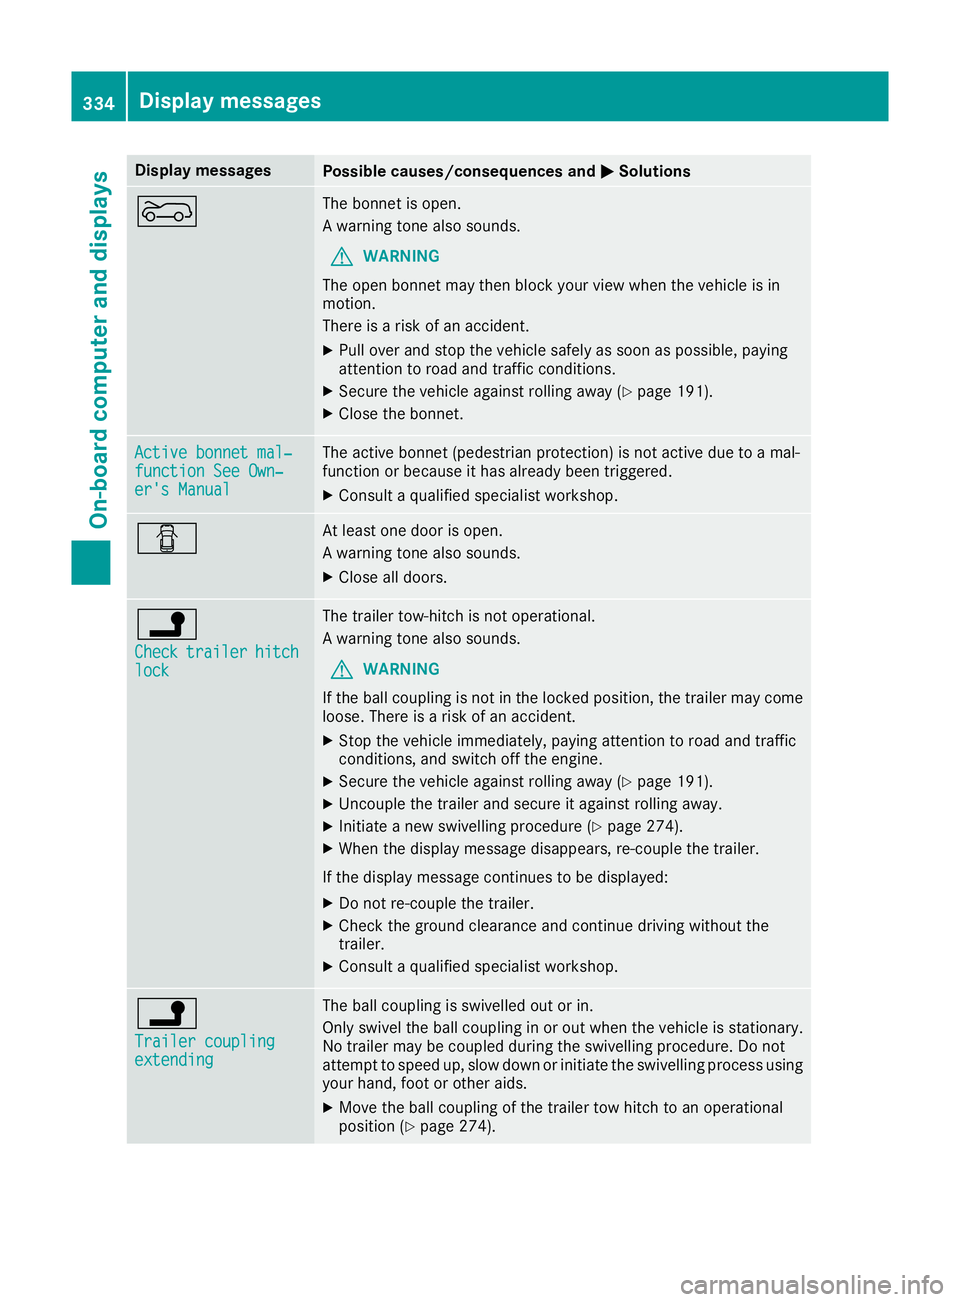
Display messages
Possible causes/consequences and
M
MSolutions ? The bonnet is open.
A warning tone also sounds.
G WARNING
The open bonnet may then block your view when the vehicle is in
motion.
There is a risk of an accident.
X Pull over and stop the vehicle safely as soon as possible, paying
attention to road and traffic conditions.
X Secure the vehicle against rolling away (Y page 191).
X Close the bonnet. Active bonnet mal‐ Active bonnet mal‐
function See Own‐ function See Own‐
er's Manual er's Manual The active bonnet (pedestrian protection) is not active due to a mal-
function or because it has already been triggered.
X Consult a qualified specialist workshop. C At least one door is open.
A warning tone also sounds.
X Close all doors. j
Check Check
trailer
trailer hitch
hitch
lock
lock The trailer tow-hitch is not operational.
A warning tone also sounds.
G WARNING
If the ball coupling is not in the locked position, the trailer may come
loose. There is a risk of an accident.
X Stop the vehicle immediately, paying attention to road and traffic
conditions, and switch off the engine.
X Secure the vehicle against rolling away (Y page 191).
X Uncouple the trailer and secure it against rolling away.
X Initiate a new swivelling procedure (Y page 274).
X When the display message disappears, re-couple the trailer.
If the display message continues to be displayed: X Do not re-couple the trailer.
X Check the ground clearance and continue driving without the
trailer.
X Consult a qualified specialist workshop. j
Trailer coupling Trailer coupling
extending extending The ball coupling is swivelled out or in.
Only swivel the ball coupling in or out when the vehicle is stationary.
No trailer may be coupled during the swivelling procedure. Do not
attempt to speed up, slow down or initiate the swivelling process using your hand, foot or other aids.
X Move the ball coupling of the trailer tow hitch to an operational
position (Y page 274). 334
Display
messagesOn-board computer and displays
Page 382 of 453
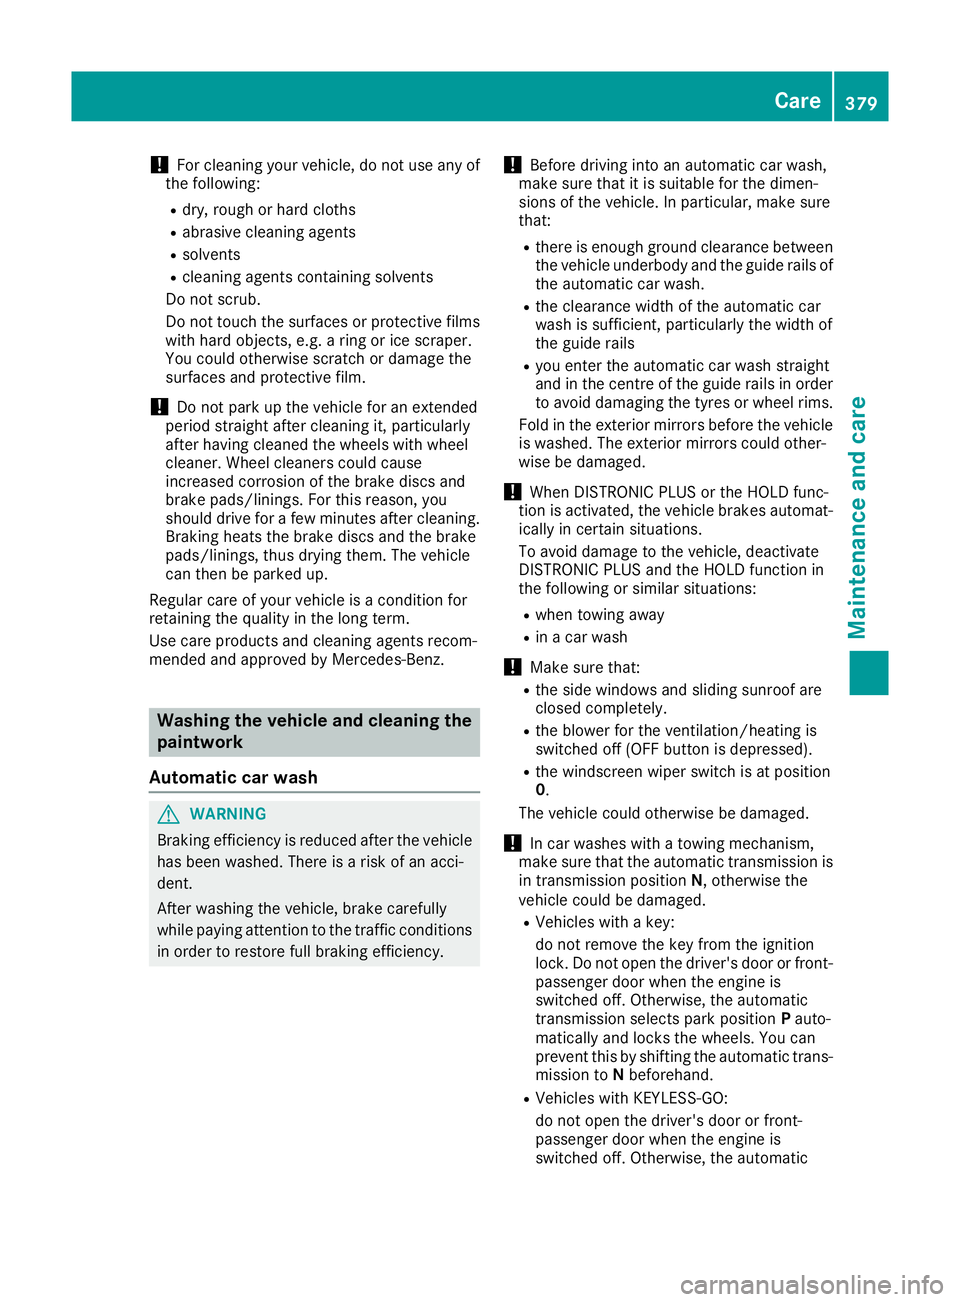
!
For cleaning your vehicle, do not use any of
the following:
R dry, rough or hard cloths
R abrasive cleaning agents
R solvents
R cleaning agents containing solvents
Do not scrub.
Do not touch the surfaces or protective films
with hard objects, e.g. a ring or ice scraper.
You could otherwise scratch or damage the
surfaces and protective film.
! Do not park up the vehicle for an extended
period straight after cleaning it, particularly
after having cleaned the wheels with wheel
cleaner. Wheel cleaners could cause
increased corrosion of the brake discs and
brake pads/linings. For this reason, you
should drive for a few minutes after cleaning. Braking heats the brake discs and the brake
pads/linings, thus drying them. The vehicle
can then be parked up.
Regular care of your vehicle is a condition for
retaining the quality in the long term.
Use care products and cleaning agents recom-
mended and approved by Mercedes-Benz. Washing the vehicle and cleaning the
paintwork
Automatic car wash G
WARNING
Braking efficiency is reduced after the vehicle has been washed. There is a risk of an acci-
dent.
After washing the vehicle, brake carefully
while paying attention to the traffic conditions in order to restore full braking efficiency. !
Before driving into an automatic car wash,
make sure that it is suitable for the dimen-
sions of the vehicle. In particular, make sure
that:
R there is enough ground clearance between
the vehicle underbody and the guide rails of the automatic car wash.
R the clearance width of the automatic car
wash is sufficient, particularly the width of
the guide rails
R you enter the automatic car wash straight
and in the centre of the guide rails in order
to avoid damaging the tyres or wheel rims.
Fold in the exterior mirrors before the vehicle is washed. The exterior mirrors could other-
wise be damaged.
! When DISTRONIC PLUS or the HOLD func-
tion is activated, the vehicle brakes automat- ically in certain situations.
To avoid damage to the vehicle, deactivate
DISTRONIC PLUS and the HOLD function in
the following or similar situations:
R when towing away
R in a car wash
! Make sure that:
R the side windows and sliding sunroof are
closed completely.
R the blower for the ventilation/heating is
switched off (OFF button is depressed).
R the windscreen wiper switch is at position
0.
The vehicle could otherwise be damaged.
! In car washes with a towing mechanism,
make sure that the automatic transmission is in transmission position N, otherwise the
vehicle could be damaged.
R Vehicles with a key:
do not remove the key from the ignition
lock. Do not open the driver's door or front-
passenger door when the engine is
switched off. Otherwise, the automatic
transmission selects park position Pauto-
matically and locks the wheels. You can
prevent this by shifting the automatic trans- mission to Nbeforehand.
R Vehicles with KEYLESS-GO:
do not open the driver's door or front-
passenger door when the engine is
switched off. Otherwise, the automatic Care
379Maintenance and care Z