2015 MERCEDES-BENZ GLE SUV run flat
[x] Cancel search: run flatPage 8 of 453
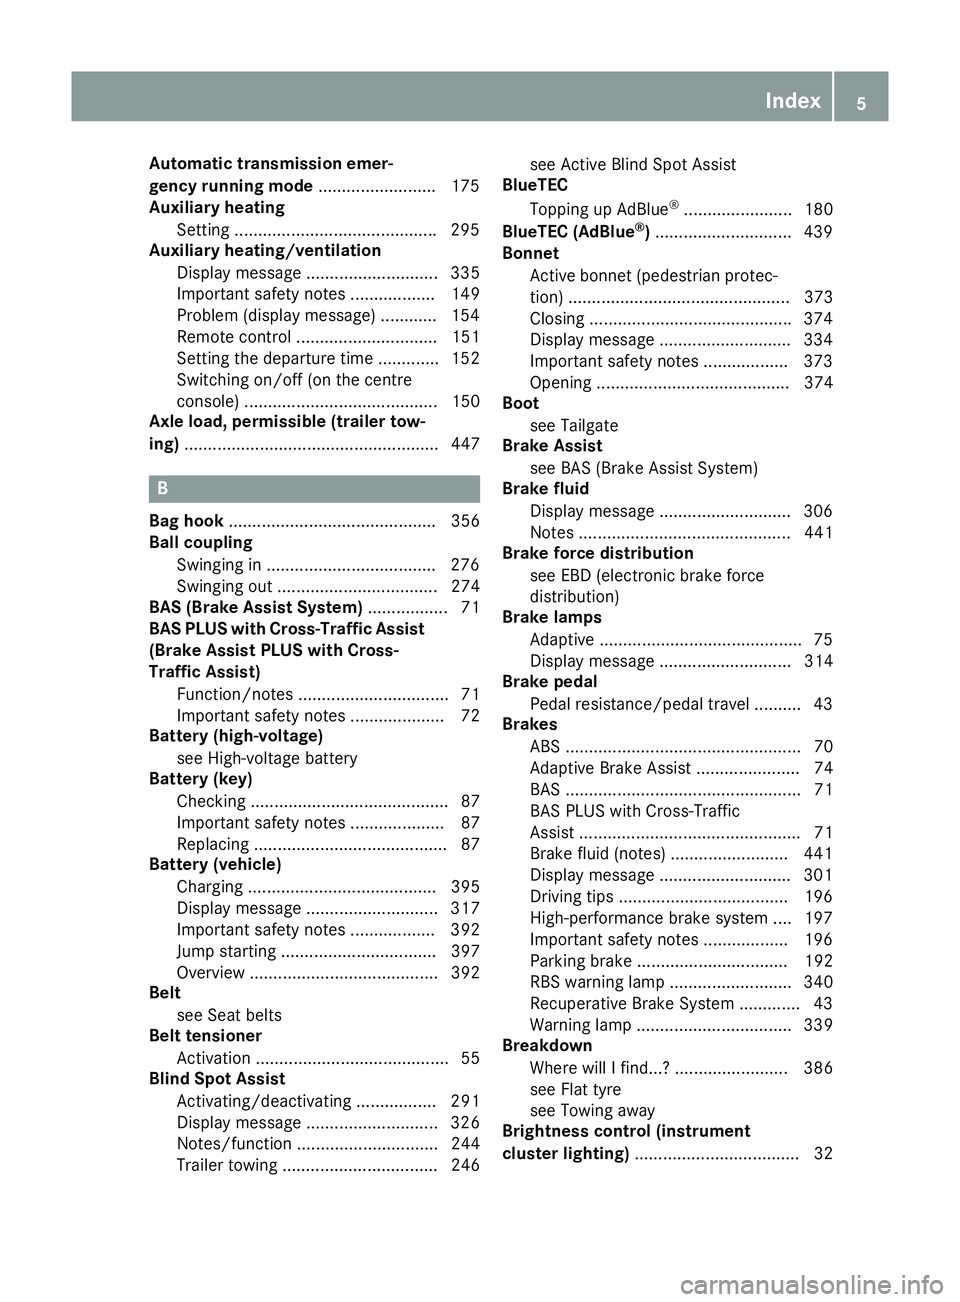
Automatic transmission emer-
gency running mode
.........................175
Auxiliary heating
Setting .......................................... .295
Auxiliary heating/ventilation
Display message ............................ 335
Important safety notes .................. 149
Problem (display message) ............ 154
Remote control .............................. 151
Setting the departure time ............. 152
Switching on/off (on the centre
console) ......................................... 150
Axle load, permissible (trailer tow-
ing) ...................................................... 447 B
Bag hook ............................................ 356
Ball coupling
Swinging in ................................... .276
Swinging out .................................. 274
BAS (Brake Assist System) ................. 71
BAS PLUS with Cross-Traffic Assist (Brake Assist PLUS with Cross-
Traffic Assist)
Function/notes ................................ 71
Important safety notes .................... 72
Battery (high-voltage)
see High-voltage battery
Battery (key)
Checking .......................................... 87
Important safety notes .................... 87
Replacing ......................................... 87
Battery (vehicle)
Charging ........................................ 395
Display message ............................ 317
Important safety notes .................. 392
Jump starting ................................. 397
Overview ........................................ 392
Belt
see Seat belts
Belt tensioner
Activation ......................................... 55
Blind Spot Assist
Activating/deactivating ................. 291
Display message ............................ 326
Notes/function .............................. 244
Trailer towing ................................. 246 see Active Blind Spot Assist
BlueTEC
Topping up AdBlue ®
....................... 180
BlueTEC (AdBlue ®
) ............................ .439
Bonnet
Active bonnet (pedestrian protec-tion) ............................................... 373
Closing .......................................... .374
Display message ............................ 334
Important safety notes .................. 373
Opening ......................................... 374
Boot
see Tailgate
Brake Assist
see BAS (Brake Assist System)
Brake fluid
Display message ............................ 306
Notes ............................................. 441
Brake force distribution
see EBD (electronic brake force
distribution)
Brake lamps
Adaptive .......................................... .75
Display message ............................ 314
Brake pedal
Pedal resistance/pedal travel .......... 43
Brakes
ABS .................................................. 70
Adaptive Brake Assist ...................... 74
BAS .................................................. 71
BAS PLUS with Cross-Traffic
Assist ............................................... 71
Brake fluid (notes) ........................ .441
Display message ............................ 301
Driving tips ................................... .196
High-performance brake system .... 197
Important safety notes .................. 196
Parking brake ................................ 192
RBS warning lamp .......................... 340
Recuperative Brake System ............. 43
Warning lamp ................................. 339
Breakdown
Where will I find...? ........................ 386
see Flat tyre
see Towing away
Brightness control (instrument
cluster lighting) ................................... 32 Index
5
Page 13 of 453
EASY-EXIT feature
Crash-responsive .......................... .117
Function/notes ............................ .116
Switching on/off ........................... 296
EASY-PACK luggage compartment
management system ........................ 358
EBD (electronic brake force distri-
bution)
Display message ............................ 303
Function/notes ................................ 78
ECO display
Function/notes ............................ .194
On-board computer ....................... 285
ECO start/stop function
Automatic engine start .................. 162
Automatic engine switch-off .......... 162
Deactivating/activating ................. 163
General information ....................... 162
Important safety notes .................. 162
Introduction ................................... 161
PLUG-IN HYBRID operation ............ 269
Electromagnetic compatibility
Declaration of conformity ................ 27
Electronic Stability Program
see ESP ®
(Electronic Stability Program)
Emergency
Automatic measures after an acci-
dent ................................................. 58
Emergency key
Unlocking the driver's door .............. 92
Emergency key element
Function/notes ................................ 86
General notes .................................. 86
Inserting .......................................... 87
Locking vehicle ................................ 93
Removing ......................................... 87
Emergency release
Driver's door ................................... .92
Emergency spare wheel
General notes ................................ 428
Important safety notes .................. 428
Inflating the collapsible spare
wheel ............................................ .431
Removing ....................................... 429
Storage location ............................ 429
Stowing .......................................... 429
Technical data ............................... 432 Emergency unlocking
Tailgate ............................................ 97
Vehicle ............................................. 92
Engine
Display message ............................ 316
ECO start/stop function ................ 161
Engine numbe r............................... 435
Jump-starting ................................. 397
Running irregularly ......................... 165
Starting (important safety notes )... 160
Starting problems .......................... 165
Starting the engine with the key .... 160
Starting with KEYLESS GO ............. 160
Stopping ........................................ 191
Tow-starting (vehicle) ..................... 402
Warning lamp (engine diagnos-
tics) ............................................... 347
Engine electronics
Notes ............................................. 433
Problem (fault) ............................... 165
Engine jump starting
see Jump starting (engine)
Engine oil
Additives ........................................ 440
Checking the oil level ..................... 375
Checking the oil level using the
dipstick .......................................... 375
Display message ............................ 317
Filling capacity ............................... 440
Notes about oil grade s................... 439
Notes on oil level/consumption .... 375
Temperature (on-board computer, Mercedes-AMG vehicles) ............... 297
Topping up ..................................... 375
Viscosity ........................................ 440
Environmental protection
Returning an end-of-life vehicle ....... 25
ESP ®
(Electronic Stability Pro-
gram)
AMG menu (on-board computer) ... 298
Characteristics ................................. 76
Deactivating/activating ................... 77
Display message ............................ 301
Function/note s................................ 75
General notes .................................. 75
Important safety guidelines ............. 76
Trailer stabilisation .......................... 77
Warning lamp ................................. 343 10
Index
Page 201 of 453
Off-road fording
!
Under no circumstances should you accel-
erate before entering the water. The bow
wave could cause water to enter and damage
the engine and neighbouring assemblies.
! Do not open any of the vehicle's doors while
fording. Otherwise, water could get into the
vehicle interior and damage the vehicle's
electronics and interior equipment.
R Establish how deep the water is and the char-
acteristics of the body of water before ford-
ing.
R Select the highest possible vehicle level.
R Shift to a lower gear using the left-hand steer-
ing wheel gearshift paddle.
R Avoid high engine speeds.
R Enter and exit the water at a flat place and at
a steady walking pace.
R Drive slowly and at a constant speed through
the water.
R Ensure that a bow wave does not form as you
drive.
R Do not stop and do not switch off the engine.
Water offers a high degree of resistance, the
ground is slippery and, in some cases, unsta- ble. Therefore, it is difficult and dangerous to
pull away in the water.
R Clean any mud from the tyre tread after ford-
ing.
R Apply the brakes to dry them after fording.
Always observe the fording depth values
(Y page 444). Winter driving
G
WARNING
If you shift down on a slippery road surface in an attempt to increase the engine's braking
effect, the drive wheels could lose their grip.
This increases the risk of skidding and having
an accident.
Do not shift down for additional engine brak-
ing on a slippery road surface. G
DANGER
If the exhaust pipe is blocked or adequate
ventilation is not possible, poisonous gases such as carbon monoxide (CO) may enter the
vehicle. This is the case, e.g. if the vehicle
becomes trapped in snow. There is a risk of
fatal injury.
If you leave the engine or the auxiliary heating
running, make sure the exhaust pipe and area
around the vehicle are clear of snow. To
ensure an adequate supply of fresh air, open a window on the side of the vehicle that is not
facing into the wind.
! Take care not to damage the sealing strip
and the moulding on the side of the rear win- dow when scraping ice off the rear window.
Have your vehicle winterproofed at a qualified
specialist workshop at the onset of winter.
You should drive particularly carefully on slip-
pery road surfaces. Avoid sudden acceleration,
steering and braking manoeuvres. Do not use
cruise control or DISTRONIC PLUS.
If the vehicle threatens to skid or cannot be
stopped when moving at low speed:
X Shift the transmission to position N.
X Try to bring the vehicle under control by using
corrective steering.
When driving in snow with or without snow
chains, select driving program Slippery
(Y page 166).
The outside temperature indicator is not
designed to serve as an ice-warning device and
is therefore unsuitable for that purpose.
Changes in the outside temperature are dis-
played after a short delay.
Indicated temperatures just above the freezing
point do not guarantee that the road surface is
free of ice. The road may still be icy, especially in wooded areas or on bridges. You should pay
special attention to road conditions when tem-
peratures are around freezing point.
Further information on driving with snow chains
(Y page 408).
Further information on driving with summer
tyres (Y page 407).
Observe the notes in the "Winter operation" sec-
tion (Y page 407). 198
Driving tipsDriving and parking
Page 333 of 453
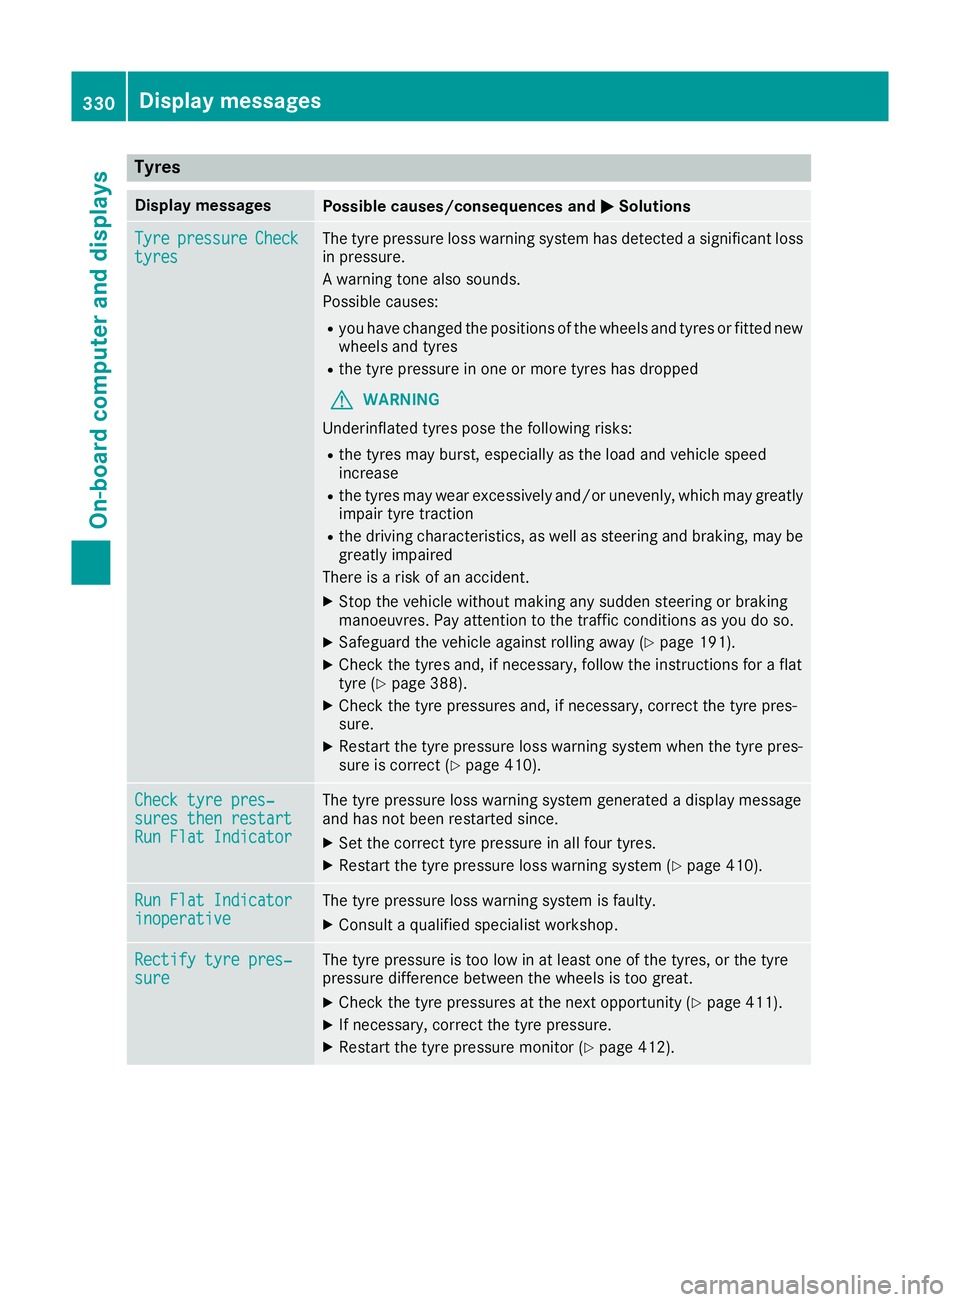
Tyres
Display messages
Possible causes/consequences and
M
MSolutions Tyre
Tyre
pressure
pressure Check
Check
tyres
tyres The tyre pressure loss warning system has detected a significant loss
in pressure.
A warning tone also sounds.
Possible causes:
R you have changed the positions of the wheels and tyres or fitted new
wheels and tyres
R the tyre pressure in one or more tyres has dropped
G WARNING
Underinflated tyres pose the following risks:
R the tyres may burst, especially as the load and vehicle speed
increase
R the tyres may wear excessively and/or unevenly, which may greatly
impair tyre traction
R the driving characteristics, as well as steering and braking, may be
greatly impaired
There is a risk of an accident.
X Stop the vehicle without making any sudden steering or braking
manoeuvres. Pay attention to the traffic conditions as you do so.
X Safeguard the vehicle against rolling away (Y page 191).
X Check the tyres and, if necessary, follow the instructions for a flat
tyre (Y page 388).
X Check the tyre pressures and, if necessary, correct the tyre pres-
sure.
X Restart the tyre pressure loss warning system when the tyre pres-
sure is correct (Y page 410). Check tyre pres‐ Check tyre pres‐
sures then restart sures then restart
Run Flat Indicator Run Flat Indicator The tyre pressure loss warning system generated a display message
and has not been restarted since.
X Set the correct tyre pressure in all four tyres.
X Restart the tyre pressure loss warning system (Y page 410).Run Flat Indicator Run Flat Indicator
inoperative inoperative The tyre pressure loss warning system is faulty.
X Consult a qualified specialist workshop. Rectify tyre pres‐
Rectify tyre pres‐
sure sure The tyre pressure is too low in at least one of the tyres, or the tyre
pressure difference between the wheels is too great.
X Check the tyre pressures at the next opportunity (Y page 411).
X If necessary, correct the tyre pressure.
X Restart the tyre pressure monitor (Y page 412).330
Display
messagesOn-board computer and displays
Page 391 of 453
?
Towing eye
A Jack
B Ratchet ring spanner
X Open the tailgate.
X Lift the luggage compartment floor upwards
(Y page 359).
X Remove the "Minispare" emergency spare
wheel (Y page 429). Flat tyre
Preparing the vehicle
Your vehicle may be equipped with: R MOExtended tyres (tyres with run-flat char-
acteristics)
Vehicle preparation is not necessary on vehi-
cles with MOExtended tyres.
R a TIREFIT kit (Y page 387)
R an emergency spare wheel (certain countries
only)
Information on changing and fitting a wheel
(Y page 413).
X Stop the vehicle as far away as possible from
traffic on solid, non-slippery and level ground.
X Switch on the hazard warning lamps.
X Safeguard the vehicle against rolling away
(Y page 191).
X If possible, bring the front wheels into the
straight-ahead position.
X Vehicles with the AIRMATIC package:
make sure that the normal vehicle level is
selected (Y page 222).
X Vehicles with the Off-Road Engineering
package:
make sure that the normal vehicle
level is selected (Y page 216).
X Switch off the engine.
X Vehicles without KEYLESS-GO: remove the
key from the ignition lock.
X Vehicles with KEYLESS-GO: open the driv-
er's door.
The on-board electronics now have status 0.
This is the same as the key having been
removed.
X Vehicles with KEYLESS-GO: remove the
Start/Stop button from the ignition lock
(Y page 158).
X Make sure that the passengers are not endan-
gered as they do so. Make sure that no one is near the danger area while a wheel is being
changed. Anyone who is not directly assisting
in the wheel change should, for example,
stand behind the barrier.
X Get out of the vehicle. Pay attention to traffic
conditions when doing so.
X Close the driver's door.
X Place the warning triangle at a suitable dis-
tance (Y page 386). Observe legal require-
ments.
X Unload heavy luggage.
i Only operate the tyre inflation compressor
using a 12 V socket, even if the ignition is
turned off (Y page 364).
An emergency cut-off ensures that the on-
board voltage does not drop too low. If the on-
board voltage is too low, the power to the
sockets is automatically cut. This ensures
that there is sufficient power to start the
engine. MOExtended tyres (tyres with run-flat
characteristics)
General notes With MOExtended tyres (tyres with run-flat char-
acteristics), you can continue to drive your vehi-
cle even if there is a total loss of pressure in one or more tyres. The affected tyre must not show
any clearly visible damage.
You can recognise MOExtended tyres by the
MOExtended marking which appears on the tyre
wall. You will find this marking next to the tyre
size designation, the load-bearing capacity and
the speed index.
MOExtended tyres may only be used in conjunc- tion with an activated tyre pressure loss warning
system or tyre pressure monitor.
If a pressure loss warning message appears in the multifunction display:
R observe the instructions in the display mes-
sages (Y page 330)
R check the tyre for damage
R if driving on, observe the following notes
The driving distance possible in run-flat mode is approximately 80 km when the vehicle is parti-
ally laden and approximately 30 km when the
vehicle is fully laden. 388
Flat tyreBreakdown assistance
Page 392 of 453
In addition to the vehicle load, the driving dis-
tance possible depends upon:
R vehicle speed
R road condition
R outside temperature
The driving distance possible in run-flat mode
may be reduced by extreme driving conditions/
manoeuvres, or it can be increased through a
moderate style of driving.
The driving distance possible in run-flat mode is counted from the moment the tyre pressure loss
warning appears in the multifunction display.
You must not exceed a maximum speed of
80 km/h.
i When replacing one or all tyres, observe the
following specifications for your vehicle's
tyres:
R size
R type and
R the "MOExtended" mark
If a tyre has gone flat and cannot be replaced
with an MOExtended tyre, a standard tyre
may be used as a temporary measure. Make
sure that you use the proper size and type
(summer or winter tyres).
i Vehicles with MOExtended tyres are not
equipped with a TIREFIT kit at the factory. It is therefore recommended that you additionally
equip your vehicle with a TIREFIT kit if you fit
tyres that do not feature run-flat characteris-
tics, e.g. winter tyres. A TIREFIT kit can be
obtained from a qualified specialist work-
shop.
Important safety notes G
WARNING
When driving in emergency mode, the driving characteristics deteriorate, e.g. when corner-
ing, accelerating quickly and when braking.
There is a risk of accident.
Do not exceed the stated maximum speed.
Avoid abrupt steering and driving manoeu-
vres, and driving over obstacles (kerbs, pot-
holes, off-road). This applies in particular to a laden vehicle. Stop driving in emergency mode if:
R you hear banging noises.
R the vehicle starts to shake.
R you see smoke and smell rubber.
R ESP ®
is intervening constantly.
R there are tears in the sidewalls of the tyre.
After driving in emergency mode, have the
wheel rims checked at a qualified specialist
workshop with regard to their further use. The faulty tyre must be replaced. TIREFIT kit
Important safety notes TIREFIT is a tyre sealant.
You can use TIREFIT to seal punctures of up to
4 mm, particularly those in the tyre tread. You
can use TIREFIT at outside temperatures down
to Ò20 †. G
WARNING
In the following situations, the tyre sealant is
unable to provide sufficient breakdown assis- tance, as it is unable to seal the tyre properly:
R there are cuts or punctures in the tyre
larger than those mentioned above.
R the wheel rim is damaged.
R you have driven at very low tyre pressures
or on a flat tyre.
There is a risk of an accident.
Do not drive any further. Contact a qualified
specialist workshop. G
WARNING
The tyre sealant is harmful and causes irrita-
tion. It must not come into contact with your
skin, eyes or clothing or be swallowed. Do not inhale TIREFIT fumes. Keep tyre sealant away
from children. There is a risk of injury. Flat tyre
389Breakdown assistance
Z
Page 394 of 453
X
Press on and off switch =on the tyre inflation
compressor to I.
The tyre inflation compressor is switched on.
The tyre is inflated.
First, tyre sealant is pumped into the tyre. The pressure may briefly rise to approximately
500 kPa (5 bar/73 psi).
Do not switch off the tyre inflation com-
pressor during this phase.
X Let the tyre inflation compressor run for a
maximum of five minutes. The tyre should
then have attained a pressure of at least
180 kPa (1.8 bar/26 psi).
If a pressure of 180 kPa (1.8 bar/26 psi) has
been attained after five minutes, see "Tyre pres-
sure reached" (Y page 391).
If a tyre pressure of 180 kPa (1.8 bar/26 psi) has not been attained after five minutes, see "Tyre
pressure not reached" (Y page 391).
If tyre sealant leaks out, make sure you clean the
affected area as quickly as possible. It is pref-
erable to use clear water.
If you get tyre sealant on your clothing, have it
cleaned as soon as possible with perchloroethy- lene.
Tyre pressure not reached If a pressure of 180 kPa (1.8 bar/26 psi) has not
been attained after five minutes:
X Switch off the tyre inflation compressor.
X Unscrew the filler hose from the valve of the
faulty tyre.
Please note that tyre sealant may leak out
when unscrewing the filler hose.
X Very slowly drive forwards or reverse approx-
imately 10 m.
X Pump up the tyre again.
After a maximum of five minutes the tyre
pressure must be at least 180 kPa (1.8 bar/
26 psi). G
WARNING
If the required tyre pressure is not reached
after the specified time, the tyre is too badly
damaged. The tyre sealant cannot repair the
tyre in this instance. Damaged tyres and a tyre pressure that is too low can significantly
impair the vehicle's braking and driving char-
acteristics. There is a risk of accident. Do not continue driving. Contact a qualified
specialist workshop.
Tyre pressure reached G
WARNING
A tyre temporarily sealed with tyre sealant
impairs the driving characteristics and is not
suitable for higher speeds. There is a risk of
accident.
You should therefore adapt your driving style
accordingly and drive carefully. Do not exceed the specified maximum speed with a tyre that
has been repaired using tyre sealant.
The maximum permissible speed for a tyre
sealed with tyre sealant is 80 km/h. The upper
part of the TIREFIT sticker must be affixed to the
instrument cluster where it will be easily seen by
the driver.
! After use, excess tyre sealant may run out of
the filler hose. This could cause stains.
Therefore, place the filler hose in the plastic
bag which contained the TIREFIT kit. H
Environmental note
Have the used tyre sealant bottle disposed of
professionally, e.g. at a qualified specialist
workshop.
If a tyre pressure of 180 kPa (1.8 bar/26 psi) has
been attained after five minutes:
X Switch off the tyre inflation compressor.
X Unscrew the filler hose from the valve of the
faulty tyre.
X Stow the tyre sealant bottle, the tyre inflation
compressor and the warning triangle.
X Pull away immediately.
X Stop after driving for approximately ten
minutes and check the tyre pressure with the
tyre inflation compressor.
The tyre pressure must now be at least
130 kPa (1.3 bar/19 psi). G
WARNING
If the required tyre pressure is not reached
after driving for a short period, the tyre is too badly damaged. The tyre sealant cannot
repair the tyre in this instance. Damaged tyres Flat tyre
391Breakdown assistance
Z
Page 408 of 453
Useful information
i This Owner's Manual describes all models,
series and optional equipment for your vehi-
cle that were available at the time of going to
press. National variations are possible. Note
that your vehicle may not be equipped with all
of the functions described. This is also the
case for systems and functions relevant to
safety.
i Read the information on qualified specialist
workshops: (Y page 28). Important safety notes
G
WARNING
If wheels and tyres of the wrong size are used, the wheel brakes or suspension components
may be damaged. There is a risk of an acci-
dent.
Always replace wheels and tyres with those
that fulfil the specifications of the original
part.
When replacing wheels, make sure to fit the
correct:
R designation
R type
When replacing tyres, make sure to fit the
correct:
R designation
R manufacturer
R type G
WARNING
A flat tyre severely impairs the driving, steer-
ing and braking characteristics of the vehicle.
There is a risk of accident.
Tyres without run-flat characteristics:
R do not drive with a flat tyre.
R immediately replace the flat tyre with your
emergency spare wheel or spare wheel, or
consult a qualified specialist workshop. Tyres with run-flat characteristics:
R pay attention to the information and warn-
ing notices on MOExtended tyres (tyres
with run-flat characteristics).
Accessories that are not approved for your vehi-
cle by Mercedes-Benz or are not being used cor- rectly can impair the operating safety.
Before purchasing and using non-approved
accessories, visit a qualified specialist work-
shop and enquire about:
R suitability
R legal stipulations
R factory recommendations
Information on the sizes and types of wheels and
tyres for your vehicle can be found under
"Wheel/tyre combinations" (Y page 418).
Information on tyre pressure can be found:
R in the tyre pressure table in the fuel filler flap
R in the "Tyre pressure" section
Modification work on the brake system and
wheels is not permitted. The use of spacers or
brake dust shields is not permitted. This inva-
lidates the general operating permit for the vehi- cle.
i Further information on wheels and tyres can
be obtained at any qualified specialist work-
shop. Operation
Information on driving
Check the tyre pressures when the vehicle is
heavily laden and adjust prior to a trip.
While driving, pay attention to vibrations, noises
and unusual handling characteristics, e.g. pull-
ing to one side. This may indicate that the
wheels or tyres are damaged. If you suspect that a tyre is defective, reduce your speed immedi-
ately. Stop the vehicle as soon as possible to
check the wheels and tyres for damage. Hidden tyre damage could also be causing the unusual
handling characteristics. If you find no signs of
damage, have the tyres and wheels checked at a
qualified specialist workshop.
When parking your vehicle, make sure not to
squash the tyre sidewalls. If it is necessary to
drive over kerbs, speed humps or similar eleva- tions, try to do so slowly and at an obtuse angle. Operation
405Wheels and tyres Z