2015 MERCEDES-BENZ G-CLASS SUV battery
[x] Cancel search: batteryPage 106 of 274
XRemove the SmartKey when the engine is
switched off.
The starter battery could otherwise be dis-
charged.
If you cannot turn the SmartKey in the ignition
lock, the starter battery may not be charged
sufficiently. X Check the starter battery and charge it if
necessary ( Ypage 219).
or
X Jump-start the vehicle ( Ypage 220).
iYou can only remove the SmartKey if:
R the SmartKey is in position 0in the igni-
tion lock.
R the automatic transmission selector
lever is in P.
Starting the engine
Important safety notes
GWARNING
Combustion engines emit poisonous exhaust
gases such as carbon monoxide. Inhaling
these exhaust gases leads to poisoning. There is a risk of fatal injury. Therefore never leave
the engine running in enclosed spaces with-
out sufficient ventilation.
GWARNING
Flammable materials introduced through
environmental influence or by animals can
ignite if in contact with the exhaust system orparts of the engine that heat up. There is a risk
of fire.
Carry out regular checks to make sure that
there are no flammable foreign materials in
the engine compartment or in the exhaust
system.
!Do not depress the accelerator when
starting the engine.
Starting procedure
X Shift the automatic transmission to posi-
tion P.
The transmission position display in the
multifunction display shows P.
iFor further information about the auto-
matic transmission, see ( Ypage 105).
iIf you depress the brake when starting the
engine, pedal travel is unusually long and
there is less pedal resistance.
X Make sure that the parking brake is
applied.
X Turn the SmartKey to position 3
( Y page 103) in the ignition lock and release
it as soon as the engine is running.
iYou can also use the touch-start function.
To do this, turn the SmartKey to position 3
( Y page 103) and release it immediately.
The engine then starts automatically.
Pulling away
Automatic transmission
GWARNING
If the engine speed is above the idling speed
and you engage transmission position Dor R,
the vehicle could pull away suddenly. There is a risk of an accident.
When engaging transmission position Dor R,
always firmly depress the brake pedal and do not simultaneously accelerate.
!Only shift the automatic transmission to
reverse gear Ror park position Pwhen the
vehicle is stationary. Otherwise, the auto-
matic transmission could be damaged.
!Do not depress the accelerator pedal
while depressing the brake pedal. This
impairs engine performance and results in
premature wear on the brake system and
drivetrain.
104Driving
Driving and pa rking
Page 114 of 274
XTo release: depress the brake pedal and
keep it depressed.
The selector lever lock is released.
X Pull parking brake ;up firmly.
X Press release button :on parking
brake ;and move parking brake ;down
to the stop.
When the ignition is switched on or the
engine is running, the F(USA only)
or ! (Canada only) indicator lamp goes
out in the instrument cluster.
iIf you pull away with parking brake ;
applied, a warning tone sounds.
Parking the vehicle for a long period
If you leave the vehicle parked for longer than
four weeks, the battery may be damaged by
exhaustive discharge.
X Connect a trickle charger.
iYou can obtain information about trickle
chargers from a qualified specialist work-
shop.
If you leave the vehicle parked for longer than
six weeks, the vehicle may suffer damage as a result of lack of use.
X Visit a qualified specialist workshop and
seek advice.
Driving tips
Information in the Digital Operator's
Manual
In the Digital Operator's Manual you will find
information on the following topics: R
General driving tips
R Engine oil R
Braking
- Important safety notes
- Downhill gradients
- Heavy and light loads
- Wet roads
- Limited braking performance on salt-
treated roads
- New brake pads/linings
- Servicing the brakes
- AMG high-performance and ceramic
brakes
R Driving on wet roads
R Winter driving
- General notes
- Driving with summer tires
- Slippery road surfaces
R Off-road driving
- General notes
- Driving on sand
- Tire ruts and gravel roads
- Driving over obstacles
R Traveling uphill
- Approach/departure angle
- Maximum gradient-climbing capability
- Hilltops
- Driving downhill
Driving systems
Cruise control
Important safety notes
GWARNING
The brake pedal moves when cruise control
brakes the vehicle. A foot in the area under
the brake pedal could become trapped. The
movement of the pedal, and therefore the
vehicle's ability to brake, may be restricted by objects in the area under the brake. There is a
risk of an accident and injury.
112Driving systems
Driving an d parking
Page 123 of 274

stored. Otherwise, it sets the vehicle cruisespeed to the previously stored value.
Driving with DISTRONIC PLUS
Pulling away and driving
X If the vehicle in front pulls away: remove
your foot from the brake pedal.
X Briefly pull the cruise control lever towards
you ?, or press it up :or down A.
or
X Accelerate briefly.
Your vehicle pulls away and adapts its
speed to that of the vehicle in front.
If there is no vehicle in front, DISTRONIC
PLUS operates in the same way as cruise
control.
If DISTRONIC PLUS detects that the vehicle in front has slowed down, it brakes your vehicle.
In this way, the distance you have selected is maintained.
If DISTRONIC PLUS detects that the vehicle infront is driving faster, it accelerates your vehi-
cle, but only up to the speed you have stored.
If you depress the brake, DISTRONIC PLUS is
deactivated unless your vehicle is stationary.
Changing lanes
If you change to the passing lane, DISTRONIC
PLUS supports you when:
R you are driving faster than 40 mph
(60 km/h)
R DISTRONIC PLUS is maintaining the dis-
tance to a vehicle in front R
you switch on the appropriate turn signal
R DISTRONIC PLUS does not detect a danger
of collision
If these conditions are fulfilled, your vehicle is
accelerated. Acceleration will be interrupted
if changing lanes takes too long or if the dis-
tance between your vehicle and the vehicle in front becomes too small.
iWhen changing lanes, DISTRONIC PLUS
monitors the left lane on left-hand drive
vehicles and the right lane on right-hand
drive vehicles.
Stopping
GWARNING
When leaving the vehicle, even if it is braked
only by DISTRONIC PLUS, it could roll away if: R there is a malfunction in the system or in
the voltage supply.
R DISTRONIC PLUS has been deactivated
with the cruise control lever, e.g. by a vehi-
cle occupant or from outside the vehicle.
R the electrical system in the engine com-
partment, the battery or the fuses have
been tampered with.
R the battery is disconnected.
R the accelerator pedal has been depressed,
e.g. by a vehicle occupant.
There is a risk of an accident.
If you wish to exit the vehicle, always turn off
DISTRONIC PLUS and secure the vehicle
against rolling away.
If DISTRONIC PLUS detects that the vehicle in front is stopping, it brakes your vehicle until it
is stationary.
Once your vehicle is stationary, it remains
stationary and you do not need to depress thebrake.
iDepending on the specified minimum dis-
tance, your vehicle will come to a standstill
at a sufficient distance behind the vehicle in front. The specified minimum distance is
set using the control on the cruise controllever.
Driving systems121
Driving and parking
Z
Page 129 of 274
Deactivating the HOLD function
GWARNING
When leaving the vehicle, it can still roll awaydespite being braked by the HOLD function if:
R there is a malfunction in the system or in
the voltage supply.
R the HOLD function has been deactivated by
pressing the accelerator pedal or the brake
pedal, e.g. by a vehicle occupant.
R the electrical system in the engine com-
partment, the battery or the fuses have
been tampered with.
R the battery is disconnected
There is a risk of an accident.
If you wish to exit the vehicle, always turn off the HOLD function and secure the vehicle
against rolling away.
The HOLD function is deactivated automati-
cally if: R you accelerate and the transmission is in
position Dor R.
R you shift the transmission to position P.
R you depress the brake pedal again with a
certain amount of pressure until ëdis-
appears from the multifunction display.
R you activate DISTRONIC PLUS.
On steep uphill or downhill gradients or if
there is a malfunction, the transmission may
also be automatically shifted into position P.
Permanent all-wheel drive
!
Never tow the vehicle with one axle
raised. This may damage the transfer case. Damage of this sort is not covered by the
Mercedes-Benz Limited Warranty. All
wheels must remain either on the ground or
be fully raised. Observe the instructions for
towing the vehicle with all wheels in full
contact with the ground.
!When testing the parking brake, operate
the vehicle only briefly (for a maximum of ten seconds) on a brake test dynamometer.
When doing this, turn the SmartKey to posi-
tion 0or 1in the ignition. Failure to do this
can cause damage to the drive train or the brake system.
!A function or performance test should
only be carried out on a two-axle dyna-
mometer. Before you operate the vehicle
on such a dynamometer, please consult a
qualified workshop. You could otherwise
damage the drive train or the brake system.
The all-wheel drive system ensures that all
four wheels are permanently driven. The all-
wheel drive system improves vehicle traction together with ESP ®
and 4ETS if a drive wheel
spins due to insufficient grip.
If a drive wheel spins due to insufficient grip: R Only depress the accelerator pedal as far as
necessary when pulling away.
R Take your foot off the accelerator, slowly,
while the vehicle is in motion.
The permanent all-wheel drive system can
neither reduce the risk of accident nor over-
ride the laws of physics if you fail to adapt
your driving style or if you are inattentive. The
all-wheel drive system cannot take into
account road, weather or traffic conditions.
The all-wheel drive system is only an aid. You
are responsible for maintaining a safe dis-
tance to the vehicle in front, for vehicle speed, for braking in good time and for staying in
lane.
In wintry driving conditions, always use winter
tires (M+S tires) and if necessary, snow
chains ( Ypage 232). Only in this way can the
maximum effect of all-wheel drive be ach-
ieved.
For information on driving off-road, see the
Digital Operator's Manual.
Driving syste ms127
Driving and parking
Z
Page 200 of 274
phone network, a valid SIM card and a sub-scription to a security service.
R the battery is sufficiently charged.
R the corresponding mobile phone network is
available for transmitting data to the Cus-
tomer Center.
iDetermining the location of the vehicle on
a map is only possible if there is sufficient
GPS reception and the vehicle position can
be forwarded to the Customer Center.
The mbrace system
To adjust the volume during an mbrace call,
proceed as follows:
X Press the WorX button on the mul-
tifunction steering wheel.
or
X Use the COMAND volume control.
The mbrace system provides three different
services:
R Automatic and manual emergency call
R Roadside Assistance call
R MB Info call
USA only: you can find more information and
a description of all available features under
"Owners Online" at http://
www.mbusa.com .
System self-test
GWARNING
A malfunction in the system has been detec-
ted if one of the following conditions occurs:
R the indicator lamp in the SOS button does
not light up during the system self-diagno-sis.
R the indicator lamp in the ºRoadside
Assistance button does not light up during
the system self-diagnosis.
R the indicator lamp in the Einformation
button does not light up during the system
self-diagnosis.
R the indicator lamp in the SOS button, º
Roadside Assistance button or Einfor-
mation button continues to be lit red after
the system self-diagnosis.
R the
TeleAidinoperativeorTeleAid
not activatedmessage appears on the
multifunction display after the system self-
diagnosis.
If a malfunction is indicated as outlined above,
the system may not operate as expected. In
the event of an emergency, assistance must
be summoned by other means.
Have the system checked at the nearest
authorized Mercedes-Benz Center or contact
the following service hotlines:
R USA: Response Center at
1-888-990-9007
R Canada: Customer Service at
1-888-923-8367
After you have switched on the ignition, the
system carries out a self-diagnosis.
Emergency call
Important safety notes
GWARNING
If the indicator lamp in the SOS button is
flashing continuously and there was no voice
connection to the Response Center estab-
lished, then the mbrace system could not ini- tiate an emergency call (e.g. the relevant cel-
lular phone network is not available).
The message
Call Failedappears in the
multifunction display for approximately
10 seconds.
Should this occur, assistance must be sum-
moned by other means.
!You must have a license agreement to
activate the mbrace service. Ensure that
your system is activated and ready for use, and press the EMB Info call button to
register. If one of these steps is not carried
out, it may not be possible to activate thesystem.
198Features
Stowage and features
Page 212 of 274

Maintaining the time-dependent service schedule:X Before disconnecting the battery, note
down the service due date displayed.
or X After reconnecting the battery, subtract
the battery disconnection periods from the
service date shown on the display.
iThe service interval display should not be
confused with the 4engine oil level dis-
play.
The symbol and the letter indicate which type
of service is due: ¯ Minor service
A
±Major serviceB
The ASSYST service interval display does not
take into account any periods of time during
which the battery is disconnected.
Hiding a service message
X To hide the service message, press the % back button on the multifunction
steering wheel ( Ypage 35).
Displaying service messages
Use the buttons on the multifunction steering
wheel.
X Switch on the ignition.
X Press =or; to select the standard
display menu on the steering wheel
( Y page 147).
X Press 9or: to select the service
interval display. The ¯ or± service symbol and the
service due date are displayed.
Points to remember
The specified maintenance interval takes only the normal operation of the vehicle into
account. Under arduous operating conditions
or increased load on the vehicle, mainte-
nance work must be carried out more fre-
quently, for example: R regular city driving with frequent intermedi-
ate stops
R if the vehicle is primarily used to travel
short distances
R use in mountainous terrain or on poor road
surfaces
R if the engine is often left idling for long peri-
ods
Under these or similar conditions, have, for
example, the air filter, engine oil and oil filter
replaced or changed more frequently. Under
arduous operating conditions, the tires must
be checked more often. Further information
can be obtained at a qualified specialist work- shop, e.g. an authorized Mercedes-Benz Cen-
ter.
Fuel/water separator
HEnvironmental note
Dispose of service products in an environ-
mentally responsible manner.
!If you continue driving without having the
fuel/water separator serviced, this could
cause damage to the engine. Any resulting
damage is not covered by the warranty.
If the fuel/water separator needs servicing,
the following message appears in the multi-
function display:
You will also hear a brief warning tone.
210Maintenance
Maintenance and care
Page 215 of 274
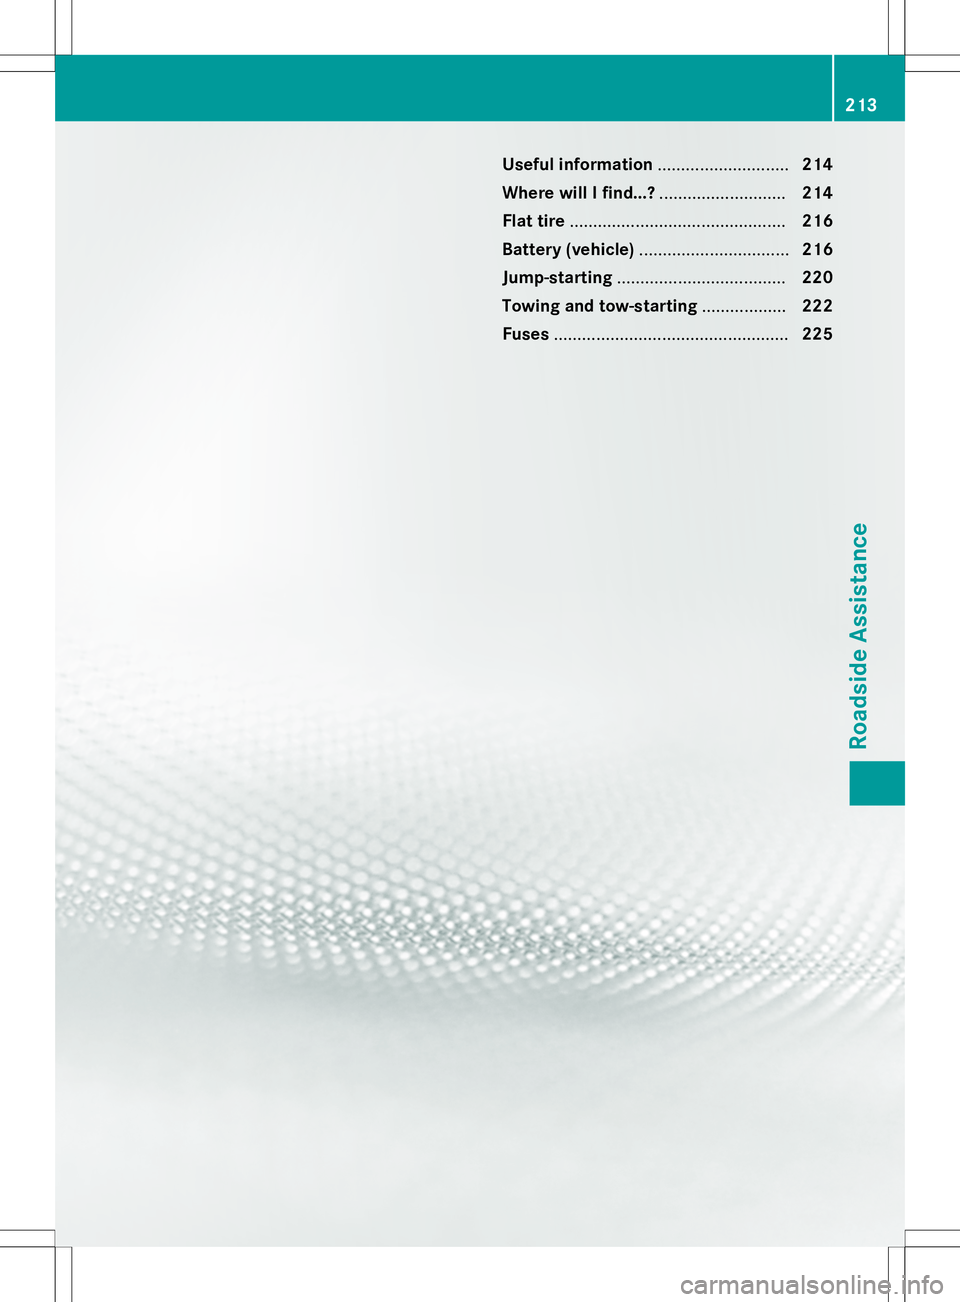
Useful information............................214
Where will I find...? ...........................214
Flat tire .............................................. 216
Battery (vehicle) ................................ 216
Jump-starting .................................... 220
Towing and tow-starting ..................222
Fuses .................................................. 225
213
Roadside Assistance
Page 218 of 274

iWhen re-installing trim panel?, make
sure that retainer Aengages in recess B.
Removing the spare wheel
The spare wheel is heavy. Take particular note
of this when removing the spare wheel.
X Remove wheel nuts :.
X Remove the spare wheel.
Mounting the wheel
After changing a wheel:
X Repair or replace the damaged wheel as
soon as possible and secure the spare
wheel in place again.
X Secure the damaged wheel on the spare
wheel bracket with wheel nuts :. When
doing so, make sure that the wheel cannot
come loose.
X When re-installing trim panel ?, make sure
that retainer Bengages in recess A
( Y page 215). X
Make sure that tab ;is below when re-
installing cover ring :(Y page 215).
X For safety reasons, regularly check to
ensure that the wheel is securely fastened.
Flat tire
Preparing the vehicle
XStop the vehicle on solid, non-slippery and
level ground, as far away as possible from
traffic.
X Switch on the hazard warning lamps(Y page 90).
X Apply the parking brake.
X Bring the front wheels into the straight-
ahead position.
X Move the selector lever to position P.
X Switch off the engine.
X Remove the SmartKey from the ignitionlock.
The steering wheel lock stays active for as
long as the SmartKey is removed.
X All occupants must get out of the vehicle.
Make sure that they are not endangered as
they do so.
X Make sure that no one is near the danger
area while a wheel is being changed. Any-
one who is not directly assisting in the
wheel change should, for example, stand
behind the barrier.
X Get out of the vehicle. Pay attention to traf-
fic conditions when doing so.
X Close the driver's door.
Battery (vehicle)
Important safety notes
Special tools and expert knowledge are
required when working on the battery, e.g.
removal and installation. You should there-
fore have all work involving the battery car-
ried out at a qualified specialist workshop.
216Battery (vehicle)
Roadside Assistance