2015 MERCEDES-BENZ C-Class ECU
[x] Cancel search: ECUPage 42 of 214
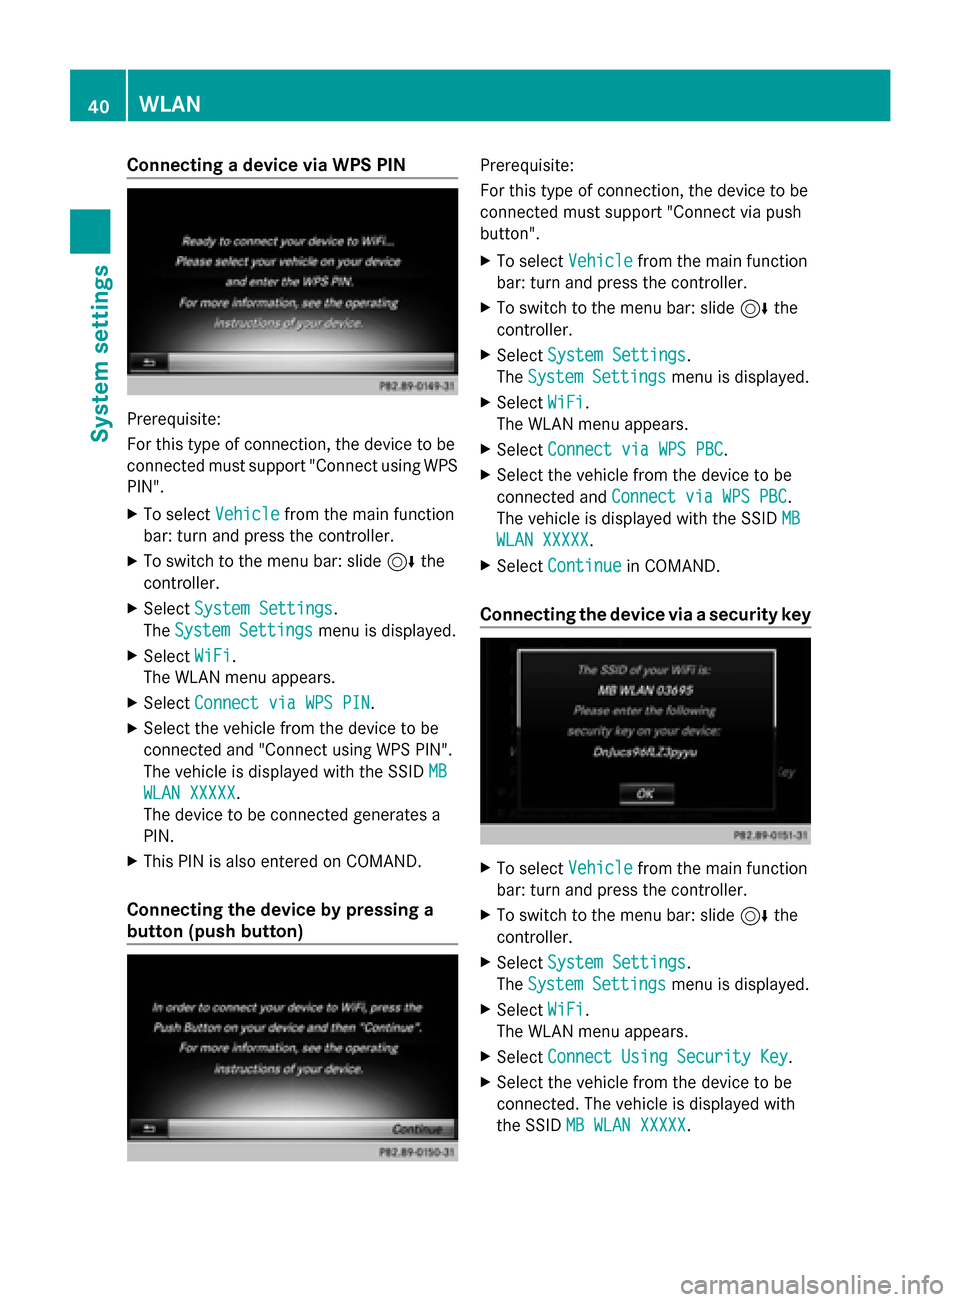
Connecting a device via WPS PIN
Prerequisite:
For this type of connection, the device to be
connected must support "Connect using WPS
PIN".
X To select Vehicle
Vehicle from the main function
bar: turn and press the controller.
X To switch to the menu bar: slide 6the
controller.
X Select System Settings
System Settings.
The System Settings
System Settings menu is displayed.
X Select WiFi
WiFi.
The WLAN menu appears.
X Select Connect via WPS PIN Connect via WPS PIN .
X Select the vehicle from the device to be
connected and "Connect using WPS PIN".
The vehicle is displayed with the SSID MB
MB
WLAN XXXXX
WLAN XXXXX.
The device to be connected generates a
PIN.
X This PIN is also entered on COMAND.
Connecting the device by pressing a
button (push button) Prerequisite:
For this type of connection, the device to be
connected must support "Connect via push
button".
X To select Vehicle Vehiclefrom the main function
bar: turn and press the controller.
X To switch to the menu bar: slide 6the
controller.
X Select System Settings
System Settings.
The System Settings
System Settings menu is displayed.
X Select WiFi
WiFi.
The WLAN menu appears.
X Select Connect via WPS PBC
Connect via WPS PBC .
X Select the vehicle from the device to be
connected and Connect via WPS PBC Connect via WPS PBC .
The vehicle is displayed with the SSID MB
MB
WLAN XXXXX
WLAN XXXXX.
X Select Continue
Continue in COMAND.
Connecting the device via a security key X
To select Vehicle
Vehiclefrom the main function
bar: turn and press the controller.
X To switch to the menu bar: slide 6the
controller.
X Select System Settings
System Settings.
The System Settings
System Settings menu is displayed.
X Select WiFi
WiFi.
The WLAN menu appears.
X Select Connect Using Security Key
Connect Using Security Key .
X Select the vehicle from the device to be
connected. The vehicle is displayed with
the SSID MB WLAN XXXXX MB WLAN XXXXX. 40
WLANSystem settings
Page 43 of 214
X
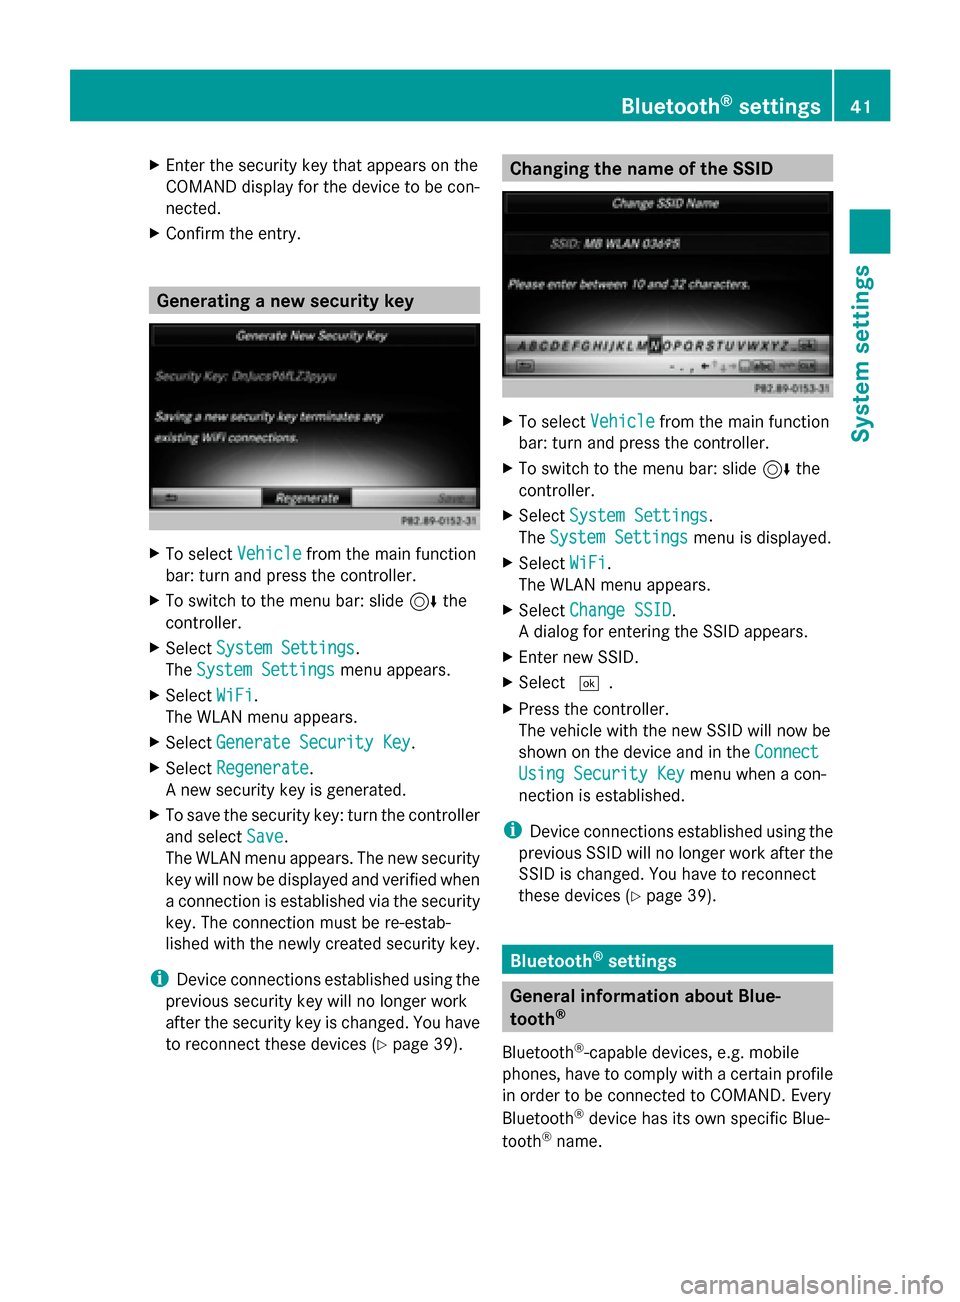
Enter the security key that appears on the
COMAND display for the device to be con-
nected.
X Confirm the entry. Generating a new security key
X
To select Vehicle Vehiclefrom the main function
bar: turn and press the controller.
X To switch to the menu bar: slide 6the
controller.
X Select System Settings
System Settings.
The System Settings
System Settings menu appears.
X Select WiFi
WiFi.
The WLAN menu appears.
X Select Generate Security Key
Generate Security Key .
X Select Regenerate
Regenerate.
A new security key is generated.
X To save the security key: turn the controller
and select Save Save.
The WLAN menu appears. The new security
key will now be displayed and verified when
a connection is established via the security
key. The connection must be re-estab-
lished with the newly created security key.
i Device connections established using the
previous security key will no longer work
after the security key is changed. You have
to reconnect these devices ( Ypage 39). Changing the name of the SSID
X
To select Vehicle Vehiclefrom the main function
bar: turn and press the controller.
X To switch to the menu bar: slide 6the
controller.
X Select System Settings
System Settings.
The System Settings
System Settings menu is displayed.
X Select WiFi
WiFi.
The WLAN menu appears.
X Select Change SSID
Change SSID.
A dialog for entering the SSID appears.
X Enter new SSID.
X Select 0054.
X Press the controller.
The vehicle with the new SSID will now be
shown on the device and in the Connect Connect
Using Security Key
Using Security Key menu when a con-
nection is established.
i Device connections established using the
previous SSID will no longer work after the
SSID is changed. You have to reconnect
these devices (Y page 39). Bluetooth
®
settings General information about Blue-
tooth
®
Bluetooth ®
-capable devices, e.g. mobile
phones, have to comply with a certain profile
in order to be connected to COMAND. Every
Bluetooth ®
device has its own specific Blue-
tooth ®
name. Bluetooth
®
settings 41System settings
Page 102 of 214
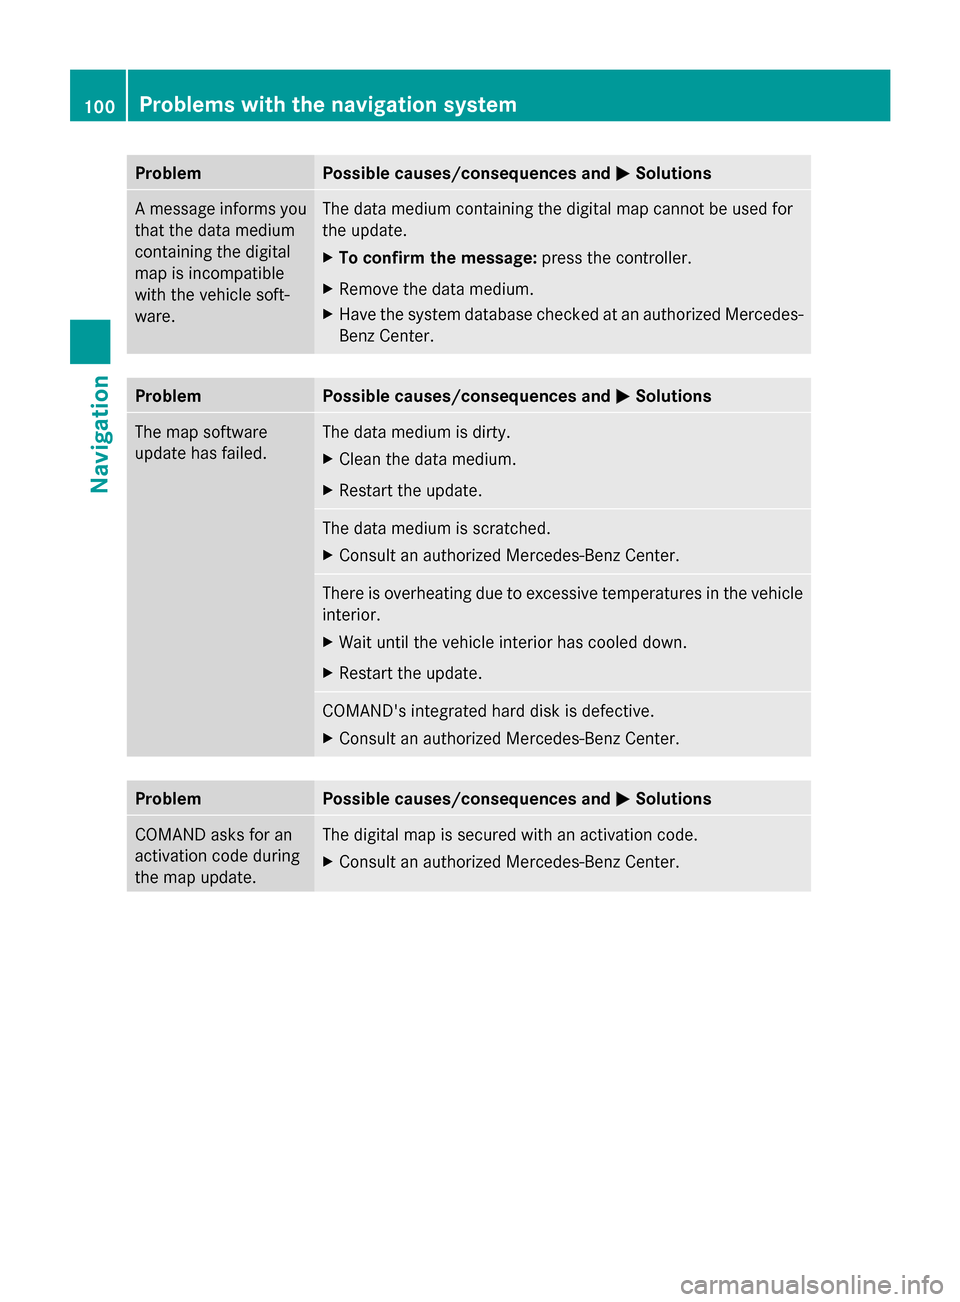
Problem Possible causes/consequences and
0050
0050Solutions A message informs you
that the data medium
containing the digital
map is incompatible
with the vehicle soft-
ware. The data medium containing the digital map cannot be used for
the update.
X
To confirm the message: press the controller.
X Remove the data medium.
X Have the system database checked at an authorized Mercedes-
Benz Center. Problem Possible causes/consequences and
0050 0050Solutions The map software
update has failed. The data medium is dirty.
X
Clean the data medium.
X Restart the update. The data medium is scratched.
X
Consult an authorized Mercedes-Benz Center. There is overheating due to excessive temperatures in the vehicle
interior.
X
Wait until the vehicle interior has cooled down.
X Restart the update. COMAND's integrated hard disk is defective.
X
Consult an authorized Mercedes-Benz Center. Problem Possible causes/consequences and
0050 0050Solutions COMAND asks for an
activation code during
the map update. The digital map is secured with an activation code.
X
Consult an authorized Mercedes-Benz Center. 100
Problems with the navigation systemNavigation
Page 107 of 214
Procedure and general information
Searching for and authorizing (connect-
ing) a mobile phone
Before using your mobile phone with
COMAND for the first time, you will need to
search for the phone (Y page 105) and then
authorize it (Y page 106). Depending on the
mobile phone, authorization either takes
place by means of Secure Simple Pairing or
by entering a passkey. COMAND automati-
cally makes the system suitable for your
mobile phone available. You can recognize
Secure Simple Pairing by a code which is dis-
played in COMAND and on the mobile phone.
You can recognize the passkey system by the
fact that you have to enter a code on the
mobile phone and in COMAND. The mobile
phone is always connected automatically
after authorization.
If COMAND does not detect your mobile
phone, this may be due to particular security
settings on your mobile phone. You can also
start the search procedure and authorization
on the mobile phone (Y page 107).
Device-specific information on authorizing
and connecting Bluetooth ®
-capable mobile
phones can be found on the Internet at
http://www.mercedes-benz.com/
connect .
You can authorize up to 15 mobile phones.
Only one mobile phone can be connected to
COMAND at any one time.
De-authorizing (disconnecting) a mobile
phone
The connection is terminated automatically if
you leave the receiver range of COMAND or
deactivate Bluetooth ®
on your mobile phone.
If you no longer want the Bluetooth ®
connec-
tion to be established automatically, the
mobile phone must be de-authorized (discon-
nected) (Y page 108). Searching for a mobile phone
X
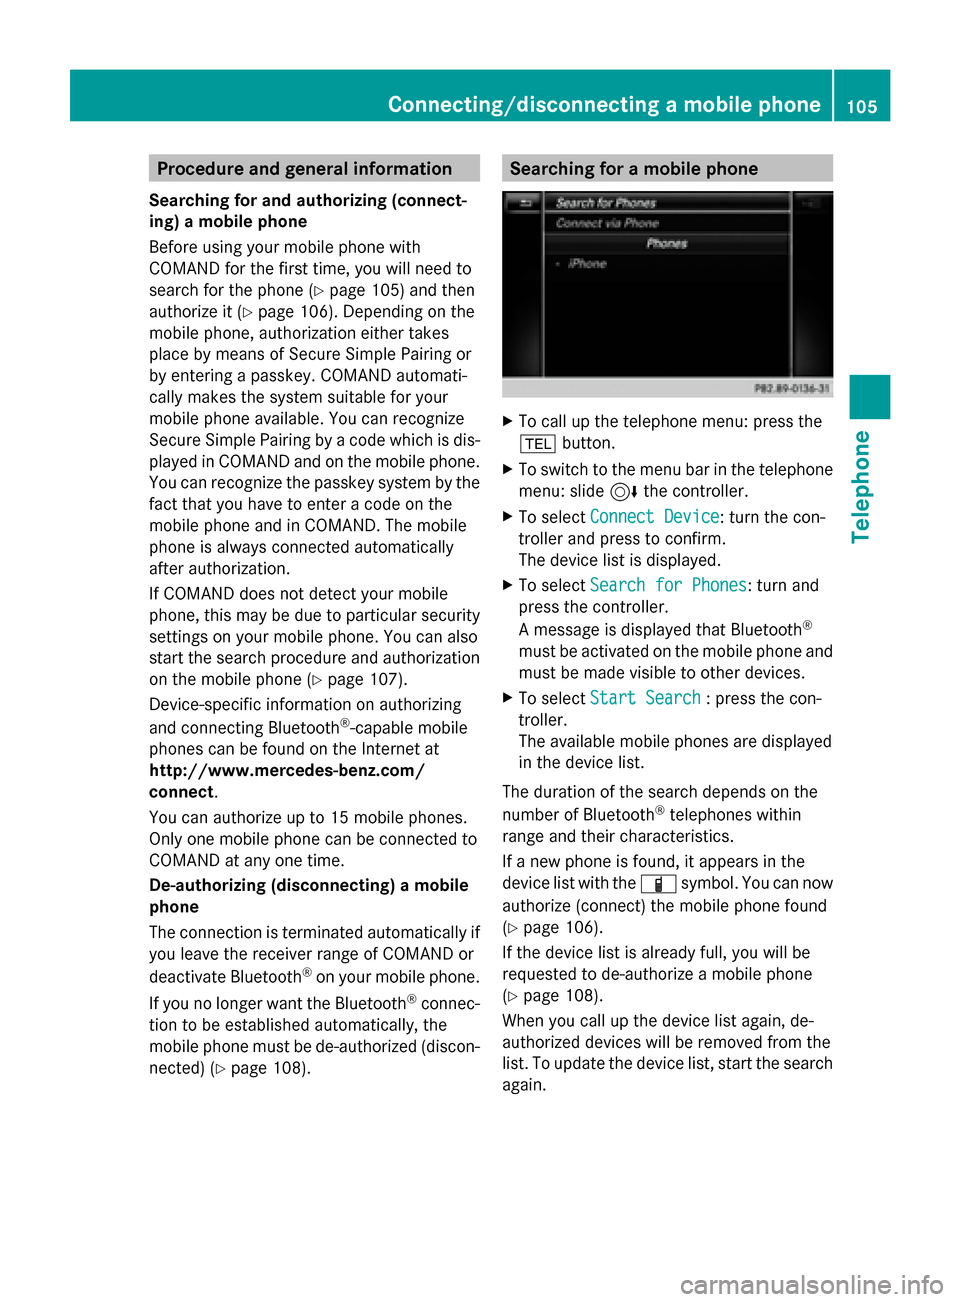
To call up the telephone menu: press the
002B button.
X To switch to the menu bar in the telephone
menu: slide 6the controller.
X To select Connect Device
Connect Device: turn the con-
troller and press to confirm.
The device list is displayed.
X To select Search for Phones Search for Phones: turn and
press the controller.
A message is displayed that Bluetooth ®
must be activated on the mobile phone and
must be made visible to other devices.
X To select Start Search Start Search : press the con-
troller.
The available mobile phones are displayed
in the device list.
The duration of the search depends on the
number of Bluetooth ®
telephones within
range and their characteristics.
If a new phone is found, it appears in the
device list with the 00D3symbol. You can now
authorize (connect) the mobile phone found
(Y page 106).
If the device list is already full, you will be
requested to de-authorize a mobile phone
(Y page 108).
When you call up the device list again, de-
authorized devices will be removed from the
list. To update the device list, start the search
again. Connecting/disconnecting a mobile phone
105Telephone Z
Page 108 of 214
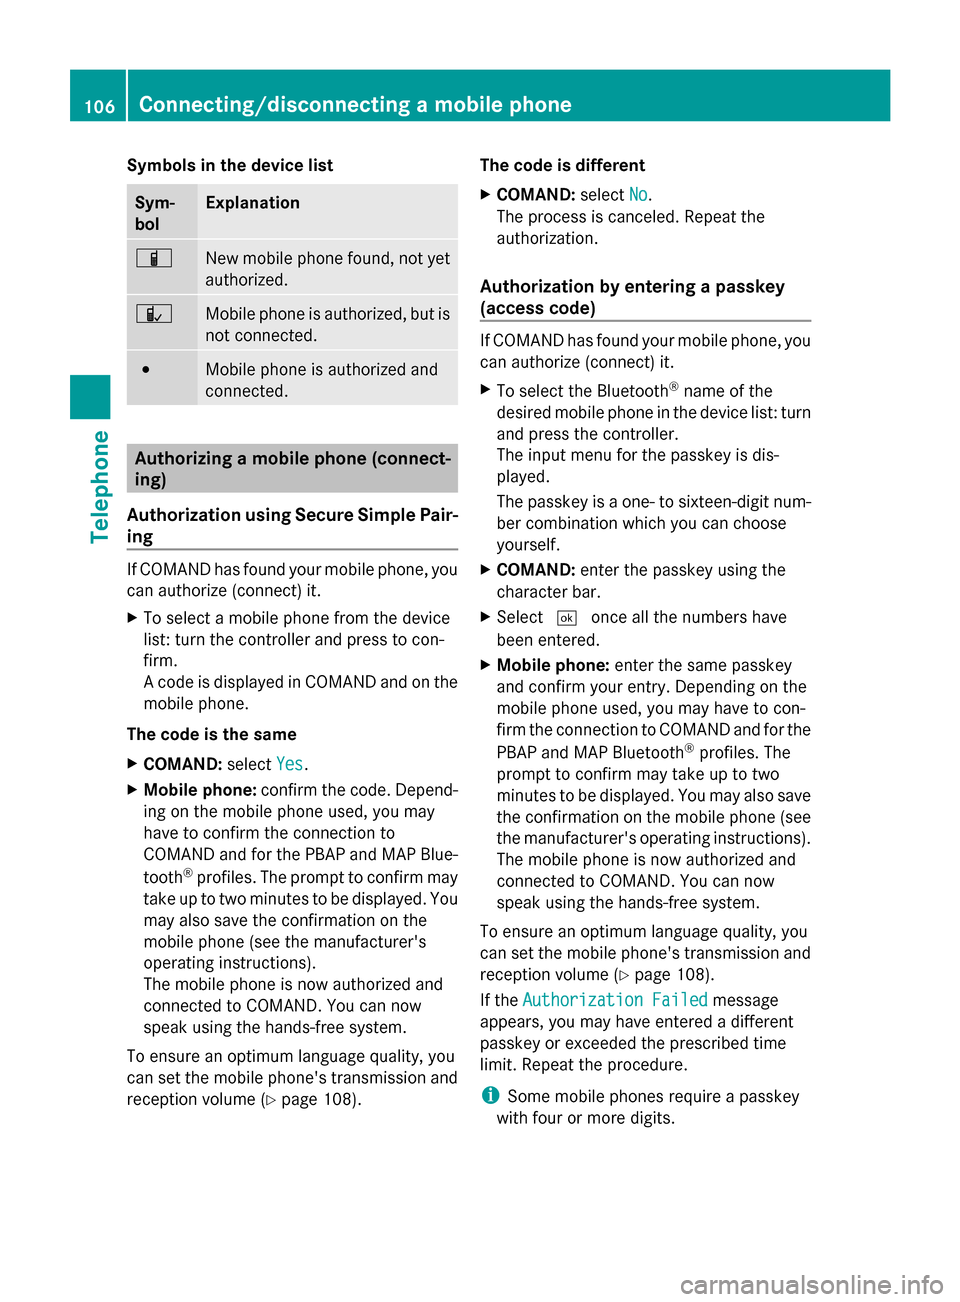
Symbols in the device list
Sym-
bol Explanation
00D3
New mobile phone found, not yet
authorized.
00DC
Mobile phone is authorized, but is
not connected.
0036
Mobile phone is authorized and
connected.
Authorizing a mobile phone (connect-
ing)
Authorization using Secure Simple Pair-
ing If COMAND has found your mobile phone, you
can authorize (connect) it.
X To select a mobile phone from the device
list: turn the controller and press to con-
firm.
A code is displayed in COMAND and on the
mobile phone.
The code is the same
X COMAND: selectYes Yes.
X Mobile phone: confirm the code. Depend-
ing on the mobile phone used, you may
have to confirm the connection to
COMAND and for the PBAP and MAP Blue-
tooth ®
profiles. The prompt to confirm may
take up to two minutes to be displayed. You
may also save the confirmation on the
mobile phone (see the manufacturer's
operating instructions).
The mobile phone is now authorized and
connected to COMAND. You can now
speak using the hands-free system.
To ensure an optimum language quality, you
can set the mobile phone's transmission and
reception volume (Y page 108). The code is different
X
COMAND: selectNo
No.
The process is canceled. Repeat the
authorization.
Authorization by entering a passkey
(access code) If COMAND has found your mobile phone, you
can authorize (connect) it.
X
To select the Bluetooth ®
name of the
desired mobile phone in the device list: turn
and press the controller.
The input menu for the passkey is dis-
played.
The passkey is a one- to sixteen-digit num-
ber combination which you can choose
yourself.
X COMAND: enter the passkey using the
character bar.
X Select 0054once all the numbers have
been entered.
X Mobile phone: enter the same passkey
and confirm your entry. Depending on the
mobile phone used, you may have to con-
firm the connection to COMAND and for the
PBAP and MAP Bluetooth ®
profiles. The
prompt to confirm may take up to two
minutes to be displayed. You may also save
the confirmation on the mobile phone (see
the manufacturer's operating instructions).
The mobile phone is now authorized and
connected to COMAND. You can now
speak using the hands-free system.
To ensure an optimum language quality, you
can set the mobile phone's transmission and
reception volume (Y page 108).
If the Authorization Failed
Authorization Failed message
appears, you may have entered a different
passkey or exceeded the prescribed time
limit. Repeat the procedure.
i Some mobile phones require a passkey
with four or more digits. 106
Connecting/disconnecting a mobile phoneTelephone
Page 109 of 214
i
If you wish to re-authorize the mobile
phone after de-authorizing it, you can
choose another passkey for it. Establishing the connection from the
mobile phone
The Bluetooth ®
device name of COMAND is
"MB Bluetooth".
X COMAND: call up the telephone menu.
X To switch to the menu bar: slide 6the
controller.
X To select Connect Device Connect Device: turn the con-
troller and press to confirm.
The device list is displayed.
X To select Connect via Phone
Connect via Phone: turn and
press the controller.
A message is displayed, stating that you
can start the search on your mobile phone.
X Mobile phone: start the search for a Blue-
tooth ®
device (see manufacturer's operat-
ing instructions).
COMAND is displayed with the name "MB
Bluetooth" in the mobile phone's device
list.
X Select "MB Bluetooth".
A prompt appears in the COMAND display
asking whether the mobile phone should be
authorized.
X COMAND: selectYes
Yes.
If No No is selected, the procedure is canceled.
If your mobile phone supports Secure Sim-
ple Pairing, a code is now displayed on both
devices.
The code is the same
X COMAND: selectYes
Yes.
X Mobile phone: confirm the code. Depend-
ing on the mobile phone used, you may
have to confirm the connection to
COMAND and for the PBAP and MAP Blue-
tooth ®
profiles. The prompt to confirm may
take up to two minutes to be displayed. You
may also save the confirmation on the mobile phone (see the manufacturer's
operating instructions).
The mobile phone is now authorized and
connected to COMAND. You can now
speak using the hands-free system.
To ensure an optimum language quality, you
can set the mobile phone's transmission and
reception volume (Y page 108).
The code is different
X COMAND: selectNo
No.
The process is canceled. Repeat the pro-
cedure.
If your mobile phone does not support Secure
Simple Pairing, an input menu is displayed for
the passkey. The passkey is a one- to sixteen-
digit number combination which you can
choose yourself. Enter the same passkey on
both COMAND and the mobile phone and
confirm. Depending on the mobile phone
used, you may have to confirm the connection
to COMAND and for the PBAP and MAP Blue-
tooth ®
profiles. Reconnecting automatically
COMAND always searches for the last con-
nected mobile phone.
If no connection can be made to the most
recently connected mobile phone, the system
searches for the mobile phone that was con-
nected before that one. Switching between mobile phones
If you have authorized more than one mobile
phone, you can switch between the individual
phones.
X To call up the telephone menu: press the
002B button.
X To show the menu bar: slide 6the con-
troller. Connecting/disconnecting a mobile phone
107Telephone Z
Page 170 of 214
poses an increased risk of injury or even fatal
injury.
Keep SD memory cards out of the reach of
children. If an SD memory card is swallowed,
seek immediate medical attention.
! If you are no longer using the SD memory
card, you should remove it. High tempera-
tures can damage the card.
COMAND supports SD memory cards
(Secure Digital), SDHC memory cards
(Secure DigitalHighCapacity), and SDXC
memory cards (Secure Digital eXtended
Capacity.
Inserting an SD memory card X
Insert the SD memory card into the SD card
slot in the stowage space under the arm-
rest until the SD memory card engages into
place. The side with the contacts must face
downwards.
The music is played while the files are
loaded in the background. If there are no
supported audio/video files, you will see a
message to this effect.
Ejecting an SD memory card X
Press the memory card.
The memory card is ejected.
X Remove the memory card. Connecting USB devices
There are two USB ports in the stowage space
under the armrest.
X Connect the USB device to the USB port.
The data medium will only be played and
the files will only be loaded in the back-
ground if the corresponding media display
is visible. Otherwise, the system does not
automatically switch to USB. If there are no
supported audio/video files, you will see a
message to this effect. i
MP3 players must support Media Transfer
Protocol (MTP). Activating media mode
Switching on automatically After an external media source has been con-
nected, COMAND will only activate the cor-
responding media mode automatically and
show the basic display in the case of CDs and
SD cards. If the CD/DVD is started using
another application (e.g. navigation), the dis-
play will not change.
When using USB devices, depending on the
vehicle's equipment, the relevant Media
Interface 1, 2 or USB 1, 2 basic display must
already be activated.
X Insert the CDs/DVDs (Y page 166)
or
X Insert a SD memory card: (Y page 168)
or
X Connect a USB device: (Y page 168)
COMAND loads the medium inserted and
starts to play it automatically.
Further options for switching on R
Using the number keypad: (Y page 165)
R Using the main function bar: (Y page 165)
R Using the device list: (Y page 165)
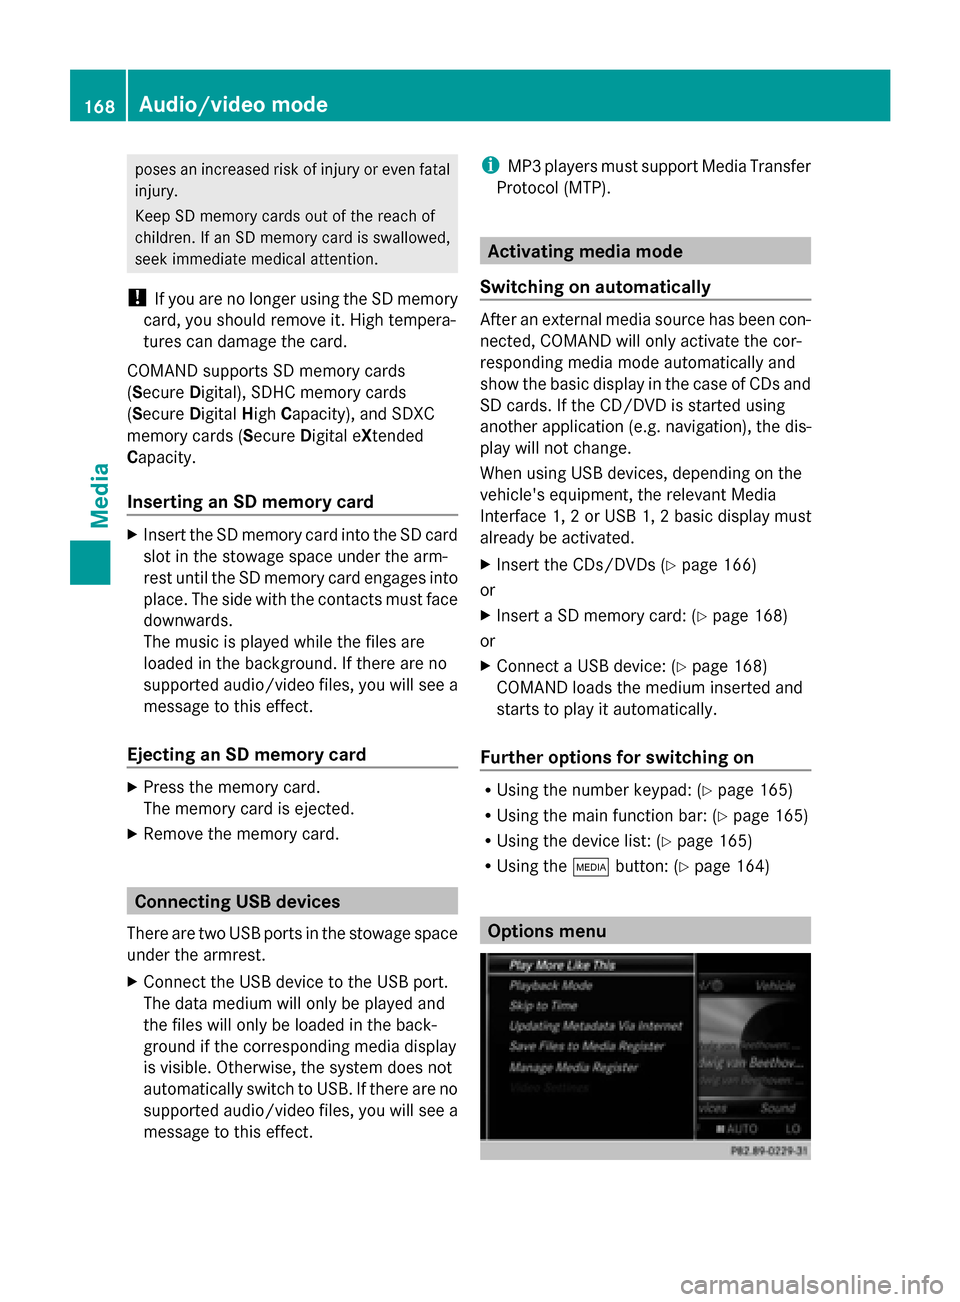
R Using the 00FDbutton: (Y page 164) Options menu168
Audio/video modeMedia
Page 178 of 214
X
Select a track.
The basic display appears and playback
starts. MEDIA REGISTER
General notes
i Keep your original music files, photos and
video files in a secure location. An error in
COMAND may result in the loss of music
files stored in the MEDIA REGISTER.
Mercedes-Benz is not liable for any loss of
data.
You can store music files, photos or video files
in the MEDIA REGISTER. The memory has a
capacity of 10 GB. Switching on the MEDIA REGISTER
X Press the 00FDbutton repeatedly until the
MEDIA REGISTER is switched on.
Pressing the button repeatedly changes
the operating mode in the following order:
R Disc
Disc;
R Memory Card Memory Card;
R Media Register
Media Register;
R USB 1
USB 1 (vehicles without Media Interface)
R Media Interface 1
Media Interface 1 (vehicles without
Media Interface)
R USB 2
USB 2 (vehicles without Media Interface)
R Media Interface 2
Media Interface 2 (vehicles with
Media Interface) R
Bluetooth Audio Bluetooth Audio;
R Aux Aux .
Playback begins at the point last listened to.
If there are no files, you will see a message to
this effect.
Further options for switching on:
R Using the number keypad: (Y page 165)
R Using the main function bar: (Y page 165)
R Using the device list: (Y page 165)
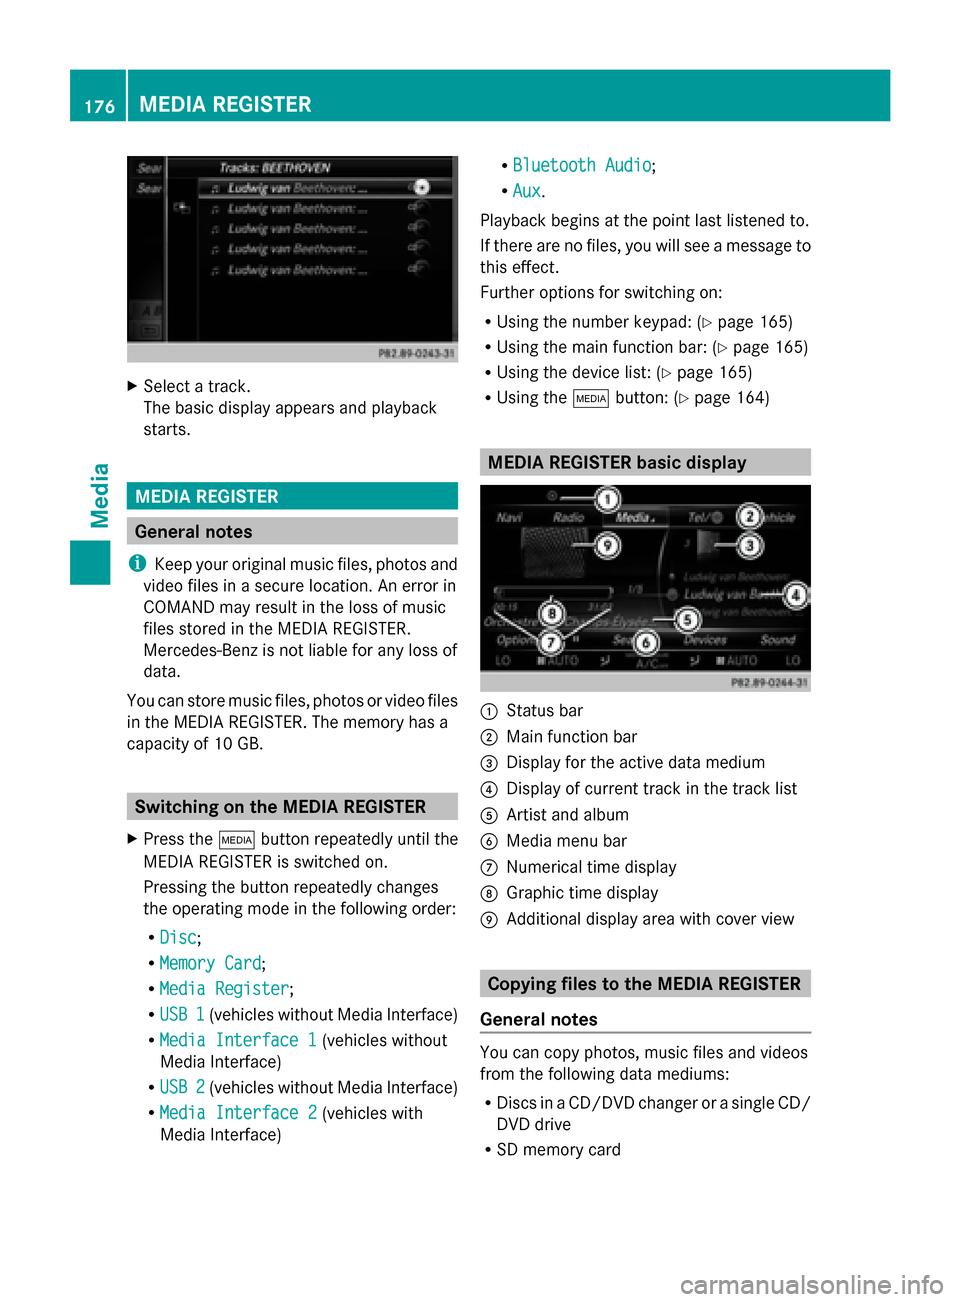
R Using the 00FDbutton: (Y page 164) MEDIA REGISTER basic display
0043
Status bar
0044 Main function bar
0087 Display for the active data medium
0085 Display of current track in the track list
0083 Artist and album
0084 Media menu bar
006B Numerical time display
006C Graphic time display
006D Additional display area with cover view Copying files to the MEDIA REGISTER
General notes You can copy photos, music files and videos
from the following data mediums:
R
Discs in a CD/DVD changer or a single CD/
DVD drive
R SD memory card 176
MEDIA REGISTERMedia