2015 MERCEDES-BENZ B-Class ELECTRIC reset
[x] Cancel search: resetPage 193 of 338
Audio menu
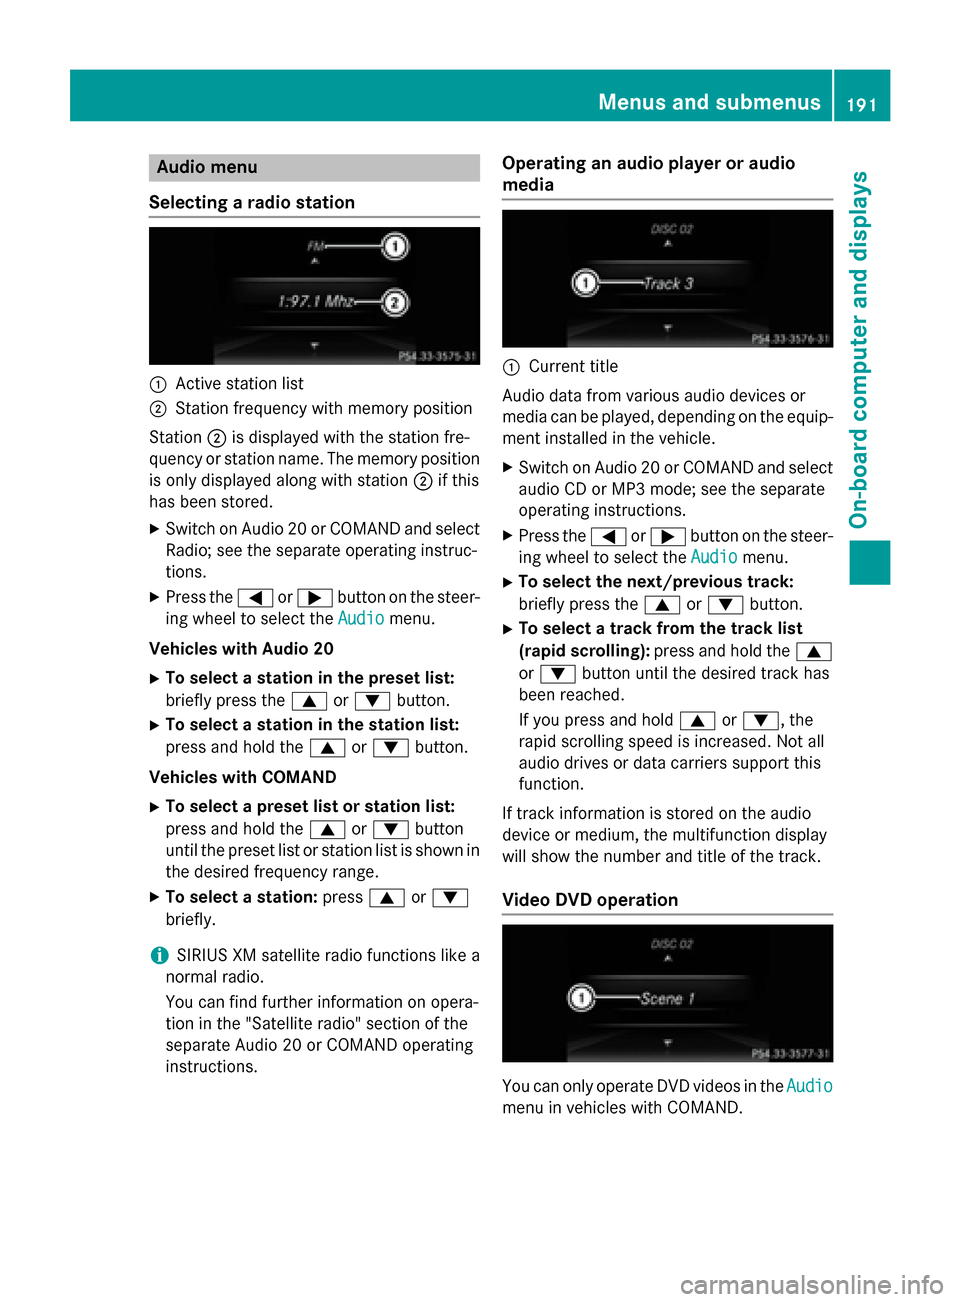
Selecting a radio station :
Active station list
; Station frequency with memory position
Station ;is displayed with the station fre-
quency or station name. The memory position is only displayed along with station ;if this
has been stored.
X Switch on Audio 20 or COMAND and select
Radio; see the separate operating instruc-
tions.
X Press the =or; button on the steer-
ing wheel to select the Audio
Audio menu.
Vehicles with Audio 20 X To select a station in the preset list:
briefly press the 9or: button.
X To select a station in the station list:
press and hold the 9or: button.
Vehicles with COMAND X To select a preset list or station list:
press and hold the 9or: button
until the preset list or station list is shown in
the desired frequency range.
X To select a station: press9or:
briefly.
i SIRIUS XM satellite radio functions like a
normal radio.
You can find further information on opera-
tion in the "Satellite radio" section of the
separate Audio 20 or COMAND operating
instructions. Operating an audio player or audio
media :
Current title
Audio data from various audio devices or
media can be played, depending on the equip- ment installed in the vehicle.
X Switch on Audio 20 or COMAND and select
audio CD or MP3 mode; see the separate
operating instructions.
X Press the =or; button on the steer-
ing wheel to select the Audio
Audio menu.
X To select the next/previous track:
briefly press the 9or: button.
X To select a track from the track list
(rapid scrolling): press and hold the 9
or : button until the desired track has
been reached.
If you press and hold 9or:, the
rapid scrolling speed is increased. Not all
audio drives or data carriers support this
function.
If track information is stored on the audio
device or medium, the multifunction display
will show the number and title of the track.
Video DVD operation You can only operate DVD videos in the
Audio Audio
menu in vehicles with COMAND. Menus and sub
menus
191On-board computer and displays Z
Page 201 of 338
X
Press the :or9 button to select the
Acoustic Lock
Acoustic Lock function.
If the Acoustic
Acoustic Lock
Lockfunction is activated,
the & symbol in the multifunction dis-
play lights up orange.
X Press the abutton to save the setting.
Restoring the factory settings X
Press the =or; button on the steer-
ing wheel to select the Sett.
Sett.menu.
X Press the :or9 button to select the
Factory Settings
Factory Settings submenu.
X Press ato confirm.
The Reset All Settings?
Reset All Settings? message
appears.
X Press the :or9 button to select No
No
or Yes
Yes.
X Press the abutton to confirm the selec-
tion.
If you have selected Yes
Yes, the multifunction
display shows a confirmation message.
For safety reasons, not all functions are reset. For safety reasons, the Daytime Running
Daytime Running
Lights Lights function in the Lights
Lightssubmenu is
only reset if the vehicle is stationary. Menus and submenus
199On-board computer and displays Z
Page 273 of 338
You can obtain further information from an
authorized Mercedes-Benz Center or at
http://www.mbusa.com (USA only).
The multifunction display shows a service
message for several seconds, e.g.:
R Service A in .. Days
Service A in .. Days
R Service A Due Service A Due
R Service A Exceeded by .. Days
Service A Exceeded by .. Days
Depending on the operating conditions of the vehicle, the remaining time or distance until
the next service due date is displayed.
The letter A Aor B
B, possibly in connection with a
number or another letter, indicates the type
of service. A Astands for a minor service and B
B
for a major service.
You can obtain further information from an
authorized Mercedes-Benz Center.
The ASSYST PLUS service interval display
does not take into account any periods of
time during which the battery is disconnec-
ted.
Maintaining the time-dependent service
schedule:
X Note down the service due date displayed
in the multifunction display before discon-
necting the battery.
or X After reconnecting the battery, subtract
the battery disconnection periods from the
service date shown on the display. Hiding a service message
X Press the aor% button on the steer-
ing wheel. Displaying service messages
X Switch on the ignition.
X Press the =or; button to select the
Serv. Serv. menu.
X Press the 9or: button to select the
ASSYST PLUS ASSYST PLUS submenu and confirm by
pressing the abutton.
The service due date appears in the multi-
function display. Information about Service
Resetting the ASSYST PLUS service
interval display !
If the ASSYST PLUS service interval dis-
play has been inadvertently reset, this set-
ting can be corrected at a qualified special-
ist workshop.
Have service work carried out as described in the Maintenance Booklet. This may oth-
erwise lead to increased wear and damage
to the major assemblies or the vehicle.
A qualified specialist workshop, e.g. an
authorized Mercedes-Benz Center, will reset
the ASSYST PLUS service interval display
after the service work has been carried out.
You can also obtain further information on
maintenance work, for example.
Special service requirements The specified maintenance interval takes only
the normal operation of the vehicle into
account. Service work will need to be per-
formed more often if the vehicle is operated
under arduous conditions or increased loads.
This can be the case, for example, when driv- ing frequently in mountainous areas or on
poor road surfaces.
Under arduous operating conditions, the tires
must be checked more often. Further infor-
mation can be obtained at a qualified special- ist workshop, e.g. an authorized Mercedes-
Benz Center. ASSYST PLUS
271Maintenance and care Z
Page 289 of 338
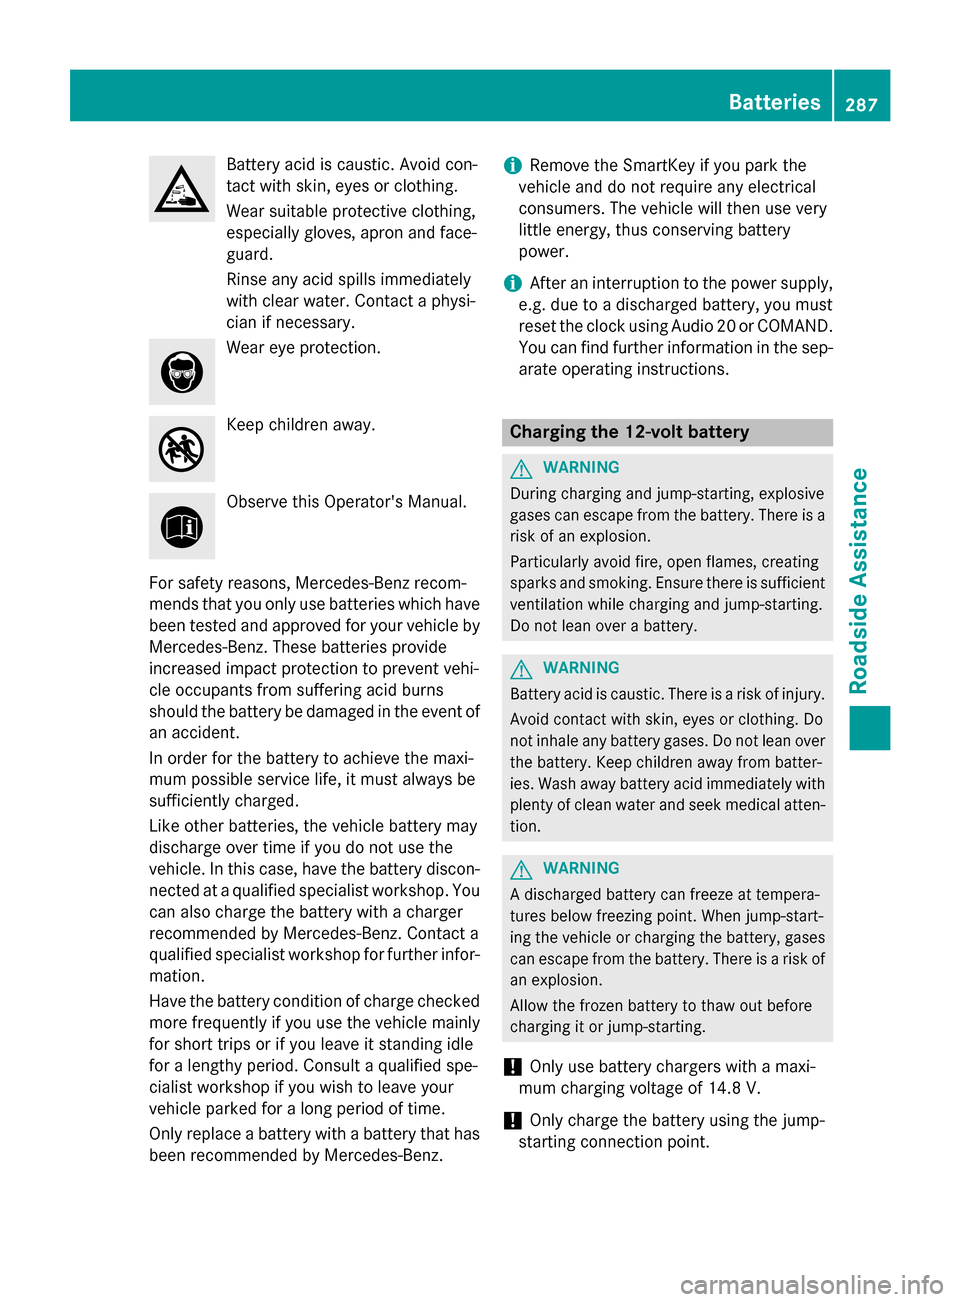
Battery acid is caustic. Avoid con-
tact with skin, eyes or clothing.
Wear suitable protective clothing,
especially gloves, apron and face-
guard.
Rinse any acid spills immediately
with clear water. Contact a physi-
cian if necessary.
Wear eye protection.
Keep children away.
Observe this Operator's Manual.
For safety reasons, Mercedes-Benz recom-
mends that you only use batteries which have been tested and approved for your vehicle by
Mercedes-Benz. These batteries provide
increased impact protection to prevent vehi-
cle occupants from suffering acid burns
should the battery be damaged in the event of
an accident.
In order for the battery to achieve the maxi-
mum possible service life, it must always be
sufficiently charged.
Like other batteries, the vehicle battery may
discharge over time if you do not use the
vehicle. In this case, have the battery discon- nected at a qualified specialist workshop. You
can also charge the battery with a charger
recommended by Mercedes-Benz. Contact a
qualified specialist workshop for further infor- mation.
Have the battery condition of charge checked
more frequently if you use the vehicle mainly
for short trips or if you leave it standing idle
for a lengthy period. Consult a qualified spe-
cialist workshop if you wish to leave your
vehicle parked for a long period of time.
Only replace a battery with a battery that has been recommended by Mercedes-Benz. i
Remove the SmartKey if you park the
vehicle and do not require any electrical
consumers. The vehicle will then use very
little energy, thus conserving battery
power.
i After an interruption to the power supply,
e.g. due to a discharged battery, you must
reset the clock using Audio 20 or COMAND. You can find further information in the sep-
arate operating instructions. Charging the 12‑
volt battery G
WARNING
During charging and jump-starting, explosive
gases can escape from the battery. There is a risk of an explosion.
Particularly avoid fire, open flames, creating
sparks and smoking. Ensure there is sufficient
ventilation while charging and jump-starting.
Do not lean over a battery. G
WARNING
Battery acid is caustic. There is a risk of injury. Avoid contact with skin, eyes or clothing. Do
not inhale any battery gases. Do not lean over
the battery. Keep children away from batter-
ies. Wash away battery acid immediately with
plenty of clean water and seek medical atten- tion. G
WARNING
A discharged battery can freeze at tempera-
tures below freezing point. When jump-start-
ing the vehicle or charging the battery, gases can escape from the battery. There is a risk of
an explosion.
Allow the frozen battery to thaw out before
charging it or jump-starting.
! Only use battery chargers with a maxi-
mum charging voltage of 14.8 V.
! Only
charge the battery using the jump-
starting connection point. Batteries
287Roadside Assistance Z
Page 296 of 338
Installing/removing the towing eye
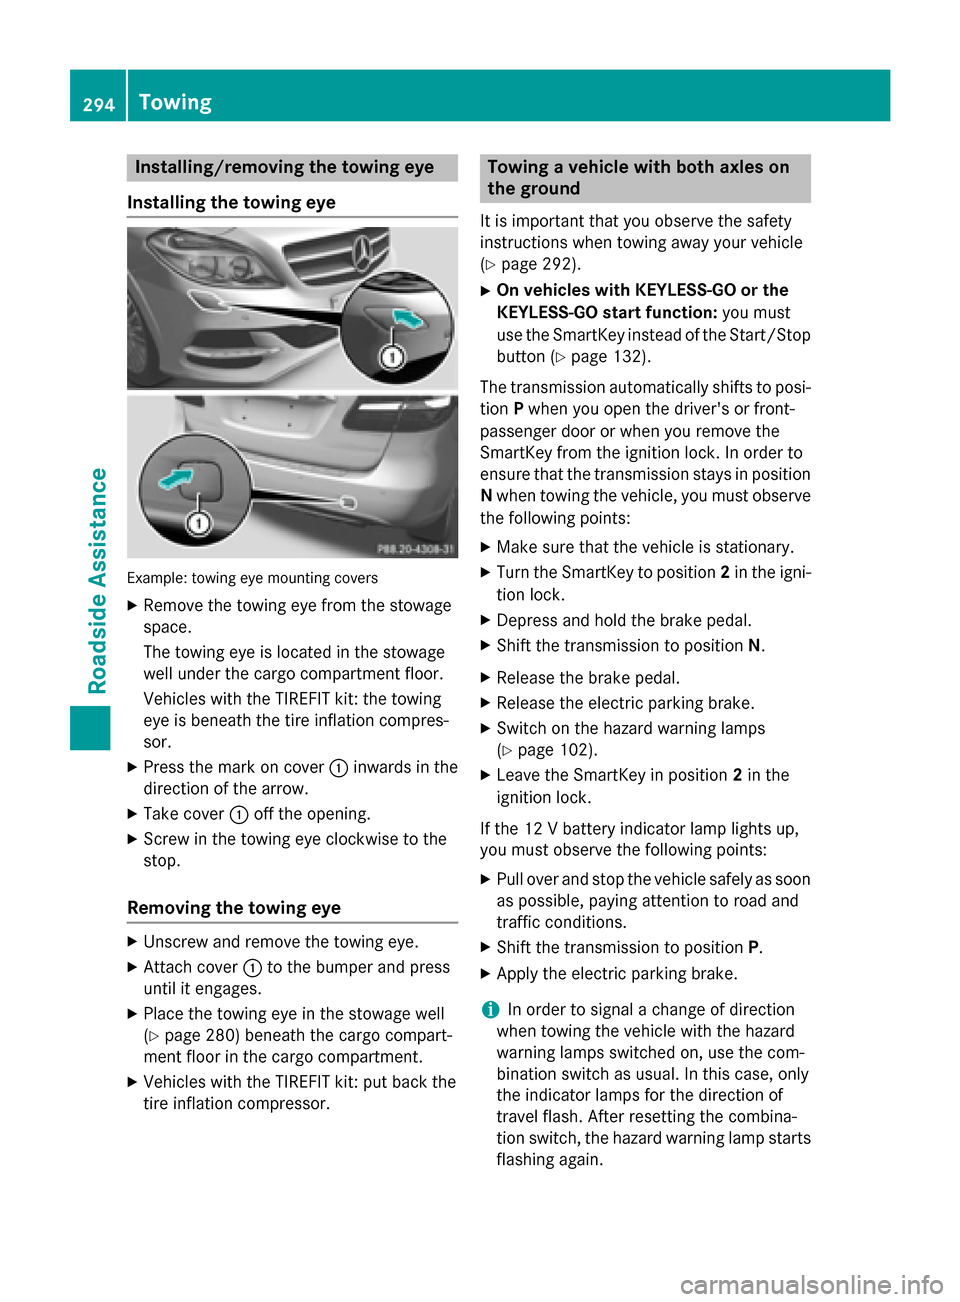
Installing the towing eye Example: towing eye mounting covers
X Remove the towing eye from the stowage
space.
The towing eye is located in the stowage
well under the cargo compartment floor.
Vehicles with the TIREFIT kit: the towing
eye is beneath the tire inflation compres-
sor.
X Press the mark on cover :inwards in the
direction of the arrow.
X Take cover :off the opening.
X Screw in the towing eye clockwise to the
stop.
Removing the towing eye X
Unscrew and remove the towing eye.
X Attach cover :to the bumper and press
until it engages.
X Place the towing eye in the stowage well
(Y page 280) beneath the cargo compart-
ment floor in the cargo compartment.
X Vehicles with the TIREFIT kit: put back the
tire inflation compressor. Towing a vehicle with both axles on
the ground
It is important that you observe the safety
instructions when towing away your vehicle
(Y page 292).
X On vehicles with KEYLESS-GO or the
KEYLESS-GO start function: you must
use the SmartKey instead of the Start/Stop
button (Y page 132).
The transmission automatically shifts to posi- tion Pwhen you open the driver's or front-
passenger door or when you remove the
SmartKey from the ignition lock. In order to
ensure that the transmission stays in position N when towing the vehicle, you must observe
the following points:
X Make sure that the vehicle is stationary.
X Turn the SmartKey to position 2in the igni-
tion lock.
X Depress and hold the brake pedal.
X Shift the transmission to position N.
X Release the brake pedal.
X Release the electric parking brake.
X Switch on the hazard warning lamps
(Y page 102).
X Leave the SmartKey in position 2in the
ignition lock.
If the 12 V battery indicator lamp lights up,
you must observe the following points:
X Pull over and stop the vehicle safely as soon
as possible, paying attention to road and
traffic conditions.
X Shift the transmission to position P.
X Apply the electric parking brake.
i In order to signal a change of direction
when towing the vehicle with the hazard
warning lamps switched on, use the com-
bination switch as usual. In this case, only
the indicator lamps for the direction of
travel flash. After resetting the combina-
tion switch, the hazard warning lamp starts
flashing again. 294
TowingRoadside Assistance
Page 307 of 338
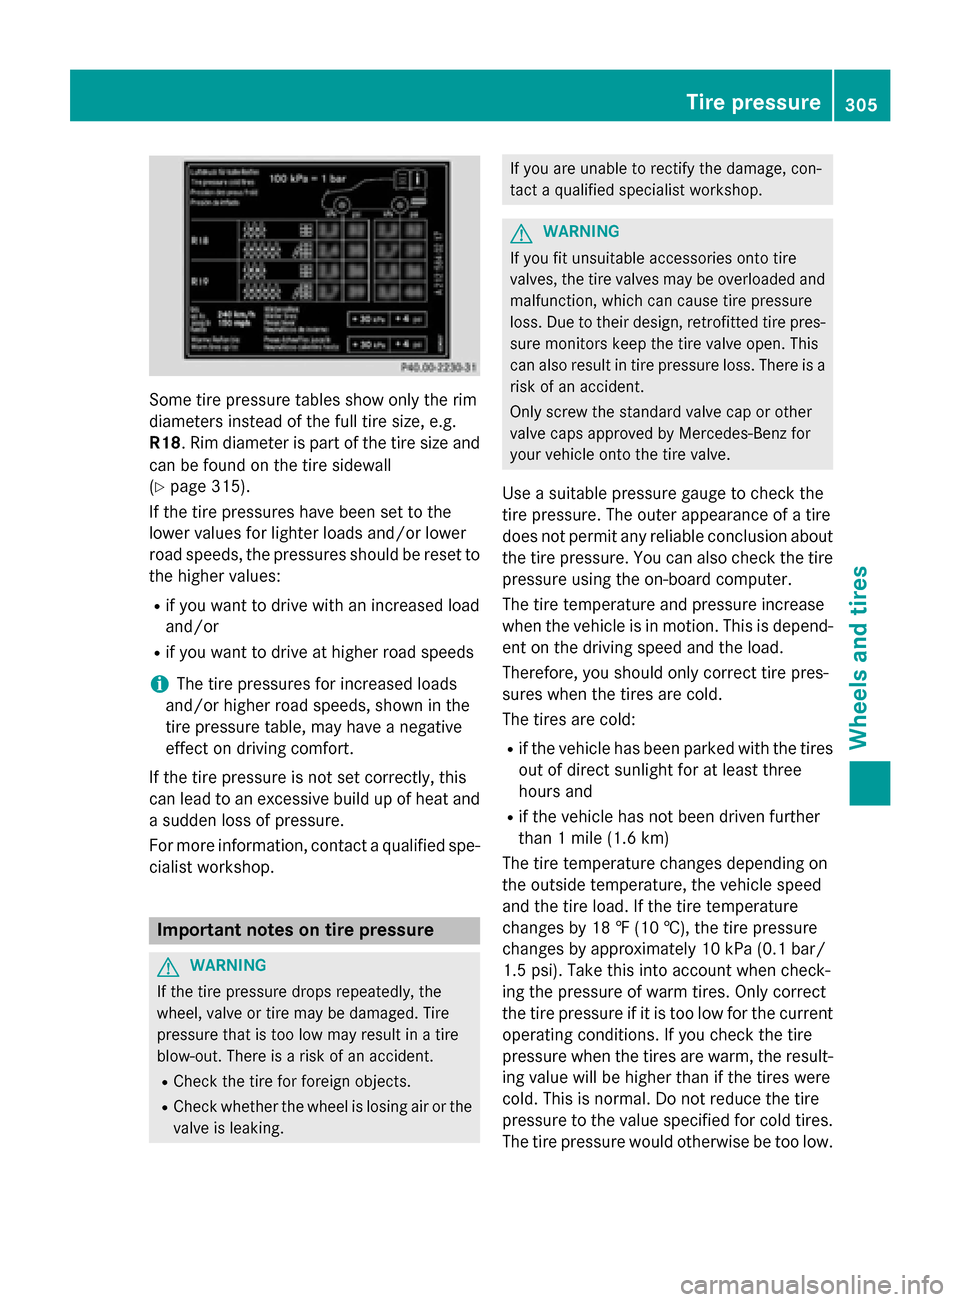
Some tire pressure tables show only the rim
diameters instead of the full tire size, e.g.
R18 . Rim diameter is part of the tire size and
can be found on the tire sidewall
(Y page 315).
If the tire pressures have been set to the
lower values for lighter loads and/or lower
road speeds, the pressures should be reset to
the higher values:
R if you want to drive with an increased load
and/or
R if you want to drive at higher road speeds
i The tire pressures for increased loads
and/or higher road speeds, shown in the
tire pressure table, may have a negative
effect on driving comfort.
If the tire pressure is not set correctly, this
can lead to an excessive build up of heat and
a sudden loss of pressure.
For more information, contact a qualified spe- cialist workshop. Important notes on tire pressure
G
WARNING
If the tire pressure drops repeatedly, the
wheel, valve or tire may be damaged. Tire
pressure that is too low may result in a tire
blow-out. There is a risk of an accident. R Check the tire for foreign objects.
R Check whether the wheel is losing air or the
valve is leaking. If you are unable to rectify the damage, con-
tact a qualified specialist workshop.
G
WARNING
If you fit unsuitable accessories onto tire
valves, the tire valves may be overloaded and malfunction, which can cause tire pressure
loss. Due to their design, retrofitted tire pres- sure monitors keep the tire valve open. This
can also result in tire pressure loss. There is a
risk of an accident.
Only screw the standard valve cap or other
valve caps approved by Mercedes-Benz for
your vehicle onto the tire valve.
Use a suitable pressure gauge to check the
tire pressure. The outer appearance of a tire
does not permit any reliable conclusion about the tire pressure. You can also check the tire
pressure using the on-board computer.
The tire temperature and pressure increase
when the vehicle is in motion. This is depend-
ent on the driving speed and the load.
Therefore, you should only correct tire pres-
sures when the tires are cold.
The tires are cold:
R if the vehicle has been parked with the tires
out of direct sunlight for at least three
hours and
R if the vehicle has not been driven further
than 1 mile (1.6 km)
The tire temperature changes depending on
the outside temperature, the vehicle speed
and the tire load. If the tire temperature
changes by 18 ‡ (10 †), the tire pressure
changes by approximately 10 kPa (0.1 bar/
1.5 psi). Take this into account when check-
ing the pressure of warm tires. Only correct
the tire pressure if it is too low for the current operating conditions. If you check the tire
pressure when the tires are warm, the result-
ing value will be higher than if the tires were
cold. This is normal. Do not reduce the tire
pressure to the value specified for cold tires. The tire pressure would otherwise be too low. Tire pressure
305Wheels and tires Z