2015 MERCEDES-BENZ B-Class ELECTRIC flat tire
[x] Cancel search: flat tirePage 7 of 338

B
Backup lamp Changing bulb s.............................. 109
Display message ............................ 216
Bag hook ............................................ 245
BAS (Brake Assist System) ................. 63
Battery (SmartKey)
Checking .......................................... 75
Important safety notes .................... 75
Replacing ......................................... 75
Battery (vehicle)
Charging ........................................ 287
Display message ............................ 217
Important safety notes .................. 285
Jump starting ................................. 290
Blind Spot Assist
Activating/deactivating (on-
board computer) ............................ 195
Display message ............................ 219
Notes/function .............................. 177
Brake fluid
Display message ............................ 208
Notes ............................................. 332
Brake force distribution
see EBD (electronic brake force
distribution)
Brake lamps
Display message ............................ 215
Brake system
Driving safety systems ..................... 68
Brakes
ABS .................................................. 63
Adaptive Brake Assist ...................... 65
BAS .................................................. 63
Brake fluid (notes) ......................... 332
Display message ............................ 201
EBD .................................................. 68
Hill start assist ............................... 134
HOLD function ............................... 163
Important safety notes .................. 158
Maintenance .................................. 159
Parking brake ................................ 155
Riding tips ...................................... 158
Warning lamp ................................. 229
Breakdown
Towing away .................................. 292
see Flat tire Brightness control (instrument
cluster lighting)
................................... 31
Buttons on the steering wheel ......... 184 C
California Important notice for retail cus-
tomers and lessees .......................... 21
Calling up a malfunction
see Display messages
Care
Car wash ........................................ 272
Carpets .......................................... 278
Display ........................................... 276
Exterior lights ................................ 275
Gear or selector lever .................... 277
Interior ........................................... 276
Matte finish ................................... 274
Note s............................................. 272
Paint .............................................. 273
Plastic trim .................................... 276
Power washer ................................ 273
Rear view camera .......................... 276
Roof lining ...................................... 278
Seat belt ........................................ 278
Seat cove r..................................... 277
Sensors ......................................... 275
Steering wheel ............................... 277
Trim pieces .................................... 277
Washing by hand ........................... 273
Wheels ........................................... 274
Windows ........................................ 274
Wiper blades .................................. 275
Wooden trim .................................. 277
Cargo compartment cover
Important safety notes .................. 246
Installing/removing ....................... 246
Notes/how to use ......................... 246
Cargo compartment enlargement ... 244
Cargo compartment floor
Height adjustment ......................... 248
Important safety notes .................. 247
Opening/closing ............................ 248
Stowage well (under )..................... 247
Cargo net
Attaching ....................................... 247
Important safety information ......... 246 Index
5
Page 11 of 338
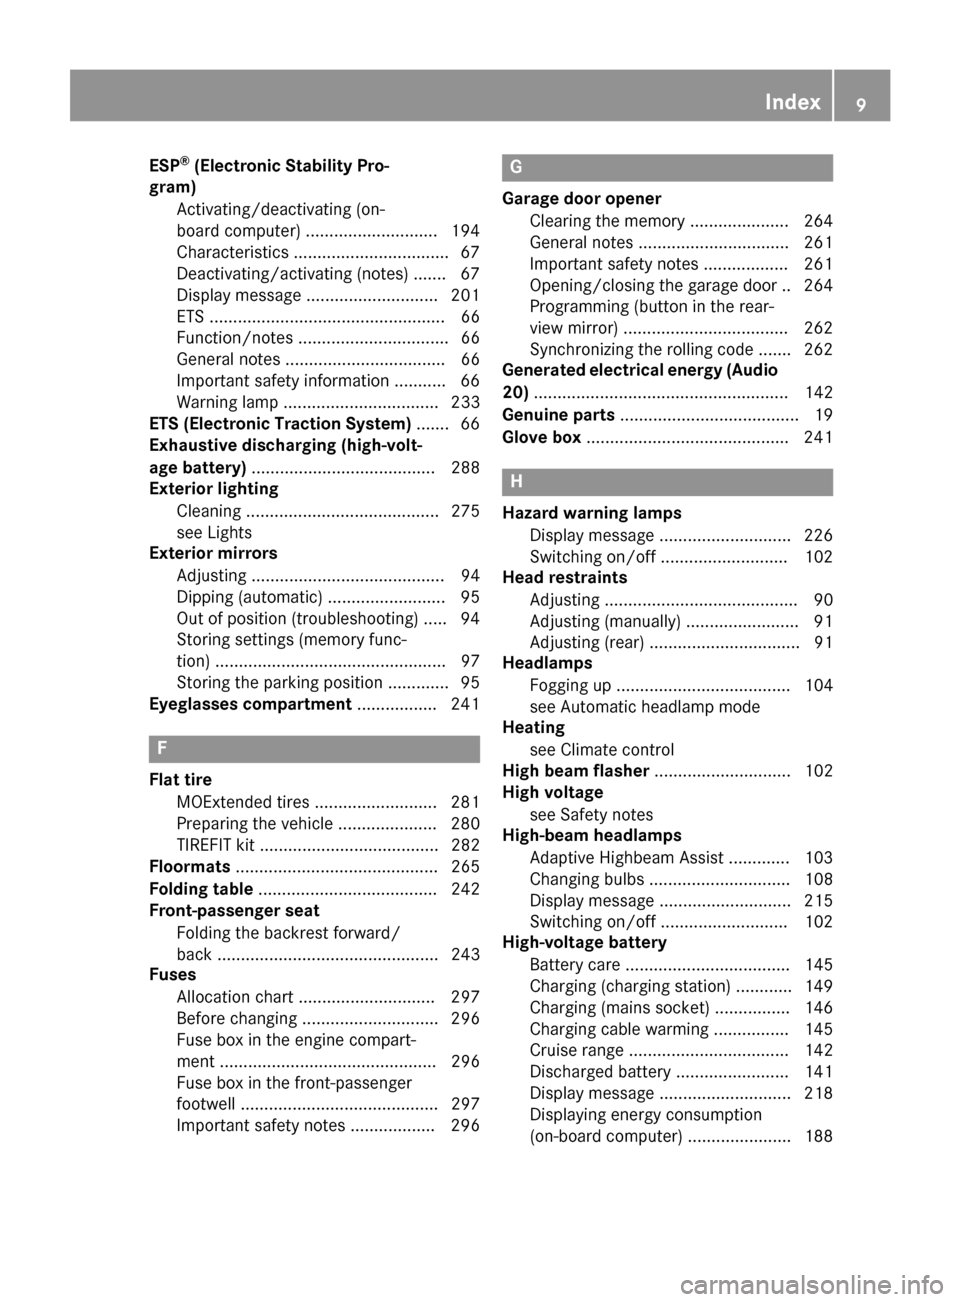
ESP
®
(Electronic Stability Pro-
gram)
Activating/deactivating (on-
board computer) ............................ 194
Characteristics ................................ .67
Deactivating/activating (notes )....... 67
Display message ............................ 201
ETS .................................................. 66
Function/note s................................ 66
General notes .................................. 66
Important safety information ........... 66
Warning lamp ................................. 233
ETS (Electronic Traction System) ....... 66
Exhaustive discharging (high-volt-
age battery) ....................................... 288
Exterior lighting
Cleaning ......................................... 275
see Lights
Exterior mirrors
Adjusting ......................................... 94
Dipping (automatic) ......................... 95
Out of position (troubleshooting) ..... 94
Storing settings (memory func-
tion) ................................................. 97
Storing the parking position ............. 95
Eyeglasses compartment ................. 241F
Flat tire MOExtended tire s.......................... 281
Preparing the vehicle ..................... 280
TIREFIT kit ...................................... 282
Floormats ........................................... 265
Folding table ...................................... 242
Front-passenger seat
Folding the backrest forward/
back ............................................... 243
Fuses
Allocation chart ............................. 297
Before changing ............................. 296
Fuse box in the engine compart-
ment .............................................. 296
Fuse box in the front-passenger
footwell .......................................... 297
Important safety notes .................. 296 G
Garage door opener Clearing the memory ..................... 264
General notes ................................ 261
Important safety notes .................. 261
Opening/closing the garage doo r..2 64
Programming (button in the rear-
view mirror) ................................... 262
Synchronizing the rolling code ....... 262
Generated electrical energy (Audio
20) ...................................................... 142
Genuine parts ...................................... 19
Glove box .......................................... .241 H
Hazard warning lamps Display message ............................ 226
Switching on/off ........................... 102
Head restraints
Adjusting ......................................... 90
Adjusting (manually) ........................ 91
Adjusting (rear) ................................ 91
Headlamps
Fogging up ..................................... 104
see Automatic headlamp mode
Heating
see Climate control
High beam flasher ............................. 102
High voltage
see Safety notes
High-beam headlamps
Adaptive Highbeam Assist ............. 103
Changing bulb s.............................. 108
Display message ............................ 215
Switching on/of f........................... 102
High-voltage battery
Battery care ................................... 145
Charging (charging station) ............ 149
Charging (mains socket) ................ 146
Charging cable warming ................ 145
Cruise range .................................. 142
Discharged battery ........................ 141
Display message ............................ 218
Displaying energy consumption
(on-board computer) ...................... 188 Index
9
Page 18 of 338
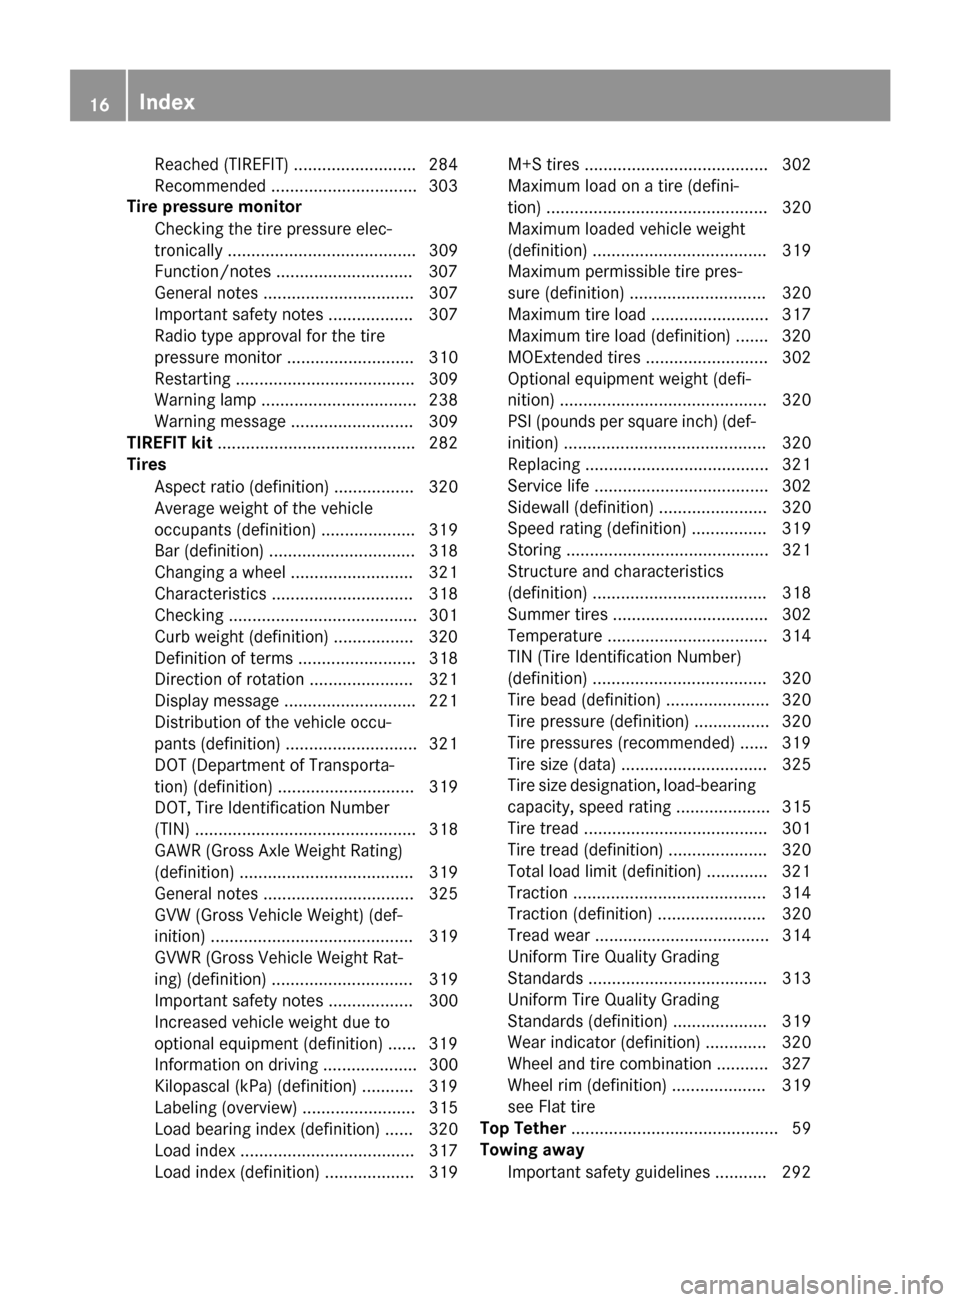
Reached (TIREFIT) .......................... 284
Recommended ..............................
.303
Tire pressure monitor
Checking the tire pressure elec-
tronically ........................................ 309
Function/notes ............................ .307
General notes ................................ 307
Important safety notes .................. 307
Radio type approval for the tire
pressure monitor ........................... 310
Restarting ...................................... 309
Warning lamp ................................. 238
Warning message .......................... 309
TIREFIT kit .......................................... 282
Tires
Aspect ratio (definition) ................. 320
Average weight of the vehicle
occupants (definition) .................... 319
Bar (definition) ............................... 318
Changing a wheel .......................... 321
Characteristics .............................. 318
Checking ........................................ 301
Curb weight (definition) ................. 320
Definition of terms ......................... 318
Direction of rotatio n...................... 321
Display message ............................ 221
Distribution of the vehicle occu-
pants (definition) ............................ 321
DOT (Department of Transporta-
tion) (definition) ............................. 319
DOT, Tire Identification Number
(TIN) ............................................... 318
GAWR (Gross Axle Weight Rating)
(definition) ..................................... 319
General notes ................................ 325
GVW (Gross Vehicle Weight) (def-
inition) ........................................... 319
GVWR (Gross Vehicle Weight Rat-
ing) (definition) .............................. 319
Important safety notes .................. 300
Increased vehicle weight due to
optional equipment (definition) ...... 319
Information on driving .................... 300
Kilopascal (kPa) (definition) ........... 319
Labeling (overview) ........................ 315
Load bearing index (definition) ...... 320
Load index ..................................... 317
Load index (definition) ................... 319 M+S tire
s....................................... 302
Maximum load on a tire (defini-
tion) ............................................... 320
Maximum loaded vehicle weight
(definition) ..................................... 319
Maximum permissible tire pres-
sure (definition) ............................. 320
Maximum tire load ......................... 317
Maximum tire load (definition) ....... 320
MOExtended tire s.......................... 302
Optional equipment weight (defi-
nition) ............................................ 320
PSI (pounds per square inch) (def-
inition) ........................................... 320
Replacing ....................................... 321
Service life ..................................... 302
Sidewall (definition) ....................... 320
Speed rating (definition) ................ 319
Storing ........................................... 321
Structure and characteristics
(definition) ..................................... 318
Summer tire s................................. 302
Temperature .................................. 314
TIN (Tire Identification Number)
(definition) ..................................... 320
Tire bead (definition) ...................... 320
Tire pressure (definition) ................ 320
Tire pressures (recommended) ...... 319
Tire size (data) ............................... 325
Tire size designation, load-bearing capacity, speed rating .................... 315
Tire tread ....................................... 301
Tire tread (definition) ..................... 320
Total load limit (definition) ............. 321
Traction ......................................... 314
Traction (definition) ....................... 320
Tread wear ..................................... 314
Uniform Tire Quality Grading
Standards ...................................... 313
Uniform Tire Quality Grading
Standards (definition) .................... 319
Wear indicator (definition) ............. 320
Wheel and tire combination ........... 327
Wheel rim (definition) .................... 319
see Flat tire
Top Tether ............................................ 59
Towing away
Important safety guidelines ........... 292 16
Index
Page 51 of 338
However, it does not protect the chest or
arms.
In the event of a side impact, the window cur-
tain air bag is deployed on the side on which
the impact occurs.
If the system determines that they can offer
additional protection to that provided by the
seat belt, a window curtain air bag may be
deployed in other accident situations
(Y page 54). Occupant Classification System
(OCS)
Introduction The Occupant Classification System (OCS)
categorizes the person in the front-passenger
seat. Depending on that result, the front-
passenger front air bag is either enabled or
deactivated.
The system does not deactivate:
R the side impact air bag
R the window curtain air bag
R the Emergency Tensioning Devices
Prerequisites To be classified correctly, the front passenger
must sit:
R with the seat belt fastened correctly
R in an almost upright position with their
back against the seat backrest
R with their feet resting on the floor, if possi-
ble
If the front passenger does not observe these
conditions, OCS may produce a false classi-
fication, e.g. because the front passenger:
R transfers their weight by supporting them-
selves on a vehicle armrest
R sits in such a way that their weight is raised
from the seat cushion
If it is absolutely necessary to install a child
restraint system on the front-passenger seat,
be sure to observe the correct positioning of the child restraint system. Never place
objects under or behind the child restraint
system, e.g. cushions. The entire base of the
child restraint system must always rest on the
seat cushion of the front-passenger seat. The
backrest of the forward-facing child restraint system must lie as flat as possible against the
backrest of the front-passenger seat.
The child restraint system must not touch the
roof or be subjected to a load by the head
restraint. Adjust the angle of the seat back-
rest and the head restraint position accord-
ingly.
Only then can OCS be guaranteed to function correctly. Always observe the child restraint
system manufacturer's installation instruc-
tions.
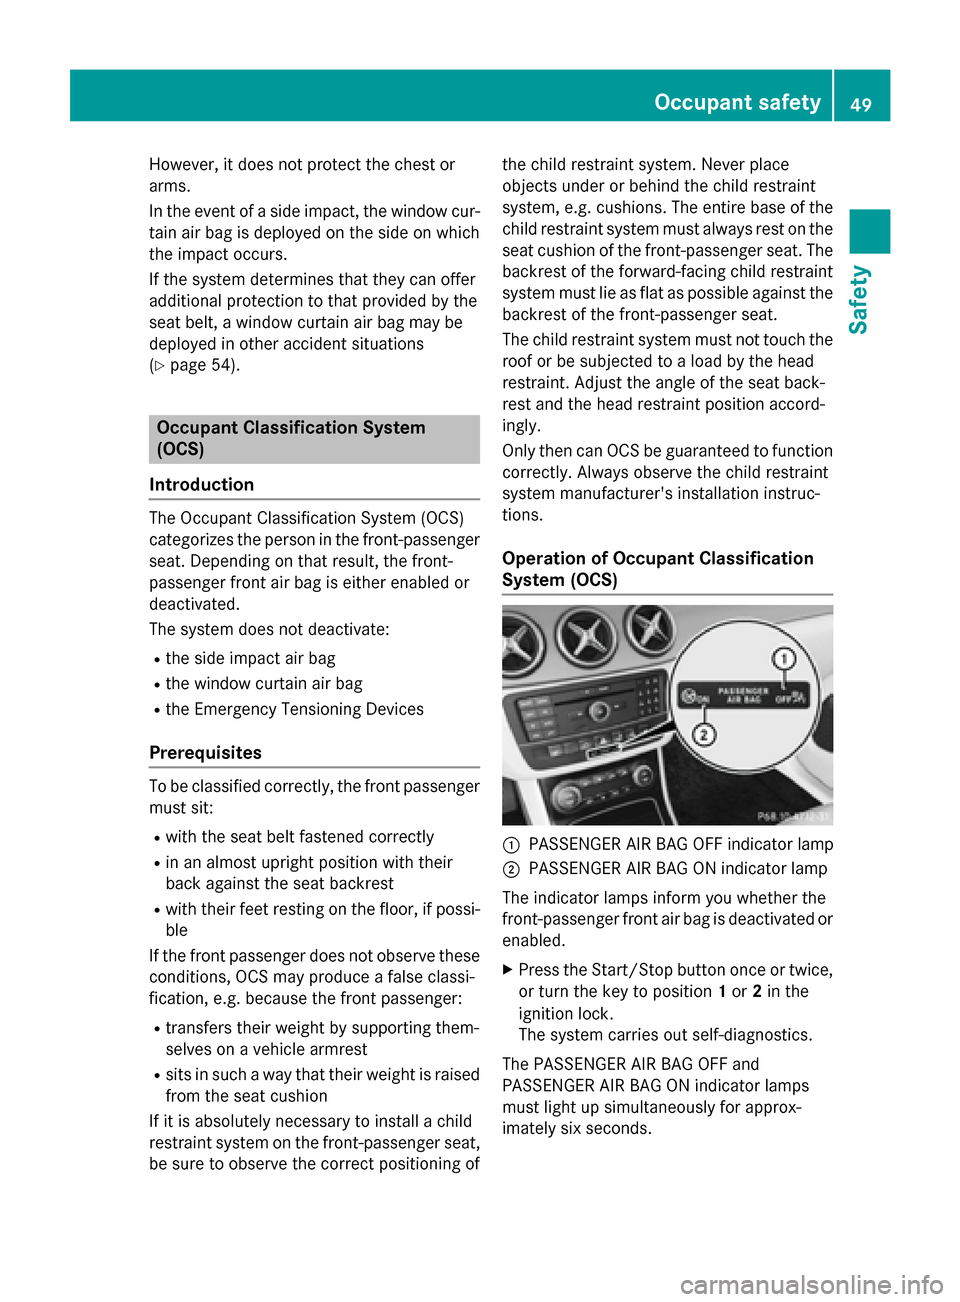
Operation of Occupant Classification
System (OCS) :
PASSENGER AIR BAG OFF indicator lamp
; PASSENGER AIR BAG ON indicator lamp
The indicator lamps inform you whether the
front-passenger front air bag is deactivated or
enabled.
X Press the Start/Stop button once or twice,
or turn the key to position 1or 2in the
ignition lock.
The system carries out self-diagnostics.
The PASSENGER AIR BAG OFF and
PASSENGER AIR BAG ON indicator lamps
must light up simultaneously for approx-
imately six second s. Occu
pant safety
49Safety Z
Page 55 of 338
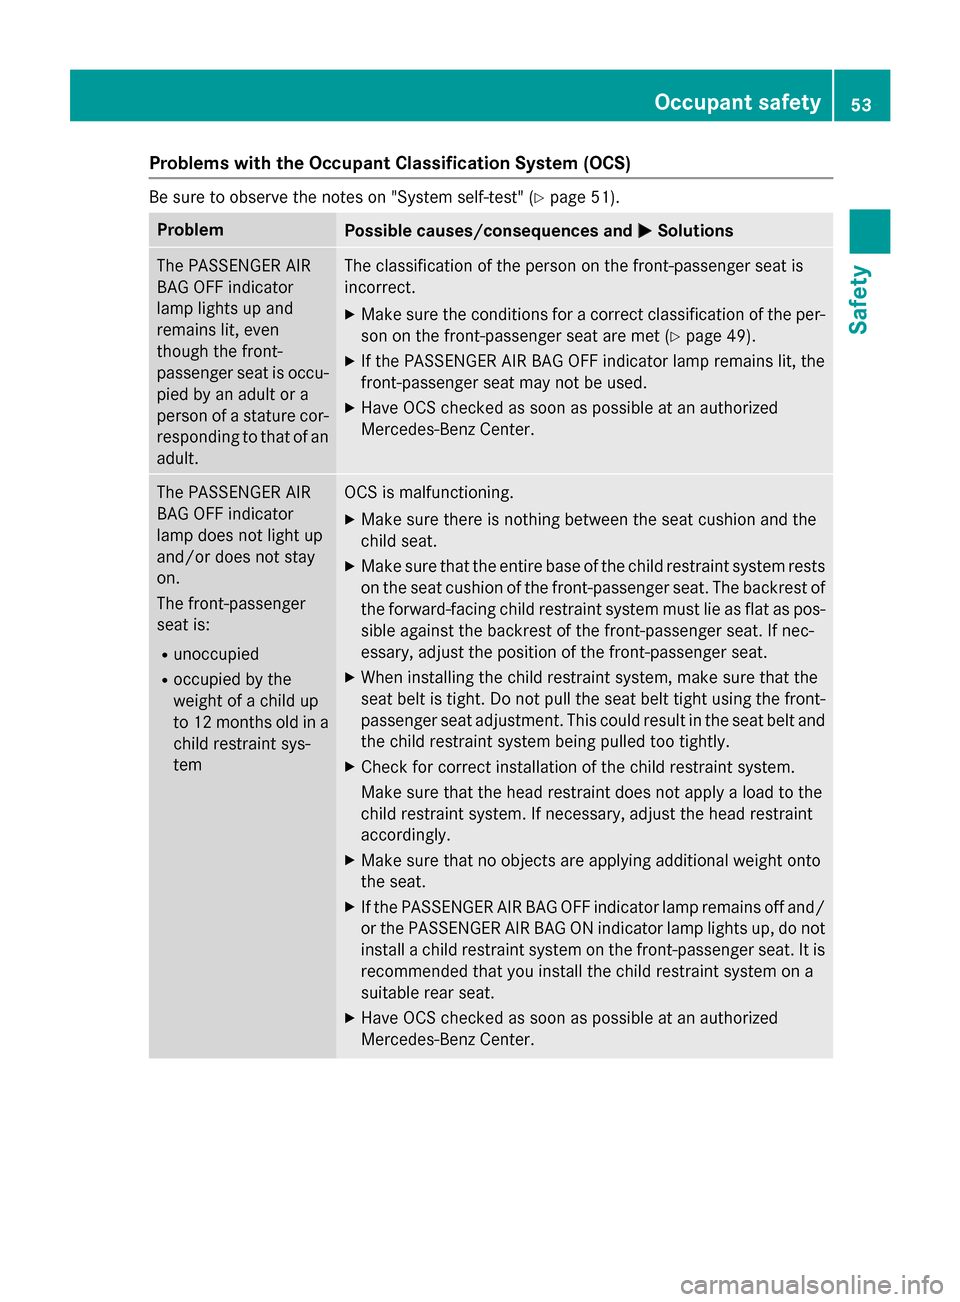
Problems with the Occupant Classification System (OCS)
Be sure to observe the notes on "System self-test" (Y
page 51).Problem
Possible causes/consequences and
M
MSolutions The PASSENGER AIR
BAG OFF indicator
lamp lights up and
remains lit, even
though the front-
passenger seat is occu-
pied by an adult or a
person of a stature cor-
responding to that of an
adult. The classification of the person on the front-passenger seat is
incorrect.
X Make sure the conditions for a correct classification of the per-
son on the front-passenger seat are met (Y page 49).
X If the PASSENGER AIR BAG OFF indicator lamp remains lit, the
front-passenger seat may not be used.
X Have OCS checked as soon as possible at an authorized
Mercedes-Benz Center. The PASSENGER AIR
BAG OFF indicator
lamp does not light up
and/or does not stay
on.
The front-passenger
seat is:
R unoccupied
R occupied by the
weight of a child up
to 12 months old in a
child restraint sys-
tem OCS is malfunctioning.
X Make sure there is nothing between the seat cushion and the
child seat.
X Make sure that the entire base of the child restraint system rests
on the seat cushion of the front-passenger seat. The backrest of
the forward-facing child restraint system must lie as flat as pos- sible against the backrest of the front-passenger seat. If nec-
essary, adjust the position of the front-passenger seat.
X When installing the child restraint system, make sure that the
seat belt is tight. Do not pull the seat belt tight using the front-
passenger seat adjustment. This could result in the seat belt and the child restraint system being pulled too tightly.
X Check for correct installation of the child restraint system.
Make sure that the head restraint does not apply a load to the
child restraint system. If necessary, adjust the head restraint
accordingly.
X Make sure that no objects are applying additional weight onto
the seat.
X If the PASSENGER AIR BAG OFF indicator lamp remains off and/
or the PASSENGER AIR BAG ON indicator lamp lights up, do not install a child restraint system on the front-passenger seat. It is
recommended that you install the child restraint system on a
suitable rear seat.
X Have OCS checked as soon as possible at an authorized
Mercedes-Benz Center. Occupant safety
53Safety Z
Page 63 of 338
Forward-facing child restraint system
If it is absolutely necessary to install a
forward-facing child restraint system on the
front-passenger seat, always move the front-
passenger seat as far back as possible. The
entire base of the child restraint system must
always rest on the seat cushion of the front-
passenger seat. The backrest of the child
restraint system must lie as flat as possible
against the backrest of the front-passenger
seat. The child restraint system must not
touch the roof or be subjected to a load by the
head restraint. Adjust the angle of the seat
backrest and the head restraint position
accordingly. Always make sure that the shoul- der belt strap is correctly routed from the
vehicle belt outlet to the shoulder belt guide
on the child restraint system. The shoulder
belt strap must be routed forwards and down- wards from the vehicle belt outlet. If neces-
sary, adjust the vehicle belt outlet and the
front-passenger seat accordingly.
Always observe the child restraint system
manufacturer's installation and operating
instructions. Child-proof locks
Important safety notes G
WARNING
If children are traveling in the vehicle, they
could:
R open doors, thus endangering other people
or road users
R exit the vehicle and be caught by oncoming
traffic
R operate vehicle equipment and become
trapped
There is a risk of an accident and injury.
Always activate the child-proof locks and
override feature if children are traveling in the vehicle. When leaving the vehicle, always take
the key with you and lock the vehicle. Never
leave children unattended in the vehicle. Override feature for:
R the rear doors (Y page 62)
R the rear side windows (Y page 62) G
WARNING
If you leave children unsupervised in the vehi- cle, they could set it in motion by, for example:
R release the parking brake.
R shift the automatic transmission out of the
parking position P.
R start the engine.
In addition, they may operate vehicle equip-
ment and become trapped. There is a risk of
an accident and injury.
When leaving the vehicle, always take the
SmartKey with you and lock the vehicle. Never
leave children unsupervised in the vehicle. G
WARNING
If persons, particularly children are subjected to prolonged exposure to extreme heat or
cold, there is a risk of injury, possibly even
fatal. Never leave children unattended in the
vehicle. G
WARNING
If the child restraint system is subjected to
direct sunlight, parts may get very hot. Chil-
dren may burn themselves on these parts,
particularly on the metal parts of the child
restraint system. There is a risk of injury.
If you leave the vehicle, taking the child with
you, always ensure that the child restraint
system is not exposed to direct sunlight. Pro- tect it with a blanket, for example. If the child
restraint system has been exposed to direct
sunlight, let it cool down before securing the
child in it. Never leave children unattended in the vehicle. Children in the vehicle
61Safety Z
Page 111 of 338
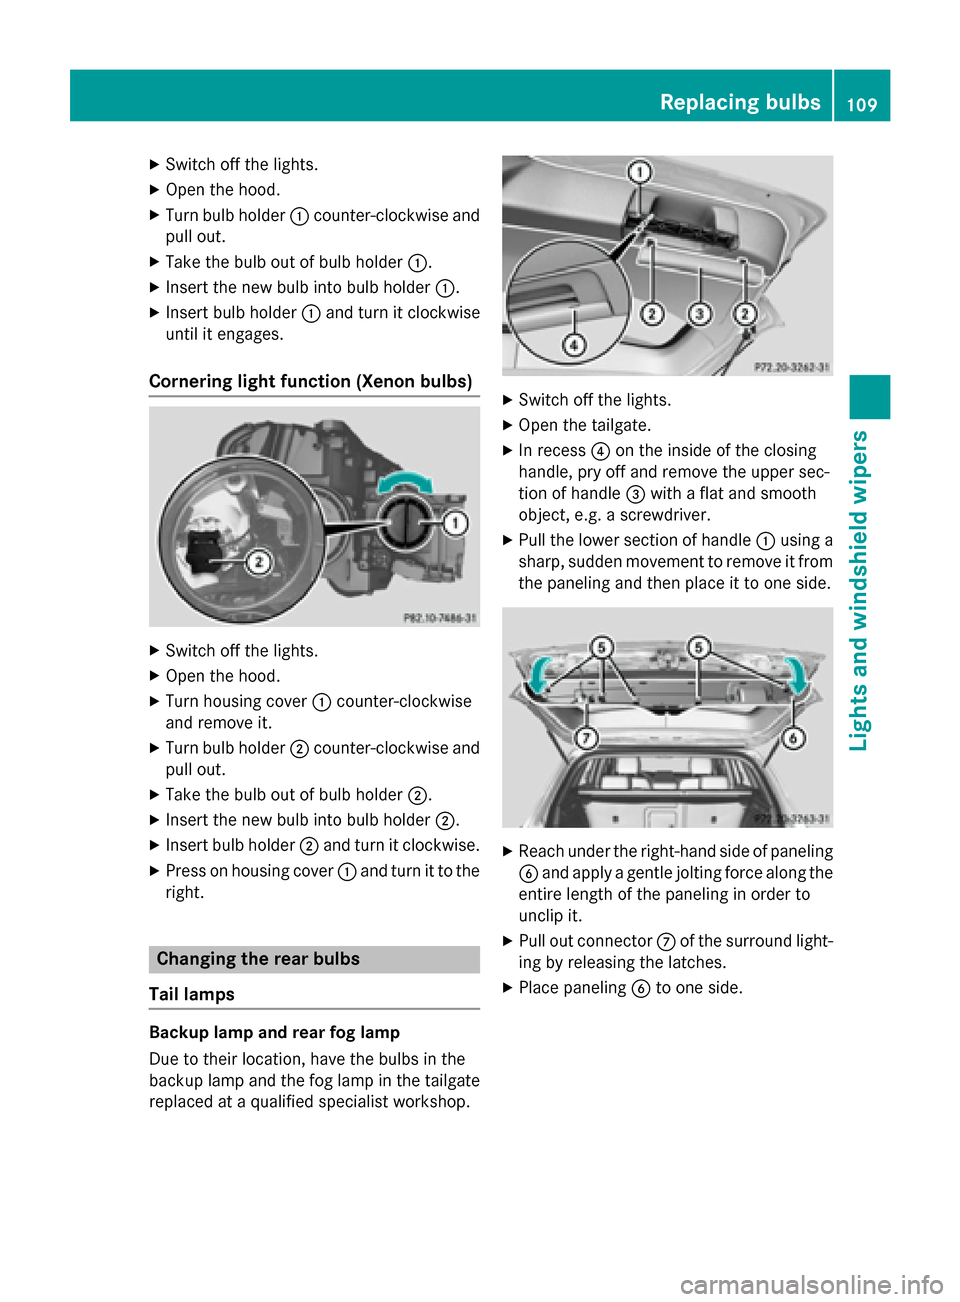
X
Switch off the lights.
X Open the hood.
X Turn bulb holder :counter-clockwise and
pull out.
X Take the bulb out of bulb holder :.
X Insert the new bulb into bulb holder :.
X Insert bulb holder :and turn it clockwise
until it engages.
Cornering light function (Xenon bulbs) X
Switch off the lights.
X Open the hood.
X Turn housing cover :counter-clockwise
and remove it.
X Turn bulb holder ;counter-clockwise and
pull out.
X Take the bulb out of bulb holder ;.
X Insert the new bulb into bulb holder ;.
X Insert bulb holder ;and turn it clockwise.
X Press on housing cover :and turn it to the
right. Changing the rear bulbs
Tail lamps Backup lamp and rear fog lamp
Due to their location, have the bulbs in the
backup lamp and the fog lamp in the tailgate replaced at a qualified specialist workshop. X
Switch off the lights.
X Open the tailgate.
X In recess ?on the inside of the closing
handle, pry off and remove the upper sec-
tion of handle =with a flat and smooth
object, e.g. a screwdriver.
X Pull the lower section of handle :using a
sharp, sudden movement to remove it from the paneling and then place it to one side. X
Reach under the right-hand side of paneling
B and apply a gentle jolting force along the
entire length of the paneling in order to
unclip it.
X Pull out connector Cof the surround light-
ing by releasing the latches.
X Place paneling Bto one side. Replacing bulbs
109Lights and windshield wipers Z
Page 159 of 338
Driving tips
General notes
Important safety notes G
WARNING
If you switch off the ignition while driving,
safety-relevant functions are only available
with limitations, or not at all. This could affect, for example, the power steering and the brake
boosting effect. You will require considerably
more effort to steer and brake. There is a risk of an accident.
Do not switch off the ignition while driving. G
WARNING
If you operate mobile communication equip-
ment while driving, you will be distracted from traffic conditions. You could also lose controlof the vehicle. There is a risk of an accident.
Only operate this equipment when the vehicleis stationary.
Observe the legal requirements for the coun- try in which you are driving. Some jurisdic-
tions prohibit the driver from using a mobile
phone while driving a vehicle.
If you make a call while driving, always use
hands-free mode. Only operate the telephone
when the traffic situation permits. If you are
unsure, pull over to a safe location and stop
before operating the telephone.
Bear in mind that at a speed of only 30 mph
(approximately 50 km/h), the vehicle covers
a distance of 44 ft (approximately 14 m) per
second.
Drive sensibly – save energy Observe the following tips to save energy:
R The tires should always be inflated to the
recommended tire pressure.
R Remove unnecessary loads.
R Remove roof racks when they are not nee-
ded.
R Avoid frequent acceleration or braking. Energy consumption also increases when
driving in low or high outside temperatures, in
stop-start traffic, on short journeys and in
hilly terrain.
Drinking and driving G
WARNING
Drinking and driving and/or taking drugs and driving are very dangerous combinations.
Even a small amount of alcohol or drugs can
affect your reflexes, perceptions and judg-
ment.
The possibility of a serious or even fatal acci-
dent is greatly increased when you drink or
take drugs and drive.
Do not drink or take drugs and drive or allow
anyone to drive who has been drinking or tak-
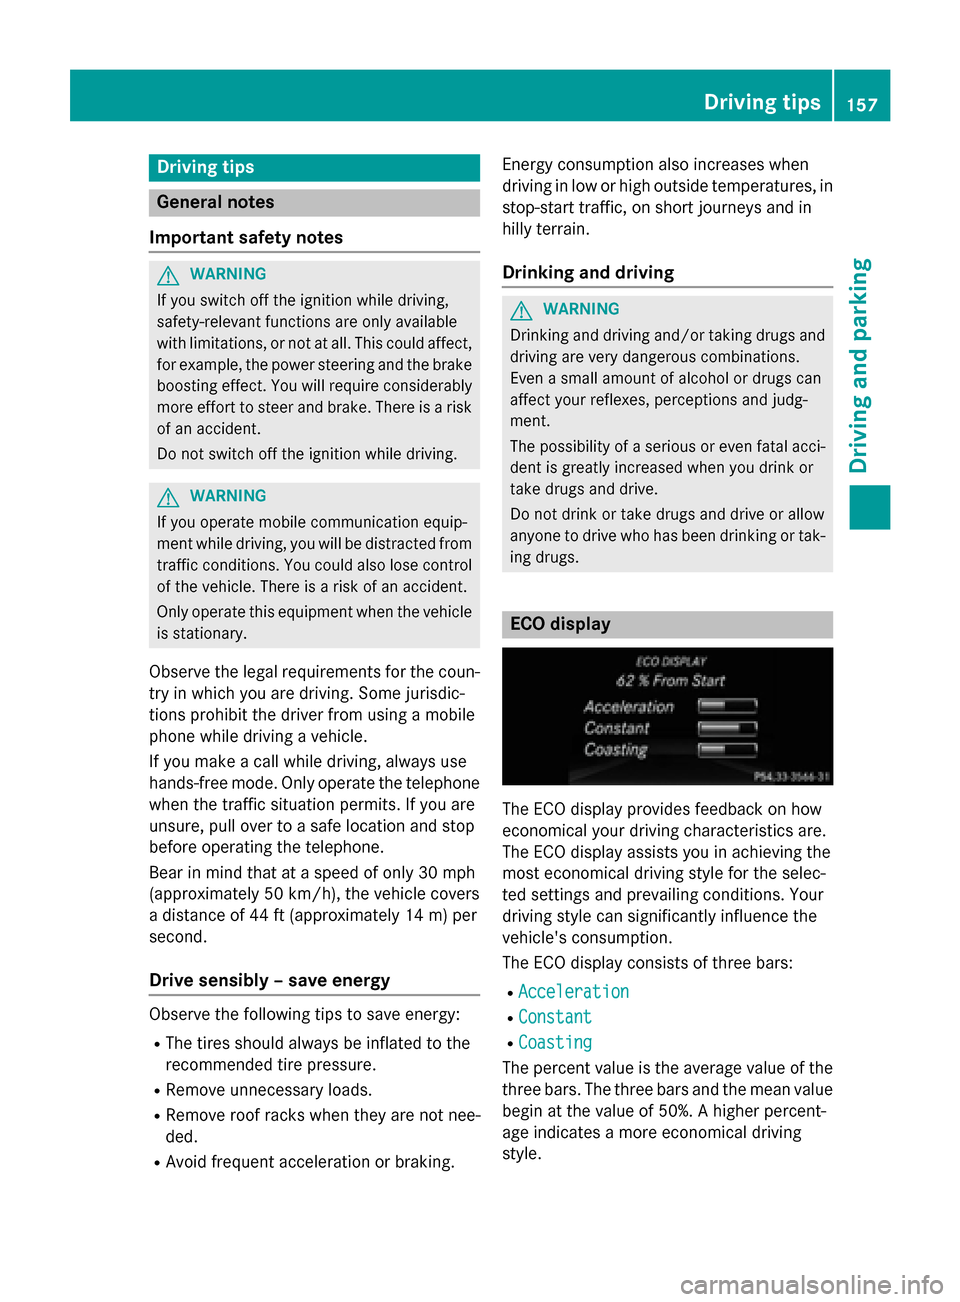
ing drugs. ECO display
The ECO display provides feedback on how
economical your driving characteristics are.
The ECO display assists you in achieving the
most economical driving style for the selec-
ted settings and prevailing conditions. Your
driving style can significantly influence the
vehicle's consumption.
The ECO display consists of three bars:
R Acceleration
Acceleration
R Constant Constant
R Coasting
Coasting
The percent value is the average value of the three bars. The three bars and the mean value
begin at the value of 50%. A higher percent-
age indicates a more economical driving
style. Driving tips
157Driving and pa rking Z