2015 KIA MORNING section 8
[x] Cancel search: section 8Page 120 of 420
447
Features of your vehicle
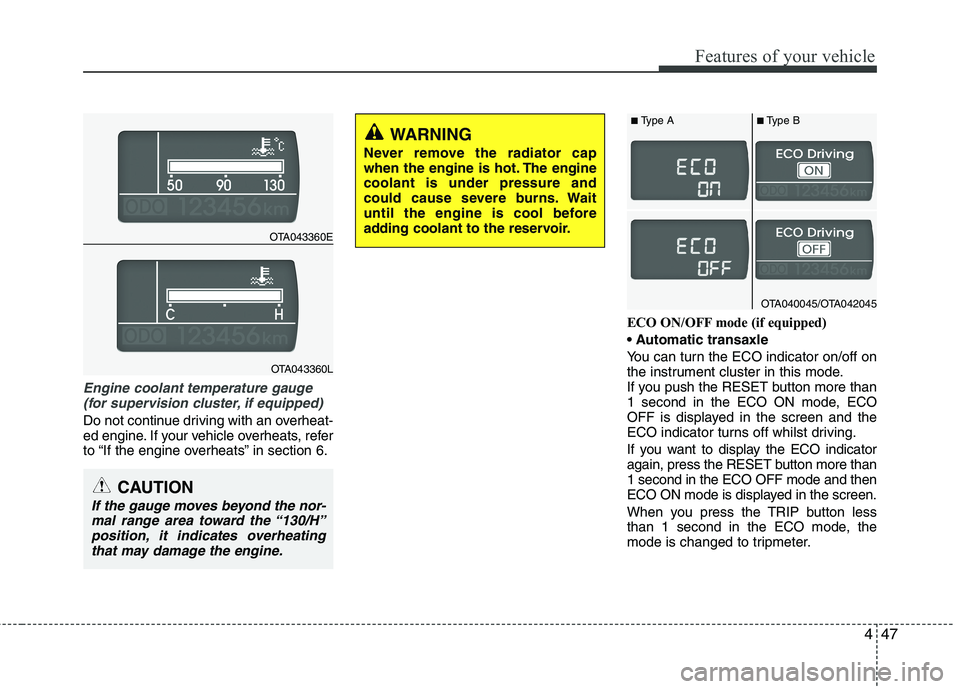
Engine coolant temperature gauge
(for supervision cluster, if equipped)
Do not continue driving with an overheat-
ed engine. If your vehicle overheats, refer
to “If the engine overheats” in section 6.ECO ON/OFF mode (if equipped)
You can turn the ECO indicator on/off on
the instrument cluster in this mode.
If you push the RESET button more than
1 second in the ECO ON mode, ECO
OFF is displayed in the screen and the
ECO indicator turns off whilst driving.
If you want to display the ECO indicator
again, press the RESET button more than
1 second in the ECO OFF mode and then
ECO ON mode is displayed in the screen.
When you press the TRIP button less
than 1 second in the ECO mode, the
mode is changed to tripmeter.
CAUTION
If the gauge moves beyond the nor-
mal range area toward the “130/H”
position, it indicates overheating
that may damage the engine.
WARNING
Never remove the radiator cap
when the engine is hot. The engine
coolant is under pressure and
could cause severe burns. Wait
until the engine is cool before
adding coolant to the reservoir.
OTA043360E
OTA043360L
OTA040045/OTA042045
■Type A■Type B
Page 122 of 420
449
Features of your vehicle
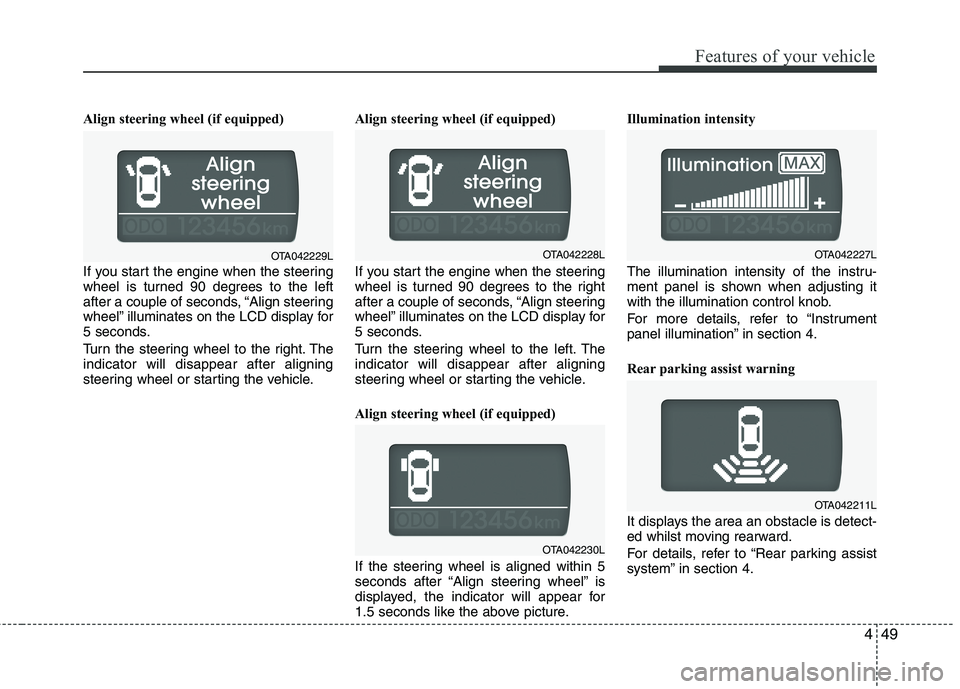
Align steering wheel (if equipped)
If you start the engine when the steering
wheel is turned 90 degrees to the left
after a couple of seconds, “Align steering
wheel” illuminates on the LCD display for
5 seconds.
Turn the steering wheel to the right. The
indicator will disappear after aligning
steering wheel or starting the vehicle.Align steering wheel (if equipped)
If you start the engine when the steering
wheel is turned 90 degrees to the right
after a couple of seconds, “Align steering
wheel” illuminates on the LCD display for
5 seconds.
Turn the steering wheel to the left. The
indicator will disappear after aligning
steering wheel or starting the vehicle.
Align steering wheel (if equipped)
If the steering wheel is aligned within 5
seconds after “Align steering wheel” is
displayed, the indicator will appear for
1.5 seconds like the above picture.Illumination intensity
The illumination intensity of the instru-
ment panel is shown when adjusting it
with the illumination control knob.
For more details, refer to “Instrument
panel illumination” in section 4.
Rear parking assist warning
It displays the area an obstacle is detect-
ed whilst moving rearward.
For details, refer to “Rear parking assist
system” in section 4.
OTA042230L
OTA042227LOTA042229LOTA042228L
OTA042211L
Page 133 of 420
Features of your vehicle
60 4
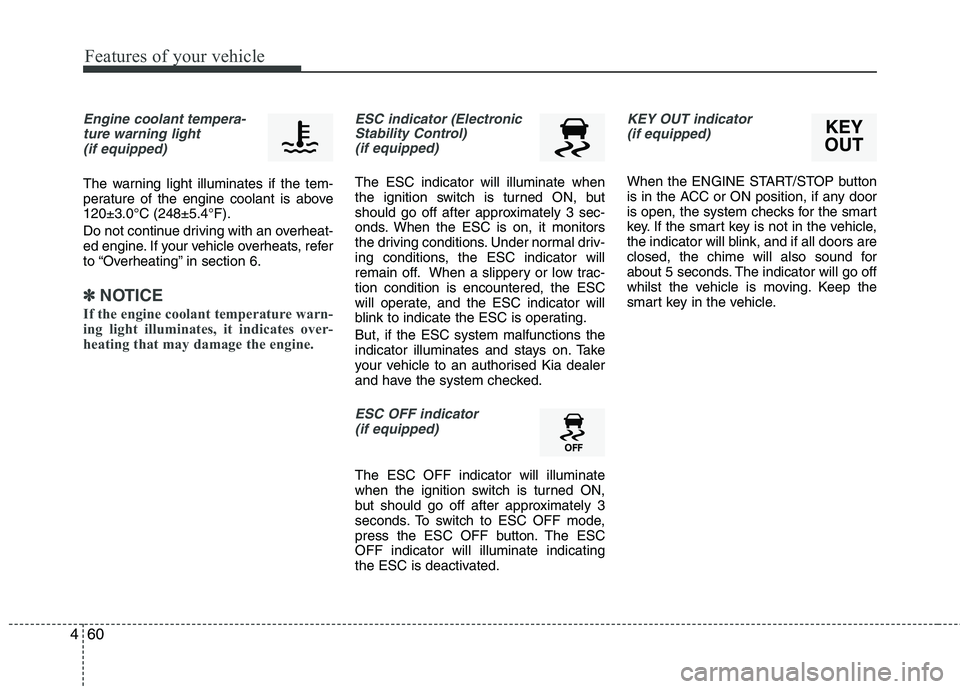
Engine coolant tempera-
ture warning light
(if equipped)
The warning light illuminates if the tem-
perature of the engine coolant is above
120±3.0°C (248±5.4°F).
Do not continue driving with an overheat-
ed engine. If your vehicle overheats, refer
to “Overheating” in section 6.
✽ ✽
NOTICE
If the engine coolant temperature warn-
ing light illuminates, it indicates over-
heating that may damage the engine.
ESC indicator (Electronic
Stability Control)
(if equipped)
The ESC indicator will illuminate when
the ignition switch is turned ON, but
should go off after approximately 3 sec-
onds. When the ESC is on, it monitors
the driving conditions. Under normal driv-
ing conditions, the ESC indicator will
remain off. When a slippery or low trac-
tion condition is encountered, the ESC
will operate, and the ESC indicator will
blink to indicate the ESC is operating.
But, if the ESC system malfunctions the
indicator illuminates and stays on. Take
your vehicle to an authorised Kia dealer
and have the system checked.
ESC OFF indicator
(if equipped)
The ESC OFF indicator will illuminate
when the ignition switch is turned ON,
but should go off after approximately 3
seconds. To switch to ESC OFF mode,
press the ESC OFF button. The ESC
OFF indicator will illuminate indicating
the ESC is deactivated.
KEY OUT indicator
(if equipped)
When the ENGINE START/STOP button
is in the ACC or ON position, if any door
is open, the system checks for the smart
key. If the smart key is not in the vehicle,
the indicator will blink, and if all doors are
closed, the chime will also sound for
about 5 seconds. The indicator will go off
whilst the vehicle is moving. Keep the
smart key in the vehicle.
KEY
OUT
Page 153 of 420
Features of your vehicle
80 4
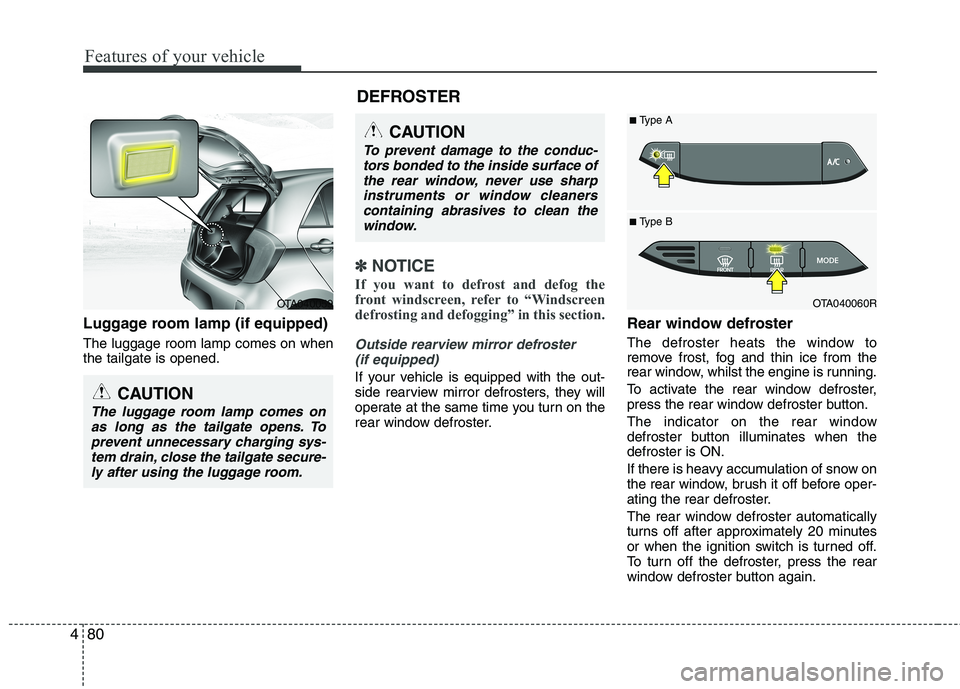
Luggage room lamp (if equipped)
The luggage room lamp comes on when
the tailgate is opened.
✽ ✽
NOTICE
If you want to defrost and defog the
front windscreen, refer to “Windscreen
defrosting and defogging” in this section.
Outside rearview mirror defroster
(if equipped)
If your vehicle is equipped with the out-
side rearview mirror defrosters, they will
operate at the same time you turn on the
rear window defroster.
Rear window defroster
The defroster heats the window to
remove frost, fog and thin ice from the
rear window, whilst the engine is running.
To activate the rear window defroster,
press the rear window defroster button.
The indicator on the rear window
defroster button illuminates when the
defroster is ON.
If there is heavy accumulation of snow on
the rear window, brush it off before oper-
ating the rear defroster.
The rear window defroster automatically
turns off after approximately 20 minutes
or when the ignition switch is turned off.
To turn off the defroster, press the rear
window defroster button again.
CAUTION
To prevent damage to the conduc-
tors bonded to the inside surface of
the rear window, never use sharp
instruments or window cleaners
containing abrasives to clean the
window.
OTA040060R
■ Type B
■Type A
DEFROSTER
OTA040059
CAUTION
The luggage room lamp comes on
as long as the tailgate opens. To
prevent unnecessary charging sys-
tem drain, close the tailgate secure-
ly after using the luggage room.
Page 182 of 420
4109
Features of your vehicle
MODE ( ) (3)
Press the button to change audio source.
FM(1~2)
➟ AM ➟ CD ➟ USB AUX(iPod)➟ FM...
In addition to mode change, Power on/off
can be made by pressing this button
when the ignition switch is on ACC or
ON.
- Power ON : Press the button when the
audio is off
- Power OFF : Press the button for more
than 0.8 seconds when the audio is on.
MUTE ( ) (4, if equipped)
Press the button to mute the sound.
Press the button to turn off the micro-
phone during a telephone call.
Detailed information for audio control
buttons are described in the following
pages in this section.
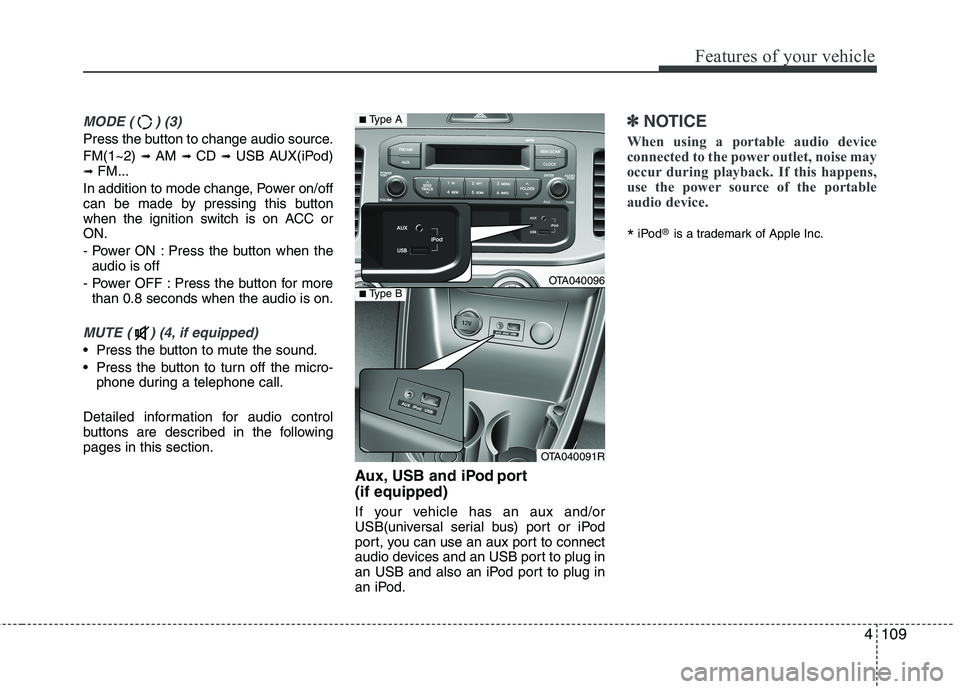
Aux, USB and iPod port
(if equipped)
If your vehicle has an aux and/or
USB(universal serial bus) port or iPod
port, you can use an aux port to connect
audio devices and an USB port to plug in
an USB and also an iPod port to plug in
an iPod.
✽ ✽
NOTICE
When using a portable audio device
connected to the power outlet, noise may
occur during playback. If this happens,
use the power source of the portable
audio device.
*iPod®is a trademark of Apple Inc.
OTA040096
OTA040091R
■Type A
■Type B
Page 199 of 420
Features of your vehicle
126 4
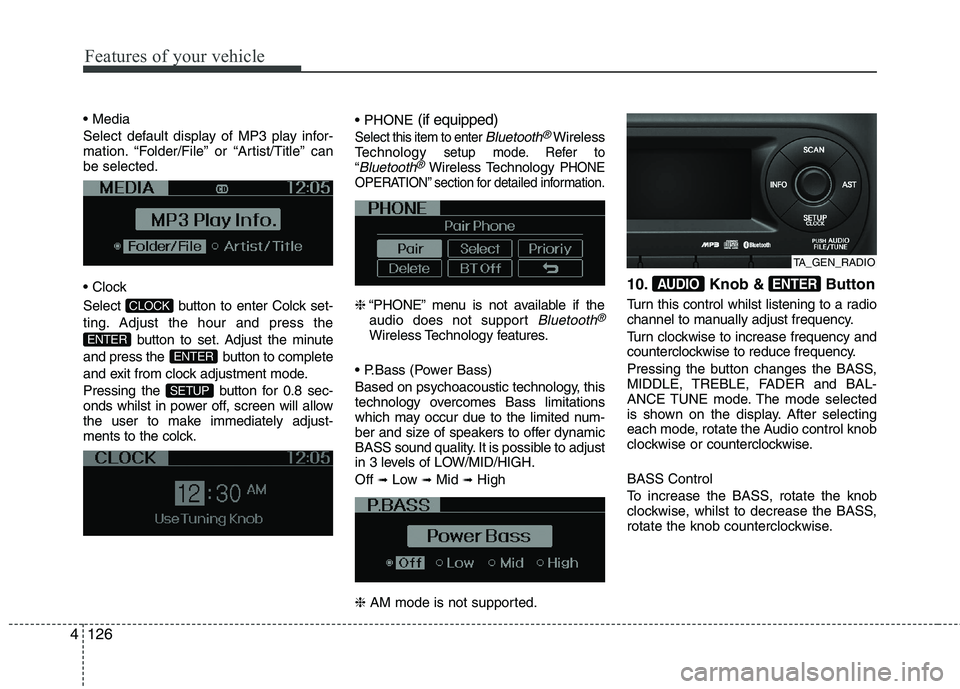
Select default display of MP3 play infor-
mation. “Folder/File” or “Artist/Title” can
be selected.
Select button to enter Colck set-
ting. Adjust the hour and press the
button to set. Adjust the minute
and press the button to complete
and exit from clock adjustment mode.
Pressing the button for 0.8 sec-
onds whilst in power off, screen will allow
the user to make immediately adjust-
ments to the colck.(if equipped)
Select this item to enter Bluetooth®Wireless
Technologysetup mode. Refer to
“Bluetooth®Wireless TechnologyPHONE
OPERATION” section for detailed information.
❈“PHONE” menu is not available if the
audio does not support Bluetooth®
Wireless Technologyfeatures.
Based on psychoacoustic technology, this
technology overcomes Bass limitations
which may occur due to the limited num-
ber and size of speakers to offer dynamic
BASS sound quality. It is possible to adjust
in 3 levels of LOW/MID/HIGH.
Off
➟Low ➟Mid ➟High
❈AM mode is not supported.
10. Knob & Button
Turn this control whilst listening to a radio
channel to manually adjust frequency.
Turn clockwise to increase frequency and
counterclockwise to reduce frequency.
Pressing the button changes the BASS,
MIDDLE, TREBLE, FADER and BAL-
ANCE TUNE mode. The mode selected
is shown on the display. After selecting
each mode, rotate the Audio control knob
clockwise or counterclockwise.
BASS Control
To increase the BASS, rotate the knob
clockwise, whilst to decrease the BASS,
rotate the knob counterclockwise.
ENTERAUDIO
SETUP
ENTER
ENTER
CLOCK
TA_GEN_RADIO
Page 212 of 420
4139
Features of your vehicle
Before using Bluetooth®Wireless
Technology features, the phone must be
paired (registered) with the audio sys-
tem. Up to 5 phones can be paired with
the system.
NOTE:
• The pairing procedure of the phone
varies according to each phone
model. Before attempting to pair
phone, please see your phone’s
User’s Guide for instructions.
• Once pairing with the phone is com-
pleted, there is no need to pair with
that phone again unless the phone
is deleted manually from the audio
system (refer “Deleting a Phone”
section) or the vehicle’s information
is removed from the phone.
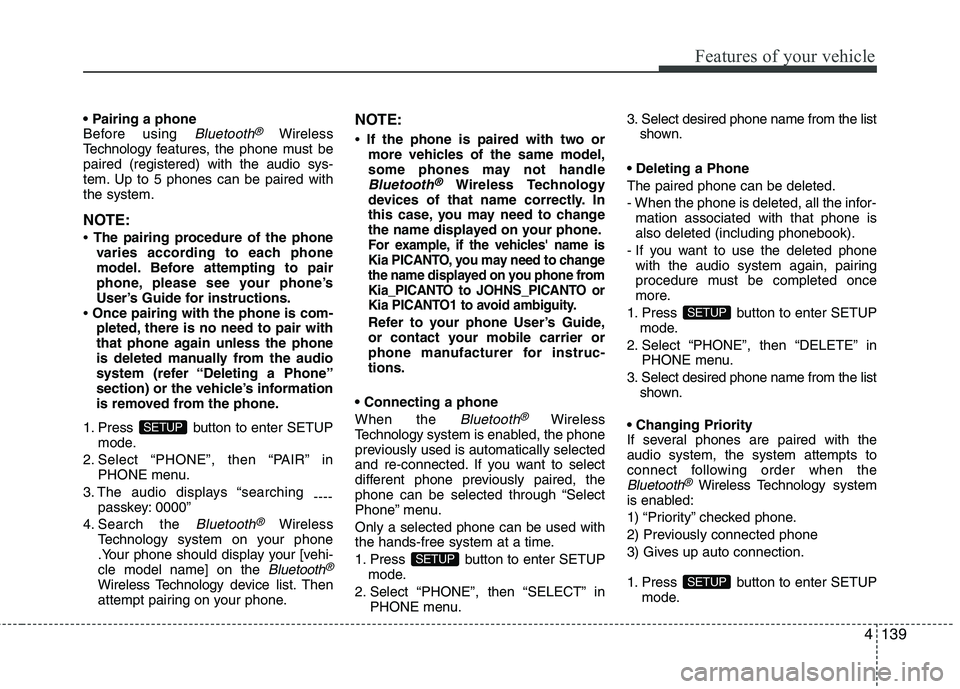
1. Press button to enter SETUP
mode.
2. Select “PHONE”, then “PAIR” in
PHONE menu.
3. The audio displays “searching
----
passkey: 0000”
4. Search the
Bluetooth®Wireless
Technologysystem on your phone
.Your phone should display your [vehi-
cle model name] on the
Bluetooth®
Wireless Technology device list. Then
attempt pairing on your phone.
NOTE:
• If the phone is paired with two or
more vehicles of the same model,
some phones may not handle
Bluetooth®Wireless Technology
devices of that name correctly. In
this case, you may need to change
the name displayed on your phone.
For example, if the vehicles' name is
Kia PICANTO, you may need to change
the name displayed on you phone from
Kia_PICANTO to JOHNS_PICANTO or
Kia PICANTO1 to avoid ambiguity.
Refer to your phone User’s Guide,
or contact your mobile carrier or
phone manufacturer for instruc-
tions.
When the
Bluetooth®Wireless
Technologysystem is enabled, the phone
previously used is automatically selected
and re-connected. If you want to select
different phone previously paired, the
phone can be selected through “Select
Phone” menu.
Only a selected phone can be used with
the hands-free system at a time.
1. Press button to enter SETUP
mode.
2. Select “PHONE”, then “SELECT” in
PHONE menu.3. Select desired phone name from the list
shown.
The paired phone can be deleted.
- When the phone is deleted, all the infor-
mation associated with that phone is
also deleted (including phonebook).
- If you want to use the deleted phone
with the audio system again, pairing
procedure must be completed once
more.
1. Press button to enter SETUP
mode.
2. Select “PHONE”, then “DELETE” in
PHONE menu.
3. Select desired phone name from the list
shown.
If several phones are paired with the
audio system, the system attempts to
connect following order when the
Bluetooth®Wireless Technologysystem
is enabled:
1) “Priority” checked phone.
2) Previously connected phone
3) Gives up auto connection.
1. Press button to enter SETUP
mode.
SETUP
SETUP
SETUP
SETUP
Page 219 of 420

Features of your vehicle
146 4
MENU indication is
possible with RDS MENU)
Selects whether REGION code is used
(ON) or not (OFF) once the radio deter-
mines the AF jump condition. If AUTO is
selected, AF jump condition is deter-
mined automatically via PI reception sta-
tus.
Select this item to enter Clock setup
mode.(12/24Hr., Auto, Time)
Select “12/24 Hr.” button to enter Time
Format menu.
Select “Auto” button to enter Automatic
RDS Time menu.
Select “Time” button to enter Time setting.
Adjust the hour and press the
button to set. Adjust the minute and press
the button to complete and exit
from clock adjustment mode.
Pressing the button for 0.8 sec-
onds whilst in power off, screen will allow
the user to make immediately adjust-
ments to the clock.
(if equipped)
Select this item to enter PHONE setup mode.
Refer to “BLUETOOTH PHONE OPERA-
TION” section for detailed information.
❈“PHONE” menu is not available if the
audio does not support Bluetooth fea-
tures. (PowerBass)
This function creates virtual sound
effects and allows adjustments to the
Bass level.
Off
➟Low ➟Mid ➟High ➟ Off...
❈ AM Mode is not supported.
SETUP
ENTER
ENTER