2015 FORD SUPER DUTY lock
[x] Cancel search: lockPage 136 of 470
STARTING A GASOLINE
ENGINE
When you start the engine, the idle speedincreases, this helps to warm up theengine. If the engine idle speed does notslow down automatically, have yourvehicle checked by an authorized dealer.
Before starting the engine check thefollowing:
•Make sure all occupants have fastenedtheir safety belts.
•Make sure the headlamps andelectrical accessories are off.
•Make sure the parking brake is on.
•Move the transmission selector leverto position P.
•Turn the ignition key to the on position.
Note:Do not touch the accelerator pedal.
1.Fully press the brake pedal.
2.Turn the key to the start position tostart the engine. Release the key whenthe engine starts.
Note:The engine may continue crankingfor up to 15 seconds or until it starts.
Note:If you cannot start the engine on thefirst try, wait for a short period and try again.
Failure to Start
If you cannot start the engine after threeattempts, wait 10 seconds and follow thisprocedure:
1.Fully press the brake pedal.
2.Fully press the accelerator pedal andhold it there.
3.Start the engine.
Stopping the Engine When YourVehicle is Stationary
1.Move the transmission selector leverto position P.
2.Turn the key to the off position.
3.Apply the parking brake.
Stopping the Engine When YourVehicle is Moving
WARNING
Switching off the engine when thevehicle is still moving will result in aloss of brake and steering assistance.The steering will not lock, but higher effortwill be required. When the ignition isswitched off, some electrical circuits,warning lamps and indicators may also beoff.
1.Move the transmission selector leverto position N and use the brakes tobring your vehicle to a safe stop.
2.When your vehicle has stopped, movethe transmission selector lever toposition P and turn the key to the offposition.
3.Apply the parking brake.
Cold Weather Starting (FlexibleFuel Vehicles Only)
The starting characteristics of all gradesof E85 ethanol make it unsuitable for usewhen ambient temperatures fall below0°F (-18°C). Consult your fuel distributorfor the availability of winter grade ethanol.As the outside temperature approachesfreezing, ethanol fuel distributors shouldsupply winter grade ethanol (same as withunleaded gasoline). If summer gradeethanol is used in cold weather conditions,0°F to 32°F (-18°C to 0°C), you mayexperience increased cranking times, roughidle or hesitation until the engine haswarmed up.
You may experience a decrease in peakperformance when the engine is cold whenoperating on E85 ethanol.
133Super Duty (), enUSAStarting and Stopping the Engine
Page 137 of 470
Do not crank the engine for more than 10seconds at a time as starter damage mayoccur. If the engine fails to start, turn thekey to off and wait 30 seconds beforetrying again.
Do not use starting fluid such as ether inthe air intake system. Such fluid couldcause immediate explosive damage to theengine and possible personal injury.
If you should experience cold weatherstarting problems on E85 ethanol, andneither an alternative brand of E85 ethanolnor an engine block heater is available, theaddition of unleaded gasoline to your tankimproves cold starting performance. Yourvehicle is designed to operate on E85ethanol alone, unleaded gasoline alone, orany mixture of the two.
If the Engine Fails to Start Using thePreceding Instructions (Flexible FuelVehicles Only)
1.Press and hold down the acceleratorone-third to one-half the way to thefloor, then crank the engine.
2.When the engine starts, release thekey, then gradually release theaccelerator pedal as the engine speedsup. If the engine still fails to start,repeat Step 1.
Guarding Against Exhaust Fumes
WARNING
If you smell exhaust fumes insideyour vehicle, have your vehiclechecked by your authorized dealerimmediately. Do not drive your vehicle ifyou smell exhaust fumes. Carbonmonoxide is present in exhaust fumes.Take precautions to avoid its dangerouseffects.
Important Ventilating Information
If you stop your vehicle and the leave theengine idling for long periods of time, werecommend that you do one of thefollowing:
•Open the windows at least 1 inch (2.5centimeters)
•Set your climate control to outside air.
ENGINE BLOCK HEATER (IF
EQUIPPED)
WARNINGS
Failure to follow engine block heaterinstructions could result in propertydamage or serious personal injury.
Do not use your heater withungrounded electrical systems ortwo-pronged adapters. There is a riskof electrical shock.
Note:The heater is most effective whenoutdoor temperatures are below 0°F(-18°C).
The heater acts as a starting aid bywarming the engine coolant. This allowsthe climate control system to respondquickly. The equipment includes a heaterelement (installed in the engine block) anda wire harness. You can connect thesystem to a grounded 120-volt ACelectrical source.
We recommend that you do the followingfor a safe and correct operation:
•Use a 16-gauge outdoor extension cordthat is product certified byUnderwriter’s Laboratory (UL) orCanadian Standards Association(CSA). This extension cord must besuitable for use outdoors, in cold
134Super Duty (), enUSAStarting and Stopping the Engine
Page 138 of 470
temperatures, and be clearly markedSuitable for Use with OutdoorAppliances. Do not use an indoorextension cord outdoors. This couldresult in an electric shock or become afire hazard.
•Use as short an extension cord aspossible.
•Do not use multiple extension cords.
•Make sure that when in operation, theextension cord plug and heater cordplug connections are free and clear ofwater. This could cause an electricshock or fire.
•Make sure your vehicle is parked in aclean area, clear of combustibles.
•Make sure the heater, heater cord andextension cord are firmly connected.
•Check for heat anywhere in theelectrical hookup once the system hasbeen operating for approximately 30minutes.
•Make sure the system is unplugged andproperly stowed before driving yourvehicle. Make sure the protective coverseals the prongs of the block heatercord plug when not in use.
•Make sure the heater system ischecked for proper operation beforewinter.
Using the Engine Block Heater
Make sure the receptacle terminals areclean and dry prior to use. Clean them witha dry cloth if necessary.
The heater uses 0.4 to 1.0 kilowatt-hoursof energy per hour of use. The system doesnot have a thermostat. It achievesmaximum temperature afterapproximately three hours of operation.Using the heater longer than three hoursdoes not improve system performance andunnecessarily uses electricity.
135Super Duty (), enUSAStarting and Stopping the Engine
Page 141 of 470
We recommend regular unleaded gasolinewith a pump (R+M)/2 octane rating of 87.Some stations offer fuels posted as regularwith an octane rating below 87, particularlyin high altitude areas. We do notrecommend fuels with an octane ratingbelow 87.
Do not be concerned if your enginesometimes knocks lightly. However, if itknocks heavily under most drivingconditions while you are using fuel with therecommended octane rating, see yourauthorized dealer to prevent any enginedamage.
RUNNING OUT OF FUEL
Avoid running out of fuel because thissituation may have an adverse effect onpowertrain components.
If you have run out of fuel:
•You may need to cycle the ignition fromoff to on several times after refuelingto allow the fuel system to pump thefuel from the tank to the engine. Onrestarting, cranking time will take a fewseconds longer than normal. Withkeyless ignition, just start the engine.Crank time will be longer than usual.
•Normally, adding 1 gallon (3.8 liters) offuel is enough to restart the engine. Ifthe vehicle is out of fuel and on a steepgrade, more than 1 gallon (3.8 liters)may be required.
•The service engine soon indicator maycome on. For more information on theservice engine soon indicator, SeeWarning Lamps and Indicators(page 77).
Refilling With a Portable FuelContainer
WARNINGS
The fuel system may be underpressure. If the fuel filler cap isventing vapor or if you hear a hissingsound, wait until it stops before completelyremoving the fuel filler cap. Otherwise, fuelmay spray out and cause personal injury.
Do not try to pry open or push openthe fuel system with foreign objects.This could damage the fuel systemand its seal and cause personal injury toyou or others.
Use the following directions when fillingfrom a portable fuel container:
1.Remove the fuel cap from the fuel fillerpipe by rotating it counter clockwise.
2.Slowly insert the portable fuelcontainer into the fuel filler opening.
3.Fill the vehicle with fuel from theportable fuel container.
4.4. When done, remove the portablefuel container nozzle and reinstall fuelcap. Insert fuel cap into fuel filleropening and turn clockwise until a clickis heard.
REFUELING
WARNINGS
Fuel vapor burns violently and a fuelfire can cause severe injuries.
Read and follow all the instructionson the pump island.
Turn off your engine when you arerefueling.
Do not smoke if you are near fuel orrefueling your vehicle.
138Super Duty (), enUSAFuel and Refueling
Page 142 of 470
WARNINGS
Keep sparks, flames and smokingmaterials away from fuel.
Stay outside your vehicle and do notleave the fuel pump unattendedwhen refueling your vehicle. This isagainst the law in some places.
Keep children away from the fuelpump; never let children pump fuel.
Do not use personal electronicdevices while refueling.
Use the following guidelines to avoidelectrostatic charge build-up when fillingan ungrounded fuel container:
•Place approved fuel container on theground.
•Do not fill a fuel container while it is inthe vehicle (including the cargo area).
•Keep the fuel pump nozzle in contactwith the fuel container while filling.
•Do not use a device that would holdthe fuel pump handle in the fill position.
Fuel Filler Cap
WARNINGS
The fuel system may be underpressure. If you hear a hissing soundnear the fuel filler door, do not refueluntil the sound stops. Otherwise, fuel mayspray out, which could cause seriouspersonal injury.
If you do not use the proper fuel fillercap, excessive pressure or vacuumin the fuel tank may damage the fuelsystem or cause the fuel cap to disengagein a collision, which may result in possiblepersonal injury.
Note:If you must replace the fuel filler cap,replace it with a fuel filler cap that isdesigned for your vehicle. The customerwarranty may be void for any damage to thefuel tank or fuel system if the correctgenuine Ford, Motorcraft® or other certifiedfuel filler cap is not used.
Your fuel tank filler cap has an indexeddesign with a 1/4th turn on and off feature.When fueling your vehicle:
1.Put the vehicle in P (Park).
2.Turn the engine off.
3.Carefully turn the filler capcounterclockwise until it spins off.
4.Pull to remove the cap from the fuelfiller pipe.
5.To install the cap, align the tabs on thecap with the notches on the filler pipe.
6.Turn the filler cap clockwise 1/4 of aturn clockwise until it clicks at leastonce.
If the Check Fuel Cap light or a Check FuelCap message appears in the instrumentcluster and stays on after you start theengine, the fuel filler cap may not beproperly installed.
If the fuel cap light remains on, at the nextopportunity, safely pull off of the road,remove the fuel filler cap, align the capproperly and reinstall it. The check fuel caplight or Check fuel cap message may notreset immediately; it may take severaldriving cycles for the indicators to turn off.A driving cycle consists of an enginestart-up (after four or more hours with theengine off) followed by normal city andhighway driving.
139Super Duty (), enUSAFuel and Refueling
Page 147 of 470
AUTOMATIC TRANSMISSION
WARNING
Always set the parking brake fullyand make sure the gearshift islatched in P (Park). Turn the ignitionto the off position and remove the keywhenever you leave your vehicle.
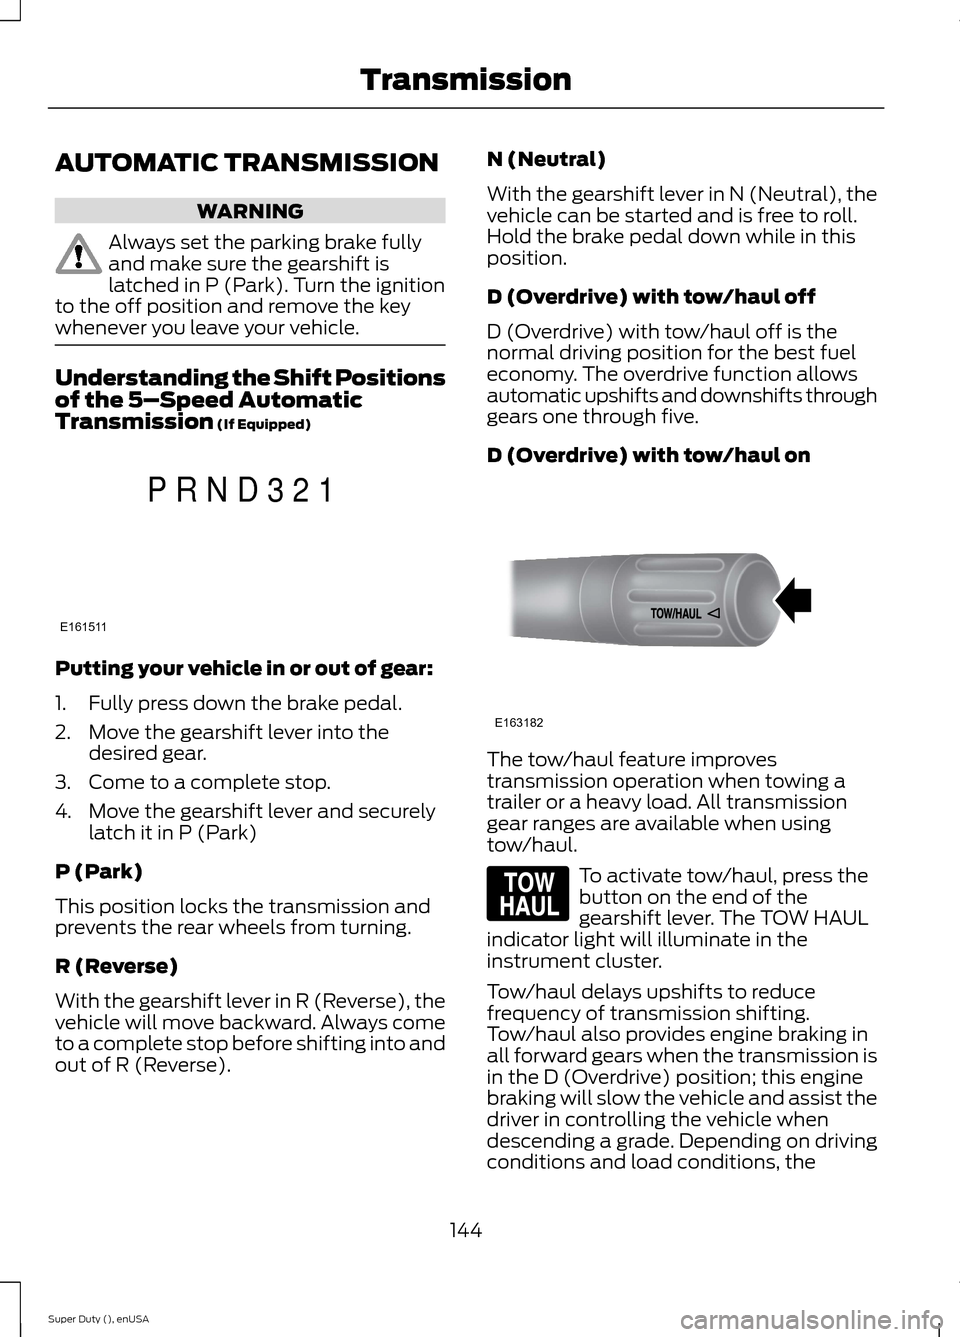
Understanding the Shift Positionsof the 5–Speed AutomaticTransmission (If Equipped)
Putting your vehicle in or out of gear:
1.Fully press down the brake pedal.
2.Move the gearshift lever into thedesired gear.
3.Come to a complete stop.
4.Move the gearshift lever and securelylatch it in P (Park)
P (Park)
This position locks the transmission andprevents the rear wheels from turning.
R (Reverse)
With the gearshift lever in R (Reverse), thevehicle will move backward. Always cometo a complete stop before shifting into andout of R (Reverse).
N (Neutral)
With the gearshift lever in N (Neutral), thevehicle can be started and is free to roll.Hold the brake pedal down while in thisposition.
D (Overdrive) with tow/haul off
D (Overdrive) with tow/haul off is thenormal driving position for the best fueleconomy. The overdrive function allowsautomatic upshifts and downshifts throughgears one through five.
D (Overdrive) with tow/haul on
The tow/haul feature improvestransmission operation when towing atrailer or a heavy load. All transmissiongear ranges are available when usingtow/haul.
To activate tow/haul, press thebutton on the end of thegearshift lever. The TOW HAULindicator light will illuminate in theinstrument cluster.
Tow/haul delays upshifts to reducefrequency of transmission shifting.Tow/haul also provides engine braking inall forward gears when the transmission isin the D (Overdrive) position; this enginebraking will slow the vehicle and assist thedriver in controlling the vehicle whendescending a grade. Depending on drivingconditions and load conditions, the
144Super Duty (), enUSATransmissionE161511PRND321 E163182 E161509
Page 148 of 470
transmission may downshift, slow thevehicle and control the vehicle speed whendescending a hill, without the acceleratorpedal being pressed. The amount ofdownshift braking provided will vary basedupon the amount the brake pedal ispressed.
To deactivate the tow/haul feature andreturn to normal driving mode, press thebutton on the end of the gearshift lever.The TOW HAUL light will no longer beilluminated.
When you shut-off and restart the engine,the transmission will automatically returnto normal D (Overdrive) mode (tow/hauloff).
WARNING
Do not use the tow/haul or enginebrake features when driving in icy orslippery conditions as the increasedengine braking can cause the rear wheelsto slide and your vehicle to swing aroundwith the possible loss of vehicle control.
3 (Third)
Transmission starts and operates in thirdgear only
Used for improved traction on slipperyroads. Selecting 3 (Third) provides enginebraking.
2 (Second)
Use 2 (Second) to start-up on slipperyroads or to provide additional enginebraking on downgrades.
1 (First)
•Provides maximum engine braking
•Allows upshifts by moving gearshiftlever
•The transmission will not downshiftinto 1 (First) at high speeds; it willdownshift to a lower gear and thenshift into 1 (First) when the vehiclereaches slower speeds.
Forced downshifts
•Allowed in D (Overdrive) with thetow/haul feature on or off
•Press the accelerator to the floor
•Allows transmission to select anappropriate gear
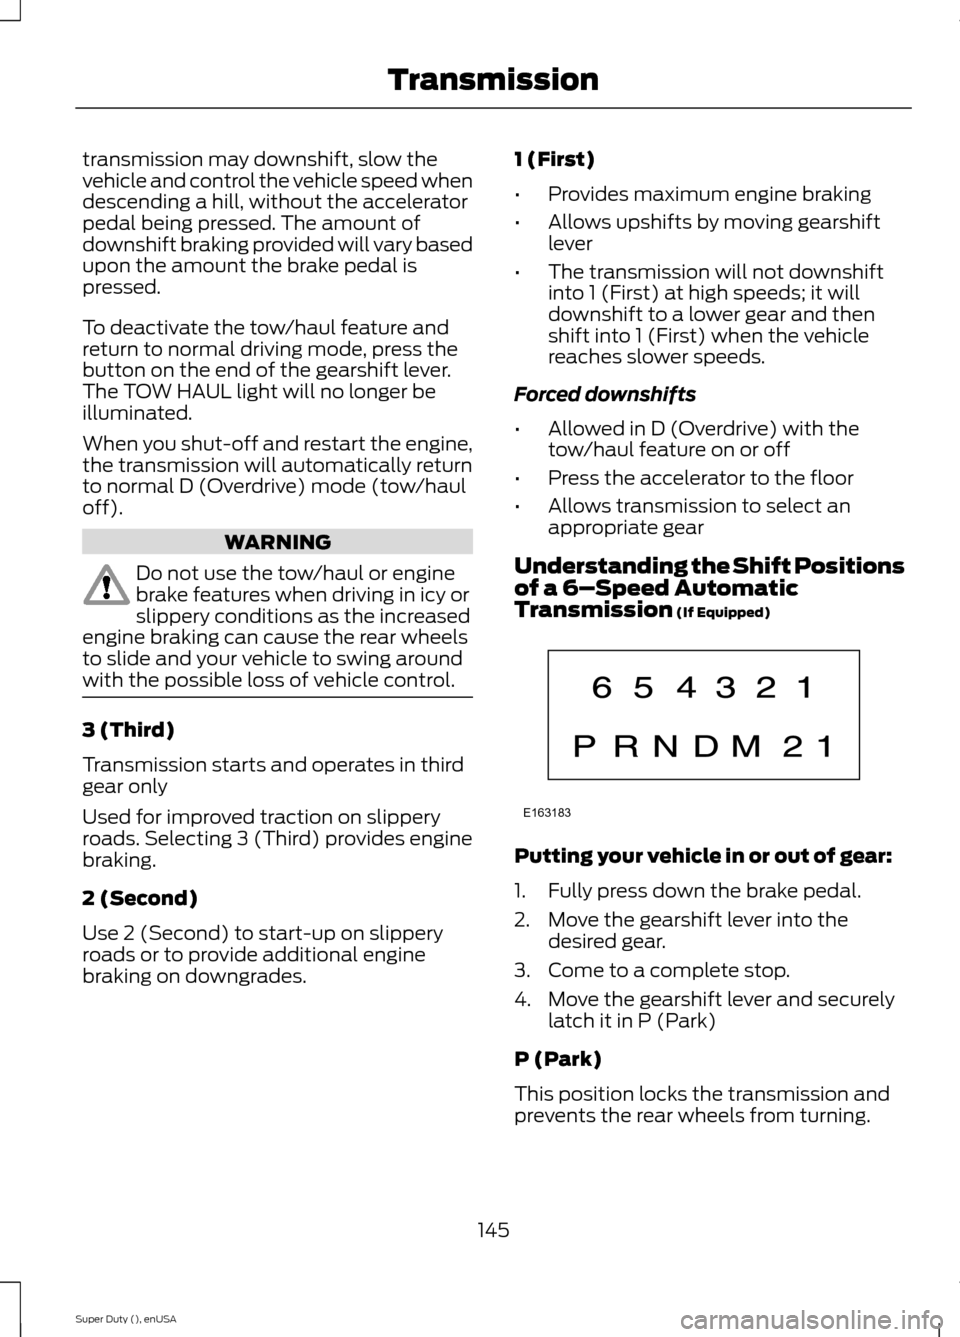
Understanding the Shift Positionsof a 6–Speed AutomaticTransmission (If Equipped)
Putting your vehicle in or out of gear:
1.Fully press down the brake pedal.
2.Move the gearshift lever into thedesired gear.
3.Come to a complete stop.
4.Move the gearshift lever and securelylatch it in P (Park)
P (Park)
This position locks the transmission andprevents the rear wheels from turning.
145Super Duty (), enUSATransmissionE163183
Page 150 of 470
M (Manual) without Overdrive
With the gearshift lever in M (Manual), thedriver can change gears up or down asdesired. This is called SelectShiftAutomatic™ transmission (SST) mode.By moving the gearshift lever from driveposition D (Overdrive) to M (Manual) younow have control of selecting the gear youdesire using buttons on the shift lever.
To return to normal D (Overdrive) position,move the shift lever back from M to D.
The transmission will operate in gears onethrough six.
2 (Second)
Use 2 (Second) to start-up on slipperyroads or to provide additional enginebraking on downgrades.
1 (First)
•Provides maximum engine braking
•Allows upshifts by moving gearshiftlever
•The transmission will not downshiftinto 1 (First) at high speeds; it willdownshift to a lower gear and thenshift into 1 (First) when the vehiclereaches slower speeds.
Forced downshifts
•Allowed in D (Overdrive) with thetow/haul feature on or off
•Press the accelerator to the floor
•Allows transmission to select anappropriate gear
Understanding your SelectShiftAutomatic® transmission (If Equipped)
Your vehicle is equipped with a SelectShiftAutomatic transmission gearshift lever.SelectShift Automatic transmission givesyou the ability to change gears up or down(without a clutch) as desired.
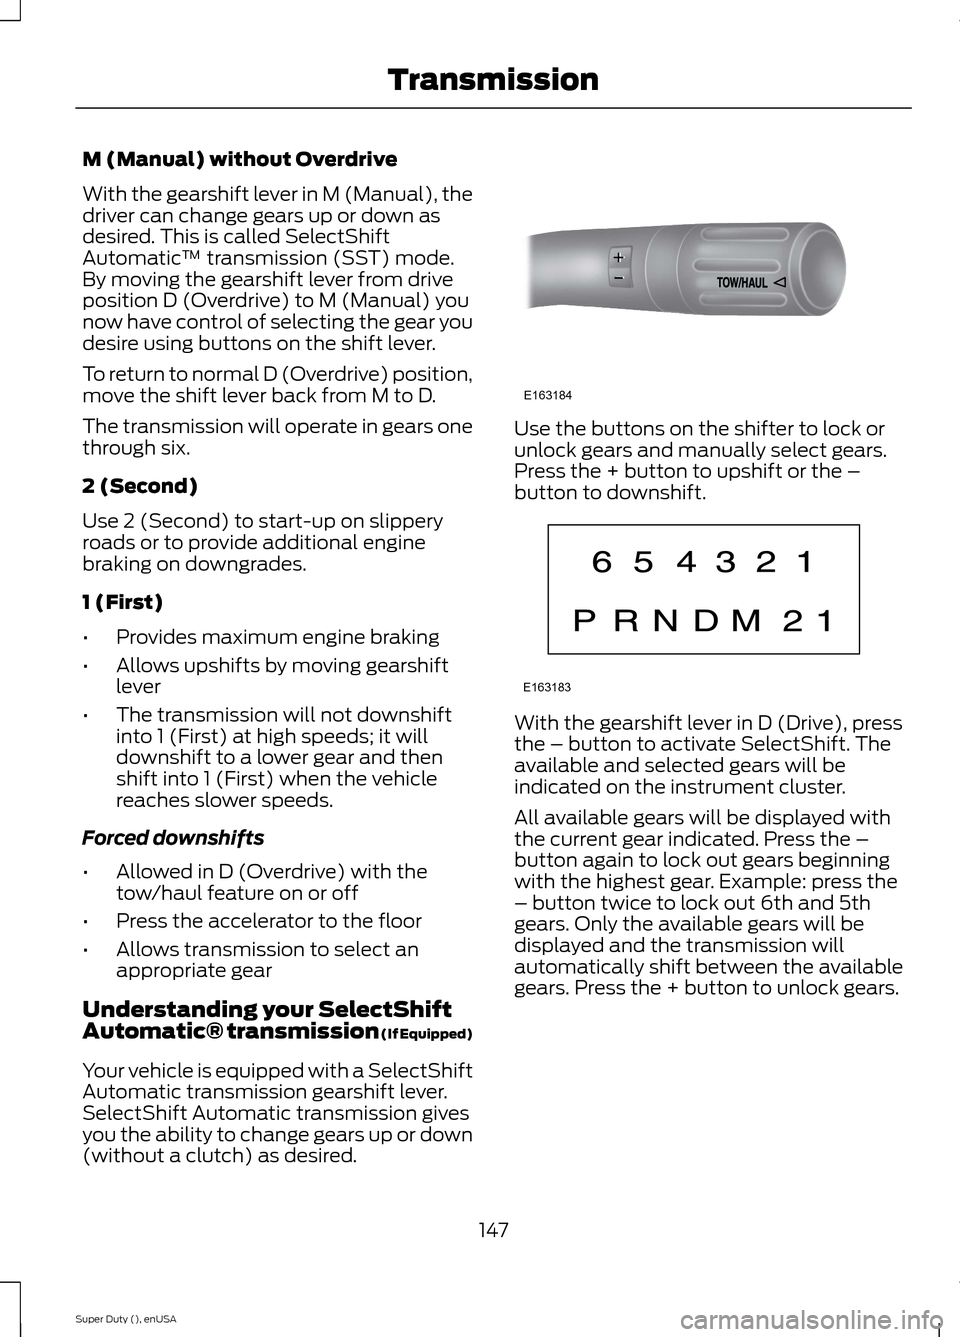
Use the buttons on the shifter to lock orunlock gears and manually select gears.Press the + button to upshift or the –button to downshift.
With the gearshift lever in D (Drive), pressthe – button to activate SelectShift. Theavailable and selected gears will beindicated on the instrument cluster.
All available gears will be displayed withthe current gear indicated. Press the –button again to lock out gears beginningwith the highest gear. Example: press the– button twice to lock out 6th and 5thgears. Only the available gears will bedisplayed and the transmission willautomatically shift between the availablegears. Press the + button to unlock gears.
147Super Duty (), enUSATransmissionE163184 E163183