2015 FORD F250 SUPER DUTY differential
[x] Cancel search: differentialPage 6 of 470
Rear Axle
Limited Slip Differential.............................160
Electronic Locking Differential................160
Brakes
General Information....................................162
Hints on Driving With Anti-LockBrakes...........................................................162
Parking Brake.................................................163
Hill Start Assist..............................................163
Traction Control
Principle of Operation.................................165
Using Traction Control................................165
Stability Control
Principle of Operation.................................167
Using Stability Control................................167
Terrain Response
Principle of Operation.................................170
Using Hill Descent Control........................170
Parking Aids
Parking Aid.......................................................172
Rear View Camera........................................173
Cruise Control
Principle of Operation.................................176
Using Cruise Control....................................176
Driving Aids
Steering.............................................................177
Load Carrying
Load Limit........................................................178
Tailgate.............................................................185
Towing
Towing a Trailer.............................................189
Trailer Sway Control....................................190
Recommended Towing Weights............190
Essential Towing Checks...........................193
Towing Points...............................................205
Transporting the Vehicle..........................206
Towing the Vehicle on Four Wheels......207
Driving Hints
Breaking-In....................................................208
Economical Driving.....................................208
Driving Through Water..............................209
Floor Mats......................................................209
Snowplowing.................................................210
Roadside Emergencies
Roadside Assistance...................................212
Hazard Warning Flashers...........................213
Fuel Shutoff....................................................213
Jump Starting the Vehicle.........................214
Post-Crash Alert System...........................216
Customer Assistance
Getting the Services You Need................217
In California (U.S. Only).............................218
The Better Business Bureau (BBB) AutoLine Program (U.S. Only)......................219
Utilizing the Mediation/ArbitrationProgram (Canada Only)........................219
Getting Assistance Outside the U.S. andCanada........................................................220
Ordering Additional Owner'sLiterature......................................................221
Reporting Safety Defects (U.S.Only)..............................................................221
Reporting Safety Defects (CanadaOnly).............................................................222
Fuses
Fuse Specification Chart...........................223
3
Super Duty (), enUSA
Table of Contents
Page 81 of 470

WARNING
Driving your vehicle with the warninglamp on is dangerous. A significantdecrease in braking performancemay occur. It will take you longer to stopyour vehicle. Have your vehicle checked byyour authorized dealer immediately. Drivingextended distances with the parking brakeengaged can cause brake failure and therisk of personal injury.
Check Fuel Cap (If Equipped)
Illuminates when the fuel capmay not be properly installed.Continued driving with this lighton may cause the Service enginesoon warning indicator to come on.
Cruise Control (If Equipped)
Illuminates when you switch thisfeature on. See Using CruiseControl (page 176).
Direction Indicator
Illuminates when the left or rightturn signal or the hazard warningflasher is turned on. If theindicators stay on or flash faster, check fora burned out bulb.
Door Ajar
Displays when the ignition is onand any door is not completelyclosed.
Electronic Locking Differential
Illuminates when using theelectronic locking differential.
Engine Coolant Temperature
Illuminates when the enginecoolant temperature is high.Stop the vehicle as soon aspossible, switch off the engine and let cool.
Engine Oil
If it illuminates with the enginerunning or when you are driving,this indicates a malfunction.Stop your vehicle as soon as it is safe todo so and switch the engine off. Check theengine oil level. See Engine Oil Check(page 235).
Note:Do not resume your journey if itilluminates despite the level being correct.Have the system checked by your authorizeddealer immediately.
Fasten Safety Belt
It will illuminate and a chime willsound to remind you to fastenyour safety belt.
Front Airbag
If it fails to illuminate when youstart your vehicle, continues toflash or remains on, it indicatesa malfunction. Have the system checkedby your authorized dealer.
High Beam
Illuminates when you switch thehigh beam headlamps on. It willflash when you use theheadlamp flasher.
Hill Descent (If Equipped)
Illuminates when hill descent isswitched on.
78
Super Duty (), enUSA
Instrument Cluster E71340 E163170 E163171
Page 91 of 470

Fuel Hist.
Shows fuel usage as a bar graph based ontime. The graph is updated each minutewith the fuel economy that was achievedduring the prior 5, 10, 30 minutes of driving.
Truck Apps
In this mode, off-roadinformation depicted withgraphics and trailer towingapplication options are available.
Note:Some items are optional and maynot appear.
Truck Apps
Pitch and bank angle (in degrees)Off Road
Steering angle (in degrees)
Differential lock/unlock
Energy flow
ELD (Electronic Locking Differential)Press OK for Info
Hill Descent Control
4X4 System
Traction Control
AdvanceTrac + RSC
Active trailer name or default trailerTrailer
Accumulated trailer distance
Trailer gain and output
Trailer Disconnected
OptionsPress OK for options
Change Active Trailer
Adding a new trailer
Conventional, FifthWheel or GooseneckConnection Checklist (ifequipped)
Delete Trailer
Tow / Haul or TrailerBrake ControllerInformation Screen
88
Super Duty (), enUSA
Information DisplaysE163181
Page 99 of 470
ActionMessage
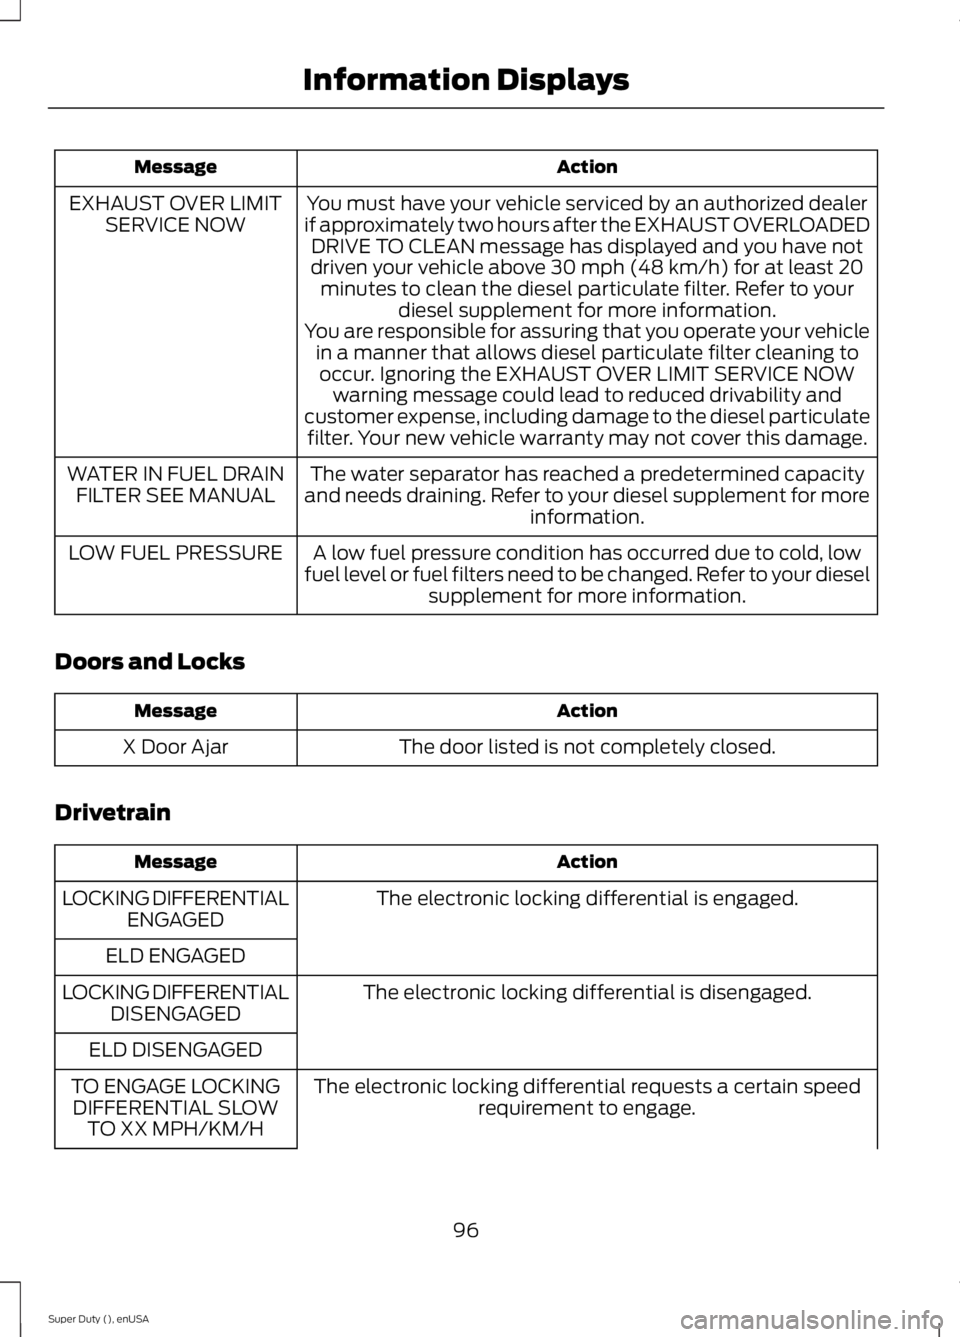
You must have your vehicle serviced by an authorized dealerif approximately two hours after the EXHAUST OVERLOADEDDRIVE TO CLEAN message has displayed and you have notdriven your vehicle above 30 mph (48 km/h) for at least 20minutes to clean the diesel particulate filter. Refer to yourdiesel supplement for more information.
EXHAUST OVER LIMITSERVICE NOW
You are responsible for assuring that you operate your vehiclein a manner that allows diesel particulate filter cleaning tooccur. Ignoring the EXHAUST OVER LIMIT SERVICE NOWwarning message could lead to reduced drivability andcustomer expense, including damage to the diesel particulatefilter. Your new vehicle warranty may not cover this damage.
The water separator has reached a predetermined capacityand needs draining. Refer to your diesel supplement for moreinformation.
WATER IN FUEL DRAINFILTER SEE MANUAL
A low fuel pressure condition has occurred due to cold, lowfuel level or fuel filters need to be changed. Refer to your dieselsupplement for more information.
LOW FUEL PRESSURE
Doors and Locks
ActionMessage
The door listed is not completely closed.X Door Ajar
Drivetrain
ActionMessage
The electronic locking differential is engaged.LOCKING DIFFERENTIALENGAGED
ELD ENGAGED
The electronic locking differential is disengaged.LOCKING DIFFERENTIALDISENGAGED
ELD DISENGAGED
The electronic locking differential requests a certain speedrequirement to engage.TO ENGAGE LOCKINGDIFFERENTIAL SLOWTO XX MPH/KM/H
96
Super Duty (), enUSA
Information Displays
Page 100 of 470
ActionMessage
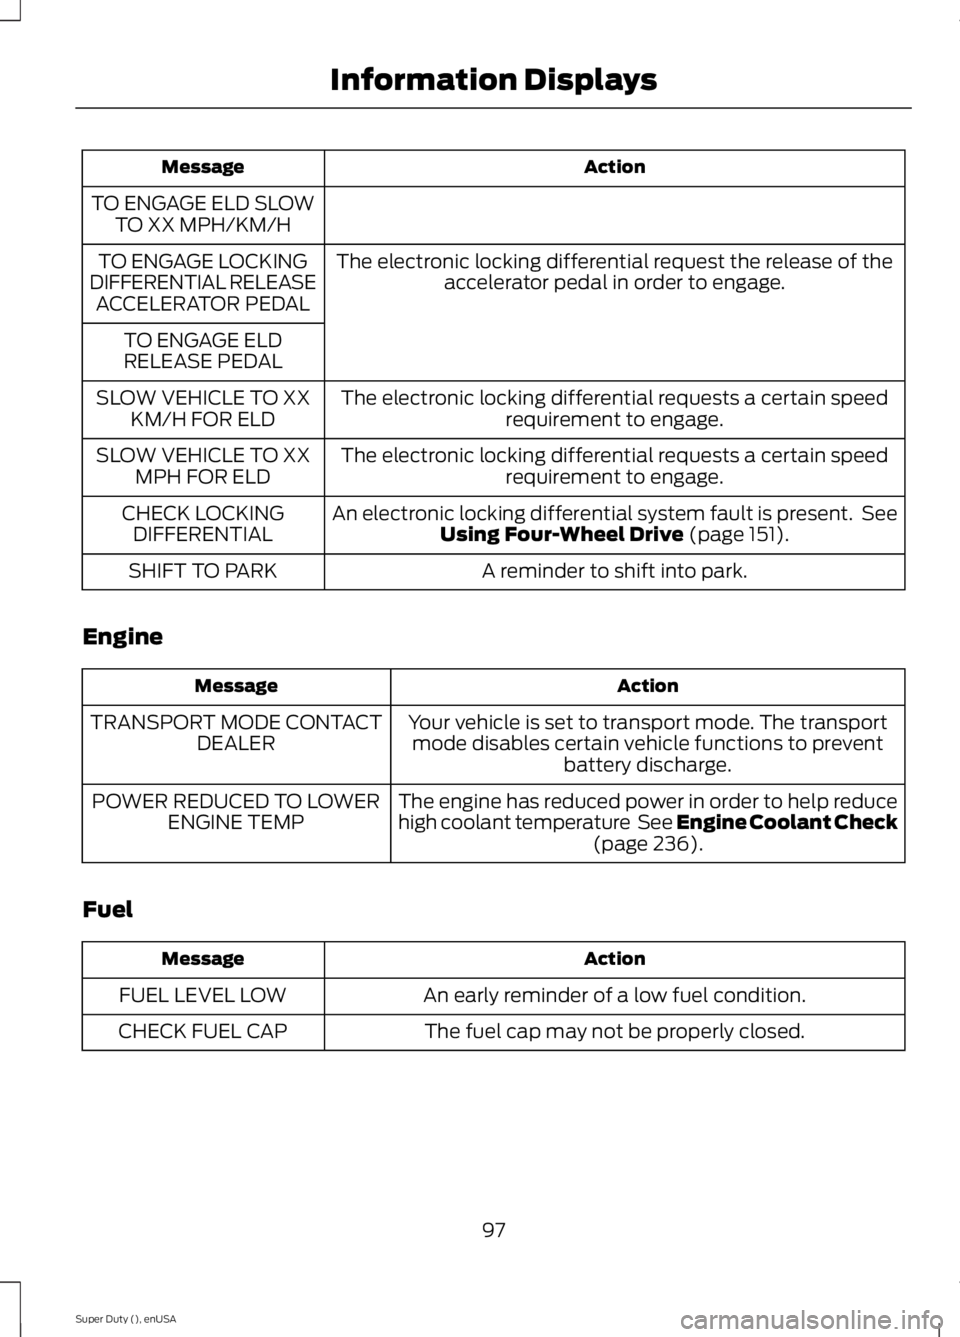
TO ENGAGE ELD SLOWTO XX MPH/KM/H
The electronic locking differential request the release of theaccelerator pedal in order to engage.TO ENGAGE LOCKINGDIFFERENTIAL RELEASEACCELERATOR PEDAL
TO ENGAGE ELDRELEASE PEDAL
The electronic locking differential requests a certain speedrequirement to engage.SLOW VEHICLE TO XXKM/H FOR ELD
The electronic locking differential requests a certain speedrequirement to engage.SLOW VEHICLE TO XXMPH FOR ELD
An electronic locking differential system fault is present. SeeUsing Four-Wheel Drive (page 151).CHECK LOCKINGDIFFERENTIAL
A reminder to shift into park.SHIFT TO PARK
Engine
ActionMessage
Your vehicle is set to transport mode. The transportmode disables certain vehicle functions to preventbattery discharge.
TRANSPORT MODE CONTACTDEALER
The engine has reduced power in order to help reducehigh coolant temperature See Engine Coolant Check(page 236).
POWER REDUCED TO LOWERENGINE TEMP
Fuel
ActionMessage
An early reminder of a low fuel condition.FUEL LEVEL LOW
The fuel cap may not be properly closed.CHECK FUEL CAP
97
Super Duty (), enUSA
Information Displays
Page 163 of 470
LIMITED SLIP DIFFERENTIAL
This axle provides added traction onslippery surfaces, particularly when onewheel is on a poor traction surface. Undernormal conditions, the limited-slip axlefunctions like a standard rear axle. The axlemay exhibit a slight noise or vibrationduring tight turns with low vehicle speed.This is normal behavior and indicates theaxle is working.
ELECTRONIC LOCKING
DIFFERENTIAL
Note:The electronic locking differential isfor off-road use only and is not for use ondry pavement. Using the electronic lockingdifferential on dry pavement will result inincreased tire wear, noise and vibration.
The electronic locking differential is adevice housed in the rear axle that allowsboth rear wheels to turn at the samespeed. The electronic locking differentialcan provide additional traction should yourvehicle become stuck. You can activatethe differential electronically and shift iton the fly within the differential operatingspeed range. The differential is for use inmud, rocks, sand, or any off-road conditionwhere you need maximum traction. It isnot for use on dry pavement.
The following conditions will affect theelectronic locking differential:
•On 2WD vehicles and 4WD vehicles in2H (4X2) or 4H (4X4 High), the ELDwill not engage if the vehicle speed isabove 20 mph (32 km/h).
•On 2WD vehicles and 4WD vehicles in2H (4X2) or 4H (4X4 High), the ELDwill automatically disengage at speedsabove 25 mph (40 km/h) and willautomatically reengage at speedsbelow 20 mph (32 km/h).
•On 4WD vehicles in 4L (4X4 Low), theELD can be engaged at any speed andwill not automatically disengage.
Activating the Electronic LockingDifferential (If Equipped)
Note:Do not use electronic lockingdifferential on dry, hard surfaced roads.Doing so will produce excessive noise,vibration and increase tire wear.
Note:If the electronic locking differentialhas difficulty disengaging, release theaccelerator pedal and turn the steeringwheel in the opposite direction while rolling.
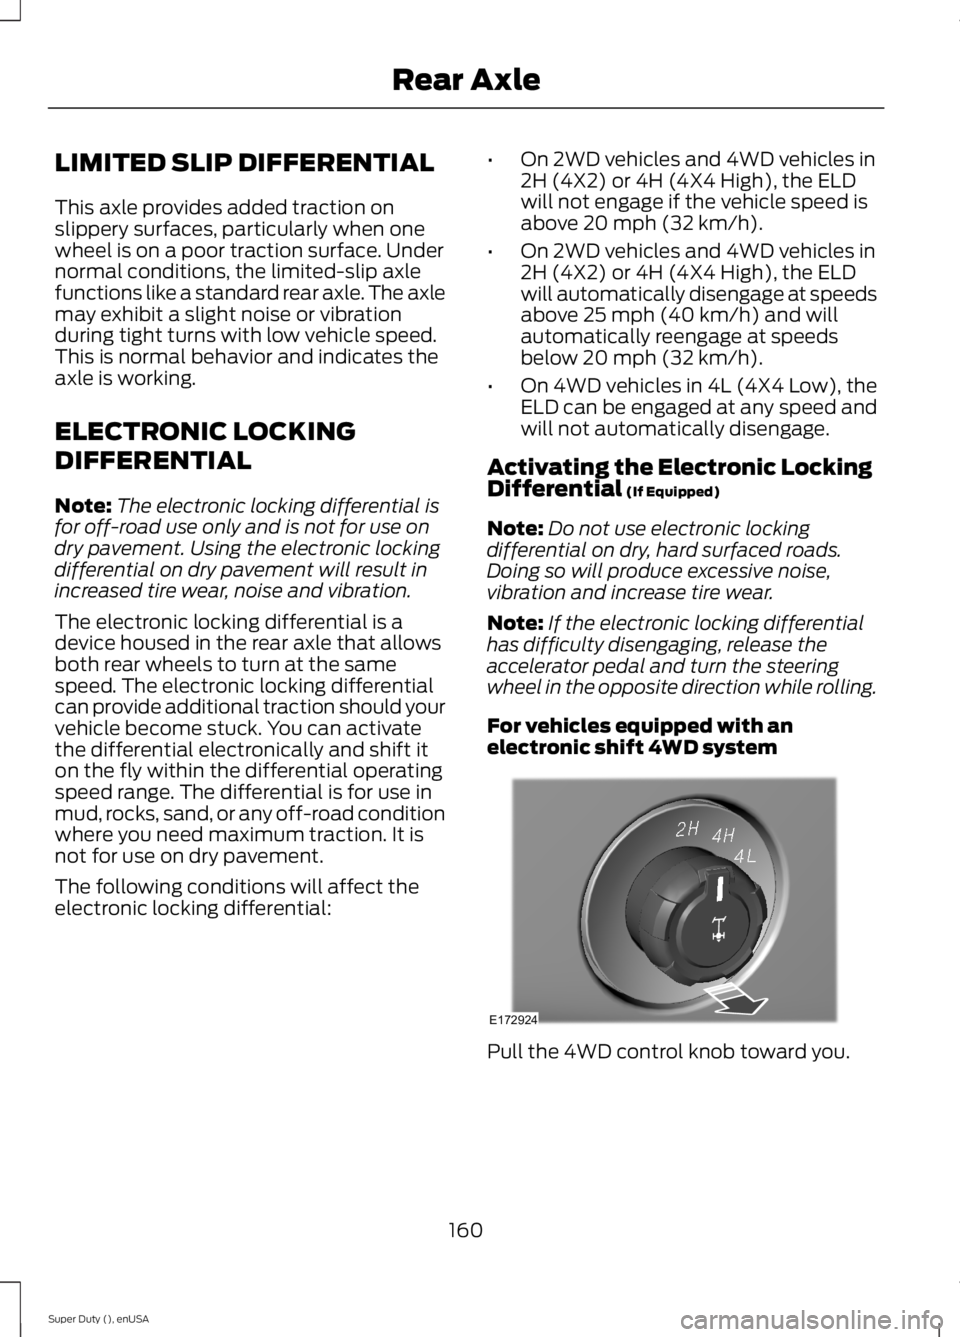
For vehicles equipped with anelectronic shift 4WD system
Pull the 4WD control knob toward you.
160
Super Duty (), enUSA
Rear AxleE172924
Page 164 of 470
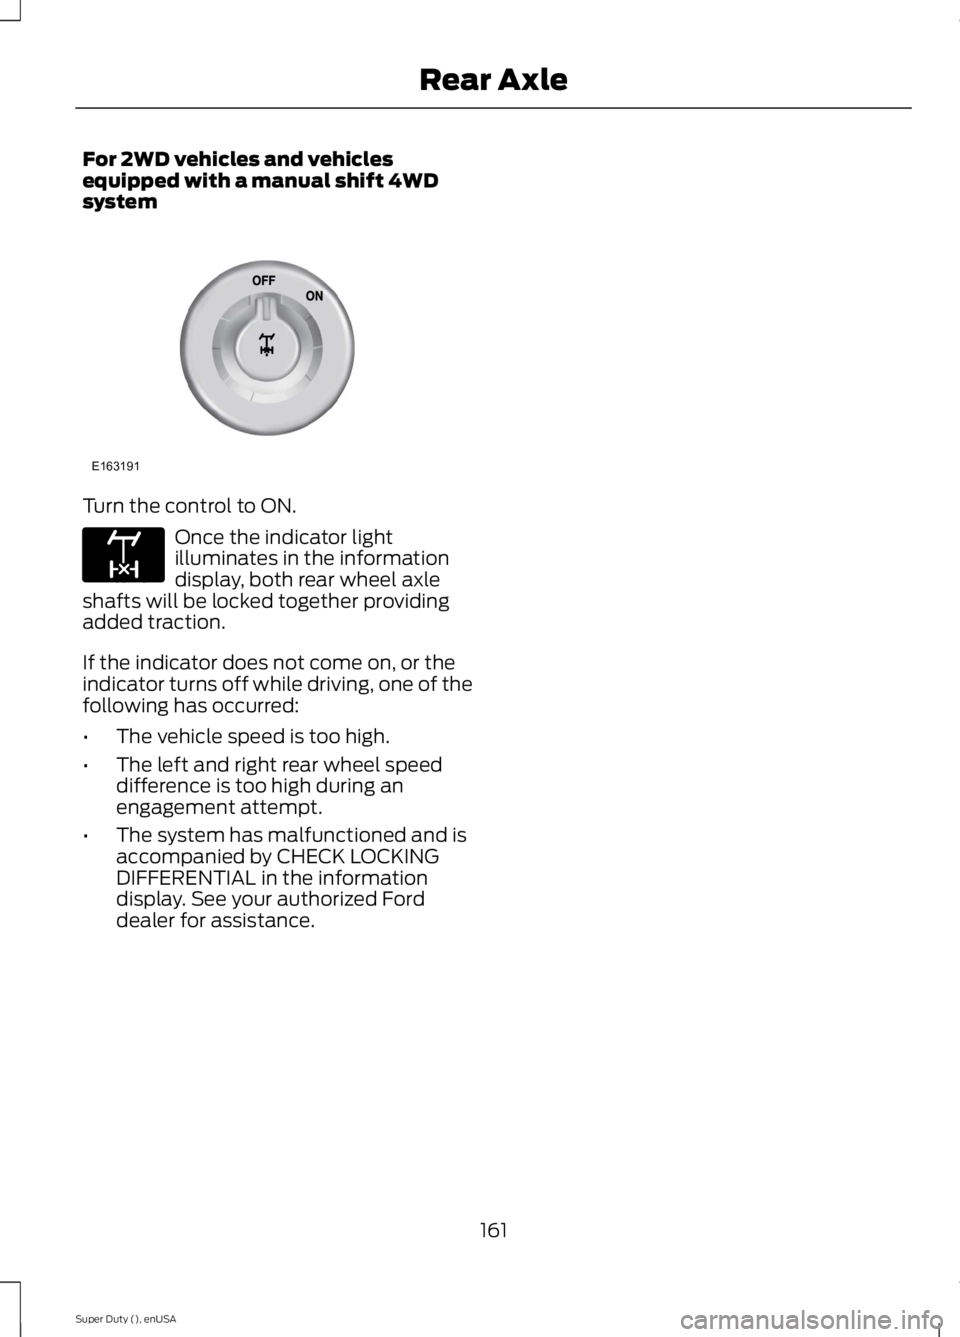
For 2WD vehicles and vehiclesequipped with a manual shift 4WDsystem
Turn the control to ON.
Once the indicator lightilluminates in the informationdisplay, both rear wheel axleshafts will be locked together providingadded traction.
If the indicator does not come on, or theindicator turns off while driving, one of thefollowing has occurred:
•The vehicle speed is too high.
•The left and right rear wheel speeddifference is too high during anengagement attempt.
•The system has malfunctioned and isaccompanied by CHECK LOCKINGDIFFERENTIAL in the informationdisplay. See your authorized Forddealer for assistance.
161
Super Duty (), enUSA
Rear AxleE163191 E163170
Page 296 of 470

Note:Make sure the jack fits onto the flatarea on the outboard side of the differential.
Front passenger side (4x4)
Note:View shown from the rear of thevehicle to clearly identify the jack point.Place the jack directly under the axle.
Rear
Note:Jack at the specified locations toavoid damage to the vehicle.
Jacking the Vehicle
1. Turn the jack handle clockwise untilthe wheel is completely off the groundand high enough to install the sparetire.
2. Remove the lug nuts with the lugwrench.
3.Replace the flat tire with the spare tire,making sure the valve stem is facingoutward for all front wheels and singlerear wheel vehicles. If you are replacingan inboard rear tire on dual rear wheelvehicles, the valve stem must be facingoutward. If you are replacing theoutboard wheel, the valve stem mustbe facing inward. Reinstall the lug nutsuntil the wheel is snug against the hub.Do not fully tighten the lug nuts untilthe wheel has been lowered.
4. Lower the wheel by turning the jackhandle counterclockwise.
5. Remove the jack and fully tighten thelug nuts in the order shown. SeeTechnical Specifications (page 299).
6. Stow the flat tire. See Stowing the flator spare tire if the vehicle is equippedwith a spare tire carrier.
7. Stow the jack, jack handle and lugwrench. Make sure the jack is securelyfastened so it does not rattle whendriving.
8. Unblock the wheels.
293
Super Duty (), enUSA
Wheels and TiresE162804 E162805 E162811