2015 FORD F250 SUPER DUTY transmission
[x] Cancel search: transmissionPage 5 of 470

Lighting
Lighting Control..............................................65
Autolamps........................................................65
Instrument Lighting Dimmer.....................66
Daytime Running Lamps............................66
Front Fog Lamps............................................67
Direction Indicators........................................67
Interior Lamps.................................................67
Windows and Mirrors
Power Windows.............................................69
Global Opening...............................................70
Exterior Mirrors................................................70
Interior Mirror....................................................72
Sun Visors..........................................................73
Moonroof...........................................................73
Instrument Cluster
Gauges................................................................75
Warning Lamps and Indicators..................77
Audible Warnings and Indicators............80
Information Displays
General Information.......................................81
Information Messages..................................92
Climate Control
Manual Climate Control............................103
Automatic Climate Control......................104
Hints on Controlling the InteriorClimate........................................................106
Heated Windows and Mirrors..................108
Remote Start.................................................109
Seats
Sitting in the Correct Position...................110
Head Restraints.............................................110
Manual Seats..................................................112
Power Seats.....................................................113
Memory Function...........................................113
Rear Seats........................................................114
Heated Seats..................................................116
Climate Controlled Seats...........................118
Front Seat Armrest.......................................119
Rear Seat Armrest........................................120
Universal Garage DoorOpener
Universal Garage Door Opener.................121
Auxiliary Power Points
Auxiliary Power Points................................129
Storage Compartments
Center Console...............................................131
Overhead Console.........................................131
Starting and Stopping theEngine
General Information....................................132
Ignition Switch...............................................132
Starting a Gasoline Engine........................133
Engine Block Heater....................................134
Fuel and Refueling
Safety Precautions......................................136
Fuel Quality.....................................................137
Running Out of Fuel....................................138
Refueling..........................................................138
Fuel Consumption.......................................140
Emission Control System...........................141
Transmission
Automatic Transmission...........................144
Power Take-Off.............................................150
Four-Wheel Drive
Using Four-Wheel Drive..............................151
2
Super Duty (), enUSA
Table of Contents
Page 7 of 470
Changing a Fuse............................................231
Maintenance
General Information....................................232
Opening and Closing the Hood..............232
Under Hood Overview - 6.2L...................233
Under Hood Overview - 6.8L..................234
Engine Oil Dipstick......................................235
Engine Oil Check..........................................235
Engine Coolant Check...............................236
Automatic Transmission FluidCheck...........................................................240
Transfer Case Fluid Check........................243
Brake Fluid Check........................................243
Power Steering Fluid Check.....................243
Washer Fluid Check....................................244
Fuel Filter........................................................244
Changing the 12V Battery.........................244
Checking the Wiper Blades.....................246
Changing the Wiper Blades.....................246
Adjusting the Headlamps.........................247
Removing a Headlamp.............................248
Changing a Bulb..........................................250
Bulb Specification Chart...........................252
Changing the Engine Air Filter................254
Vehicle Care
General Information...................................256
Cleaning Products.......................................256
Cleaning the Exterior..................................256
Waxing..............................................................257
Cleaning the Engine....................................257
Cleaning the Windows and WiperBlades..........................................................258
Cleaning the Interior...................................258
Cleaning the Instrument Panel andInstrument Cluster Lens.......................258
Cleaning Leather Seats.............................259
Repairing Minor Paint Damage..............260
Cleaning the Alloy Wheels........................261
Vehicle Storage.............................................261
Wheels and Tires
General Information...................................263
Tire Care..........................................................265
Using Snow Chains.....................................282
Tire Pressure Monitoring System...........282
Changing a Road Wheel...........................288
Technical Specifications..........................299
Capacities and Specific-ations
Engine Specifications.................................301
Motorcraft Parts..........................................302
Vehicle Identification Number................303
Vehicle Certification Label.......................303
Transmission Code Designation............304
Technical Specifications..........................305
Audio System
General Information....................................310
Audio unit - Vehicles With: AM/FM.........311
Audio unit - Vehicles With: AM/FM/CD/SYNC.............................................................312
Audio unit - Vehicles With: Sony AM/FM/CD...................................................................315
Digital Radio...................................................316
Satellite Radio...............................................318
Audio Input Jack............................................321
USB Port...........................................................321
Media Hub......................................................322
SYNC™
General Information...................................323
Using Voice Recognition...........................325
Using SYNC™ With Your Phone.............327
SYNC™ Applications and Services......338
Using SYNC™ With Your MediaPlayer...........................................................345
SYNC™ Troubleshooting.........................353
4
Super Duty (), enUSA
Table of Contents
Page 37 of 470
Then...If...
The Belt-Minder feature will not activate.The driver's safety belt is buckled beforethe ignition switch is turned to the on posi-tion or less than 1-2 minutes have elapsedsince the ignition switch has been turnedto on...
The Belt-Minder feature is activated - thesafety belt warning light illuminates andthe warning chime sounds for six secondsevery 25 seconds, repeating for about fiveminutes or until the safety belts arebuckled.
The driver's safety belt is not buckled whenthe vehicle has reached at least 6 mph (9.7km/h) and 1-2 minutes have elapsed sincethe ignition switch has been turned to on...
The Belt-Minder feature is activated - thesafety belt warning light illuminates andthe warning chime sounds for six secondsevery 25 seconds, repeating for about fiveminutes or until the safety belts arebuckled.
The driver's safety belt becomes unbuckledfor about one minute while the vehicle istraveling at least 6 mph (9.7 km/h) andmore than 1-2 minutes have elapsed sincethe ignition switch has been turned to on...
Deactivating and Activating theBelt-Minder Feature (Driver Only)
WARNING
While the system allows you todeactivate it, this system is designedto improve your chances of beingsafely belted and surviving an accident.We recommend you leave the systemactivated for yourself and others who mayuse the vehicle. To reduce the risk of injury,do not deactivate or activate the systemwhile driving the vehicle.
Note:If you are using MyKey, you cannotdisable the Belt-Minder. Also, if theBelt-Minder has been previously disabled,it will be re-enabled during the use ofMyKey. See MyKey™ (page 50).
Read Steps 1 - 4 thoroughly beforeproceeding with the programmingprocedure.
Deactivate or activate the system byperforming the following procedure:
Before following the procedure, make surethat:
•The parking brake is set.
•The transmission is in park (P).
•The ignition is off.
•All vehicle doors are closed.
•The driver's safety belt is unbuckled.
1. Turn the ignition on. Do not start theengine.
2. Wait until the safety belt warning lightturns off (about one minute). Step 3must be completed within 30 secondsafter the safety belt warning light turnsoff.
3. Buckle then unbuckle the safety beltthree times at a moderate speed,ending with the safety belt in theunbuckled state. After Step 3, thesafety belt warning light will turn on.
34
Super Duty (), enUSA
Safety Belts
Page 49 of 470
GENERAL INFORMATION ON
RADIO FREQUENCIES
This device complies with Part 15 of theFCC Rules and with Industry Canadalicense-exempt RSS standard(s).Operation is subject to the following twoconditions: (1) This device may not causeharmful interference, and (2) This devicemust accept any interference received,including interference that may causeundesired operation.
Note:Changes or modifications notexpressively approved by the partyresponsible for compliance could void theuser's authority to operate the equipment.The term IC before the radio certificationnumber only signifies that Industry Canadatechnical specifications were met.
The typical operating range for yourtransmitter is approximately 33 feet (10meters). Vehicles with the remote startfeature will have a greater range. One ofthe following could cause a decrease inoperating range:
•weather conditions
•nearby radio towers
•structures around the vehicle
•other vehicles parked next to yourvehicle
The radio frequency used by your remotecontrol can also be used by other shortdistance radio transmissions, for exampleamateur radios, medical equipment,wireless headphones, remote controls andalarm systems. If the frequencies arejammed, you will not be able to use yourremote control. You can lock and unlockthe doors with the key.
Note:Make sure to lock your vehicle beforeleaving it unattended.
Note:If you are in range, the remote controlwill operate if you press any buttonunintentionally.
REMOTE CONTROL
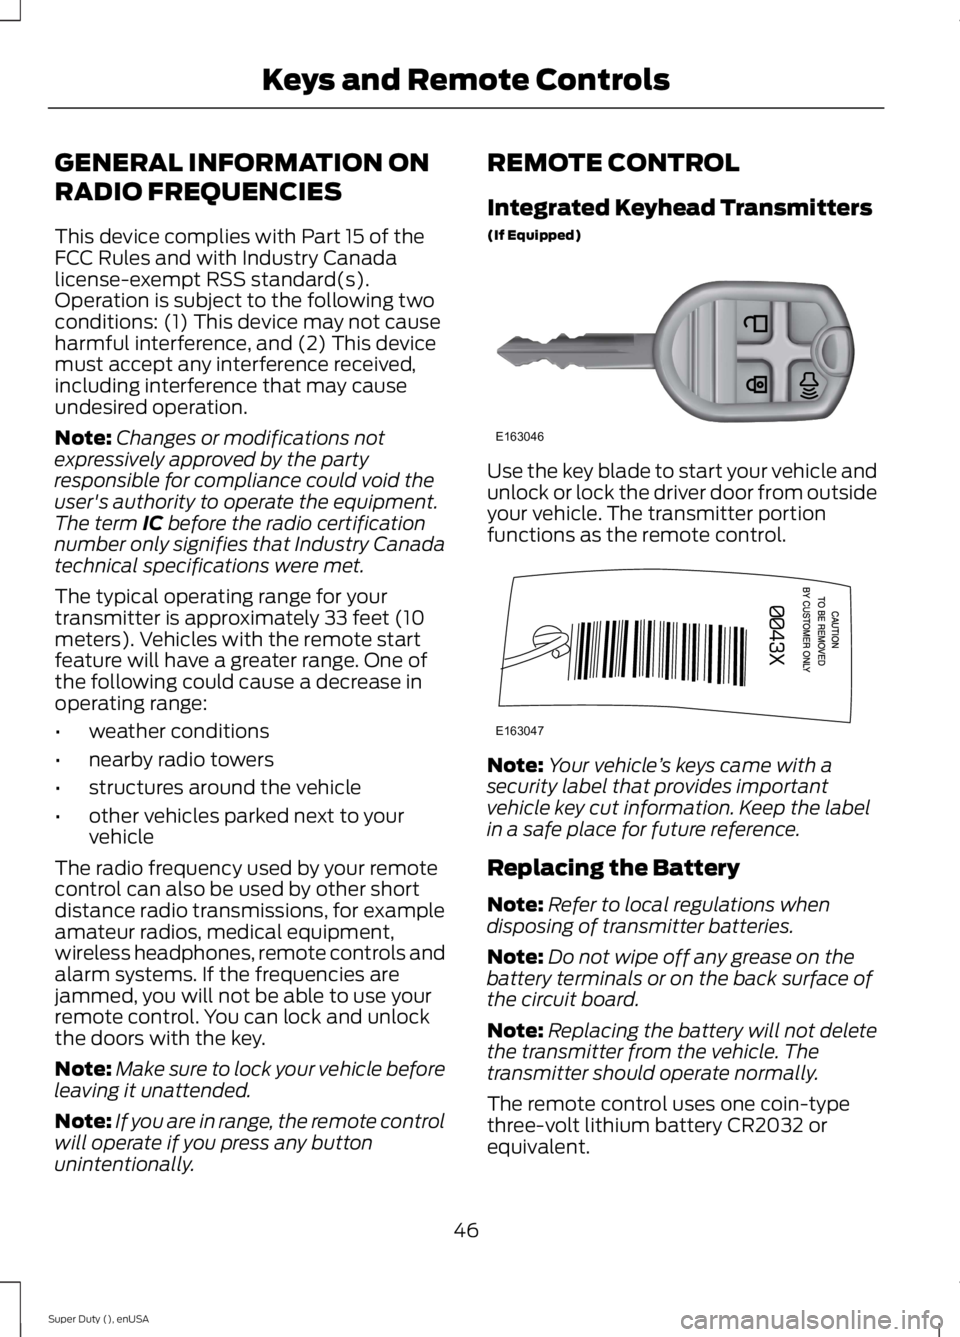
Integrated Keyhead Transmitters
(If Equipped)
Use the key blade to start your vehicle andunlock or lock the driver door from outsideyour vehicle. The transmitter portionfunctions as the remote control.
Note:Your vehicle’s keys came with asecurity label that provides importantvehicle key cut information. Keep the labelin a safe place for future reference.
Replacing the Battery
Note:Refer to local regulations whendisposing of transmitter batteries.
Note:Do not wipe off any grease on thebattery terminals or on the back surface ofthe circuit board.
Note:Replacing the battery will not deletethe transmitter from the vehicle. Thetransmitter should operate normally.
The remote control uses one coin-typethree-volt lithium battery CR2032 orequivalent.
46
Super Duty (), enUSA
Keys and Remote ControlsE163046 E163047
Page 51 of 470

Sounding a Panic Alarm
Note:The panic alarm will only operatewhen the ignition is off.
Press the button to activate thealarm. Press the button again orturn the ignition on to deactivateit.
Remote Start (If Equipped)
WARNING
To avoid exhaust fumes, do not useremote start if your vehicle is parkedindoors or areas that are not wellventilated.
Note:Do not use remote start if your vehicleis low on fuel.
The remote start button is on thetransmitter.
This feature allows you to start yourvehicle from outside the vehicle. Thetransmitter has an extended operatingrange.
Vehicles with automatic climate controlcan be set to operate when you remotestart the vehicle. See Climate Control(page 103). A manual climate controlsystem will run at the setting it was set towhen you switch the vehicle off.
Many states and provinces haverestrictions for the use of remote start.Check your local and state or provinciallaws for specific requirements regardingremote start systems.
The remote start system will not work if:
•the ignition is on
•the alarm system is triggered
•you disable the feature
•the hood is open
•the transmission is not in P
•the vehicle battery voltage is too low
•the service engine soon indicator is on.
Remote Starting the Vehicle
Note:You must press each button withinthree seconds of each other. Your vehiclewill not remote start and the horn will notsound if you do not follow this sequence.
The label on your transmitter details thestarting procedure.
To remote start your vehicle:
1. Press the lock button to lock all thedoors.
2. Press the remote start button twice.The exterior lamps will flash twice.
The horn will sound if the system fails tostart.
Note:If you remote start your vehicle withan integrated keyhead transmitter, you mustswitch the ignition on before driving yourvehicle. If you remote start your vehicle withan intelligent access transmitter, you mustpress the START/STOP button on theinstrument panel once while applying thebrake pedal before driving your vehicle.
The power windows will not work duringthe remote start and the radio will not turnon automatically.
The parking lamps will remain on and thevehicle will run for 5, 10, or 15 minutes,depending on the setting.
48
Super Duty (), enUSA
Keys and Remote ControlsE138624 E138625 E138626
Page 70 of 470
The system switches the headlamps onwith a reduced output in daylightconditions.
To switch the system on:
1. Switch the ignition on.
2. Switch the lighting control to the off,or parking lamp position.
3. Disengage the parking brake.
4. Make sure the transmission selectorlever is not in position P.
FRONT FOG LAMPS (IF EQUIPPED)
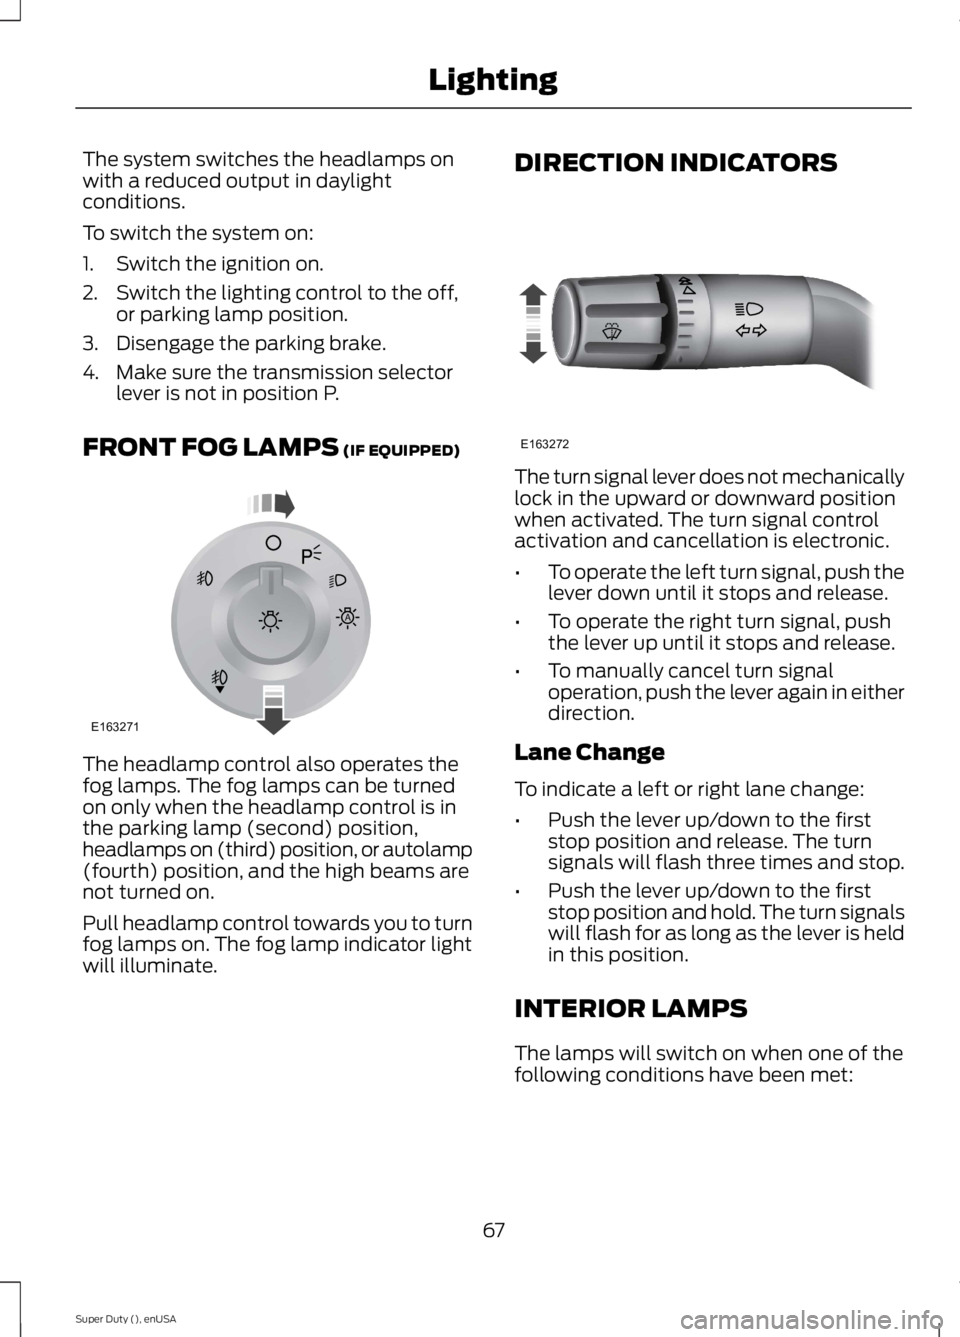
The headlamp control also operates thefog lamps. The fog lamps can be turnedon only when the headlamp control is inthe parking lamp (second) position,headlamps on (third) position, or autolamp(fourth) position, and the high beams arenot turned on.
Pull headlamp control towards you to turnfog lamps on. The fog lamp indicator lightwill illuminate.
DIRECTION INDICATORS
The turn signal lever does not mechanicallylock in the upward or downward positionwhen activated. The turn signal controlactivation and cancellation is electronic.
•To operate the left turn signal, push thelever down until it stops and release.
•To operate the right turn signal, pushthe lever up until it stops and release.
•To manually cancel turn signaloperation, push the lever again in eitherdirection.
Lane Change
To indicate a left or right lane change:
•Push the lever up/down to the firststop position and release. The turnsignals will flash three times and stop.
•Push the lever up/down to the firststop position and hold. The turn signalswill flash for as long as the lever is heldin this position.
INTERIOR LAMPS
The lamps will switch on when one of thefollowing conditions have been met:
67
Super Duty (), enUSA
LightingE163271
A E163272
Page 78 of 470
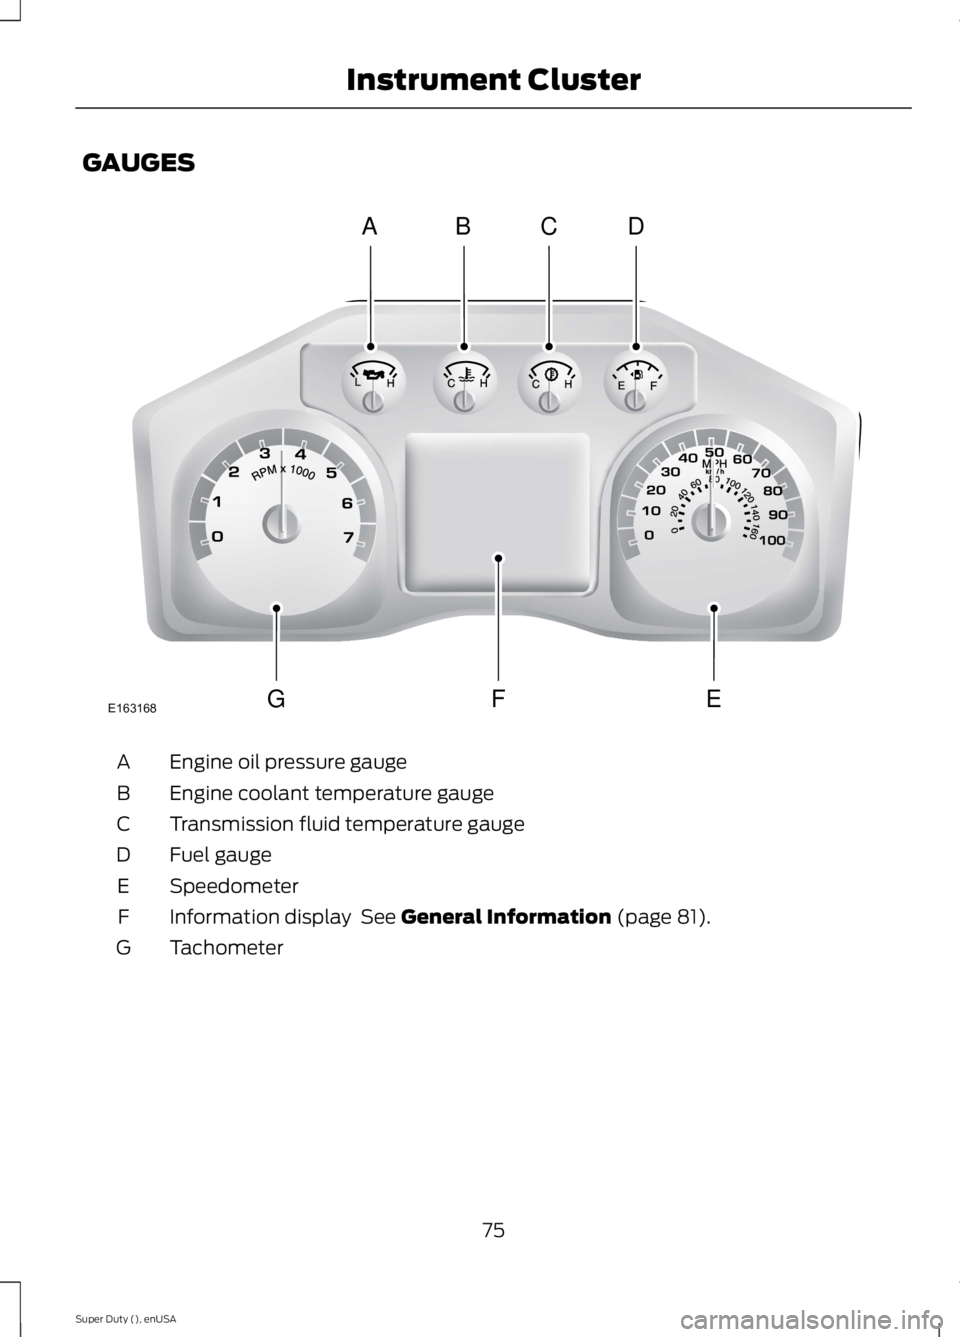
GAUGES
Engine oil pressure gaugeA
Engine coolant temperature gaugeB
Transmission fluid temperature gaugeC
Fuel gaugeD
SpeedometerE
Information display See General Information (page 81).F
TachometerG
75
Super Duty (), enUSA
Instrument ClusterABCD
GFEE163168
Page 79 of 470
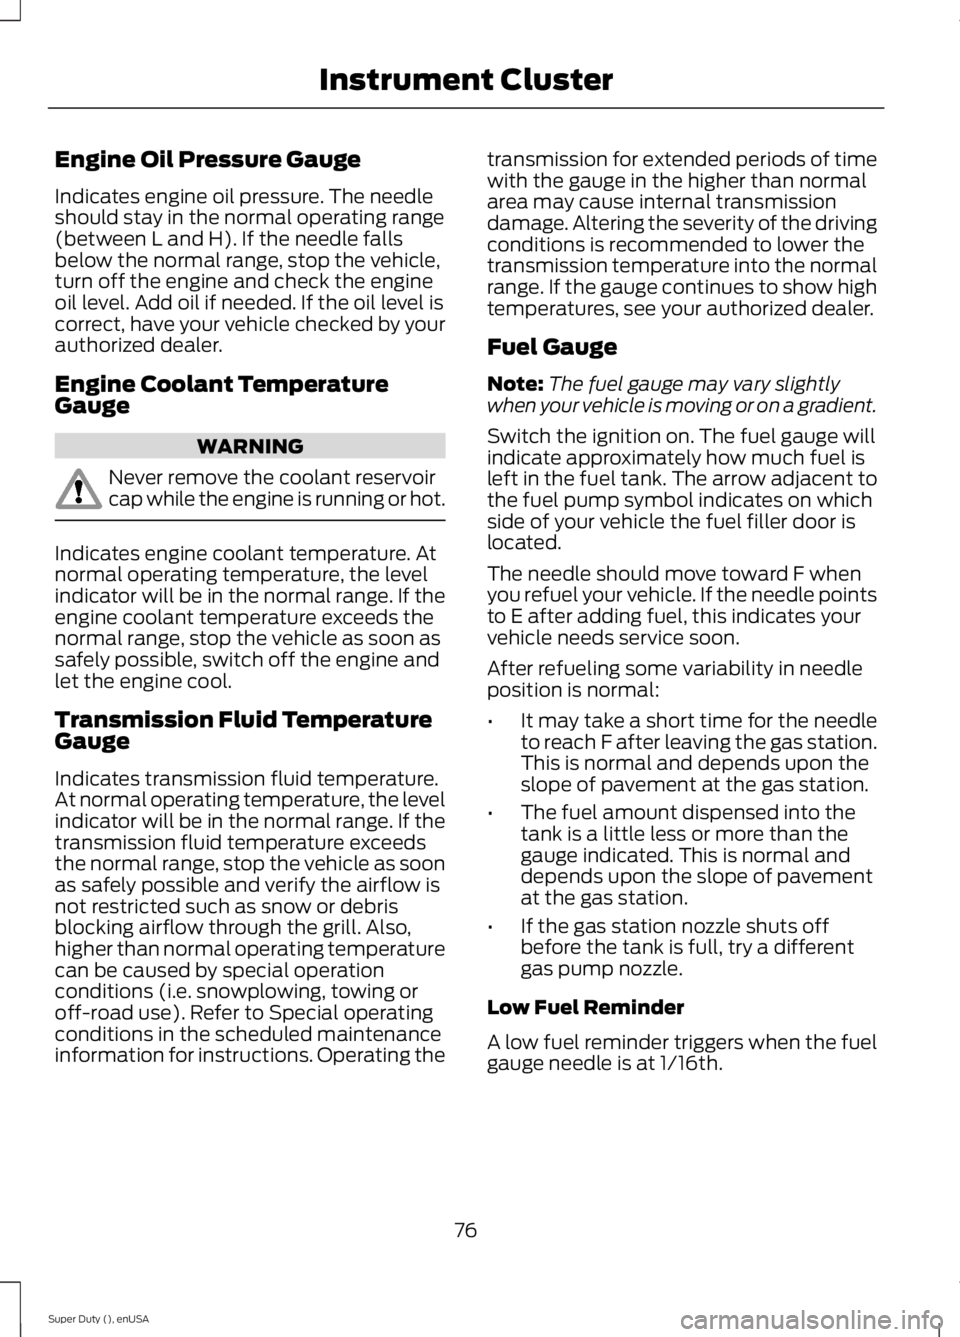
Engine Oil Pressure Gauge
Indicates engine oil pressure. The needleshould stay in the normal operating range(between L and H). If the needle fallsbelow the normal range, stop the vehicle,turn off the engine and check the engineoil level. Add oil if needed. If the oil level iscorrect, have your vehicle checked by yourauthorized dealer.
Engine Coolant TemperatureGauge
WARNING
Never remove the coolant reservoircap while the engine is running or hot.
Indicates engine coolant temperature. Atnormal operating temperature, the levelindicator will be in the normal range. If theengine coolant temperature exceeds thenormal range, stop the vehicle as soon assafely possible, switch off the engine andlet the engine cool.
Transmission Fluid TemperatureGauge
Indicates transmission fluid temperature.At normal operating temperature, the levelindicator will be in the normal range. If thetransmission fluid temperature exceedsthe normal range, stop the vehicle as soonas safely possible and verify the airflow isnot restricted such as snow or debrisblocking airflow through the grill. Also,higher than normal operating temperaturecan be caused by special operationconditions (i.e. snowplowing, towing oroff-road use). Refer to Special operatingconditions in the scheduled maintenanceinformation for instructions. Operating the
transmission for extended periods of timewith the gauge in the higher than normalarea may cause internal transmissiondamage. Altering the severity of the drivingconditions is recommended to lower thetransmission temperature into the normalrange. If the gauge continues to show hightemperatures, see your authorized dealer.
Fuel Gauge
Note:The fuel gauge may vary slightlywhen your vehicle is moving or on a gradient.
Switch the ignition on. The fuel gauge willindicate approximately how much fuel isleft in the fuel tank. The arrow adjacent tothe fuel pump symbol indicates on whichside of your vehicle the fuel filler door islocated.
The needle should move toward F whenyou refuel your vehicle. If the needle pointsto E after adding fuel, this indicates yourvehicle needs service soon.
After refueling some variability in needleposition is normal:
•It may take a short time for the needleto reach F after leaving the gas station.This is normal and depends upon theslope of pavement at the gas station.
•The fuel amount dispensed into thetank is a little less or more than thegauge indicated. This is normal anddepends upon the slope of pavementat the gas station.
•If the gas station nozzle shuts offbefore the tank is full, try a differentgas pump nozzle.
Low Fuel Reminder
A low fuel reminder triggers when the fuelgauge needle is at 1/16th.
76
Super Duty (), enUSA
Instrument Cluster