2015 FORD EXPEDITION lights
[x] Cancel search: lightsPage 47 of 564

•Front crash severity sensors.
•Restraints control module with impact and safing sensors.
•Restraint system warning light and backup tone.
•The electrical wiring for the airbags, crash sensor(s), safety belt
pretensioners, front safety belt usage sensors, driver seat position
sensor, and indicator lights.
How does the Restraint Safety System work?
The Restraint Safety System can adapt the deployment strategy of your
vehicle’s safety devices according to crash severity and occupant
conditions. A collection of crash and occupant sensors provides
information to the restraints control module. During a crash, the
restraints control module may activate the safety belt pretensioners
and/or either one or both stages of the dual-stage airbag supplemental
restraints based on crash severity and occupant conditions.
SOS POST-CRASH ALERT SYSTEM™
The system flashes the direction indicator lamps and the horn sounds
(intermittently) in the event of a serious impact that deploys an airbag
equipped on your vehicle.
The horn and lamps turn off when:
•You press the hazard button.
•You press the panic button (if equipped) on the remote entry
transmitter.
•Your vehicle runs out of power.
46Supplementary Restraints System
2015 Expedition(exd)
Owners Guide gf, 1st Printing, July 2014
USA(fus)
Page 73 of 564
Illuminated Entry
The interior lamps and select exterior lamps illuminate when you use the
integrated keyhead transmitter, intelligent access key or the keyless
entry keypad to unlock the vehicle.
The system will turn off the lights if:
•you switch the ignition on
•you press the lock button on the remote control
•you lock your vehicle using the keyless entry keypad
•after 25 seconds of illumination.
The lights will not turn off if:
•you turn them on with the dimmer control
•any door is open.
Illuminated Exit
The interior lamps and select exterior lamps illuminate when all doors
are closed and you switch the ignition off and remove the key from the
ignition (integrated keyhead transmitter only).
The lamps turn off if all the doors remain closed and:
•25 seconds elapse
•you insert the key in the ignition (integrated keyhead transmitter
only)
•you press theSTART/STOPbutton (intelligent access key only).
Battery Saver
If you leave the courtesy lamps, dome lamps or headlamps on, the
battery saver shuts them off 10 minutes after you switch the ignition off.
Accessory Mode Battery Saver for Intelligent Access Keys
(If Equipped)
If you leave your vehicle in the run ignition state, it will shut off once it
detects a certain amount of battery drain or after 45 minutes.
72Locks
2015 Expedition(exd)
Owners Guide gf, 1st Printing, July 2014
USA(fus)
Page 78 of 564
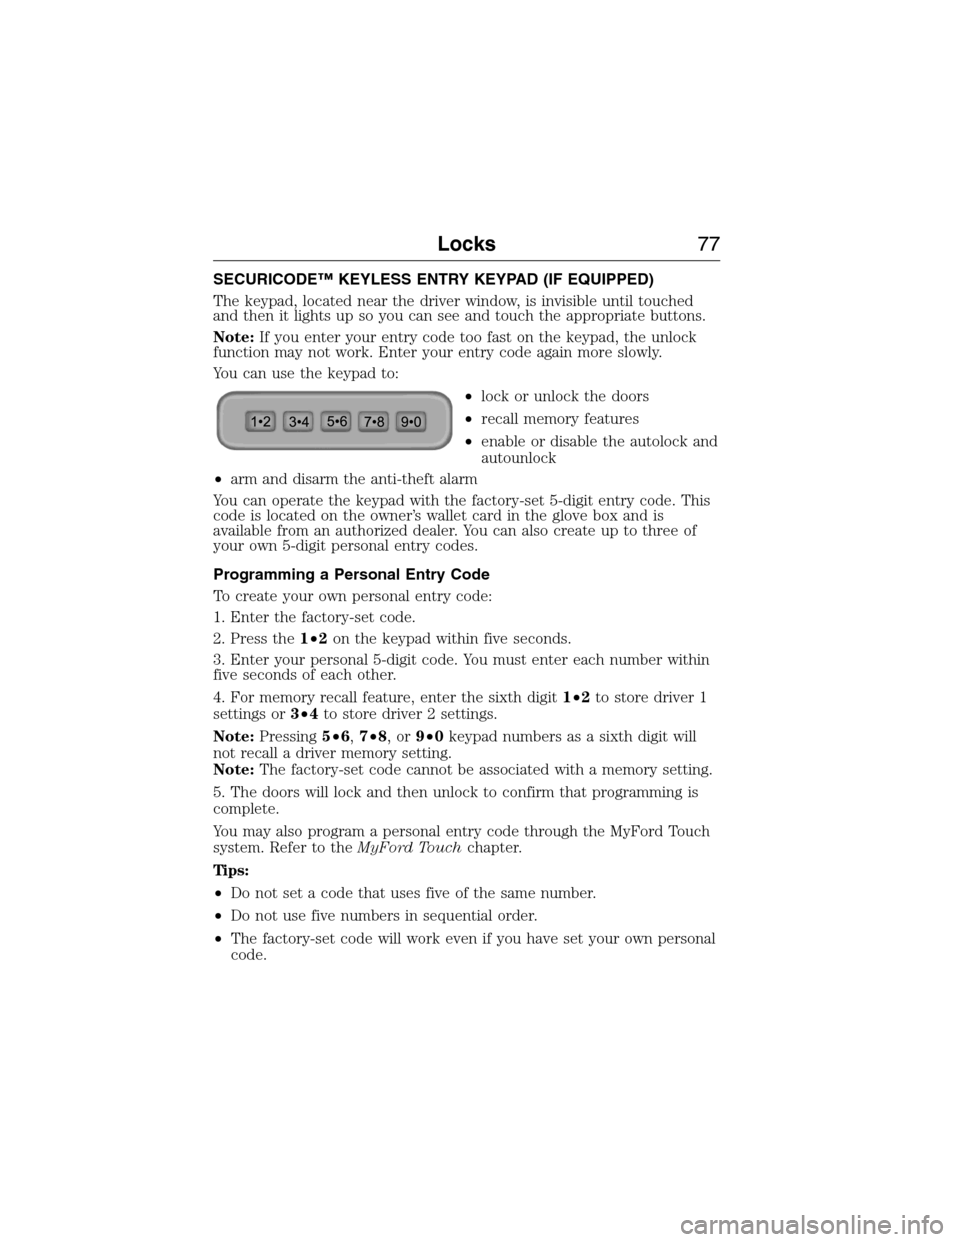
SECURICODE™ KEYLESS ENTRY KEYPAD (IF EQUIPPED)
The keypad, located near the driver window, is invisible until touched
and then it lights up so you can see and touch the appropriate buttons.
Note:If you enter your entry code too fast on the keypad, the unlock
function may not work. Enter your entry code again more slowly.
You can use the keypad to:
•lock or unlock the doors
•recall memory features
•enable or disable the autolock and
autounlock
•arm and disarm the anti-theft alarm
You can operate the keypad with the factory-set 5-digit entry code. This
code is located on the owner’s wallet card in the glove box and is
available from an authorized dealer. You can also create up to three of
your own 5-digit personal entry codes.
Programming a Personal Entry Code
To create your own personal entry code:
1. Enter the factory-set code.
2. Press the1•2on the keypad within five seconds.
3. Enter your personal 5-digit code. You must enter each number within
five seconds of each other.
4. For memory recall feature, enter the sixth digit1•2to store driver 1
settings or3•4to store driver 2 settings.
Note:Pressing5•6,7•8,or9•0keypad numbers as a sixth digit will
not recall a driver memory setting.
Note:The factory-set code cannot be associated with a memory setting.
5. The doors will lock and then unlock to confirm that programming is
complete.
You may also program a personal entry code through the MyFord Touch
system. Refer to theMyFord Touchchapter.
Tips:
•Do not set a code that uses five of the same number.
•Do not use five numbers in sequential order.
•The factory-set code will work even if you have set your own personal
code.
Locks77
2015 Expedition(exd)
Owners Guide gf, 1st Printing, July 2014
USA(fus)
Page 95 of 564
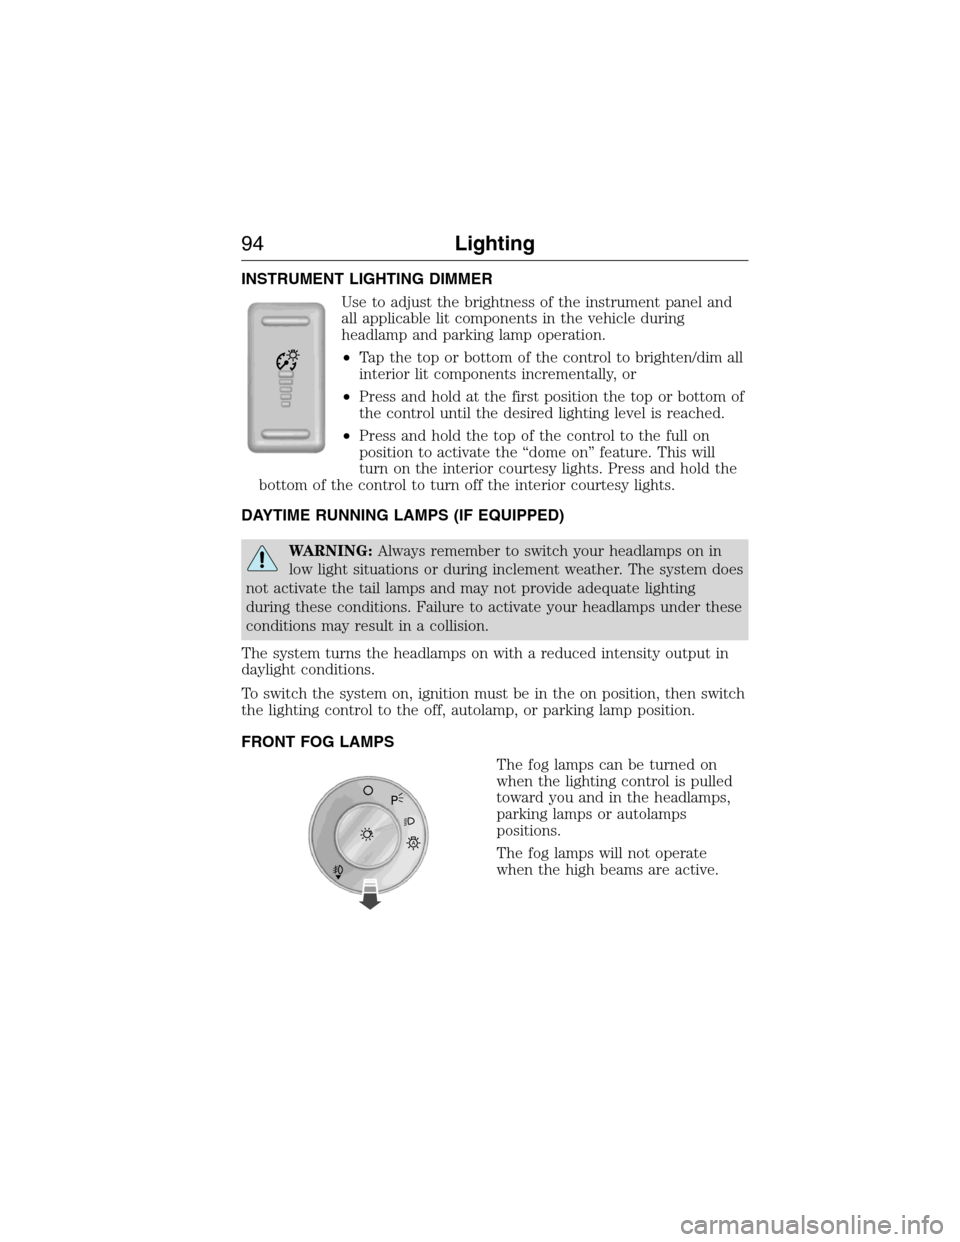
INSTRUMENT LIGHTING DIMMER
Use to adjust the brightness of the instrument panel and
all applicable lit components in the vehicle during
headlamp and parking lamp operation.
•Tap the top or bottom of the control to brighten/dim all
interior lit components incrementally, or
•Press and hold at the first position the top or bottom of
the control until the desired lighting level is reached.
•Press and hold the top of the control to the full on
position to activate the “dome on” feature. This will
turn on the interior courtesy lights. Press and hold the
bottom of the control to turn off the interior courtesy lights.
DAYTIME RUNNING LAMPS (IF EQUIPPED)
WARNING:Always remember to switch your headlamps on in
low light situations or during inclement weather. The system does
not activate the tail lamps and may not provide adequate lighting
during these conditions. Failure to activate your headlamps under these
conditions may result in a collision.
The system turns the headlamps on with a reduced intensity output in
daylight conditions.
To switch the system on, ignition must be in the on position, then switch
the lighting control to the off, autolamp, or parking lamp position.
FRONT FOG LAMPS
The fog lamps can be turned on
when the lighting control is pulled
toward you and in the headlamps,
parking lamps or autolamps
positions.
The fog lamps will not operate
when the high beams are active.
A
94Lighting
2015 Expedition(exd)
Owners Guide gf, 1st Printing, July 2014
USA(fus)
Page 96 of 564
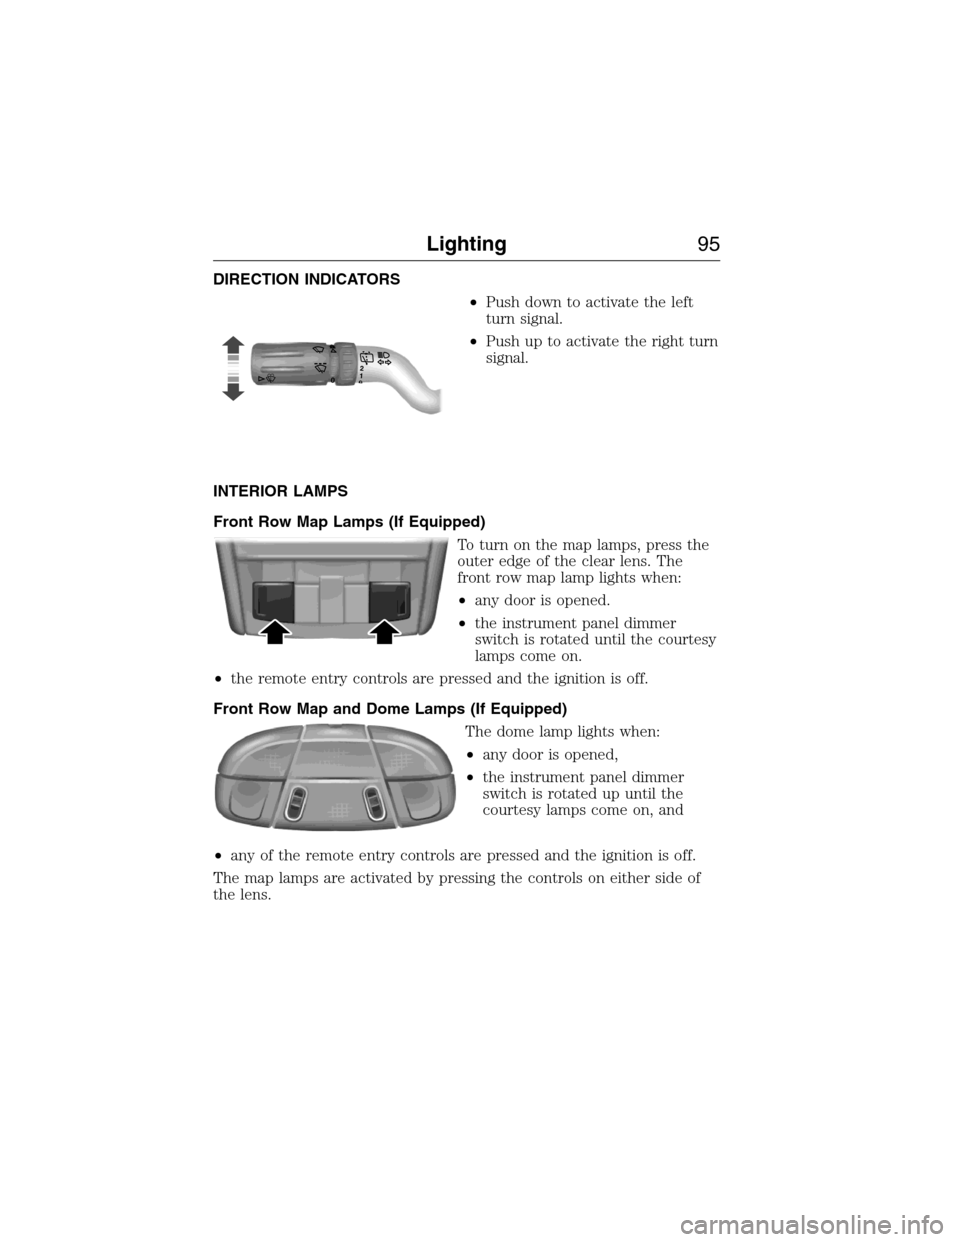
DIRECTION INDICATORS
•Push down to activate the left
turn signal.
•Push up to activate the right turn
signal.
INTERIOR LAMPS
Front Row Map Lamps (If Equipped)
To turn on the map lamps, press the
outer edge of the clear lens. The
front row map lamp lights when:
•any door is opened.
•the instrument panel dimmer
switch is rotated until the courtesy
lamps come on.
•the remote entry controls are pressed and the ignition is off.
Front Row Map and Dome Lamps (If Equipped)
The dome lamp lights when:
•any door is opened,
•the instrument panel dimmer
switch is rotated up until the
courtesy lamps come on, and
•any of the remote entry controls are pressed and the ignition is off.
The map lamps are activated by pressing the controls on either side of
the lens.
120
Lighting95
2015 Expedition(exd)
Owners Guide gf, 1st Printing, July 2014
USA(fus)
Page 97 of 564
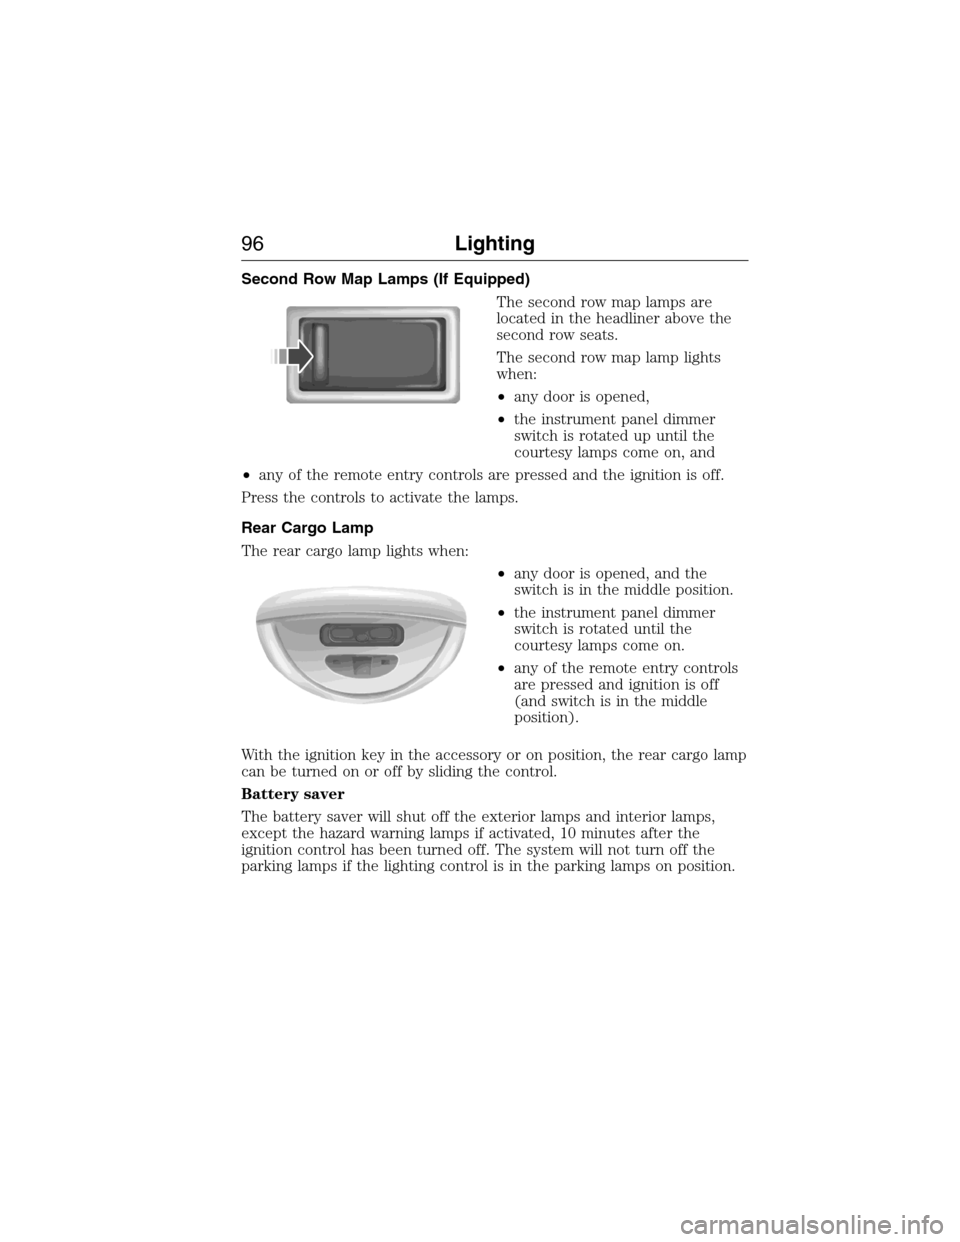
Second Row Map Lamps (If Equipped)
The second row map lamps are
located in the headliner above the
second row seats.
The second row map lamp lights
when:
•any door is opened,
•the instrument panel dimmer
switch is rotated up until the
courtesy lamps come on, and
•any of the remote entry controls are pressed and the ignition is off.
Press the controls to activate the lamps.
Rear Cargo Lamp
The rear cargo lamp lights when:
•any door is opened, and the
switch is in the middle position.
•the instrument panel dimmer
switch is rotated until the
courtesy lamps come on.
•any of the remote entry controls
are pressed and ignition is off
(and switch is in the middle
position).
With the ignition key in the accessory or on position, the rear cargo lamp
can be turned on or off by sliding the control.
Battery saver
The battery saver will shut off the exterior lamps and interior lamps,
except the hazard warning lamps if activated, 10 minutes after the
ignition control has been turned off. The system will not turn off the
parking lamps if the lighting control is in the parking lamps on position.
96Lighting
2015 Expedition(exd)
Owners Guide gf, 1st Printing, July 2014
USA(fus)
Page 101 of 564

Auto-Dimming Feature (If Equipped)
The driver’s side exterior mirror will automatically dim when the interior
auto-dimming mirror is activated.
Signal Indicator Mirrors (If Equipped)
The rear-facing portion of the appropriate mirror housing will blink when
the turn signal is activated.
Blind Spot Information System (BLIS®) with Cross Traffic Alert
(CTA) (If Equipped)
Refer toBlind Spot Information System (BLIS®) with Cross Traffic
Alert (CTA)in theDriving Aidschapter.
INTERIOR MIRROR
WARNING:Do not adjust the mirror when your vehicle is
moving.
Note:Do not clean the housing or glass of any mirror with harsh
abrasives, fuel or other petroleum or ammonia based cleaning products.
You can adjust the interior mirror to your preference. Some mirrors also
have a second pivot point. This lets you move the mirror head up or
down and from side to side.
Auto-Dimming Mirror
Note:Do not block the sensors on the front and back of the mirror.
Mirror performance may be affected. A rear center passenger or raised
rear center head restraint may also block light from reaching the sensor.
The mirror will dim automatically to reduce glare when bright lights are
detected from behind your vehicle. It will automatically return to normal
reflection when you select reverse gear to make sure you have a clear
view when backing up.
100Windows and Mirrors
2015 Expedition(exd)
Owners Guide gf, 1st Printing, July 2014
USA(fus)
Page 118 of 564
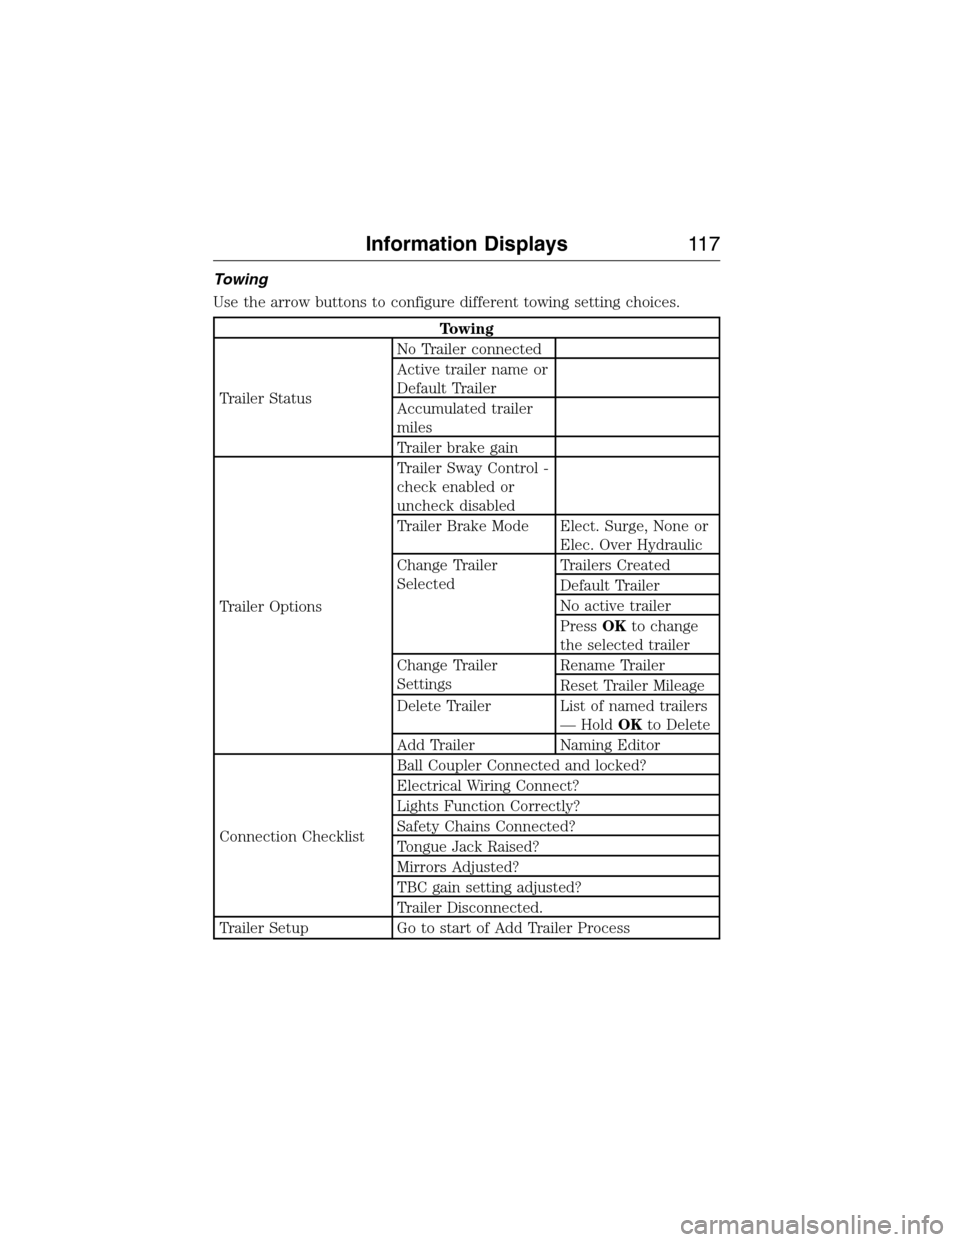
Towing
Use the arrow buttons to configure different towing setting choices.
Towing
Trailer StatusNo Trailer connected
Active trailer name or
Default Trailer
Accumulated trailer
miles
Trailer brake gain
Trailer OptionsTrailer Sway Control -
check enabled or
uncheck disabled
Trailer Brake Mode Elect. Surge, None or
Elec. Over Hydraulic
Change Trailer
SelectedTrailers Created
Default Trailer
No active trailer
PressOKto change
the selected trailer
Change Trailer
SettingsRename Trailer
Reset Trailer Mileage
Delete Trailer List of named trailers
— HoldOKto Delete
Add Trailer Naming Editor
Connection ChecklistBall Coupler Connected and locked?
Electrical Wiring Connect?
Lights Function Correctly?
Safety Chains Connected?
Tongue Jack Raised?
Mirrors Adjusted?
TBC gain setting adjusted?
Trailer Disconnected.
Trailer Setup Go to start of Add Trailer Process
Information Displays11 7
2015 Expedition(exd)
Owners Guide gf, 1st Printing, July 2014
USA(fus)