2015 FORD EXPEDITION warning light
[x] Cancel search: warning lightPage 169 of 564
HOMELINK® WIRELESS CONTROL SYSTEM (IF EQUIPPED)
WARNING:Make sure that the garage door and security device
are free from obstruction when you are programming. Do not
program the system with the vehicle in the garage.
WARNING:Do not use the system with any garage door opener
that does not have the safety stop and reverse feature as
required by U.S. Federal Safety Standards (this includes any garage
door opener manufactured before April 1, 1982).
Note:Make sure you keep the original remote control transmitter for
use in other vehicles as well as for future system programming.
Note:We recommend that upon the sale or lease termination of your
vehicle, you erase the programmed function buttons for security reasons.
SeeErasing the function button codeslater in this section.
Note:You can program a maximum of three devices. To change or
replace any of the three devices after it has been initially programmed,
you must first erase the current settings. SeeErasing the function
button codeslater in this section.
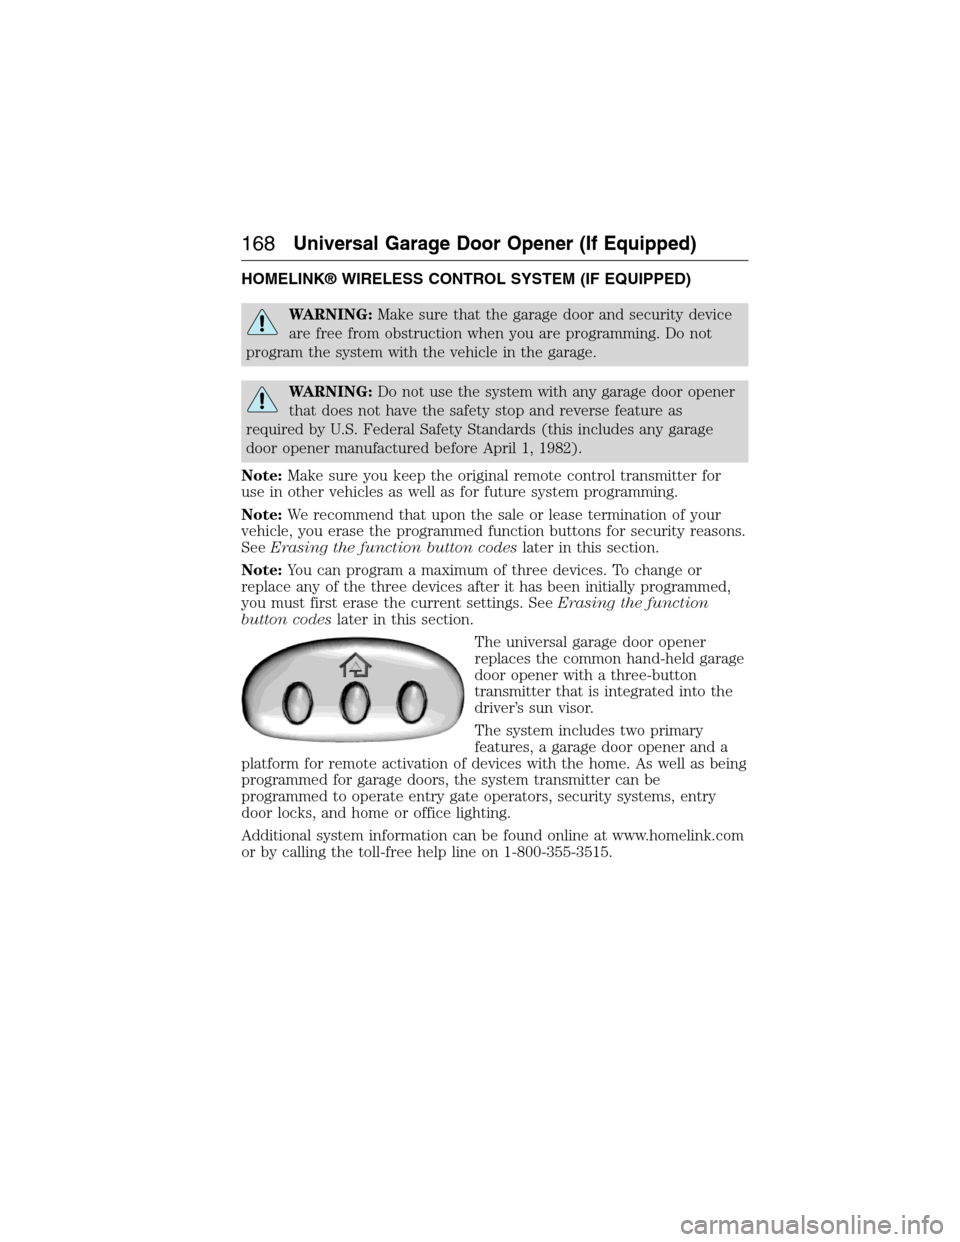
The universal garage door opener
replaces the common hand-held garage
door opener with a three-button
transmitter that is integrated into the
driver’s sun visor.
The system includes two primary
features, a garage door opener and a
platform for remote activation of devices with the home. As well as being
programmed for garage doors, the system transmitter can be
programmed to operate entry gate operators, security systems, entry
door locks, and home or office lighting.
Additional system information can be found online at www.homelink.com
or by calling the toll-free help line on 1-800-355-3515.
168Universal Garage Door Opener (If Equipped)
2015 Expedition(exd)
Owners Guide gf, 1st Printing, July 2014
USA(fus)
Page 174 of 564
AUXILIARY POWER POINTS
WARNING:Do not plug optional electrical accessories into the
cigarette lighter socket (if equipped). Improper use of the lighter
can cause damage not covered by your warranty, and can result in fire
or serious injury.
Note:If used when the engine is not running, the battery will discharge.
There may be insufficient power to restart your engine.
Note:Do not insert objects other than an accessory plug into the power
point. This will damage the outlet and blow the fuse.
Note:Do not hang any type of accessory or accessory bracket from the
plug.
Note:Do not use the power point over the vehicle capacity of 12 volt
DC 180 watts or a fuse may blow.
Note:Do not use the power point for operating a cigarette lighter
element.
Note:Improper use of the power outlet can cause damage not covered
by your warranty.
Note:Always keep the power point caps closed when not in use.
Run the engine for full capacity use of the power point. To prevent the
battery from being discharged:
•Do not use the power point longer than necessary when the engine is
not running.
•Do not leave devices plugged in overnight or when the vehicle is
parked for extended periods.
Locations
Power points may be found:
•On the instrument panel.
•In the console bin.
•On the rear of the center console.
•On the right rear quarter panel.
Auxiliary Power Points173
2015 Expedition(exd)
Owners Guide gf, 1st Printing, July 2014
USA(fus)
Page 180 of 564
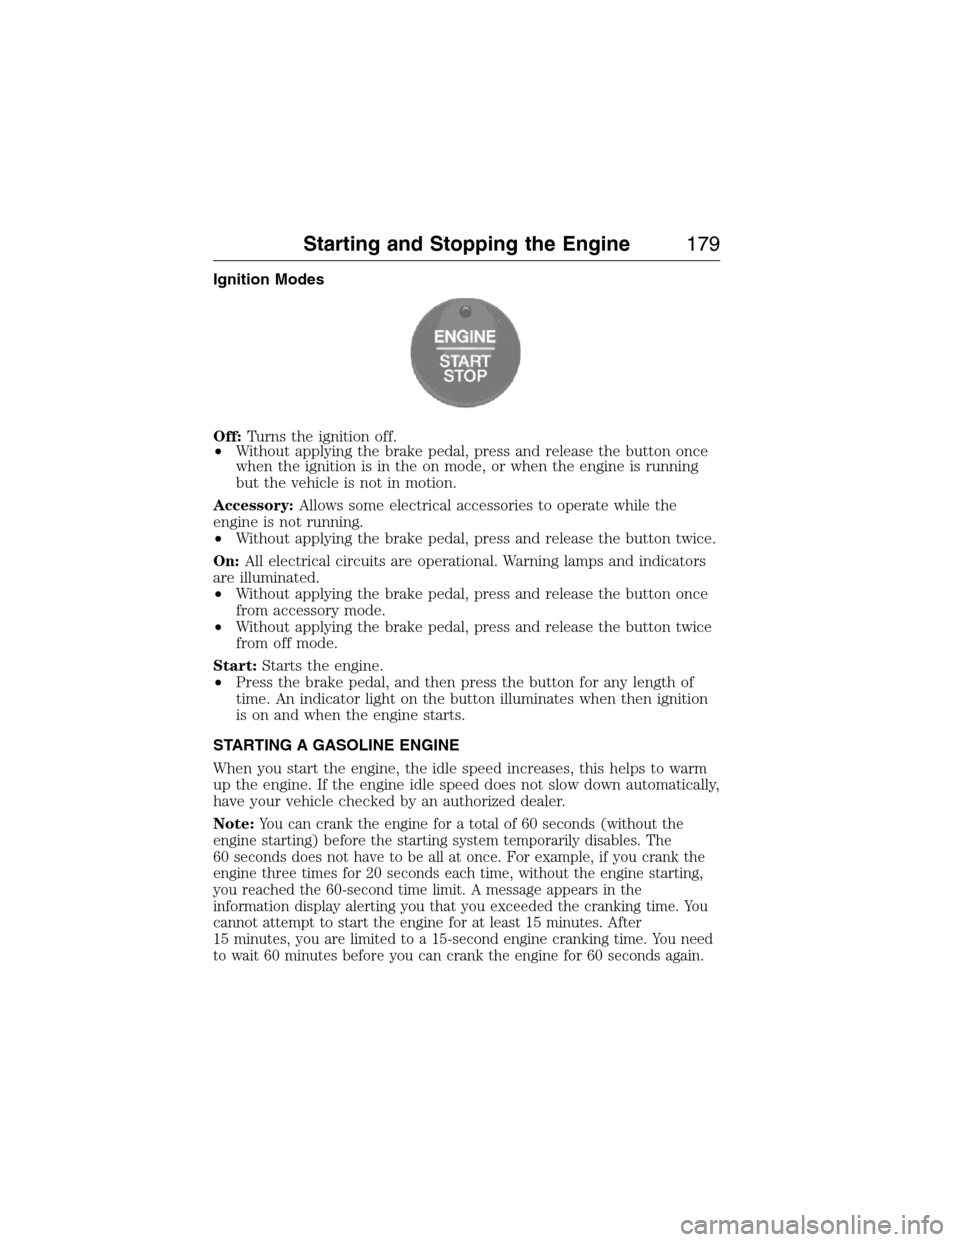
Ignition Modes
Off:Turns the ignition off.
•Without applying the brake pedal, press and release the button once
when the ignition is in the on mode, or when the engine is running
but the vehicle is not in motion.
Accessory:Allows some electrical accessories to operate while the
engine is not running.
•Without applying the brake pedal, press and release the button twice.
On:All electrical circuits are operational. Warning lamps and indicators
are illuminated.
•Without applying the brake pedal, press and release the button once
from accessory mode.
•Without applying the brake pedal, press and release the button twice
from off mode.
Start:Starts the engine.
•Press the brake pedal, and then press the button for any length of
time. An indicator light on the button illuminates when then ignition
is on and when the engine starts.
STARTING A GASOLINE ENGINE
When you start the engine, the idle speed increases, this helps to warm
up the engine. If the engine idle speed does not slow down automatically,
have your vehicle checked by an authorized dealer.
Note:
You can crank the engine for a total of 60 seconds (without the
engine starting) before the starting system temporarily disables. The
60 seconds does not have to be all at once. For example, if you crank the
engine three times for 20 seconds each time, without the engine starting,
you reached the 60-second time limit. A message appears in the
information display alerting you that you exceeded the cranking time. You
cannot attempt to start the engine for at least 15 minutes. After
15 minutes, you are limited to a 15-second engine cranking time. You need
to wait 60 minutes before you can crank the engine for 60 seconds again.
Starting and Stopping the Engine179
2015 Expedition(exd)
Owners Guide gf, 1st Printing, July 2014
USA(fus)
Page 192 of 564
EMISSION CONTROL SYSTEM
WARNING:Do not park, idle, or drive your vehicle in dry grass
or other dry ground cover. The emission system heats up the
engine compartment and exhaust system, which can start a fire.
WARNING:Exhaust leaks may result in entry of harmful and
potentially lethal fumes into the passenger compartment. If you
smell exhaust fumes inside your vehicle, have your dealer inspect your
vehicle immediately. Do not drive if you smell exhaust fumes.
Your vehicle is equipped with various emission control components and a
catalytic converter which will enable your vehicle to comply with
applicable exhaust emission standards. To make sure that the catalytic
converter and other emission control components continue to work
properly:
•Use only the specified fuel listed.
•Avoid running out of fuel.
•Do not turn off the ignition while your vehicle is moving, especially at
high speeds.
•Have the items listed inScheduled Maintenance Information
performed according to the specified schedule.
The scheduled maintenance items listed inScheduled Maintenance
Informationare essential to the life and performance of your vehicle
and to its emissions system.
If other than Ford, Motorcraft® or Ford-authorized parts are used for
maintenance replacements or for service of components affecting
emission control, such non-Ford parts should be equivalent to genuine
Ford Motor Company parts in performance and durability.
Illumination of the service engine soon indicator, charging system
warning light or the temperature warning light, fluid leaks, strange odors,
smoke or loss of engine power could indicate that the emission control
system is not working properly.
An improperly operating or damaged exhaust system may allow exhaust
to enter the vehicle. Have a damaged or improperly operating exhaust
system inspected and repaired immediately.
Fuel and Refueling191
2015 Expedition(exd)
Owners Guide gf, 1st Printing, July 2014
USA(fus)
Page 201 of 564
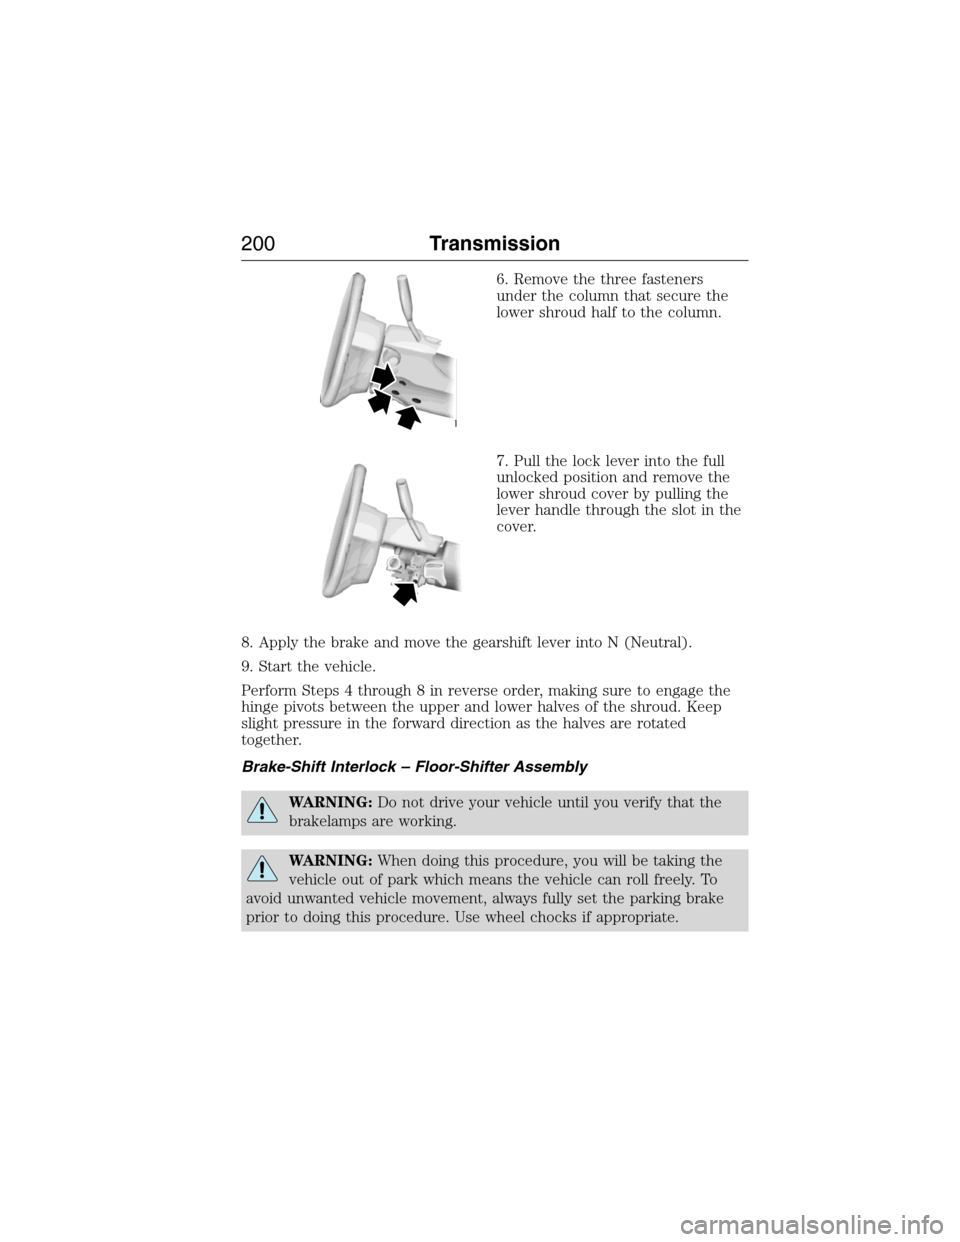
6. Remove the three fasteners
under the column that secure the
lower shroud half to the column.
7. Pull the lock lever into the full
unlocked position and remove the
lower shroud cover by pulling the
lever handle through the slot in the
cover.
8. Apply the brake and move the gearshift lever into N (Neutral).
9. Start the vehicle.
Perform Steps 4 through 8 in reverse order, making sure to engage the
hinge pivots between the upper and lower halves of the shroud. Keep
slight pressure in the forward direction as the halves are rotated
together.
Brake-Shift Interlock – Floor-Shifter Assembly
WARNING:Do not drive your vehicle until you verify that the
brakelamps are working.
WARNING:When doing this procedure, you will be taking the
vehicle out of park which means the vehicle can roll freely. To
avoid unwanted vehicle movement, always fully set the parking brake
prior to doing this procedure. Use wheel chocks if appropriate.
200Transmission
2015 Expedition(exd)
Owners Guide gf, 1st Printing, July 2014
USA(fus)
Page 204 of 564
USING FOUR-WHEEL DRIVE (4WD) (IF EQUIPPED )
WARNING:For important information regarding safe operation
of this type of vehicle, seeGeneral Informationin theWheels
and Tireschapter.
Note:Do not use 4X4 mode on dry, hard surfaced roads. Doing so will
produce excessive noise, increase tire wear and may damage drive
components. 4X4 mode is only intended for consistently slippery or loose
surfaces.
Note:If 4X4 low is selected while the vehicle is moving above 3 mph
(5 km/h), the 4WD system will not perform a shift. This is normal and
should be no reason for concern. Refer toShifting to/from 4L (4X4
Low)for proper operation.
4WD Indicator Lights
The indicator lights illuminate in the message center in the
reconfigurable telltale (RTT) location under the following conditions.
Refer toWarning Lamps and Indicatorsin theInstrument Cluster
chapter.
Note:When a 4X4 system fault is present, the system will typically
remain in whichever 4X4 mode was selected prior to the fault condition
occurring. It will not default to 4X2 in all circumstances. When this
warning is displayed, have your vehicle serviced by an authorized dealer.
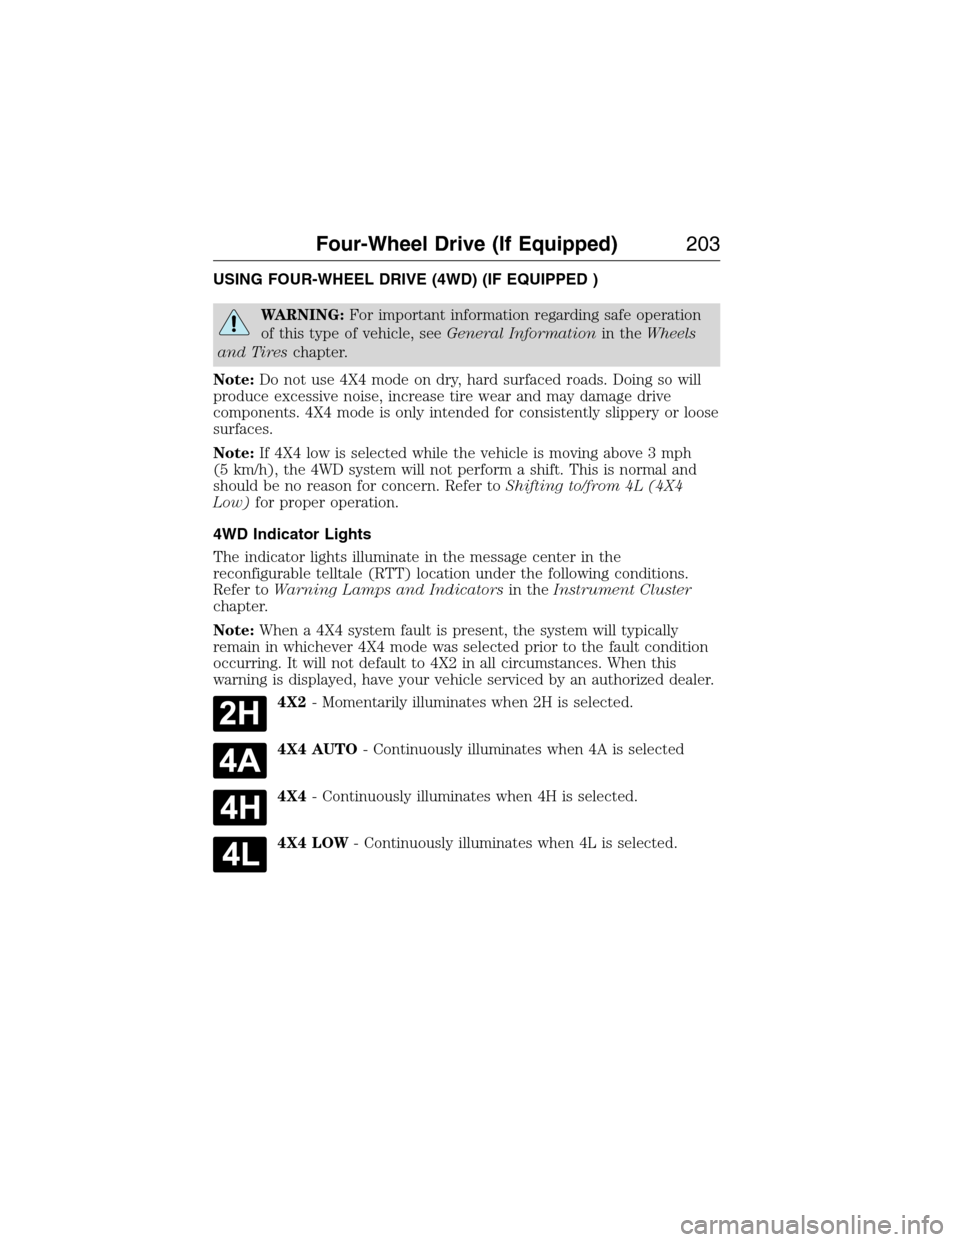
4X2- Momentarily illuminates when 2H is selected.
4X4 AUTO- Continuously illuminates when 4A is selected
4X4- Continuously illuminates when 4H is selected.
4X4 LOW- Continuously illuminates when 4L is selected.
Four-Wheel Drive (If Equipped)203
2015 Expedition(exd)
Owners Guide gf, 1st Printing, July 2014
USA(fus)
Page 209 of 564
If your vehicle gets stuck
WARNING:Do not spin the wheels at over 35 mph (56 km/h).
The tires may fail and injure a passenger or bystander.
Note:Do not rock the vehicle if the engine is not at normal operating
temperature or damage to the transmission may occur.
Note:Do not rock the vehicle for more than a few minutes or damage to
the transmission and tires may occur or the engine may overheat.
If your vehicle gets stuck in mud or snow it may be rocked out by
shifting between forward and reverse gears, stopping between shifts, in a
steady pattern. Press lightly on the accelerator in each gear.
Emergency maneuvers
•In an unavoidable emergency situation where a sudden sharp turn
must be made, remember to avoid over-driving your vehicle, i.e., turn
the steering wheel only as rapidly and as far as required to avoid the
emergency. Excessive steering will result in less vehicle control, not
more. Additionally, smooth variations of the accelerator and/or brake
pedal pressure should be utilized if changes in vehicle speed are called
for. Avoid abrupt steering, acceleration or braking which could result
in an increased risk of loss of vehicle control, vehicle rollover and/or
personal injury. Use all available road surface to return the vehicle to a
safe direction of travel.
•In the event of an emergency stop, avoid skidding the tires and do not
attempt any sharp steering wheel movements.
•If the vehicle goes from one type of surface to another (i.e., from
concrete to gravel) there will be a change in the way the vehicle
responds to a maneuver (steering, acceleration or braking). Again,
avoid these abrupt inputs.
Sand
When driving over sand, try to keep all four wheels on the most solid
area of the trail. Avoid reducing the tire pressures but shift to a lower
gear and drive steadily through the terrain. Apply the accelerator slowly
and avoid spinning the wheels.
Avoid excessive speed because vehicle momentum can work against you
and cause the vehicle to become stuck to the point that assistance may
be required from another vehicle. Remember, you may be able to back
out the way you came if you proceed with caution.
208Four-Wheel Drive (If Equipped)
2015 Expedition(exd)
Owners Guide gf, 1st Printing, July 2014
USA(fus)
Page 213 of 564
GENERAL INFORMATION
Note:Occasional brake noise is normal. If a metal-to-metal, continuous
grinding or continuous squeal sound is present, the brake linings may be
worn out. Have them inspected by an authorized dealer. If your vehicle
has continuous vibration or shudder in the steering wheel while braking,
have your vehicle inspected by an authorized dealer.
Note:Brake dust may accumulate on the wheels, even under normal
driving conditions. Some dust is inevitable as the brakes wear and does
not contribute to brake noise. See theVehicle Carechapter for wheel
cleaning instructions.
See theInstrument Clusterchapter for information on the
brake system warning light.
Wet brakes result in reduced braking efficiency. Gently press the brake
pedal a few times when driving from a car wash or standing water to dry
the brakes.
Brake Over Accelerator
In the event the accelerator pedal becomes stuck or entrapped, apply
steady and firm pressure to the brake pedal to slow your vehicle and
reduce engine power. If you experience this condition, apply the brakes
and bring your vehicle to a safe stop. Turn the engine off, shift to park
(P) and apply the parking brake. Inspect the accelerator pedal and the
area around it for any items or debris that may be obstructing its
movement. If none are found and the condition persists, have your
vehicle towed to the nearest authorized dealer.
Anti-Lock Brake System
This system helps you maintain steering control during emergency stops
by keeping the brakes from locking.
This lamp momentarily illuminates when you turn the ignition
on. If the light does not illuminate during start-up, remains on
or flashes, the anti-lock brake system may be disabled. Have
the system checked by an authorized dealer. If the anti-lock brake
system is disabled, normal braking is still effective.
If the brake warning lamp illuminates when you release the
parking brake, have the system checked by an authorized
dealer.
212Brakes
2015 Expedition(exd)
Owners Guide gf, 1st Printing, July 2014
USA(fus)