2015 FORD EXPEDITION low beam
[x] Cancel search: low beamPage 94 of 564
AUTOLAMPS
WARNING:The daytime running lamps system does not activate
the rear lamps and may not provide adequate lighting during low
visibility driving conditions. Also, the autolamps switch position may not
activate the headlamps in all low visibility conditions, such as daytime
fog. Always ensure that your headlamps are switched to auto or on, as
appropriate, during all low visibility conditions. Failure to do so may
result in a collision.
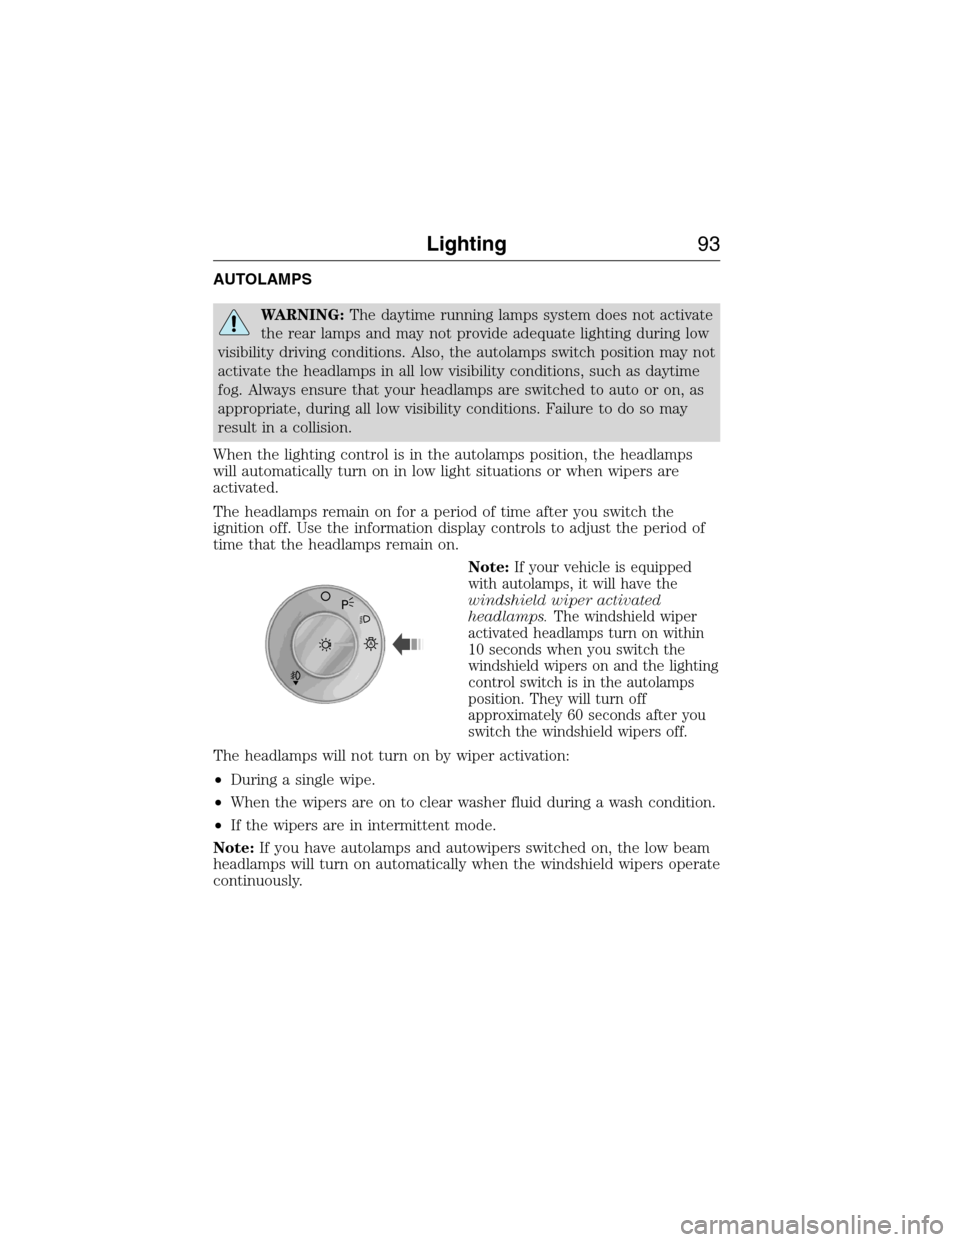
When the lighting control is in the autolamps position, the headlamps
will automatically turn on in low light situations or when wipers are
activated.
The headlamps remain on for a period of time after you switch the
ignition off. Use the information display controls to adjust the period of
time that the headlamps remain on.
Note:
If your vehicle is equipped
with autolamps, it will have the
windshield wiper activated
headlamps.The windshield wiper
activated headlamps turn on within
10 seconds when you switch the
windshield wipers on and the lighting
control switch is in the autolamps
position. They will turn off
approximately 60 seconds after you
switch the windshield wipers off.
The headlamps will not turn on by wiper activation:
•During a single wipe.
•When the wipers are on to clear washer fluid during a wash condition.
•If the wipers are in intermittent mode.
Note:If you have autolamps and autowipers switched on, the low beam
headlamps will turn on automatically when the windshield wipers operate
continuously.
A
Lighting93
2015 Expedition(exd)
Owners Guide gf, 1st Printing, July 2014
USA(fus)
Page 95 of 564
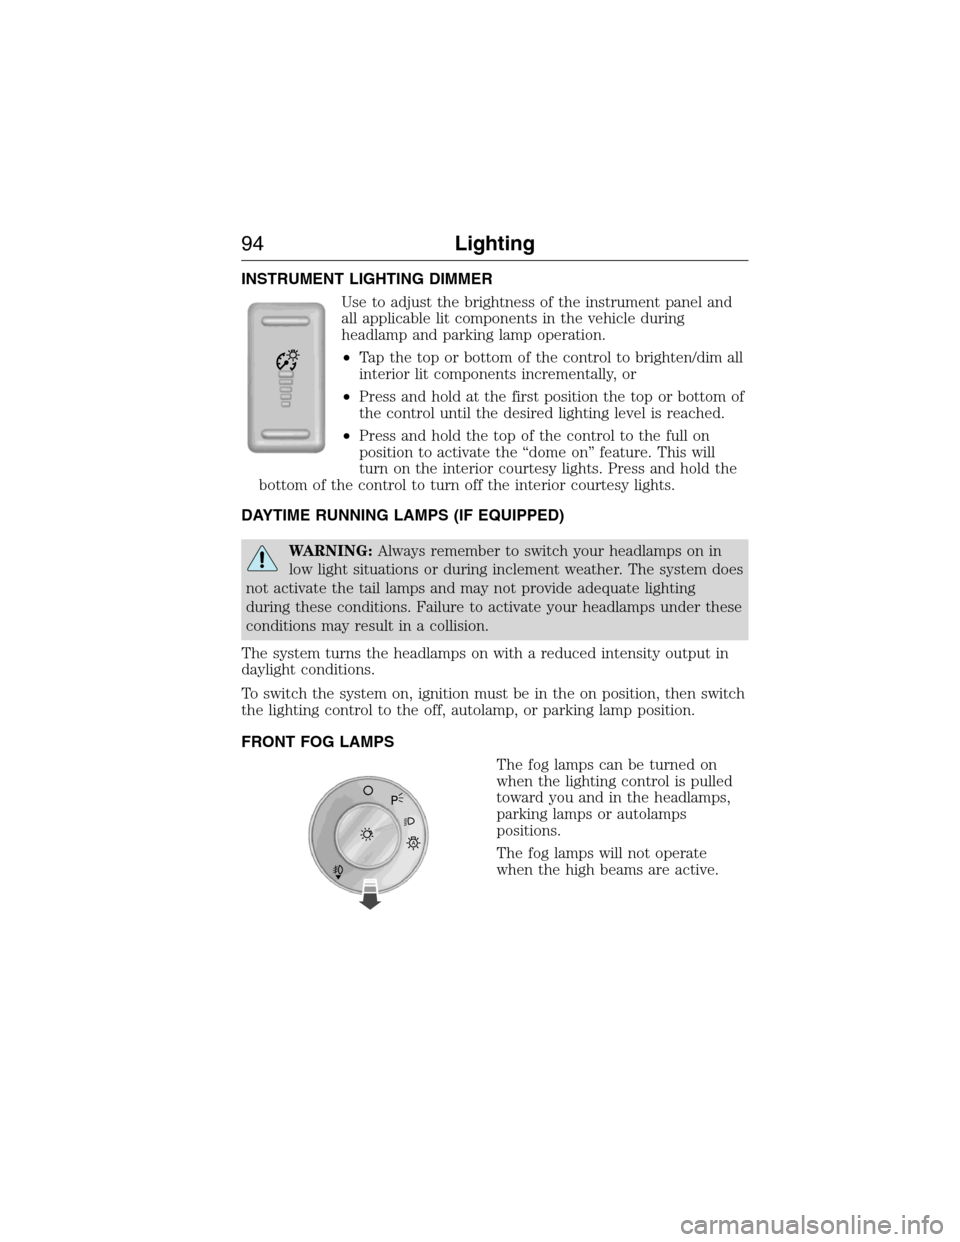
INSTRUMENT LIGHTING DIMMER
Use to adjust the brightness of the instrument panel and
all applicable lit components in the vehicle during
headlamp and parking lamp operation.
•Tap the top or bottom of the control to brighten/dim all
interior lit components incrementally, or
•Press and hold at the first position the top or bottom of
the control until the desired lighting level is reached.
•Press and hold the top of the control to the full on
position to activate the “dome on” feature. This will
turn on the interior courtesy lights. Press and hold the
bottom of the control to turn off the interior courtesy lights.
DAYTIME RUNNING LAMPS (IF EQUIPPED)
WARNING:Always remember to switch your headlamps on in
low light situations or during inclement weather. The system does
not activate the tail lamps and may not provide adequate lighting
during these conditions. Failure to activate your headlamps under these
conditions may result in a collision.
The system turns the headlamps on with a reduced intensity output in
daylight conditions.
To switch the system on, ignition must be in the on position, then switch
the lighting control to the off, autolamp, or parking lamp position.
FRONT FOG LAMPS
The fog lamps can be turned on
when the lighting control is pulled
toward you and in the headlamps,
parking lamps or autolamps
positions.
The fog lamps will not operate
when the high beams are active.
A
94Lighting
2015 Expedition(exd)
Owners Guide gf, 1st Printing, July 2014
USA(fus)
Page 110 of 564
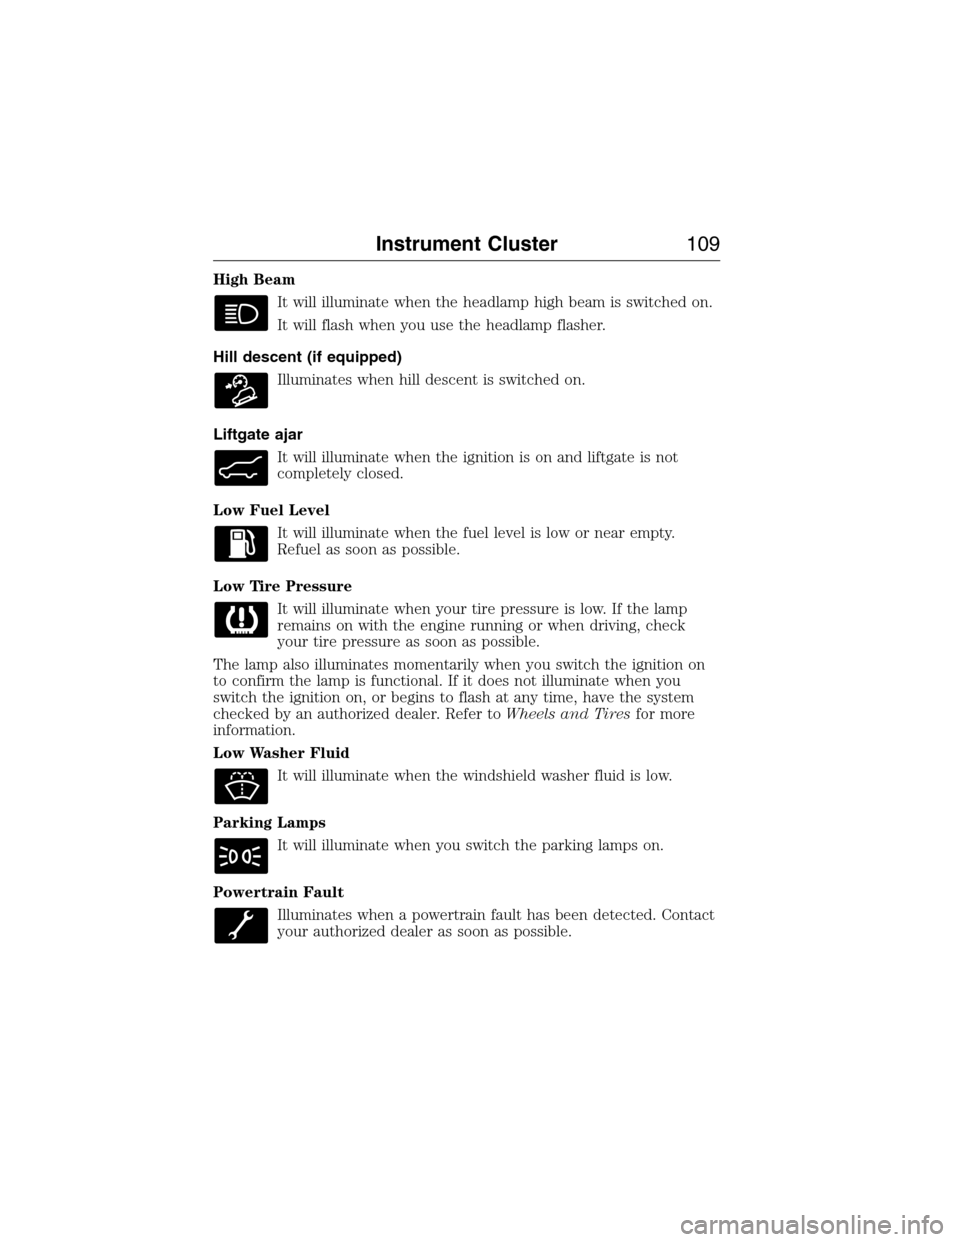
High Beam
It will illuminate when the headlamp high beam is switched on.
It will flash when you use the headlamp flasher.
Hill descent (if equipped)
Illuminates when hill descent is switched on.
Liftgate ajar
It will illuminate when the ignition is on and liftgate is not
completely closed.
Low Fuel Level
It will illuminate when the fuel level is low or near empty.
Refuel as soon as possible.
Low Tire Pressure
It will illuminate when your tire pressure is low. If the lamp
remains on with the engine running or when driving, check
your tire pressure as soon as possible.
The lamp also illuminates momentarily when you switch the ignition on
to confirm the lamp is functional. If it does not illuminate when you
switch the ignition on, or begins to flash at any time, have the system
checked by an authorized dealer. Refer toWheels and Tiresfor more
information.
Low Washer Fluid
It will illuminate when the windshield washer fluid is low.
Parking Lamps
It will illuminate when you switch the parking lamps on.
Powertrain Fault
Illuminates when a powertrain fault has been detected. Contact
your authorized dealer as soon as possible.
Instrument Cluster109
2015 Expedition(exd)
Owners Guide gf, 1st Printing, July 2014
USA(fus)
Page 289 of 564

Fuse or relay
locationFuse amp rating Protected circuits
9 10A SYNC, power lift gate, electric finish
panel, display
10 10A Run accessory relay
11 10A Passive entry/start module
12 15A Interior lighting, puddle lamps
13 15A Right turn and stop/turn signals
14 15A Left turn and stop/turn signals
15 15A Reverse lamp, center high mount
stop lamp, EC mirror
16 10A Right front low beam
17 10A Left front low beam
18 10A Brake shift interlock/start button
LED/keypad illumination, third row
power folding seat, passive entry
touch start
19 — Not used
20 20A Lock/unlock relays
21 — Not used
22 20A Horn
23 15A SWCM, cluster
24 15A Adjustable pedals/power adjustable
column, Datalink
25 15A Liftgate release decklid, liftglass
release motor
26 5A Push to start switch
27 20A Passive entry/start module
28 15A Ignition switch, key inhibit switch
29 20A Radio, GPS
30 15A Front park lamps
31 5A Trailer brake on/off
32 15A Power vent, rear windows, power
inverter
33 10A CCD suspension module
288Fuses
2015 Expedition(exd)
Owners Guide gf, 1st Printing, July 2014
USA(fus)
Page 307 of 564
ADJUSTING THE HEADLAMPS
The headlamps on your vehicle are properly aimed at the assembly plant.
If your vehicle has been in an accident, an authorized dealer should
check the alignment of your headlamps.
Vertical Aim Adjustment
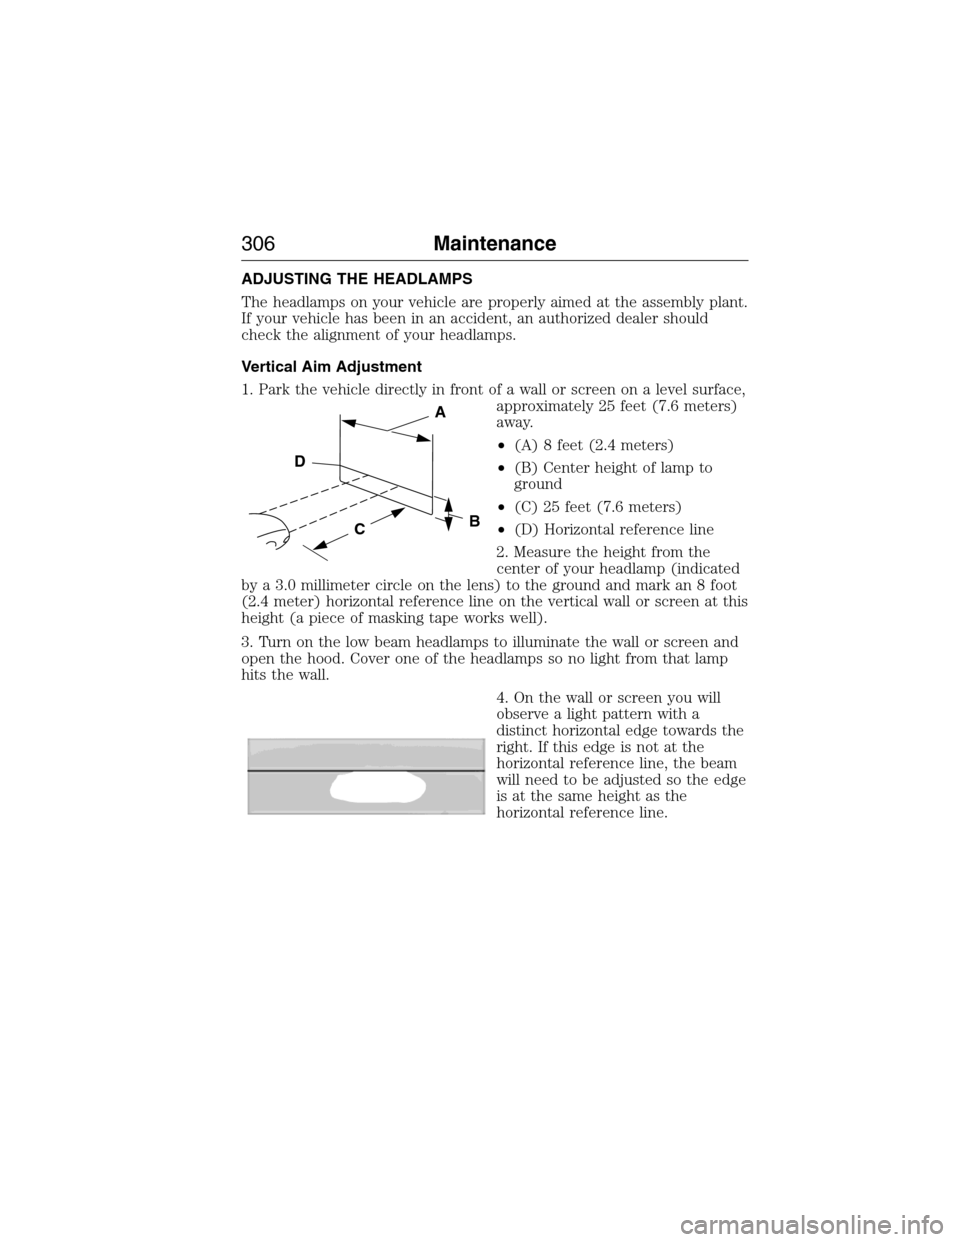
1. Park the vehicle directly in front of a wall or screen on a level surface,
approximately 25 feet (7.6 meters)
away.
•(A) 8 feet (2.4 meters)
•(B) Center height of lamp to
ground
•(C) 25 feet (7.6 meters)
•(D) Horizontal reference line
2. Measure the height from the
center of your headlamp (indicated
by a 3.0 millimeter circle on the lens) to the ground and mark an 8 foot
(2.4 meter) horizontal reference line on the vertical wall or screen at this
height (a piece of masking tape works well).
3. Turn on the low beam headlamps to illuminate the wall or screen and
open the hood. Cover one of the headlamps so no light from that lamp
hits the wall.
4. On the wall or screen you will
observe a light pattern with a
distinct horizontal edge towards the
right. If this edge is not at the
horizontal reference line, the beam
will need to be adjusted so the edge
is at the same height as the
horizontal reference line.
C
A
B
D
306Maintenance
2015 Expedition(exd)
Owners Guide gf, 1st Printing, July 2014
USA(fus)
Page 313 of 564
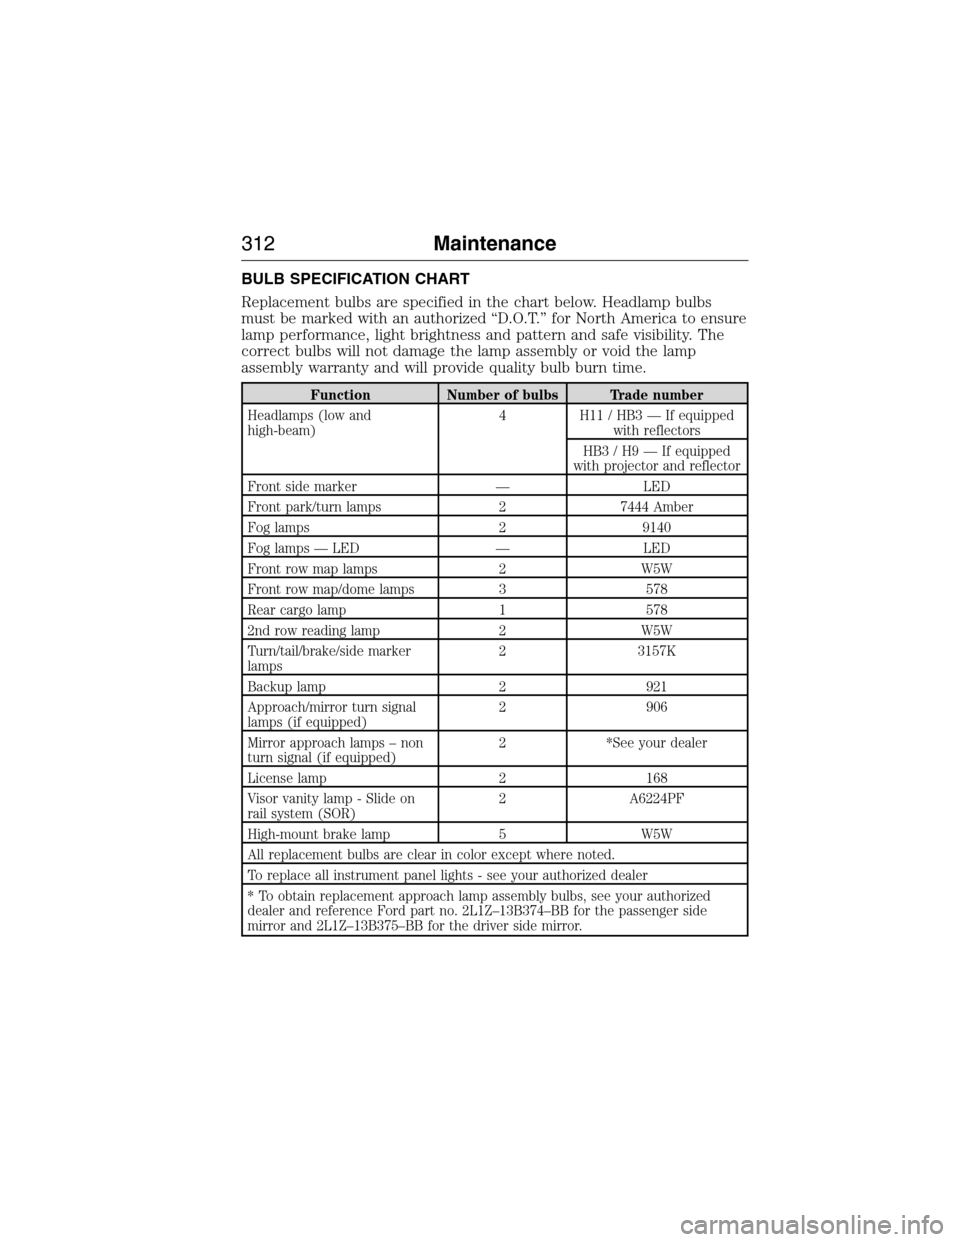
BULB SPECIFICATION CHART
Replacement bulbs are specified in the chart below. Headlamp bulbs
must be marked with an authorized “D.O.T.” for North America to ensure
lamp performance, light brightness and pattern and safe visibility. The
correct bulbs will not damage the lamp assembly or void the lamp
assembly warranty and will provide quality bulb burn time.
Function Number of bulbs Trade number
Headlamps (low and
high-beam)4 H11 / HB3 — If equipped
with reflectors
HB3 / H9 — If equipped
with projector and reflector
Front side marker — LED
Front park/turn lamps 2 7444 Amber
Fog lamps 2 9140
Fog lamps — LED — LED
Front row map lamps 2 W5W
Front row map/dome lamps 3 578
Rear cargo lamp 1 578
2nd row reading lamp 2 W5W
Turn/tail/brake/side marker
lamps2 3157K
Backup lamp 2 921
Approach/mirror turn signal
lamps (if equipped)2 906
Mirror approach lamps – non
turn signal (if equipped)2 *See your dealer
License lamp 2 168
Visor vanity lamp - Slide on
rail system (SOR)2 A6224PF
High-mount brake lamp 5 W5W
All replacement bulbs are clear in color except where noted.
To replace all instrument panel lights - see your authorized dealer
* To obtain replacement approach lamp assembly bulbs, see your authorized
dealer and reference Ford part no. 2L1Z–13B374–BB for the passenger side
mirror and 2L1Z–13B375–BB for the driver side mirror.
312Maintenance
2015 Expedition(exd)
Owners Guide gf, 1st Printing, July 2014
USA(fus)