2015 DODGE DURANGO lock
[x] Cancel search: lockPage 25 of 236

Installing The Child Restraint Using The Vehicle Seat Belts
The seat belts in the passenger seating positions are equipped with a Switchable
Automatic Locking Retractor (ALR) that is designed to keep the lap portion of the seat belt
tight around the child restraint. Any seat belt system will loosen with time, so check the
belt occasionally, and pull it tight if necessary.
Tether Anchorage Weight Limit
Always use the tether anchor when using the seat belt to install a forward facing child
restraint, up to the recommended weight limit of the child restraint.
To Install A Child Seat Using An ALR:
1. Pull enough of the seat belt webbing from the retractor to pass it through the belt path
of the child restraint. Do not twist the belt webbing in the belt path.
2. Slide the latch plate into the buckle until you hear a “click.”
3. Pull on the webbing to make the lap portion tight against the child seat.
4. To lock the seat belt, pull down on the shoulder part of the belt until you have pulled
all the seat belt webbing out of the retractor. Then, allow the webbing to retract back
into the retractor. As the webbing retracts, you will hear a clicking sound. This means
the seat belt is now in the Automatic Locking mode.
5. Try to pull the webbing out of the retractor. If it is locked, you should not be able to pull
out any webbing. If the retractor is not locked, repeat the last step.
6. Finally, pull up on any extra webbing to tighten the lap portion around the child
restraint while you push the child restraint rearward and downward into the vehicle
seat.
7. If the child restraint has a top tether strap and the seating position has a top tether
anchorage, connect the tether strap to the anchorage and tighten the tether strap. See
below for directions to attach a tether anchor.
8. Test that the child restraint is installed tightly by pulling back and forth on the child
seat at the belt path. It should not move more than 1 inch (25.4 mm) in any direction.
Installing The Top Tether Strap (With Either Lower Anchors Or Vehicle Seat Belt):
When installing a forward-facing child restraint, always secure the top tether strap, up to
the tether anchor weight limit, whether the child restraint is installed with the lower
anchors or the vehicle seat belt.
GETTING STARTED
23
Page 29 of 236

Head Restraints — Rear Seats
The head restraints on the outboard seats are not adjustable. They automatically fold
forward when the rear seat is folded to a load floor position but do not return to their
normal position when the rear seat is raised. After returning either seat to its upright
position, raise the head restraint until it locks in place. The outboard head restraints are
not removable.
The center head restraint has limited adjustment. Lift upward on the head restraint to
raise it, or push downward on the head restraint to lower it.
WARNING!
Sitting in a seat with the head restraint in its lowered position could result in serious
injury or death in a collision. Always make sure the outboard head restraints are in their
upright positions when the seat is to be occupied.
NOTE:
For proper routing of a Child Seat Tether, refer to “Occupant Restraints” in “Things To
Know Before Starting” in your Owner’s Manual on the DVD for further information.
Power Folding Third Row Head Restraints
For improved visibility when in reverse, the third row head restraints can be folded using
the Uconnect®System.
Press the “Controls” button located on the bottom of the Uconnect®display.
Press the Headrest Fold buttonto power fold the third row head restraints.
NOTE:
•TheheadrestraintscanonlybefoldeddownwardusingtheHeadrestbutton.Thehead
restraints must be raised manually when occupying the third row.
•Donotfoldiftherearepassengersseatedinthethirdrowseats.
GETTING STARTED
27
Page 31 of 236

Memory Seat
The memory seat feature allows you to set two different driver seating positions (excluding
lumbar position), outside mirrors, radio station preset settings and tilt/telescoping steer-
ing column position (if equipped). The memory seat buttons are located on the driver's
door panel.
To set a memory position:
1. Cycle the vehicles ignition to the ON
position.
2. Adjust all memory profile settings.
3. Push and release the S (SET) button.
4. Push and release the 1 or 2 button
within five seconds.
NOTE:
Before programming your RKE transmitters
you must select the “Personal Settings
Linked To Key Fob” feature through the
Uconnect®system. Refer to “Uconnect®
Settings ” in “Understanding Your Instru-
ment Panel” in the Owner's Manual on the
DVD for further details.
To program a Key Fob to the memory position:
1. Cycle the vehicles ignition to the OFF position.
2. Select the desired memory profile 1 or 2.
3. Once the profile has been recalled, push and release the SET (S) button on the
memory switch.
4. Within five seconds, push and release button (1) or (2) accordingly. “Memory Profile
Set” (1 or 2) will display in the instrument cluster.
5. Push and release the LOCK button on the RKE transmitter within 10 seconds.
NOTE:
To r e c a l l t h e s a v e d p o s i t i o n s , p u s h 1 o r 2 o n t h e m e m o r y s w i t c h o r p u s h U N L O C K o n t h e
programmed RKE transmitter.
Easy Entry/Exit Feature
The memory seat has an Easy Entry/Exit feature. This feature provides automatic driver
seat positioning to enhance driver mobility when entering and exiting the vehicle.
Memory Seat Buttons
GETTING STARTED
29
Page 39 of 236

TILT/TELESCOPING STEERING COLUMN
Manual Tilt/Telescoping Steering Column
The tilt/telescoping control handle is located below the steering wheel at the end of the
steering column.
•Pushthehandledowntounlockthe
steering column.
•Totiltthesteeringcolumn,movethe
steering wheel upward or downward as
desired.
•Tolengthenorshortenthesteeringcol-
umn, pull the steering wheel outward or
push it inward as desired.
•Pulluponthehandletolockthecolumn
firmly in place.
Power Tilt/Telescoping Steering Column
The power tilt/telescoping steering control is
located below the turn signal/wiper/washer/
high beam lever on the steering column.
•Totiltthesteeringcolumn,movethe
power tilt/telescoping control up or down
as desired.
•Tolengthenorshortenthesteeringcol-
umn, pull the control toward you or push
the control away from you as desired.
Manual Tilt/Telescoping Steering ColumnHandle
Power Tilt/Telescoping Steering ControlLocation
GETTING STARTED
37
Page 40 of 236

WARNING!
•Donotadjustthesteeringwheelwhiledriving.Thetilt/telescopingadjustmentmust
be locked while driving. Adjusting the steering wheel while driving or driving
without the tilt/telescoping adjustment locked could cause the driver to lose control
of the vehicle. Failure to follow this warning may result in you and others being
severely injured or killed.
•Movingthesteeringcolumnwhilethevehicleismovingisdangerous.Withouta
stable steering column, you could lose control of the vehicle and have a collision.
Adjust the column only while the vehicle is stopped.
GETTING STARTED
38
Page 54 of 236

WARNING!
•NeverusethePARKpositionasasubstitutefortheparkingbrake.Alwaysapplythe
parking brake fully when parked to guard against vehicle movement and possible
injury or damage.
•YourvehiclecouldmoveandinjureyouandothersifitisnotinPARK.Makesure
the transmission is in PARK before leaving the vehicle.
•ItisdangeroustoshiftoutofPARKorNEUTRALiftheenginespeedishigherthan
idle speed. If your foot is not firmly pressing the brake pedal, the vehicle could
accelerate quickly forward or in reverse. You could lose control of the vehicle and hit
someone or something. Only shift into gear when the engine is idling normally and
your foot is firmly pressing the brake pedal.
•Unintendedmovementofavehiclecouldinjurethoseinornearthevehicle.Aswith
all vehicles, you should never exit a vehicle while the engine is running. Before
exiting a vehicle, always apply the parking brake, shift the transmission into PARK,
turn the engine OFF, and remove the key fob. When the ignition is in the OFF
position, the transmission is locked in PARK, securing the vehicle against un-
wanted movement.
•Whenleavingthevehicle,alwaysmakesuretheignitionisintheOFFposition,
remove the key fob from the vehicle, and lock the vehicle.
•Neverleavechildrenaloneinavehicle,orwithaccesstoanunlockedvehicle.
Allowing children to be in a vehicle unattended is dangerous for a number of
reasons. A child or others could be seriously or fatally injured. Children should be
warned not to touch the parking brake, brake pedal or the transmission gear
selector.
•Donotleavethekeyfobinornearthevehicle(orinalocationaccessibleto
children), and do not leave the ignition in the ACC or ON/RUN position. A child
could operate power windows, other controls, or move the vehicle.
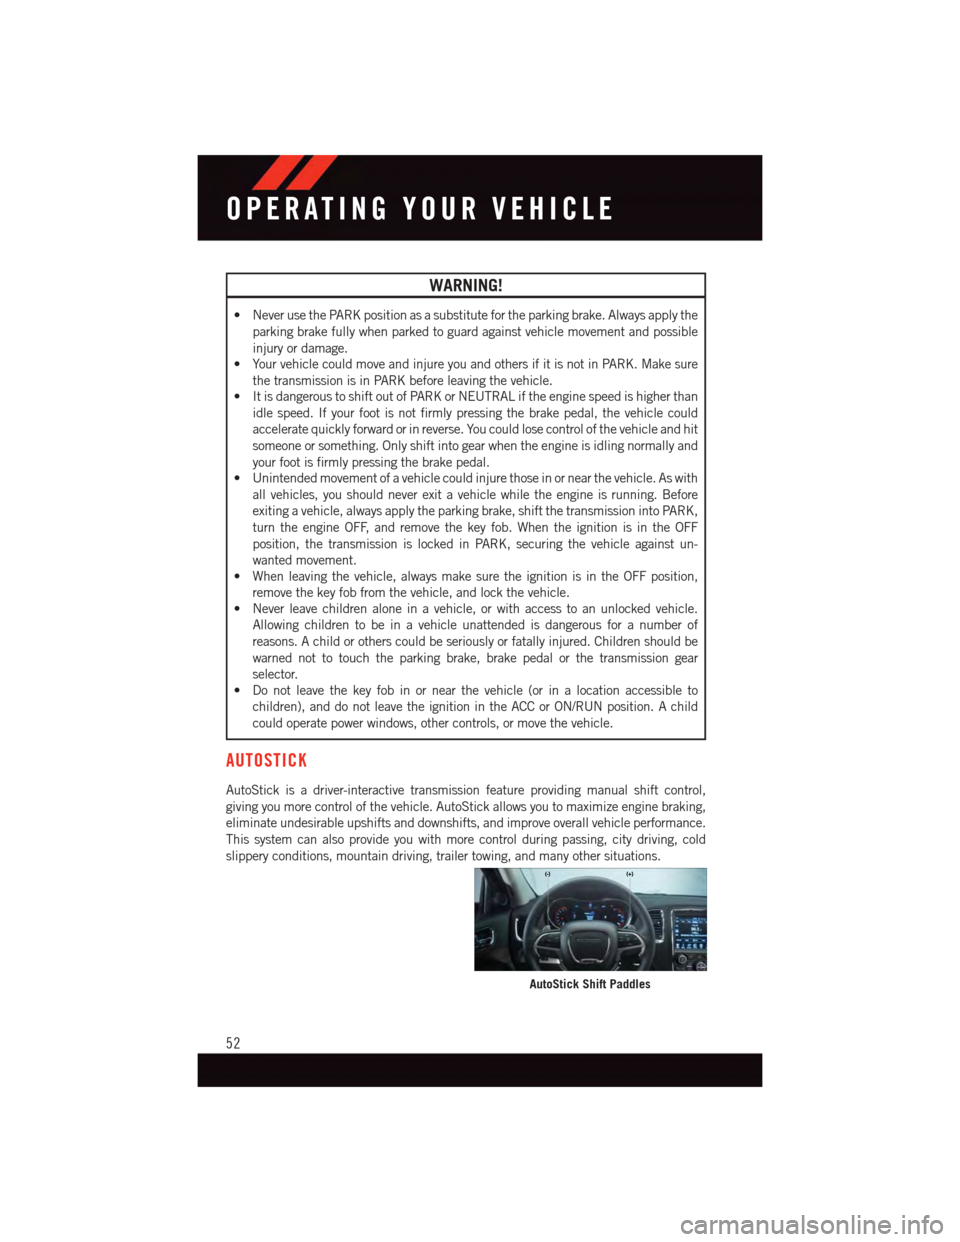
AUTOSTICK
AutoStick is a driver-interactive transmission feature providing manual shift control,
giving you more control of the vehicle. AutoStick allows you to maximize engine braking,
eliminate undesirable upshifts and downshifts, and improve overall vehicle performance.
This system can also provide you with more control during passing, city driving, cold
slippery conditions, mountain driving, trailer towing, and many other situations.
AutoStick Shift Paddles
OPERATING YOUR VEHICLE
52
Page 65 of 236

WARNING!
•Donotletchildrenplaywiththesunroof.Neverleavechildrenunattendedina
vehicle, or with access to an unlocked vehicle. Do not leave the Key Fob in or near
the vehicle, and do not leave the ignition of a vehicle equipped with Keyless
Enter-N-Go™ in the ACC or ON/RUN mode. Occupants, particularly unattended
children, can become entrapped by the power sunroof while operating the power
sunroof switch. Such entrapment may result in serious injury or death.
•Inacollision,thereisagreaterriskofbeingthrownfromavehiclewithanopen
sunroof. You could also be severely injured or killed. Always fasten your seat belt
properly and make sure all passengers are properly secured.
•Do not allow small children to operate the sunroof. Never allow your fingers, other body
parts, or any object to project through the sunroof opening. Injury may result.
WIND BUFFETING
Wind buffeting can be described as a helicopter-type percussion sound. If buffeting
occurs with the rear windows open, adjust the front and rear windows together.
If buffeting occurs with the sunroof open, adjust the sunroof opening, or adjust any
window. This will minimize buffeting.
OPERATING YOUR VEHICLE
63
Page 69 of 236

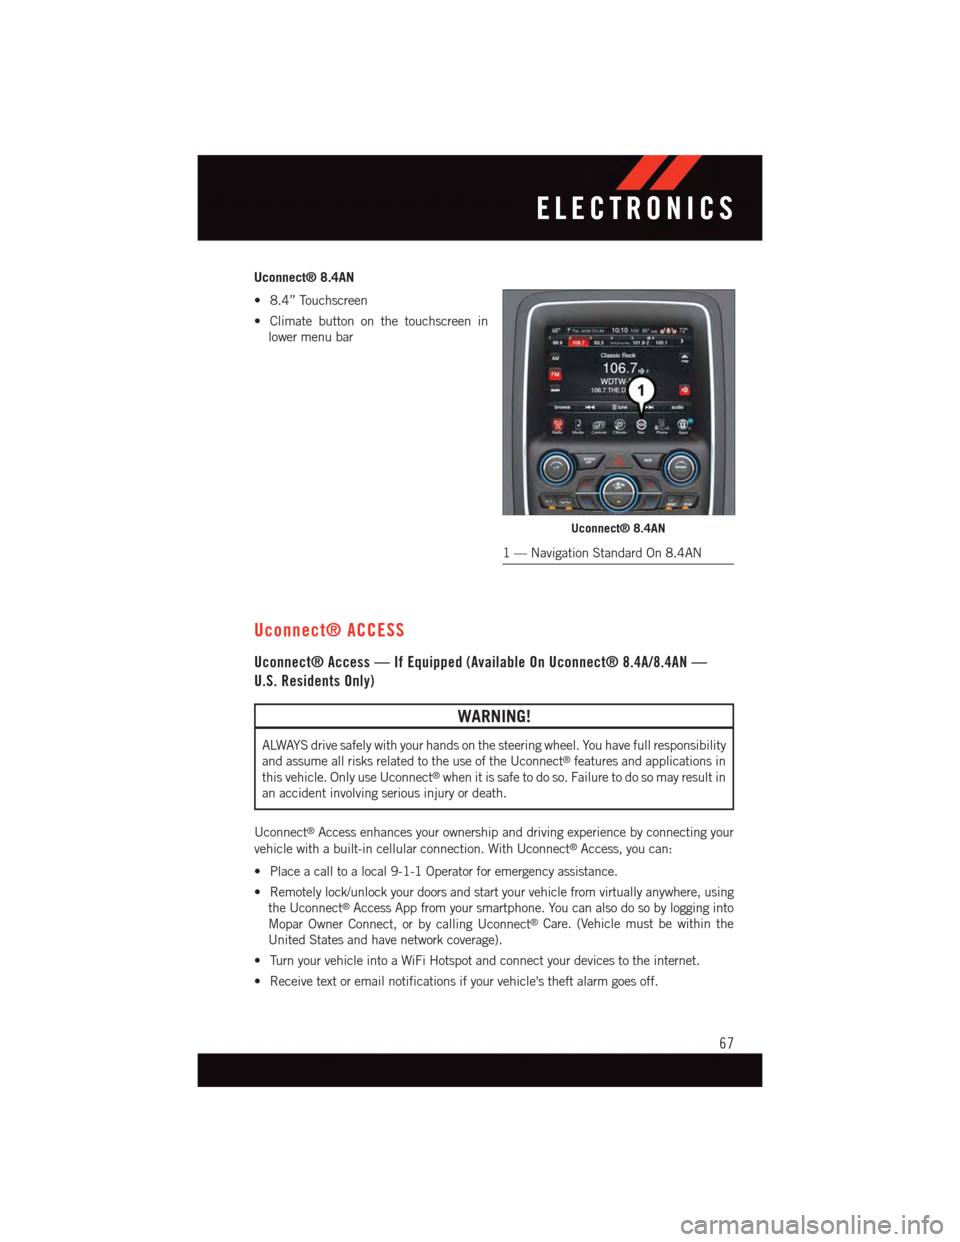
Uconnect® 8.4AN
•8.4”Touchscreen
•Climatebuttononthetouchscreenin
lower menu bar
Uconnect® ACCESS
Uconnect® Access — If Equipped (Available On Uconnect® 8.4A/8.4AN —
U.S. Residents Only)
WARNING!
ALWAYS drive safely with your hands on the steering wheel. You have full responsibility
and assume all risks related to the use of the Uconnect®features and applications in
this vehicle. Only use Uconnect®when it is safe to do so. Failure to do so may result in
an accident involving serious injury or death.
Uconnect®Access enhances your ownership and driving experience by connecting your
vehicle with a built-in cellular connection. With Uconnect®Access, you can:
•Placeacalltoalocal9-1-1Operatorforemergencyassistance.
•Remotelylock/unlockyourdoorsandstartyourvehiclefromvirtuallyanywhere,using
the Uconnect®Access App from your smartphone. You can also do so by logging into
Mopar Owner Connect, or by calling Uconnect®Care. (Vehicle must be within the
United States and have network coverage).
•TurnyourvehicleintoaWiFiHotspotandconnectyourdevicestotheinternet.
•Receivetextoremailnotificationsifyourvehicle'stheftalarmgoesoff.
Uconnect® 8.4AN
1—NavigationStandardOn8.4AN
ELECTRONICS
67