Page 551 of 726
If the ignition switch is cycled, this sequence will repeat,
providing the system fault still exists. If the system fault
no longer exists, the “Tire Pressure Monitoring Telltale
Light” will no longer flash, the “SERVICE TPM SYSTEM”
message will not be present, and a pressure value will be
displayed instead of dashes. A system fault can occur by
any of the following scenarios:
•Jamming due to electronic devices or driving next to
facilities emitting the same radio frequencies as the
TPMS sensors.
•Installing some form of aftermarket window tinting
that affects radio wave signals.
•Accumulation of excessive snow and/or ice around
the wheels or wheel housings.
•Using tire chains on the vehicle.
•Using wheels/tires not equipped with TPMS sensors.
The EVIC will also display a “SERVICE TPM SYSTEM”
message for a minimum of five seconds when a system
fault possibly related to an incorrect sensor location fault
is present. In this case, the “SERVICE TPM SYSTEM”
message is then followed by a graphic display with
pressure values still shown. This indicates that the pres-
sure values are still being received from the TPM sensors
but they may not be in the correct vehicle position. The
system still needs to be serviced as long as the “SERVICE
TPM SYSTEM” message exists.
Vehicles With Compact Spare
•The compact spare tire (if equipped) does not have a
TPMS. Therefore, the TPMS will not monitor the
pressure in the compact spare tire.
•If you install the compact spare tire in place of a road
tire that has a pressure below the low-pressure warn-
ing limit, upon the next ignition switch cycle, the “Tire
Pressure Monitoring Telltale Light” will remain on, the
5
STARTING AND OPERATING 549
Page 552 of 726
“LOW TIRE” message will be displayed, a chime will
sound, and the EVIC will still display a flashing
pressure value and the#Inflate Tire to XX#message in
the graphic display.
•After driving the vehicle for up to 20 minutes above
15 mph (24 km/h), the “Tire Pressure Monitoring
Telltale Light” will flash on and off for 75 seconds and
then remain on solid. In addition, the EVIC will
display a “SERVICE TPM SYSTEM” message for a
minimum of five seconds and then display dashes (- -)
in place of the pressure value.
•For each subsequent ignition switch cycle, a chime will
sound, the “Tire Pressure Monitoring Telltale Light”
will flash on and off for 75 seconds and then remain on
solid, and the EVIC will display a “SERVICE TPM
SYSTEM” message for a minimum of five seconds and
then display dashes (- -) in place of the pressure value.
•Once you repair or replace the original road tire, and
reinstall it on the vehicle in place of the compact spare,
the TPMS will update automatically. In addition, the
“Tire Pressure Monitoring Telltale Light” will turn off
and the graphic in the EVIC will display a new
pressure value instead of dashes (- -), as long no tire
pressure is below the low pressure warning limit in
any of the four active road tires.
NOTE:The vehicle may need to be driven for up to 20
minutes above 15 mph (24 km/h) in order for the TPMS
to receive this information.
General Information
This device complies with Part 15 of the FCC rules and
RSS 210 of Industry Canada. Operation is subject to the
following conditions:
•This device may not cause harmful interference.
550 STARTING AND OPERATING
Page 565 of 726
Gross Axle Weight Rating (GAWR)
The GAWR is the maximum capacity of the front and rear
axles. Distribute the load over the front and rear axles
evenly. Make sure that you do not exceed either front or
rear GAWR.
WARNING!
Because the front wheels steer the vehicle, it is
important that you do not exceed the maximum front
or rear GAWR. A dangerous driving condition can
result if either rating is exceeded. You could lose
control of the vehicle and have a collision.
Tire Size
The tire size on the Vehicle Certification Label represents
the actual tire size on your vehicle. Replacement tires
must be equal to the load capacity of this tire size.
Rim Size
This is the rim size that is appropriate for the tire size
listed.
Inflation Pressure
This is the cold tire inflation pressure for your vehicle for
all loading conditions up to full GAWR.
Curb Weight
The curb weight of a vehicle is defined as the total weight
of the vehicle with all fluids, including vehicle fuel, at full
capacity conditions, and with no occupants or cargo
loaded into the vehicle. The front and rear curb weight
values are determined by weighing your vehicle on a
commercial scale before any occupants or cargo are
added.
5
STARTING AND OPERATING 563
Page 575 of 726
Towing Requirements — Tires
•Do not attempt to tow a trailer while using a compact
spare tire.
•Proper tire inflation pressures are essential to the safe
and satisfactory operation of your vehicle. Refer to
“Tires – General Information” in “Starting And Oper-
ating” for proper tire inflation procedures.
•Check the trailer tires for proper tire inflation pres-
sures before trailer usage.
•Check for signs of tire wear or visible tire damage
before towing a trailer. Refer to “Tires – General
Information” in “Starting And Operating” for the
proper inspection procedure.
•When replacing tires, refer to “Tires – General Infor-
mation” in “Starting And Operating” for the proper
tire replacement procedures. Replacing tires with a
higher load carrying capacity will not increase the
vehicle’s GVWR and GAWR limits.
Towing Requirements — Trailer Brakes
•Donotinterconnect the hydraulic brake system or
vacuum system of your vehicle with that of the trailer.
This could cause inadequate braking and possible
personal injury.
•An electronically actuated trailer brake controller is
required when towing a trailer with electronically
actuated brakes. When towing a trailer equipped with
a hydraulic surge actuated brake system, an electronic
brake controller is not required.
•Trailer brakes are recommended for trailers over
1,000 lbs (454 kg) and required for trailers in excess of
2,000 lbs (907 kg).
5
STARTING AND OPERATING 573
Page 584 of 726
CAUTION!
Driving with a hot cooling system could damage
your vehicle. If temperature gauge reads “H”, pull
over and stop the vehicle. Idle the vehicle with the air
conditioner turned off until the pointer drops back
into the normal range. If the pointer remains on the
“H”, turn the engine off immediately, and call for
service.
WARNING!
You or others can be badly burned by hot engine
coolant (antifreeze) or steam from your radiator. If
you see or hear steam coming from under the hood,
do not open the hood until the radiator has had time
to cool. Never try to open a cooling system pressure
cap when the radiator or coolant bottle is hot.
TIRE SERVICE KIT — IF EQUIPPED
Small punctures up to¼” (6 mm) in the tire tread can be
sealed with Tire Service Kit. Foreign objects (e.g., screws
or nails) should not be removed from the tire. Tire Service
Kit can be used in outside temperatures down to approxi-
mately -4°F (-20°C).
This kit will provide a temporary tire seal, allowing you
to drive your vehicle up to 100 miles (160 km) with a
maximum speed of 55 mph (90 km/h).
Tire Service Kit Storage
The Tire Service Kit is stowed behind the rear left side
trim panel in the rear cargo area.
582 WHAT TO DO IN EMERGENCIES
Page 586 of 726
Tire Service Kit Components And OperationUsing The Mode Select Knob And Hoses
Your Tire Service Kit is equipped with the following
symbols to indicate the air or sealant mode.
Selecting Air Mode
Push in the Mode Select Knob (5) and turn to
this position for air pump operation only. Use
the Black Air Pump Hose (7) when selecting
this mode.
Selecting Sealant Mode
Push in the Mode Select Knob (5) and
turn to this position to inject the Tire
Service Kit Sealant and to inflate the
tire. Use the Sealant Hose (clear hose)
(6) when selecting this mode.
Tire Service Kit Components
1—SealantBottle 5—ModeSelectKnob2 — Deflation Button 6 — Sealant Hose (Clear)3—PressureGauge 7—AirPumpHose(Black)4—PowerButton 8—PowerPlug(locatedonthebot-tom side of the Tire Service Kit)
584 WHAT TO DO IN EMERGENCIES
Page 587 of 726
Using The Power Button
Push and release the Power Button (4) once to
turn On the Tire Service Kit. Push and release
the Power Button (4) again to turn Off the Tire
Service Kit.
Using The Deflation Button
Press the Deflation Button (2) to reduce the air
pressure in the tire if it becomes over-inflated.
Tire Service Kit Usage Precautions
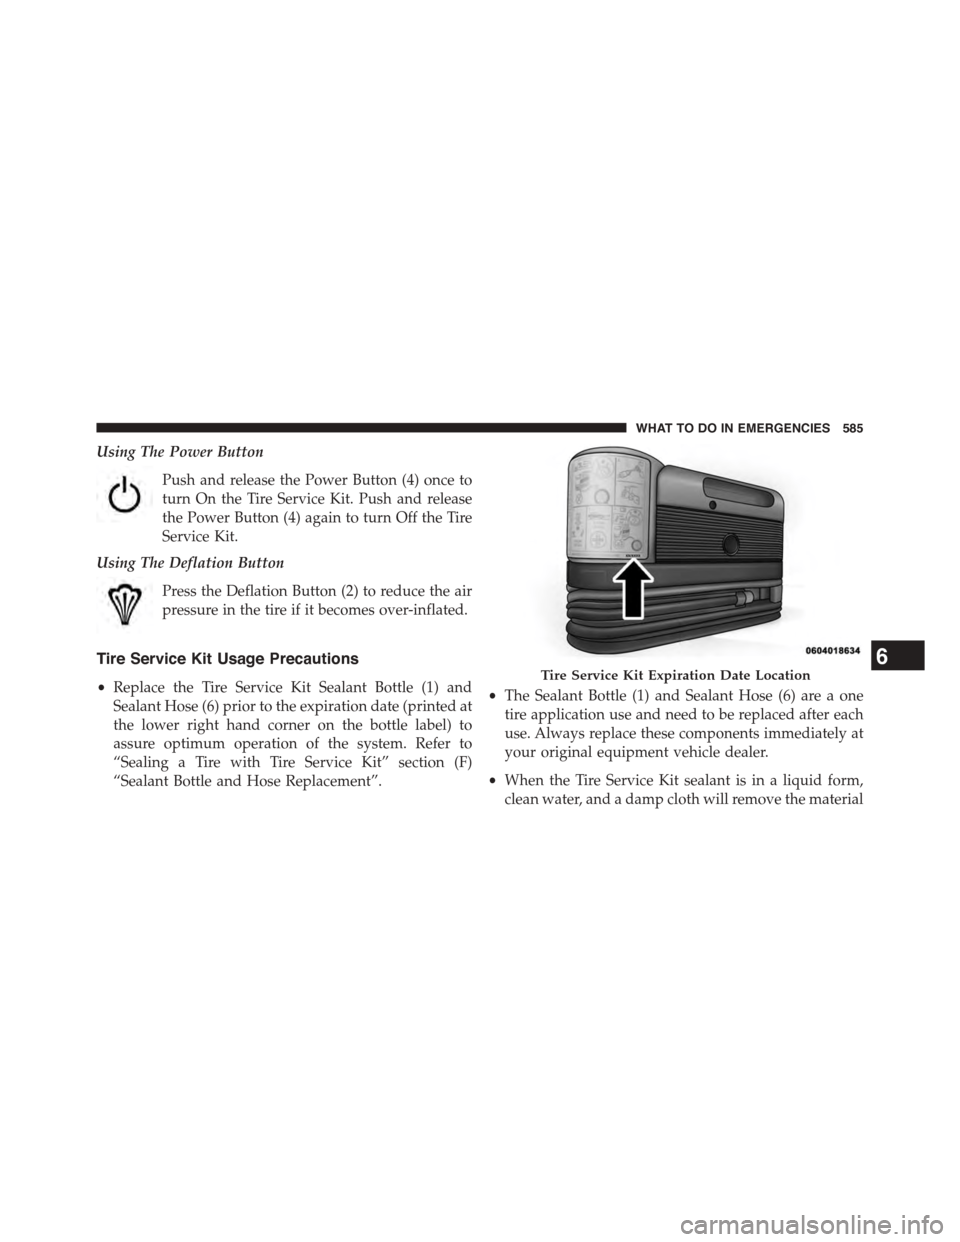
•Replace the Tire Service Kit Sealant Bottle (1) and
Sealant Hose (6) prior to the expiration date (printed at
the lower right hand corner on the bottle label) to
assure optimum operation of the system. Refer to
“Sealing a Tire with Tire Service Kit” section (F)
“Sealant Bottle and Hose Replacement”.
•The Sealant Bottle (1) and Sealant Hose (6) are a one
tire application use and need to be replaced after each
use. Always replace these components immediately at
your original equipment vehicle dealer.
•When the Tire Service Kit sealant is in a liquid form,
clean water, and a damp cloth will remove the material
Tire Service Kit Expiration Date Location6
WHAT TO DO IN EMERGENCIES 585
Page 588 of 726
from the vehicle or tire and wheel components. Once
the sealant dries, it can easily be peeled off and
properly discarded.
•For optimum performance, make sure the valve stem
on the wheel is free of debris before connecting the Tire
Service Kit.
•You can use the Tire Service Kit air pump to inflate
bicycle tires. The kit also comes with two needles,
located in the Accessory Storage Compartment (on the
bottom of the air pump) for inflating sport balls, rafts,
or similar inflatable items. However, use only the Air
Pump Hose (7) and make sure the Mode Select Knob
(5) is in the Air Mode when inflating such items to
avoid injecting sealant into them. The Tire Service Kit
Sealant is only intended to seal punctures less than¼”
(6 mm) diameter in the tread of your vehicle.
•Do not lift or carry the Tire Service Kit by the hoses.
WARNING!
•Do not attempt to seal a tire on the side of the
vehicle closest to traffic. Pull far enough off the
road to avoid the danger of being hit when using
the Tire Service Kit.
•Do not use Tire Service Kit or drive the vehicle
under the following circumstances:
– If the puncture in the tire tread is approximately
1/4” (6 mm) or larger.
– If the tire has any sidewall damage.
– If the tire has any damage from driving with
extremely low tire pressure.
– If the tire has any damage from driving on a flat
tire.
– If the wheel has any damage.
– If you are unsure of the condition of the tire or
the wheel.
(Continued)
586 WHAT TO DO IN EMERGENCIES