2015 CHRYSLER TOWN AND COUNTRY tire type
[x] Cancel search: tire typePage 150 of 726
both sides of the vehicle when the vehicle speed reaches
approximately 6 mph (10 km/h) or higher and will alert
the driver of vehicles in these areas.
NOTE:
•The BSM system does NOT alert the driver about
rapidly approaching vehicles that are outside the de-
tection zones.
•The BSM system detection zone DOES NOT change if
your vehicle is towing a trailer. Therefore, visually
verify the adjacent lane is clear for both your vehicle
and trailer before making a lane change. If the trailer or
other object (i.e., bicycle, sports equipment) extends
beyond the side of your vehicle, this may result in the
BSM warning light remaining illuminated the entire
time the vehicle is in a forward gear.
The area on the rear fascia where the radar sensors are
located must remain free of snow, ice, and dirt/road
contamination so that the BSM system can function
properly. Do not block the area of the rear fascia where
the radar sensors are located with foreign objects (bum-
per stickers, bicycle racks, etc.).
The BSM system notifies the driver of objects in the
detection zones by illuminating the BSM warning light
located in the outside mirrors in addition to sounding an
audible (chime) alert and reducing the radio volume.
Refer to “Modes Of Operation” for further information.
The BSM system monitors the detection zone from three
different entry points (side, rear, front) while driving to
see if an alert is necessary. The BSM system will issue an
alert during these types of zone entries.
148 UNDERSTANDING THE FEATURES OF YOUR VEHICLE
Page 330 of 726
of reasons, including the installation of replacement or
alternate tires or wheels on the vehicle that prevent the
TPMS from functioning properly. Always check the
TPMS malfunction telltale after replacing one or more
tires or wheels on your vehicle, to ensure that the
replacement or alternate tires and wheels allow the TPMS
to continue to function properly.
CAUTION!
The TPMS has been optimized for the original
equipment tires and wheels. TPMS pressures and
warning have been established for the tire size
equipped on your vehicle. Undesirable system opera-
tion or sensor damage may result when using re-
placement equipment that is not of the same size,
type, and/or style. Aftermarket wheels can cause
sensor damage. Do not use tire sealant from a can or
(Continued)
CAUTION!(Continued)
balance beads if your vehicle is equipped with a
TPMS, as damage to the sensors may result.
9. Malfunction Indicator Light (MIL)
The Malfunction Indicator Light (MIL) is part of
an Onboard Diagnostic system, called OBD, that
monitors engine and automatic transmission con-
trol systems. The light will illuminate when the key is in
the ON/RUN position, before engine start. If the bulb
does not come on when turning the key from OFF to
ON/RUN, have the condition checked promptly.
Certain conditions, such as a loose or missing gas cap,
poor fuel quality, etc., may illuminate the MIL after
engine start. The vehicle should be serviced if the light
stays on through several of your typical driving cycles. In
most situations, the vehicle will drive normally and will
not require towing.
328 UNDERSTANDING YOUR INSTRUMENT PANEL
Page 342 of 726
EVIC’s compass/outside temp line. Examples of this
message type are#Right Front Turn Signal Lamp Out#
and#Low Tire Pressure#.
•Unstored Messages
This message type is displayed indefinitely or until the
condition that activated the message is cleared. Examples
of this message type are#Turn Signal On#(if a turn signal
is left on) and#Lights On#(if driver leaves the vehicle).
•Unstored Messages Until RUN
These messages deal primarily with the Remote Start
feature. This message type is displayed until the ignition
is in the RUN state. Examples of this message type are
#Remote Start Aborted - Door Ajar#and#Press Brake
Pedal and Push Button to Start#.
•Five Second Unstored Messages
When the appropriate conditions occur, this type of
message takes control of the main display area for five
seconds and then returns to the previous screen. Ex-
amples of this message type are#Memory System Un-
available - Not in Park#and#Automatic High Beams On#.
The Reconfigurable Telltales section is divided into the
white telltales area on the right, amber telltales in the
middle, and red telltales on the left.
When the appropriate conditions exist, the EVIC displays
the following messages:
•Key in ignition
•Ignition or Accessory On
•Remote start aborted — Door ajar
•Remote start aborted — Hood ajar
•Remote start aborted — L/Gate ajar
•Remote start aborted — Fuel low
340 UNDERSTANDING YOUR INSTRUMENT PANEL
Page 442 of 726
selecting the digit, push the remote control’s Right
cursor button to select the next digit. Repeat this digit
selection sequence for all four digits.
•When the entire four-digit code is entered, push the
remote control’s ENTER/OK button. If the language
code is not valid, the numbers all change back to#&#.
If the digits are visible after this step, then the lan-
guage code is valid.
Here is an abbreviated list of language codes. For more
language codes, please contact the dealer where the
vehicle was purchased.
Language Code Language Code
Dutch 2311 French 1517
German 1304 Italian 1819
Portuguese 2519 Spanish 1418
Rating And Password Setup
The Rating and Password settings work together to
control the types of DVDs that your family watches. Most
DVD-Video discs have a rating (from 1 to 8) assigned to
them where lower numbers are designated for all audi-
ences and higher numbers are designated for more adult
audiences.
When a DVD-Video disc is loaded, its rating is compared
to the setting in the DVD player. If the rating of the disc
is higher than the setting in the player, a Password screen
is displayed. In order to watch the disc, the rear passen-
ger must enter the correct password using the password
entry method described below.
To play all discs without requiring a password, set the
DVD player ’s rating to Level 8. Setting the rating to Level
1 always requires the password to play any DVD disc.
Not all DVD discs encode a Rating, so it is still possible
that discs designed for adult audiences can still play
without requiring a password.
440 UNDERSTANDING YOUR INSTRUMENT PANEL
Page 507 of 726
WARNING!
•The Anti-Lock Brake System contains sophisti-
cated electronic equipment that may be susceptible
to interference caused by improperly installed, or
high output radio transmitting equipment. This
interference can cause possible loss of anti-lock
braking capability. Installation of such equipment
should be performed by qualified professionals.
•Pumping of the Anti-Lock Brakes will diminish
their effectiveness and may lead to a collision.
Pumping makes the stopping distance longer. Just
press firmly on your brake pedal when you need to
slow down or stop.
•The Anti-Lock Brake System cannot prevent colli-
sions, including those resulting from excessive
speed in turns, following another vehicle too
closely, or hydroplaning.
(Continued)
WARNING!(Continued)
•The capabilities of an ABS-equipped vehicle must
never be exploited in a reckless or dangerous
manner, which could jeopardize the user ’s safety or
the safety of others.
•The ABS cannot prevent the natural laws of phys-
ics from acting on the vehicle, nor can it increase
braking or steering efficiency beyond that afforded
by the condition of the vehicle brakes and tires or
the traction afforded.
All vehicle wheels and tires must be the same size and
type, and tires must be properly inflated to produce
accurate signals for the computer.
5
STARTING AND OPERATING 505
Page 531 of 726
WARNING!(Continued)
•Unequal tire pressures from one side of the vehicle
to the other can cause the vehicle to drift to the
right or left.
•Always drive with each tire inflated to the recom-
mended cold tire inflation pressure.
Both under-inflation and over-inflation affect the stability
of the vehicle and can produce a feeling of sluggish
response or over responsiveness in the steering.
NOTE:
•Unequal tire pressures from side to side may cause
erratic and unpredictable steering response.
•Unequal tire pressure from side to side may cause the
vehicle to drift left or right.
Economy
Underinflated tires will increase tire rolling resistance
resulting in higher fuel consumption.
Ride Comfort And Vehicle Stability
Proper tire inflation contributes to a comfortable ride.
Over-inflation produces a jarring and uncomfortable ride.
Tire Inflation Pressures
The proper cold tire inflation pressure is listed on the
driver’s side B-Pillar or rear edge of the driver’s side door.
At least once a month:
•Check and adjust tire pressure with a good quality
pocket-type pressure gauge. Do not make a visual judge-
ment when determining proper inflation. Tires may look
properly inflated even when they are under-inflated.
•Inspect tires for signs of tire wear or visible damage.
5
STARTING AND OPERATING 529
Page 533 of 726
Tire Pressures For High Speed Operation
The manufacturer advocates driving at safe speeds and
within posted speed limits. Where speed limits or condi-
tions are such that the vehicle can be driven at high
speeds, maintaining correct tire inflation pressure is very
important. Increased tire pressure and reduced vehicle
loading may be required for high-speed vehicle opera-
tion. Refer to your authorized tire dealer or original
equipment vehicle dealer for recommended safe operat-
ing speeds, loading and cold tire inflation pressures.
WARNING!
High speed driving with your vehicle under maxi-
mum load is dangerous. The added strain on your
tires could cause them to fail. You could have a
serious collision. Do not drive a vehicle loaded to the
maximum capacity at continuous speeds above
75 mph (120 km/h).
Radial Ply Tires
WARNING!
Combining radial ply tires with other types of tires
on your vehicle will cause your vehicle to handle
poorly. The instability could cause a collision. Al-
ways use radial ply tires in sets of four. Never
combine them with other types of tires.
Tire Repair
If your tire becomes damaged, it may be repaired if it
meets the following criteria:
•The tire has not been driven on when flat.
•The damage is only on the tread section of your tire
(sidewall damage is not repairable).
•The puncture is no greater than¼#(6 mm).
5
STARTING AND OPERATING 531
Page 535 of 726
Snow Tires
Some areas of the country require the use of snow tires
during the winter. Snow tires can be identified by a
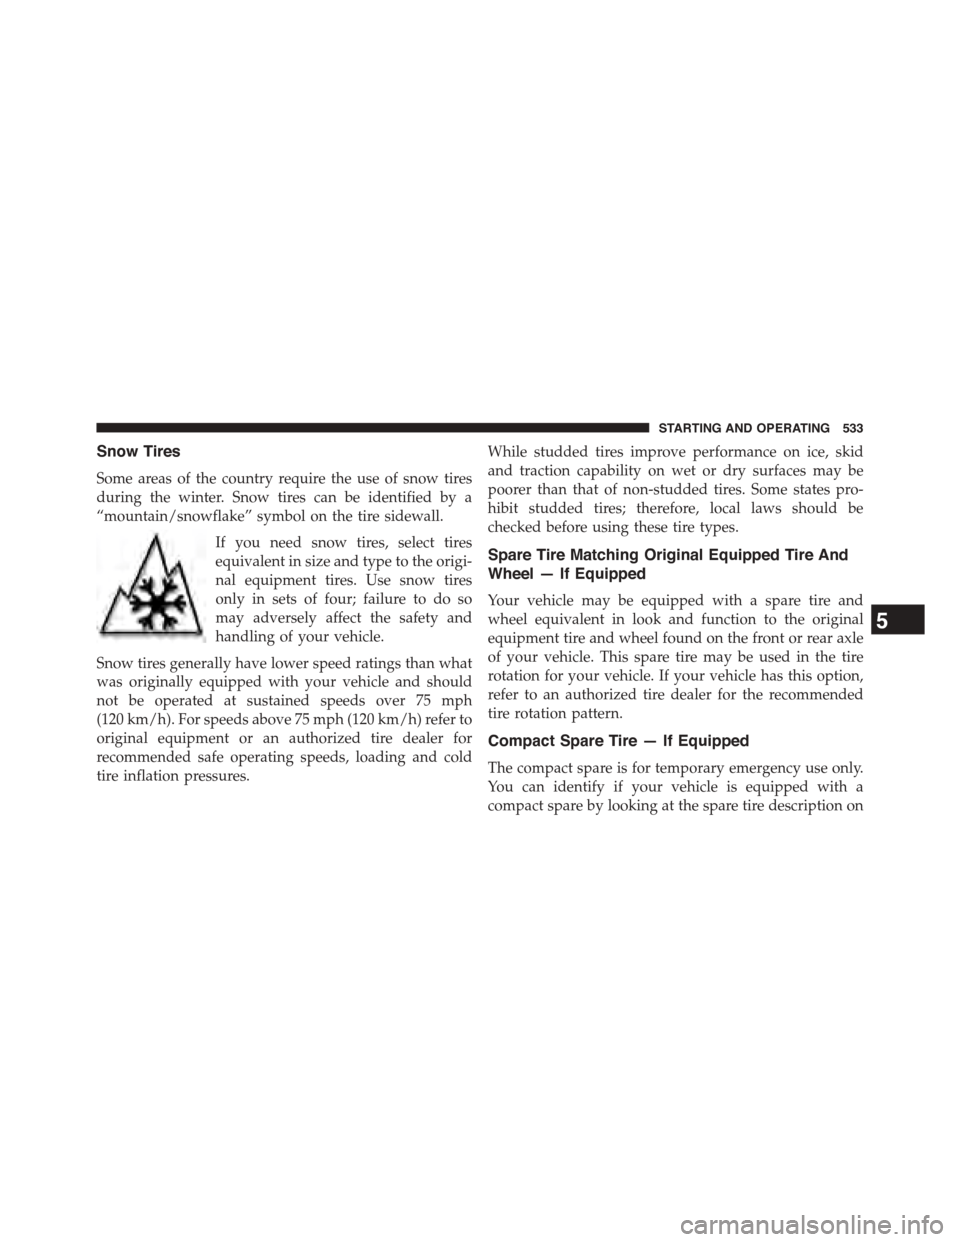
“mountain/snowflake” symbol on the tire sidewall.
If you need snow tires, select tires
equivalent in size and type to the origi-
nal equipment tires. Use snow tires
only in sets of four; failure to do so
may adversely affect the safety and
handling of your vehicle.
Snow tires generally have lower speed ratings than what
was originally equipped with your vehicle and should
not be operated at sustained speeds over 75 mph
(120 km/h). For speeds above 75 mph (120 km/h) refer to
original equipment or an authorized tire dealer for
recommended safe operating speeds, loading and cold
tire inflation pressures.
While studded tires improve performance on ice, skid
and traction capability on wet or dry surfaces may be
poorer than that of non-studded tires. Some states pro-
hibit studded tires; therefore, local laws should be
checked before using these tire types.
Spare Tire Matching Original Equipped Tire And
Wheel — If Equipped
Your vehicle may be equipped with a spare tire and
wheel equivalent in look and function to the original
equipment tire and wheel found on the front or rear axle
of your vehicle. This spare tire may be used in the tire
rotation for your vehicle. If your vehicle has this option,
refer to an authorized tire dealer for the recommended
tire rotation pattern.
Compact Spare Tire — If Equipped
The compact spare is for temporary emergency use only.
You can identify if your vehicle is equipped with a
compact spare by looking at the spare tire description on
5
STARTING AND OPERATING 533