2015 BMW Z4 SDRIVE35IS I car 03
[x] Cancel search: I car 03Page 68 of 289

8-gear Sport automatic
transmission
Transmission positions
D Drive, automatic position Position for normal vehicle operation. All for‐
ward gears are available.
Under normal operating conditions, fuel con‐
sumption is lowest when you are driving in po‐
sition D.
Kickdown
Kickdown is used to achieve maximum driving
performance. Press on the accelerator beyond
the resistance point at the full throttle position.
R is Reverse
Select only when the vehicle is stationary.
N is NeutralThe vehicle can roll.
N remains engaged after the engine is
switched off if the remote control remains in
the ignition lock. This function can be used in
an automatic car wash, refer to page 257, for
example. P is automatically engaged after ap‐
prox. 30 minutes.
P Park The rear wheels are locked.
P is engaged automatically when the following
conditions are met:▷The driver's door is opened while the en‐
gine is running, the safety belt is not fas‐
tened and neither the brake pedal nor the
accelerator is activated.▷The engine is switched off unless N is en‐
gaged and the remote control is in the igni‐
tion lock.▷The remote control is removed from the ig‐
nition lock, refer to page 57.Before leaving the vehicle, ensure that the
transmission position P is engaged; otherwise,
the vehicle may begin to roll.
Engaging transmission position▷Transmission position P can only be disen‐
gaged if the engine is running and the
brake pedal is pressed.▷With the vehicle stationary, press on the
brake pedal before shifting out of P or N;
otherwise, the shift command will not be
executed: shift lock.
Press on the brake pedal until you start
driving
To prevent the vehicle from creeping after you
select a driving position, maintain pressure on
the brake pedal until you are ready to start.◀
Engaging transmission positions D, R,
N
Briefly push the selector lever in the desired di‐
rection, beyond a resistance point if necessary.
When shifting out of P or into R, simultane‐
ously push the unlock button 1.
The engaged transmission position is dis‐
played on the selector lever.
After releasing the selector lever, it returns to
its center position.
Engaging transmission position P Select only when the vehicle is stationary.
Seite 66ControlsDriving66
Online Edition for Part no. 01 40 2 954 104 - II/15
Page 69 of 289

Press button P.Sport program DS and M/S manual
mode
Activating the Sport program DS
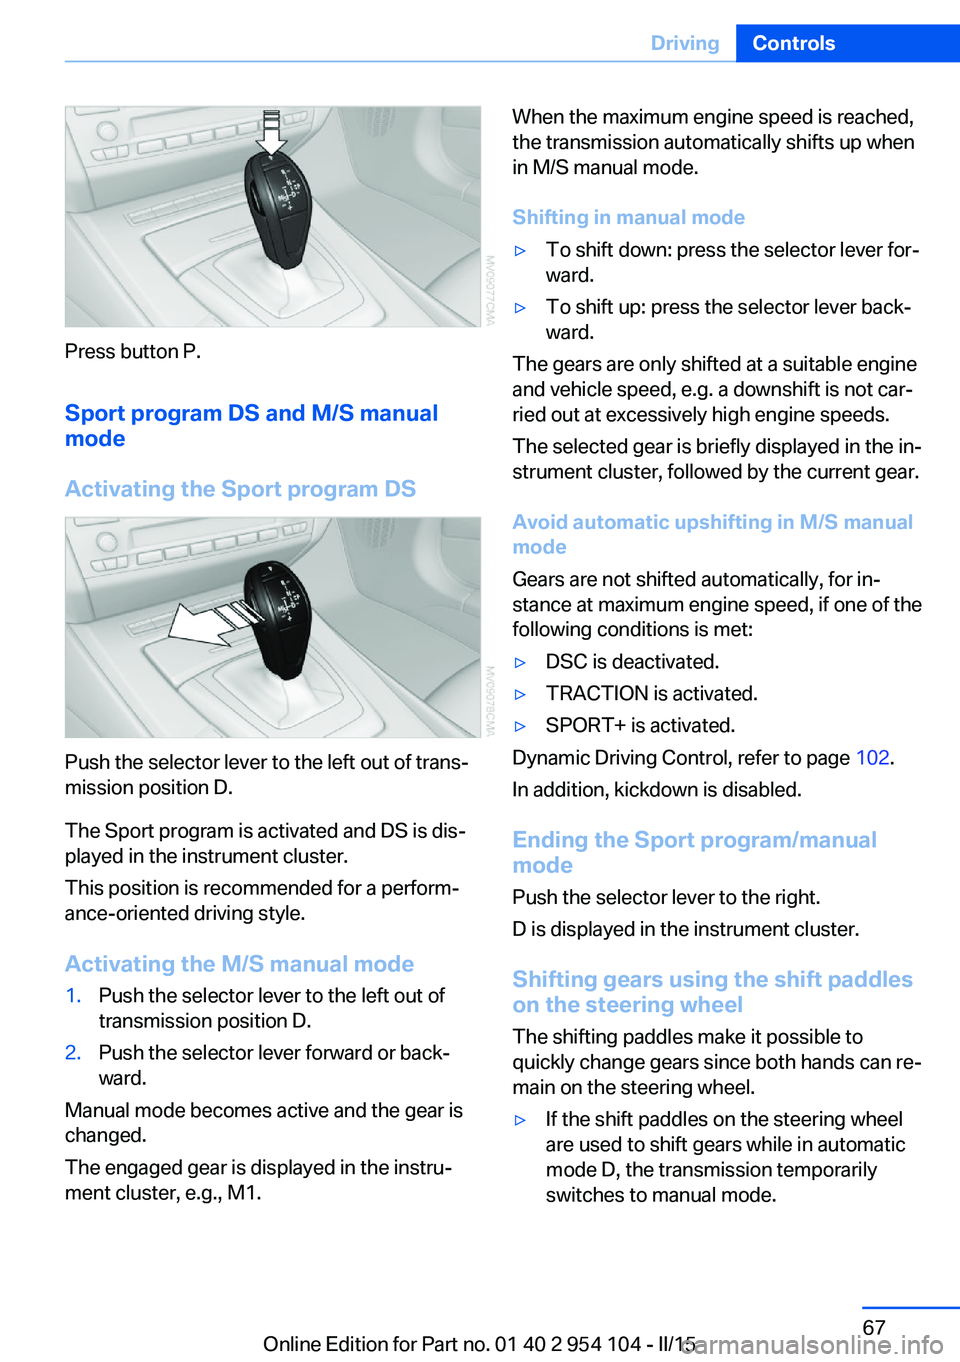
Push the selector lever to the left out of trans‐
mission position D.
The Sport program is activated and DS is dis‐
played in the instrument cluster.
This position is recommended for a perform‐
ance-oriented driving style.
Activating the M/S manual mode
1.Push the selector lever to the left out of
transmission position D.2.Push the selector lever forward or back‐
ward.
Manual mode becomes active and the gear is
changed.
The engaged gear is displayed in the instru‐
ment cluster, e.g., M1.
When the maximum engine speed is reached,
the transmission automatically shifts up when
in M/S manual mode.
Shifting in manual mode▷To shift down: press the selector lever for‐
ward.▷To shift up: press the selector lever back‐
ward.
The gears are only shifted at a suitable engine
and vehicle speed, e.g. a downshift is not car‐
ried out at excessively high engine speeds.
The selected gear is briefly displayed in the in‐
strument cluster, followed by the current gear.
Avoid automatic upshifting in M/S manual
mode
Gears are not shifted automatically, for in‐
stance at maximum engine speed, if one of the
following conditions is met:
▷DSC is deactivated.▷TRACTION is activated.▷SPORT+ is activated.
Dynamic Driving Control, refer to page 102.
In addition, kickdown is disabled.
Ending the Sport program/manual
mode
Push the selector lever to the right.
D is displayed in the instrument cluster.
Shifting gears using the shift paddles
on the steering wheel
The shifting paddles make it possible to
quickly change gears since both hands can re‐
main on the steering wheel.
▷If the shift paddles on the steering wheel
are used to shift gears while in automatic
mode D, the transmission temporarily
switches to manual mode.Seite 67DrivingControls67
Online Edition for Part no. 01 40 2 954 104 - II/15
Page 71 of 289

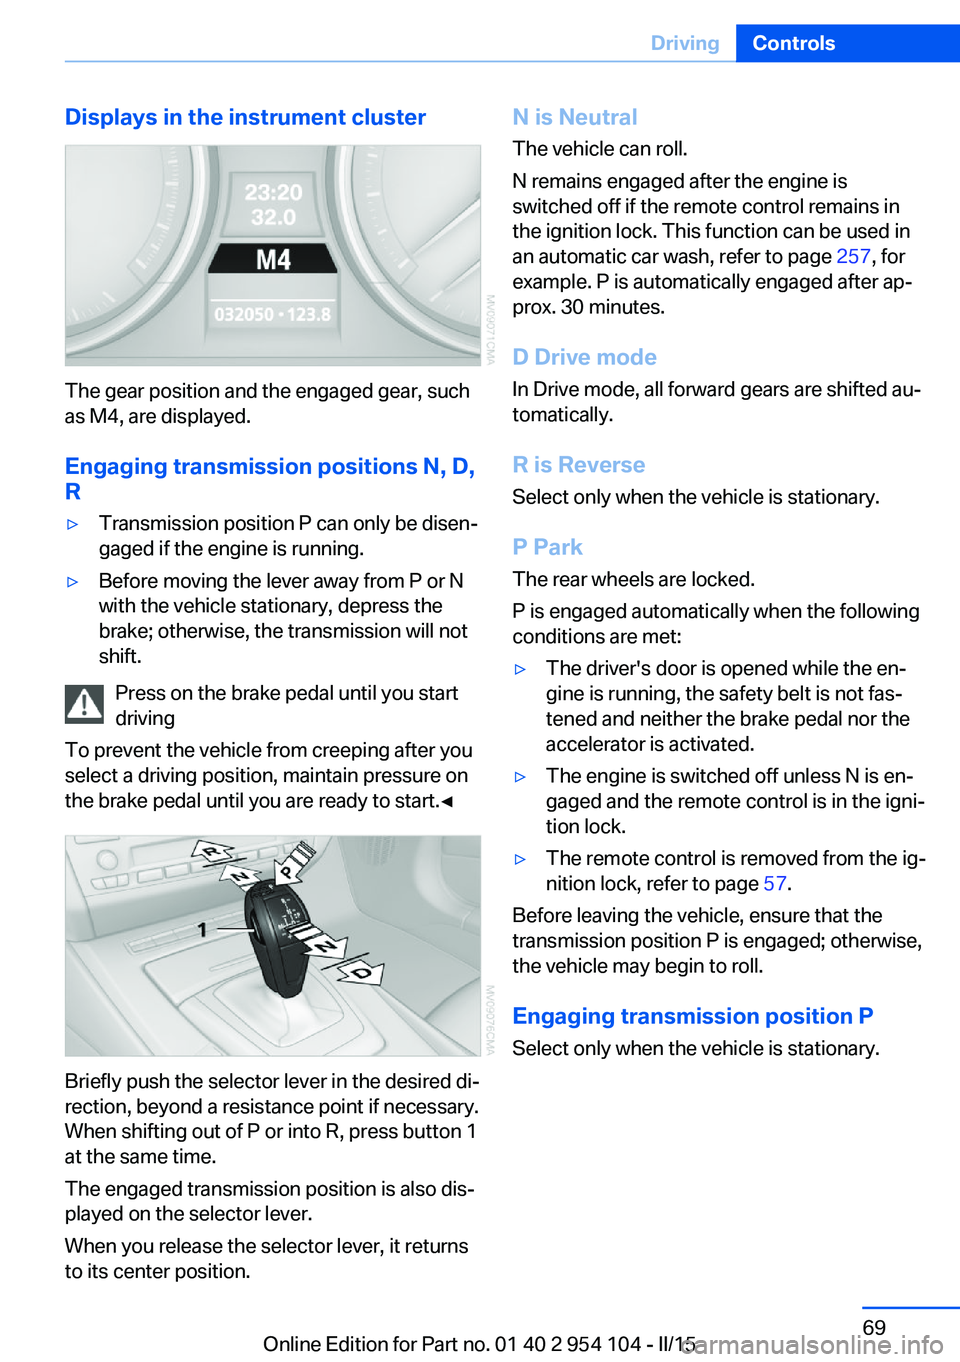
Displays in the instrument cluster
The gear position and the engaged gear, such
as M4, are displayed.
Engaging transmission positions N, D,
R
▷Transmission position P can only be disen‐
gaged if the engine is running.▷Before moving the lever away from P or N
with the vehicle stationary, depress the
brake; otherwise, the transmission will not
shift.
Press on the brake pedal until you start
driving
To prevent the vehicle from creeping after you
select a driving position, maintain pressure on
the brake pedal until you are ready to start.◀
Briefly push the selector lever in the desired di‐
rection, beyond a resistance point if necessary.
When shifting out of P or into R, press button 1
at the same time.
The engaged transmission position is also dis‐
played on the selector lever.
When you release the selector lever, it returns
to its center position.
N is Neutral
The vehicle can roll.
N remains engaged after the engine is
switched off if the remote control remains in
the ignition lock. This function can be used in
an automatic car wash, refer to page 257, for
example. P is automatically engaged after ap‐
prox. 30 minutes.
D Drive mode
In Drive mode, all forward gears are shifted au‐
tomatically.
R is Reverse
Select only when the vehicle is stationary.
P Park The rear wheels are locked.
P is engaged automatically when the following
conditions are met:▷The driver's door is opened while the en‐
gine is running, the safety belt is not fas‐
tened and neither the brake pedal nor the
accelerator is activated.▷The engine is switched off unless N is en‐
gaged and the remote control is in the igni‐
tion lock.▷The remote control is removed from the ig‐
nition lock, refer to page 57.
Before leaving the vehicle, ensure that the
transmission position P is engaged; otherwise,
the vehicle may begin to roll.
Engaging transmission position P Select only when the vehicle is stationary.
Seite 69DrivingControls69
Online Edition for Part no. 01 40 2 954 104 - II/15
Page 75 of 289

DisplaysVehicle equipmentThis chapter describes all series equipment as
well as country-specific and special equipment
offered for this model series. Therefore, it also
describes equipment that may not be found in
your vehicle, for instance due to the selected
special equipment or the country version. This
also applies to safety-related functions and
systems.
When using the features and systems descri‐
bed here, adhere to local regulations.
Odometer, external
temperature display, clock1Knob in the instrument cluster2External temperature display and clock3Odometer and trip odometer
Knob in the instrument cluster
▷To reset the trip odometer while the igni‐
tion is switched on.▷To display the time, external temperature
and odometer briefly while the ignition is
switched off.
Units of measure
To set the respective units of measure, miles
or km for the odometer and ℃ or ℉ for the ex‐
ternal temperature, refer to page 78.
The setting is stored for the remote control
currently in use.
Time, external temperature display Set the time, refer to page 78.
External temperature warning
If the display drops to 37 ℉/3 ℃, a signal
sounds and a warning light lights up. There is
the increased danger of ice.
Ice on roads
Even at temperatures above
+37 ℉/+3 ℃, there can be a risk of ice on
roads.
Therefore, drive carefully on bridges and shady
roads, for example, to avoid the increased dan‐
ger of an accident.◀
Odometer and trip odometer
Resetting trip odometer:
With the ignition switched on, press button 1 in
the instrument cluster.
When the vehicle is parked
If you still want to view the time, external tem‐
perature and odometer reading briefly after the
remote control has been taken out of the igni‐
tion lock:
Press button 1 in the instrument cluster.Seite 73DisplaysControls73
Online Edition for Part no. 01 40 2 954 104 - II/15
Page 91 of 289

To avoid blinding oncoming traffic, the Adap‐
tive Light Control does not swivel to the driv‐
er's side when the vehicle is at a standstill.
Malfunction The warning lamp lights up. A mes‐
sage appears on the Control Display.
Adaptive Light Control is malfunc‐
tioning or has failed. Have the system checked
as soon as possible.
High-beams/roadside
parking lights1High-beams2Headlamp flasher3Roadside parking lamps
Left and right roadside parking lamps
There is an additional option of switching on
the lamps on the side of the car facing the road
when parked.
Switching on After parking the vehicle, press the lever up or
down beyond the pressure point for a longer
period, arrow 3.
The roadside parking lights drain the battery.
Therefore, do not leave them on for unduly
long periods of time; otherwise, the battery
might not have enough power to start the en‐
gine.
Switching off
Press the lever in the opposite direction to the
pressure point, arrow 3.
High-beam Assistant The concept
When the lights are switched on, this system
automatically switches the high-beams on and
off. The procedure is controlled by a sensor on
the front of the interior rearview mirror. The as‐
sistant ensures that the high-beams are
switched on whenever the traffic situation al‐
lows. The driver can intervene at any time and
switch the high-beams on and off as usual.
Activating the High-beam Assistant1.Turn the light switch to position.2.With the low beams switched on, briefly
push the turn indicator lever in the direc‐
tion of the high-beam.
The indicator lamp in the instrument
cluster lights up.
When the lights are switched on, the
high-beams are switched on and off automati‐
cally.
The system responds to light from oncoming
traffic and traffic driving ahead of you, and to
adequate illumination, e.g., in towns and cities.
Switching the high-beams on and off
manually
▷High-beams on, arrow 1.Seite 89LampsControls89
Online Edition for Part no. 01 40 2 954 104 - II/15
Page 93 of 289

3.Push button 1 up or down to select the de‐
sired brightness level.4.Press button 2.
The display again shows the external tem‐
perature and the time.
Interior lights
The interior lamps, footwell lamps, entry
lamps, cargo area lamp, and courtesy lamps
are controlled automatically.
The LEDs for the courtesy lamps are set in the
door handles and illuminate the ground in front
of the doors.
To avoid draining the battery, all lights inside
the car are switched off about 8 minutes after
the ignition is switched off, Start/Stop button,
refer to page 57.
Switching interior lights on/off
manually
Interior lamps:
To switch on and off, press the button.
To switch off the interior lamps, footwell
lamps, entry lamps, and courtesy lamps per‐
manently, press the button for the front interior
lamps for about 3 seconds.
Reading lights
The reading lamps are located next to the inte‐
rior lamp. To switch on and off, press the but‐
ton.
Seite 91LampsControls91
Online Edition for Part no. 01 40 2 954 104 - II/15
Page 98 of 289

If an identification is not possible, please
contact the service center.2.Rectify the flat tire.
Run-flat tires
You can continue driving with a damaged tire
at speeds up to 50 mph/80 km/h.
Continued driving with a flat tire
If continuing to drive with a damaged tire:
1.Avoid sudden braking and steering maneu‐
vers.2.Do not exceed a speed of 50 mph/80 km/h.3.Check the air pressure in all four tires at
the next opportunity.
If the tire inflation pressure in all four tires
is correct, the Flat Tire Monitor may not
have been initialized. In this case, initialize
the system.
Possible driving distance with complete loss of
tire inflation pressure:
The possible driving distance after a loss of tire
inflation pressure depends on the cargo load
and the driving style and conditions.
For a vehicle containing an average load, the
possible driving distance is approx.
50 miles/80 km.
When the vehicle is driven with a damaged tire,
its handling characteristics change, e.g., re‐
duced lane stability during braking, a longer
braking distance, and altered self-steering
properties. Adjust your driving style accord‐
ingly. Avoid abrupt steering maneuvers or driv‐
ing over obstacles, e. g., curbs, potholes, etc.
Because the possible driving distance de‐
pends on how the vehicle is used during the
trip, the actual distance may be smaller or
greater depending on the driving speed, road
conditions, external temperature, cargo load,
etc.
Continued driving with a flat tire
Drive moderately and do not exceed a
speed of 50 mph/80 km/h.
A loss of tire inflation pressure results in a
change in the handling characteristics, e.g., re‐
duced lane stability during braking, a longer
braking distance and altered self-steering
properties.◀
Final tire failure
Vibrations or loud noises while driving
can indicate the final failure of the tire. Reduce
speed and stop; otherwise, pieces of the tire
could come loose and cause an accident. Do
not continue driving, and contact your service
center.◀
Tire Pressure Monitor TPMThe concept
The system monitors the tire pressure in the four mounted tires. The system issues a warn‐
ing if there is a significant loss of pressure in
one or more tires. Sensors in the tire valves
measure the tire pressure.
Notes Tire damage caused by external influen‐
ces
Sudden tire damage caused by external influ‐
ences cannot be indicated in advance.◀
To operate the system, also note the additional
information and instructions contained under
Tire inflation pressure, refer to page 228.
Functional requirement The system must have been reset while the in‐
flation pressure was correct; otherwise, reliable
signaling of pressure loss is not ensured.
Reset the system after adjusting the tire infla‐
tion pressure and after changing a tire or
wheel.Seite 96ControlsSafety96
Online Edition for Part no. 01 40 2 954 104 - II/15
Page 100 of 289

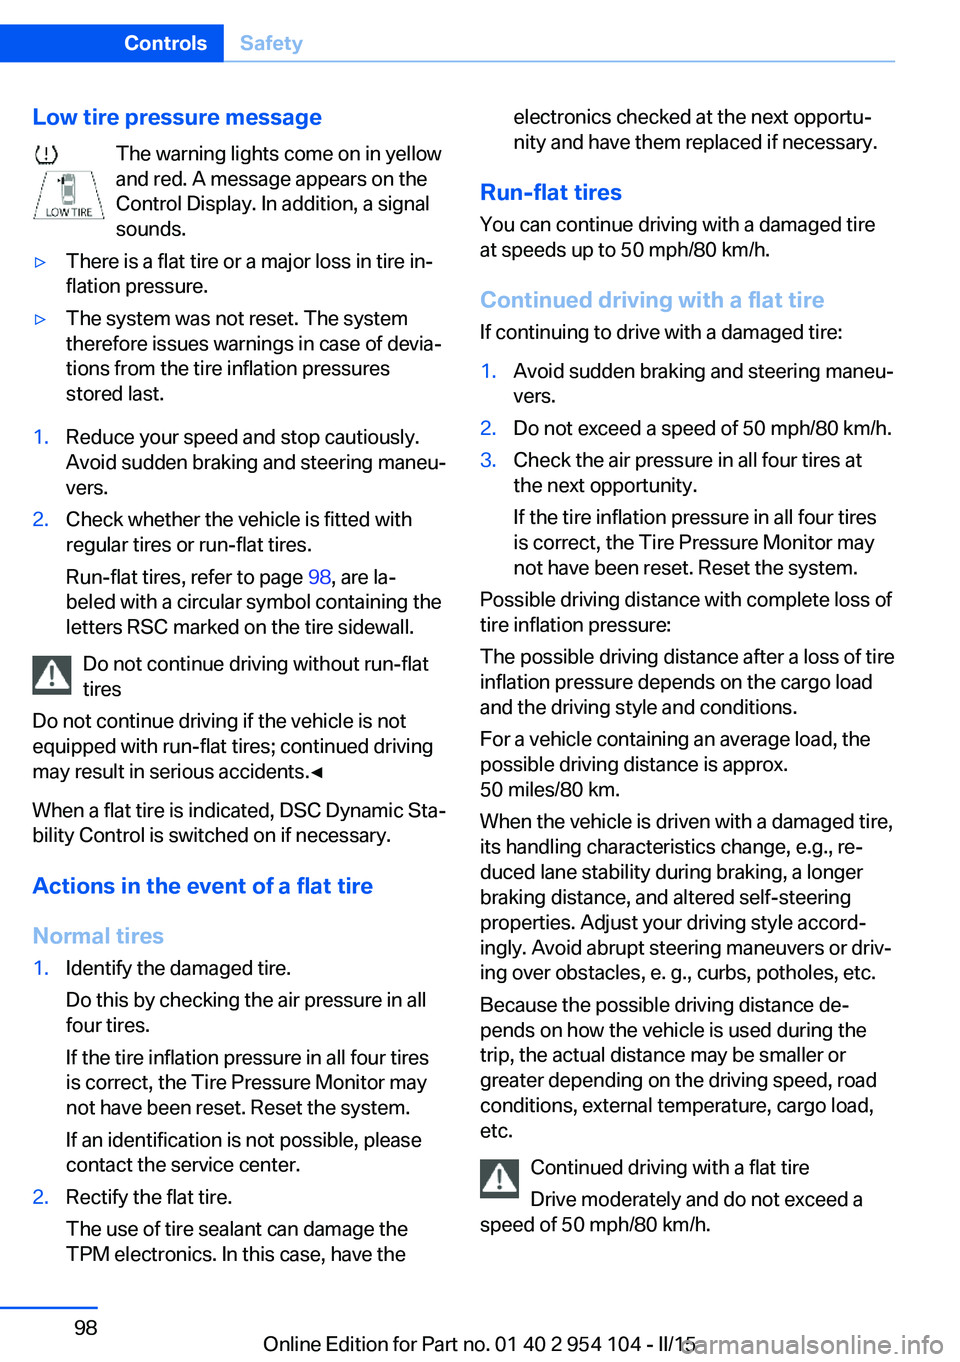
Low tire pressure messageThe warning lights come on in yellow
and red. A message appears on the
Control Display. In addition, a signal
sounds.▷There is a flat tire or a major loss in tire in‐
flation pressure.▷The system was not reset. The system
therefore issues warnings in case of devia‐
tions from the tire inflation pressures
stored last.1.Reduce your speed and stop cautiously.
Avoid sudden braking and steering maneu‐
vers.2.Check whether the vehicle is fitted with
regular tires or run-flat tires.
Run-flat tires, refer to page 98, are la‐
beled with a circular symbol containing the
letters RSC marked on the tire sidewall.
Do not continue driving without run-flat
tires
Do not continue driving if the vehicle is not
equipped with run-flat tires; continued driving
may result in serious accidents.◀
When a flat tire is indicated, DSC Dynamic Sta‐
bility Control is switched on if necessary.
Actions in the event of a flat tire Normal tires
1.Identify the damaged tire.
Do this by checking the air pressure in all
four tires.
If the tire inflation pressure in all four tires
is correct, the Tire Pressure Monitor may
not have been reset. Reset the system.
If an identification is not possible, please
contact the service center.2.Rectify the flat tire.
The use of tire sealant can damage the
TPM electronics. In this case, have theelectronics checked at the next opportu‐
nity and have them replaced if necessary.
Run-flat tires
You can continue driving with a damaged tire
at speeds up to 50 mph/80 km/h.
Continued driving with a flat tire If continuing to drive with a damaged tire:
1.Avoid sudden braking and steering maneu‐
vers.2.Do not exceed a speed of 50 mph/80 km/h.3.Check the air pressure in all four tires at
the next opportunity.
If the tire inflation pressure in all four tires
is correct, the Tire Pressure Monitor may
not have been reset. Reset the system.
Possible driving distance with complete loss of
tire inflation pressure:
The possible driving distance after a loss of tire
inflation pressure depends on the cargo load
and the driving style and conditions.
For a vehicle containing an average load, the
possible driving distance is approx.
50 miles/80 km.
When the vehicle is driven with a damaged tire,
its handling characteristics change, e.g., re‐
duced lane stability during braking, a longer
braking distance, and altered self-steering
properties. Adjust your driving style accord‐
ingly. Avoid abrupt steering maneuvers or driv‐
ing over obstacles, e. g., curbs, potholes, etc.
Because the possible driving distance de‐
pends on how the vehicle is used during the
trip, the actual distance may be smaller or
greater depending on the driving speed, road
conditions, external temperature, cargo load,
etc.
Continued driving with a flat tire
Drive moderately and do not exceed a
speed of 50 mph/80 km/h.
Seite 98ControlsSafety98
Online Edition for Part no. 01 40 2 954 104 - II/15