2015 BMW I8 ignition
[x] Cancel search: ignitionPage 146 of 224

erases all programming of the buttons on
the interior rearview mirror.3.Hold the hand-held transmitter for the sys‐
tem to be controlled approx. 1 to 3 in/2.5 to
8 cm away from the buttons of the interior
rearview mirror. The required distance de‐
pends on the manual transmitter.4.Simultaneously press and hold the button
of the desired function on the hand-held
transmitter and the button to be program‐
med on the interior rearview mirror. The
LED on the interior rearview mirror will be‐
gin flashing slowly.5.Release both buttons as soon as the LED
flashes more rapidly. The LED flashing
faster indicates that the button on the inte‐
rior rearview mirror has been programmed.
If the LED does not flash faster after at
least 60 seconds, change the distance be‐
tween the interior rearview mirror and the
hand-held transmitter and repeat the step.
Several more attempts at different distan‐
ces may be necessary. Wait at least
15 seconds between attempts.
Canada: if programming with the hand-
held transmitter was interrupted, hold
down the interior rearview mirror button
and repeatedly press and release the
hand-held transmitter button for 2 sec‐
onds.6.To program other functions on other but‐
tons, repeat steps 3 to 5.
The systems can be controlled using the inte‐
rior rearview mirror buttons.
Special feature of the alternating-
code wireless system
If you are unable to operate the system after
repeated programming, please check if the
system to be controlled features an alternat‐
ing-code system.
Read the system's operating manual, or press
the programmed button on the interior rear‐
view mirror longer. If the LED on the interior
rearview mirror starts flashing rapidly and then
stays lit constantly for 2 seconds, the system
features an alternating-code system. Flashing
and continuous illumination of the LED will re‐
peat for approximately 20 seconds.
For systems with an alternating-code system,
the universal garage door opener and the sys‐
tem also have to be synchronized.
Please read the operating manual to find out how to synchronize the system.
Synchronizing is easier with the aid of a sec‐
ond person.
To synchronize:1.Park the vehicle within range of the re‐
mote-controlled system.2.Program the relevant button on the interior
rearview mirror as described.3.Locate and press the synchronizing button
on the system being programmed. You
have approx. 30 seconds for the next step.4.Hold down the programmed button on the
interior rearview mirror for approximately
3 seconds and then release it. If necessary,
repeat this step up to three times in order
to finish synchronization. Once synchroni‐
zation is complete, the programmed func‐
tion will be carried out.
Reprogramming individual buttons
1.Switch on the ignition.2.Press and hold the interior rearview mirror
button to be programmed.3.As soon as the interior rearview mirror LED
starts flashing slowly, hold the hand-held
transmitter for the system to be controlled
approx. 1 to 3 in/2.5 to 8 cm away from the
buttons of the interior rearview mirror. The
required distance depends on the manual
transmitter.Seite 130ControlsInterior equipment130
Online Edition for Part no. 01 40 2 960 891 - II/15
Page 147 of 224

4.Likewise, press and hold the button of the
desired function on the hand-held trans‐
mitter.5.Release both buttons as soon as the inte‐
rior rearview mirror LED flashes more rap‐
idly. The LED flashing faster indicates that
the button on the interior rearview mirror
has been programmed. The system can
then be controlled by the button on the in‐
terior rearview mirror.
If the LED does not flash faster after at
least 60 seconds, change the distance and
repeat the step. Several more attempts at
different distances may be necessary. Wait
at least 15 seconds between attempts.
Canada: if programming with the hand-
held transmitter was interrupted, hold
down the interior rearview mirror button
and repeatedly press and release the
hand-held transmitter button for 2 sec‐
onds.
Controls
Before operation
Before operating a system using the uni‐
versal garage door opener, ensure that there are no people, animals, or objects within the
range of movement of the remote-controlled
system; otherwise, there is a risk of injury or
damage.
Also follow the safety instructions of the hand-
held transmitter.◀
The system, such as the garage door, can be
operated using the button on the interior rear‐
view mirror while the engine is running or when
the ignition is started. To do this, hold down
the button within receiving range of the system
until the function is activated. The interior rear‐ view mirror LED stays lit while the wireless sig‐
nal is being transmitted.
Deleting stored functions Press and hold the left and right button on the
interior rearview mirror simultaneously for ap‐
proximately 20 seconds until the LED flashes
rapidly. All stored functions are deleted. The
functions cannot be deleted individually.
Sun visor Glare shieldFold the sun visor down or up.
Vanity mirror A vanity mirror is located in the sun visor be‐
hind a cover. When the cover is opened, the
mirror lighting switches on.
Connecting electricaldevices
Hints Do not connect charging devices to the12 volt socket in the vehicle
Do not connect battery chargers to the fac‐
tory-installed 12 volt sockets in the vehicle as
this may damage the vehicle battery due to an
increased power consumption.◀
Replace the cover after use
Reinsert the lighter or socket cover after
use, otherwise objects may get into the lighter
socket or fixture and cause a short circuit.◀
Sockets
General information
The lighter socket can be used as a socket for
electrical equipment while the engine is run‐
ning or when the ignition is switched on.
Note
The total load of all sockets must not exceed 140 watts at 12 volts.
Do not damage the socket by using unsuitable
connectors.Seite 131Interior equipmentControls131
Online Edition for Part no. 01 40 2 960 891 - II/15
Page 202 of 224

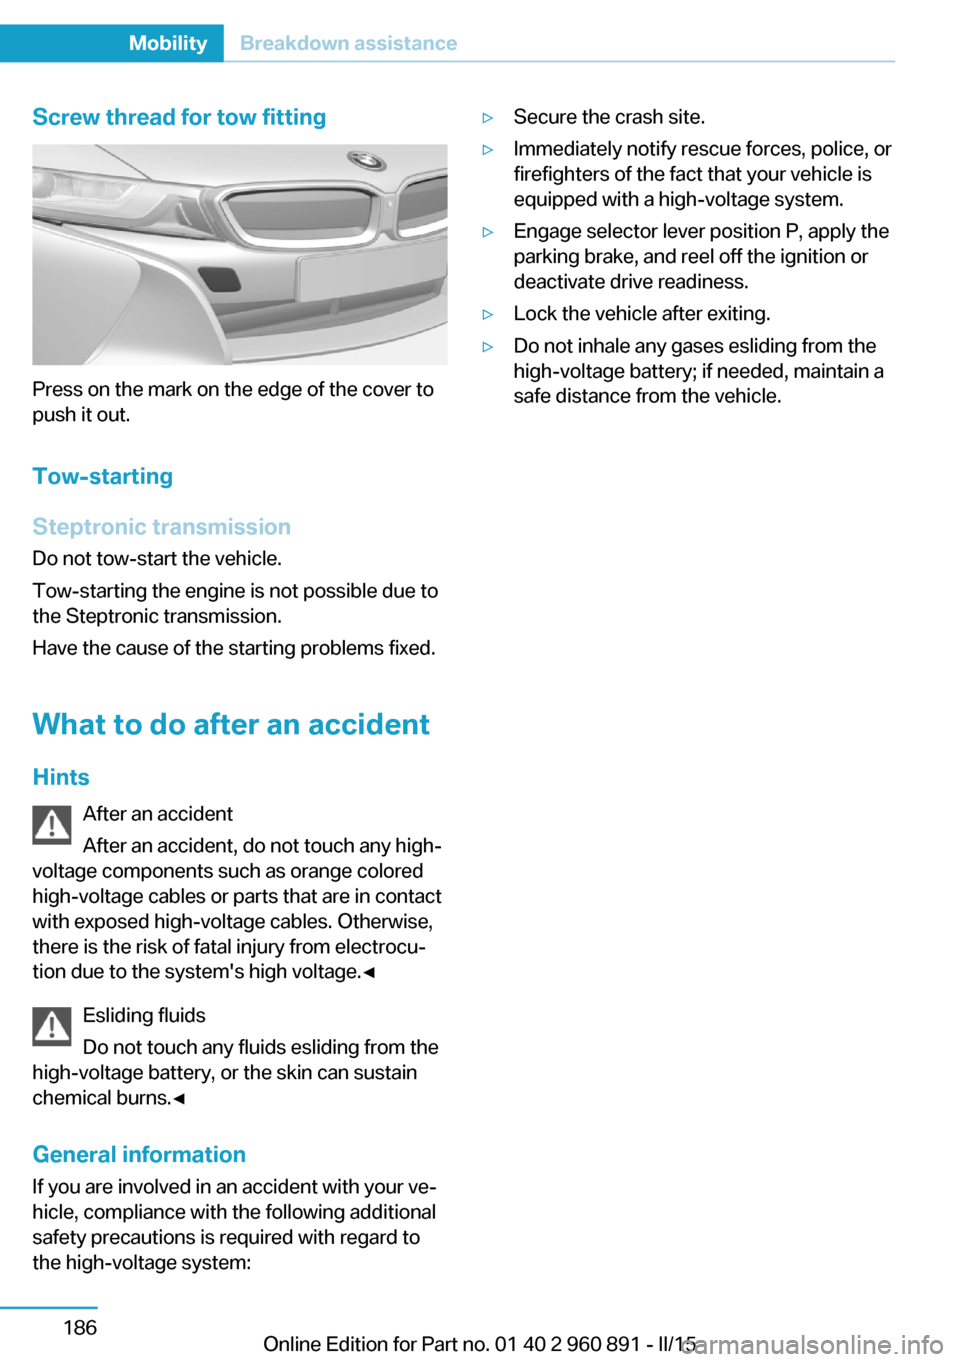
Screw thread for tow fitting
Press on the mark on the edge of the cover to
push it out.
Tow-starting
Steptronic transmission
Do not tow-start the vehicle.
Tow-starting the engine is not possible due to
the Steptronic transmission.
Have the cause of the starting problems fixed.
What to do after an accident
Hints After an accident
After an accident, do not touch any high-
voltage components such as orange colored
high-voltage cables or parts that are in contact
with exposed high-voltage cables. Otherwise,
there is the risk of fatal injury from electrocu‐
tion due to the system's high voltage.◀
Esliding fluids
Do not touch any fluids esliding from the
high-voltage battery, or the skin can sustain
chemical burns.◀
General information
If you are involved in an accident with your ve‐
hicle, compliance with the following additional
safety precautions is required with regard to
the high-voltage system:
▷Secure the crash site.▷Immediately notify rescue forces, police, or
firefighters of the fact that your vehicle is
equipped with a high-voltage system.▷Engage selector lever position P, apply the
parking brake, and reel off the ignition or
deactivate drive readiness.▷Lock the vehicle after exiting.▷Do not inhale any gases esliding from the
high-voltage battery; if needed, maintain a
safe distance from the vehicle.Seite 186MobilityBreakdown assistance186
Online Edition for Part no. 01 40 2 960 891 - II/15
Page 218 of 224

Identification number, see ve‐hicle identification num‐
ber 10
iDrive 18
Ignition key, refer to Remote control 38
Increase range 144
Indication of a flat tire 100
Indicator and alarm lamps, see Check Control 79
Indicator lamp, see Check Control 79
Individual air distribution 126
Individual settings, refer to Personal Profile 39
Inflation pressure, tires 163
Info display, refer to On- Board computer 87
Initialize, Tire Pressure Moni‐ tor TPM 100
Instrument cluster 75
Instrument lighting 95
Integrated key 38
Integrated Owner's Manual in the vehicle 29
Intelligent Emergency Re‐ quest 183
Intelligent Safety 102
Intensity, AUTO pro‐ gram 126
Interior equipment 129
Interior lights 95
Interior lights during unlock‐ ing 41
Interior lights with the vehicle locked 42
Interior motion sensor 48
Interior rearview mirror, auto‐ matic dimming feature 55
Interior rearview mirror, man‐ ually dimmable 55
Internet page 6
Interval display, service re‐ quirements 84
Interval mode 69 J
Jacking points for the vehicle jack 181
Joystick, Steptronic Sport transmission 71
Jump-starting 184
Jump starting, refer to Backup charging 156
K Key/remote control 38
Keyless Go, refer to Comfort Access 45
Key Memory, refer to Per‐ sonal Profile 39
Kickdown, Steptronic Sport transmission 71
Knee airbag 97
L
Lamp replacement, see Bulb replacement 180
Language on Control Dis‐ play 90
LATCH child restraint sys‐ tem 58
Launch Control 73
Leather, care 188
LED in the driver's door 41
LEDs, light-emitting di‐ odes 180
Length, vehicle 194
Letters and numbers, enter‐ ing 24
Level 1 Charging 155
Level 1 charging cable 152
Level 2 charging cable 152
Light alloy wheels, care 189
Light-emitting diodes, LEDs 180
Lighting 92
Lights 92
Light switch 92 Load 143
Loading 142
Lock, door 43
Locking/unlocking via door lock 43
Locking/unlocking with re‐ mote control 41
Locking, automatic 47
Locking, settings 46
Locking via tailgate 45
Longer idle phases 190
Long idle times and long-term vehicle storage 190
Long-term vehicle stor‐ age 190
Low beams 92
Low beams, automatic, refer to High-beam Assistant 94
M
Maintaining charging state 64
Maintenance 178
Maintenance require‐ ments 178
Maintenance, service require‐ ments 84
Maintenance system, BMW 178
Make-up mirror 131
Malfunction displays, see Check Control 79
Manual air distribution 126
Manual air flow 126
Manual mode, transmis‐ sion 72
Manual operation, door lock 43
Manual operation, exterior mirrors 54
Manual operation, fuel filler flap 159
Manual operation, Park Dis‐ tance Control PDC 116 Seite 202ReferenceEverything from A to Z202
Online Edition for Part no. 01 40 2 960 891 - II/15