2015.5 Peugeot Boxer wheel
[x] Cancel search: wheelPage 48 of 276
46AutoMAtIc ILLuMInAtIon
Activation
turn the ring to this position.
Do not cover the sunshine sensor at
the top centre of the windscreen.
GuIdE-ME-HoME LIGHtInG
Ignition off or key in the StoP position.
Within 2 minutes after switching off the
engine, position the ignition key in the
S
tOP position or remove it.
Pull the lighting stalk towards the steering
wheel.
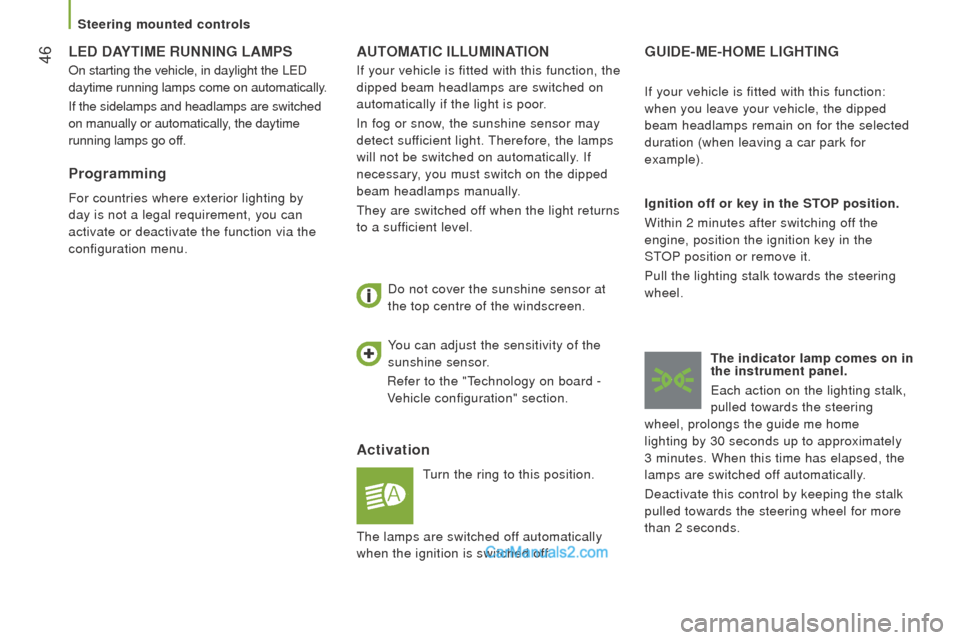
the indicator lamp comes on in
the instrument panel.
each action on the lighting stalk,
pulled towards the steering
wheel, prolongs the guide me home
lighting by 30 seconds up to approximately
3
minutes. When this time has elapsed, the
lamps are switched off automatically.
Deactivate this control by keeping the stalk
pulled towards the steering wheel for more
than 2 seconds. If your vehicle is fitted with this function:
when you leave your vehicle, the dipped
beam headlamps remain on for the selected
duration (when leaving a car park for
example).
You can adjust the sensitivity of the
sunshine sensor.
Refer to the "
technology on board -
V
ehicle configuration" section.
If your vehicle is fitted with this function, the
dipped beam headlamps are switched on
automatically if the light is poor.
In fog or snow, the sunshine sensor may
detect sufficient light.
therefore, the lamps
will not be switched on automatically. If
necessary, you must switch on the dipped
beam headlamps manually.they are switched of
f when the light returns
to a sufficient level.
LEd dAYtIME runnInG LAMPS
On starting the vehicle, in daylight the LeD
daytime running lamps come on automatically.
If the sidelamps and headlamps are switched
on manually or automatically, the daytime
running lamps go off.
Programming
For countries where exterior lighting by
day is not a legal requirement, you can
activate or deactivate the function via the
configuration menu.
the lamps are switched of
f automatically
when the ignition is switched off.
Steering mounted controls
Page 50 of 276
48
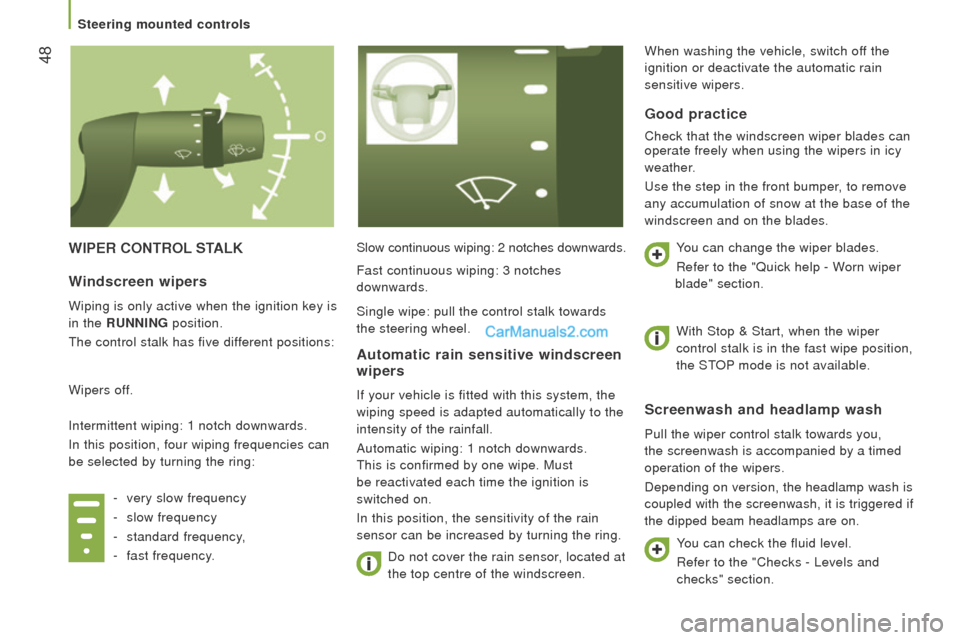
WIPEr controL StALKSlow continuous wiping: 2 notches downwards.Do not cover the rain sensor, located at
the top centre of the windscreen.
Screenwash and headlamp wash
Pull the wiper control stalk towards you,
the screenwash is accompanied by a timed
operation of the wipers.
Depending on version, the headlamp wash is
coupled with the screenwash, it is triggered if
the dipped beam headlamps are on.
Windscreen wipers
Wiping is only active when the ignition key is
in the
runnInG
position.
the control stalk has five dif
ferent positions:
Wipers off.
Intermittent wiping: 1 notch downwards.
In this position, four wiping frequencies can
be selected by turning the ring: -
very slow frequency
-
slow frequency
-
standard frequency,
-
fast frequency.
Automatic rain sensitive windscreen
wipers
If your vehicle is fitted with this system, the
wiping speed is adapted automatically to the
intensity of the rainfall.
Automatic wiping: 1 notch downwards.
this is confirmed by one wipe. Must
be reactivated each time the ignition is
switched
on.
In this position, the sensitivity of the rain
sensor can be increased by turning the ring.
Good practice
Check that the windscreen wiper blades can
operate freely when using the wipers in icy
weather.
use the step in the front bumper
, to remove
any accumulation of snow at the base of the
windscreen and on the blades.
You can change the wiper blades.
Refer to the "Quick help - Worn wiper
blade" section.
You can check the fluid level.
Refer to the "Checks - Levels and
checks" section.
Fast continuous wiping: 3 notches
downwards.
Single wipe: pull the control stalk towards
the steering wheel.
With Stop & Start, when the wiper
control stalk is in the fast wipe position,
the S
tOP mode is not available.
When washing the vehicle, switch of
f the
ignition or deactivate the automatic rain
sensitive wipers.
Steering mounted controls
Page 66 of 276
64comfort value adjustment ring
the settings range between:
-
increasing the interior ambient air
temperature HI (High) which goes up to
to a maximum setting of 32,
-
cooling the interior ambient air
temperature LO (Low) which goes down
to a setting of 16.
Air distribution
A press illuminates the LeD on the buttons
which distribute the air flow towards:
the windscreen and front side
window vents (demisting/
defrosting the windows),
the central and side vents (chest
and face),
the vents in the front and rear
areas (feet).
the combination of buttons permits
improvement of air distribution.
Air flow
Successive presses of this button
increase (+) or reduce (-) the
force of the air flow to the interior.
Intake of exterior air / recirculation of interior air
When the LeD is on, the air
recirculates inside the passenger
compartment to prevent the entry of exterior
odours and smoke.
this position should be
temporary.
When the ambient air comfort level has been
reached, pressing the button switches the
L
eD of
f and reopens the exterior air intake.
Pressing the A
ut
o
button also restores
the intake of exterior air. Returning to this
position permits renewal of the air in the
passenger compartment and demisting.
Pressing the A
ut
o
button again restores
the F
uLL
A
ut
o
function.
rapid demisting / defrosting
Pressing this control permits
rapid clearing of the windows.
the LeD is on.
the system manages the air conditioning,
the flow and intake of air, the defrosting
of the rear screen and provides optimum
distribution of the air to the windscreen and
front side windows.
If your vehicle is fitted with additional
heating, switch it off to ensure rapid and
effective demisting/defrosting.
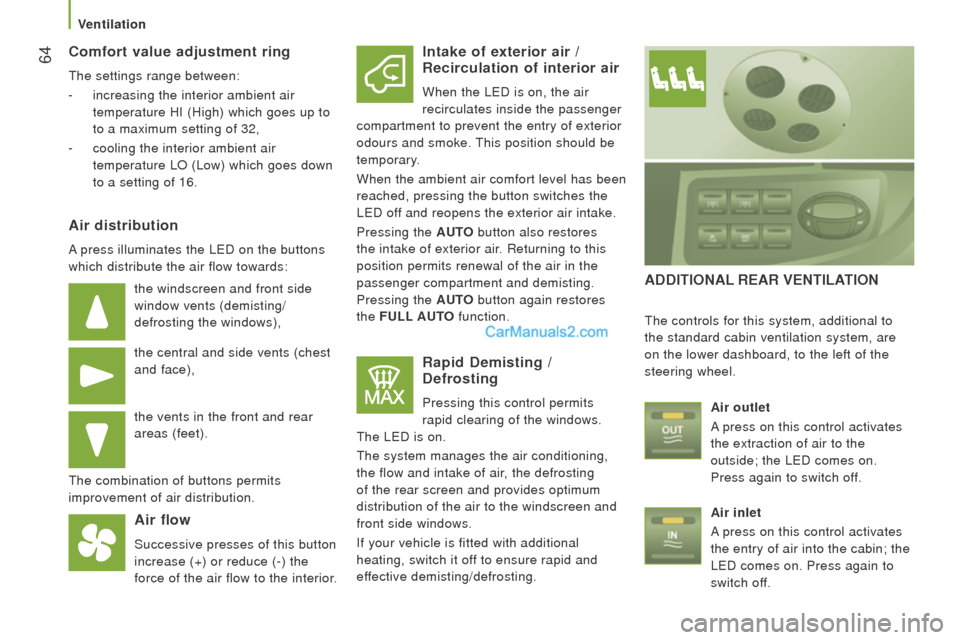
AddItIonAL rEAr VEntILAtIon
the controls for this system, additional to
the standard cabin ventilation system, are
on the lower dashboard, to the left of the
steering wheel.
Air outlet
A press on this control activates
the extraction of air to the
outside; the L
eD comes on.
Press again to switch off.
Air inlet
A press on this control activates
the entry of air into the cabin; the
L
eD comes on. Press again to
switch off.
Ventilation
Page 67 of 276
65AddItIonAL HEAtInG SYStEMS
Supplementary heating
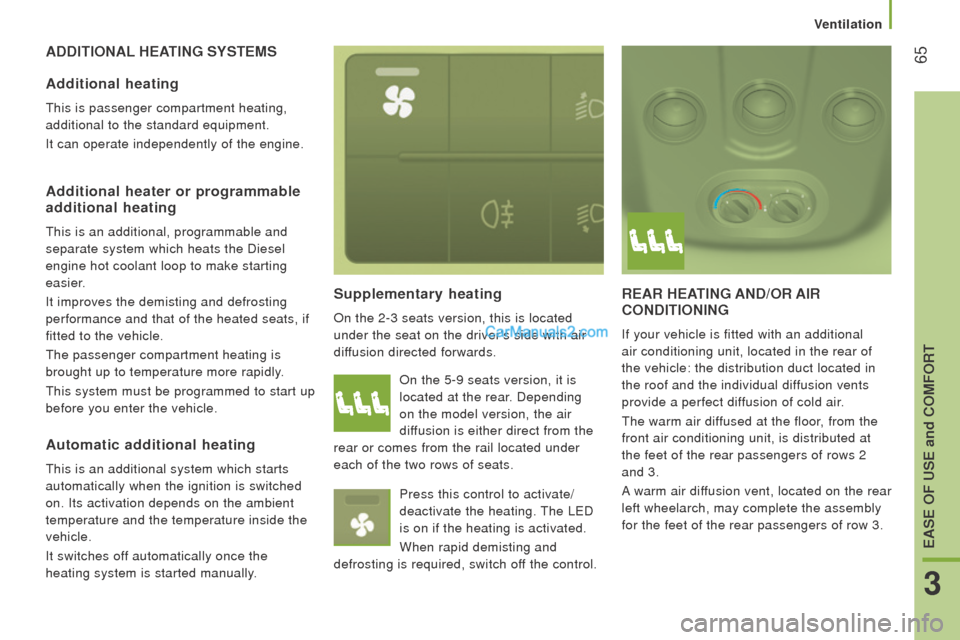
On the 2-3 seats version, this is located
under the seat on the driver's side with air
diffusion directed forwards.
rEAr HEAtInG And/or AIr
condItIonInG
If your vehicle is fitted with an additional
air conditioning unit, located in the rear of
the vehicle: the distribution duct located in
the roof and the individual diffusion vents
provide a perfect diffusion of cold air.
the warm air dif
fused at the floor, from the
front air conditioning unit, is distributed at
the feet of the rear passengers of rows 2
and 3.
A warm air diffusion vent, located on the rear
left wheelarch, may complete the assembly
for the feet of the rear passengers of row 3.
Additional heating
this is passenger compartment heating,
additional to the standard equipment.
It can operate independently of the engine.
Additional heater or programmable
additional heating
this is an additional, programmable and
separate system which heats the Diesel
engine hot coolant loop to make starting
easier.
It improves the demisting and defrosting
performance and that of the heated seats, if
fitted to the vehicle.
the passenger compartment heating is
brought up to temperature more rapidly.
this system must be programmed to start up
before you enter the vehicle. On the 5-9 seats version, it is
located at the rear. Depending
on the model version, the air
diffusion is either direct from the
rear or comes from the rail located under
each of the two rows of seats.
Press this control to activate/
deactivate the heating.
the LeD
is on if the heating is activated.
When rapid demisting and
defrosting is required, switch off the control.
Automatic additional heating
this is an additional system which starts
automatically when the ignition is switched
on. Its activation depends on the ambient
temperature and the temperature inside the
vehicle.
It switches off automatically once the
heating system is started manually.
3
EASE oF uSE and coMFort
Ventilation
Page 69 of 276
67Setting the time of the internal clock
Set the clock on the control panel before
programming the deferred switching on of
the heating.Press and hold the "set" button.
the time setting screen and
indicator come on.
Within ten seconds, press one of the two
setting buttons until the correct time is
displayed: -
">" to increase the time,
or
-
"<" reduce the time.
reading the time
Pro
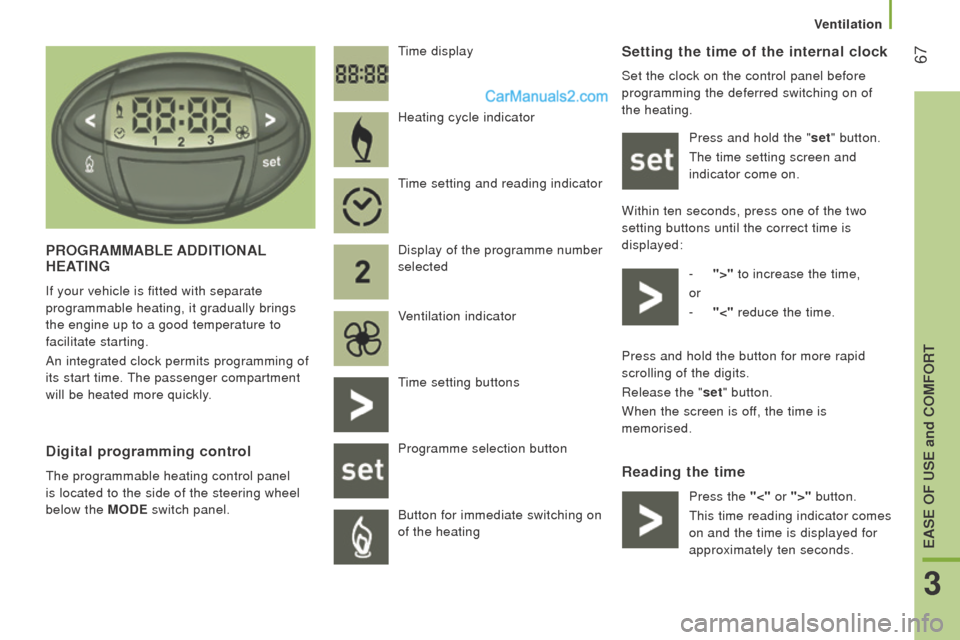
GrAMMABLE AddItIonAL HEAtInG
If your vehicle is fitted with separate
programmable heating, it gradually brings
the engine up to a good temperature to
facilitate starting.
An integrated clock permits programming of
its start time.
the passenger compartment
will be heated more quickly.
time display
digital programming control
the programmable heating control panel
is located to the side of the steering wheel
below the
M
odE
switch panel. Heating cycle indicator
time setting and reading indicator
Display of the programme number
selected
V
entilation indicator
time setting buttons
Programme selection button
Button for immediate switching on
of the heating Press and hold the button for more rapid
scrolling of the digits.
Release the "set" button.
When the screen is off, the time is
memorised.
Press the "<" or ">" button.
this
time reading indicator comes
on and the time is displayed for
approximately ten seconds.
3
EASE oF uSE and coMFort
Ventilation
Page 73 of 276
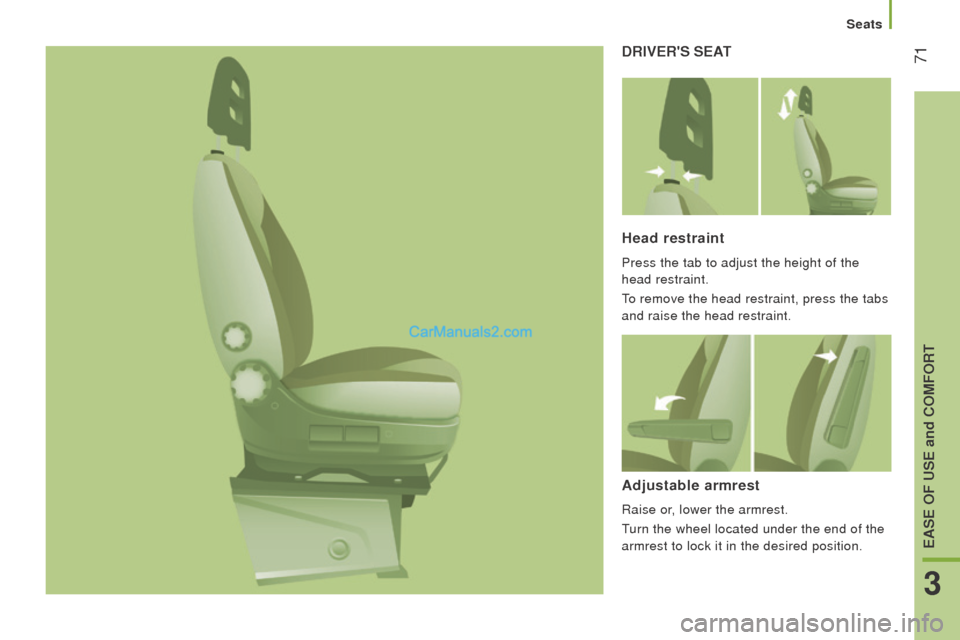
71drIVEr'S SEAt
Head restraint
Press the tab to adjust the height of the
head restraint.
to remove the head restraint, press the tabs
and raise the head restraint.
Adjustable armrest
Raise or, lower the armrest.
turn the wheel located under the end of the
armrest to lock it in the desired position.
3
EASE oF uSE and coMFort
Seats
Page 78 of 276
76
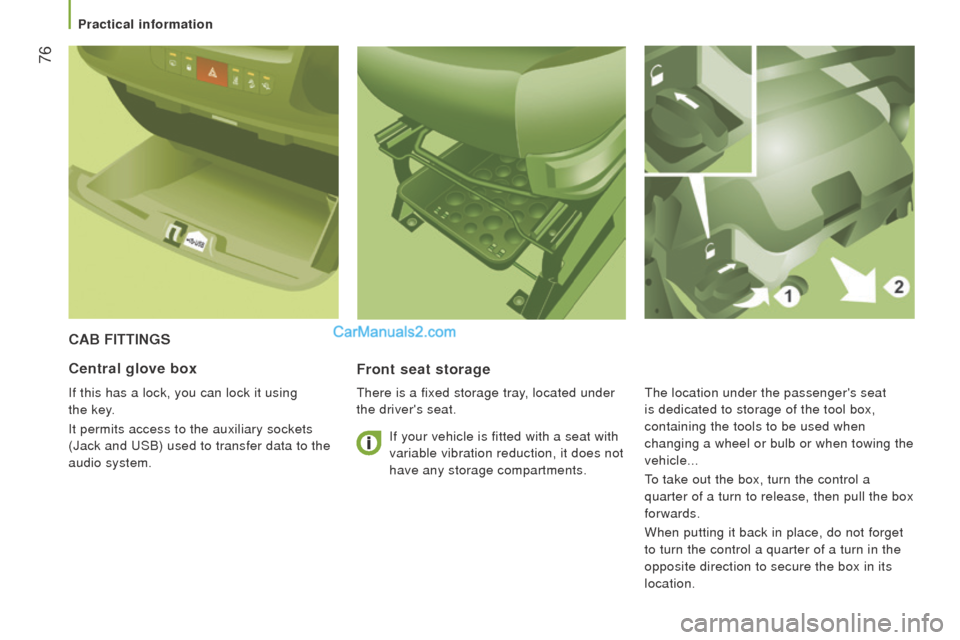
cAB FIttInGS
Front seat storage
there is a fixed storage tray, located under
the driver's seat.
central glove box
If this has a lock, you can lock it using
the
key
.
It permits access to the auxiliary sockets
(Jack and
uSB) used to transfer data to the
audio system. If your vehicle is fitted with a seat with
variable vibration reduction, it does not
have any storage compartments.the location under the passenger's seat
is dedicated to storage of the tool box,
containing the tools to be used when
changing a wheel or bulb or when towing the
vehicle...
to take out the box, turn the control a
quarter of a turn to release, then pull the box
forwards.
When putting it back in place, do not forget
to turn the control a quarter of a turn in the
opposite direction to secure the box in its
location.
Practical information
Page 89 of 276
87PErSonALISAtIon - conFIGurAtIon
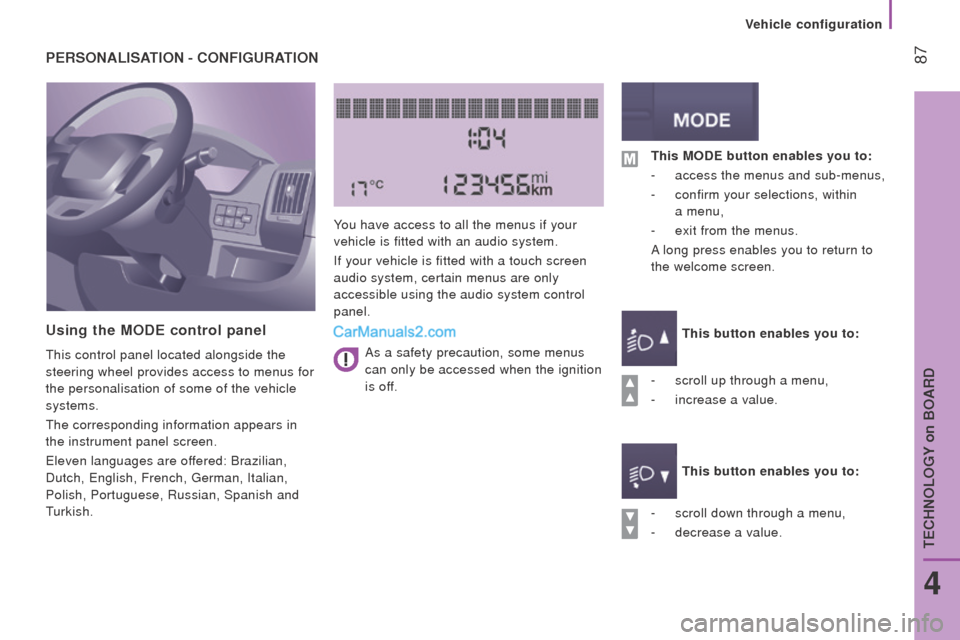
using the ModE control panel
this control panel located alongside the
steering wheel provides access to menus for
the personalisation of some of the vehicle
systems.
the corresponding information appears in
the instrument panel screen.
eleven languages are of
fered: Brazilian,
Dutch,
english, French, german, Italian,
Polish, Portuguese, Russian, Spanish and
turkish. You have access to all the menus if your
vehicle is fitted with an audio system.
If your vehicle is fitted with a touch screen
audio system, certain menus are only
accessible using the audio system control
panel.
-
scroll down through a menu,
-
decrease a value.
this ModE button enables you to:
-
access the menus and sub-menus,
-
confirm your selections, within
a
menu,
-
exit from the menus.
A long press enables you to return to
the welcome screen.
this button enables you to:
this button enables you to:
-
scroll up through a menu,
-
increase a value.
As a safety precaution, some menus
can only be accessed when the ignition
is off.
4
teCHNOLOgY on BOARD
Vehicle configuration