2014 SUBARU IMPREZA WRX start stop button
[x] Cancel search: start stop buttonPage 101 of 414
2-16Keys and doors/Alarm system
&If you have accidentally trig-
gered the alarm system
! To stop the alarm
Do any of the following operations: . Press any button on the remote trans-
mitter.. Turn the ignition switch to the “ON ”
position. NOTE
Only registered keys will stop the
alarm. If the immobilizer transponder
is not registered, the alarm will notstop. & Arming the system
! To arm the system using remote transmitter
1. Close all windows.
2. Remove the key from the ignition switch.
3. Open the doors and get out of the vehicle.
4. Make sure that the engine hood (and
the trunk lid on the 4-door) are locked.
5. Close all doors (and the rear gate on
the 5-door).
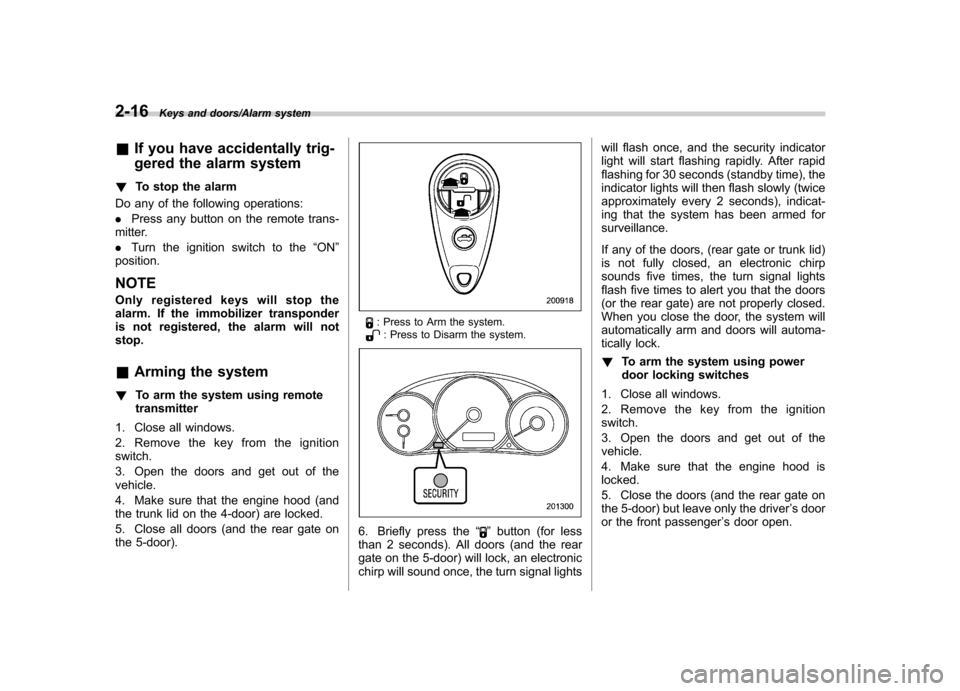
: Press to Arm the system.: Press to Disarm the system.
6. Briefly press the “”button (for less
than 2 seconds). All doors (and the rear
gate on the 5-door) will lock, an electronic
chirp will sound once, the turn signal lights will flash once, and the security indicator
light will start flashing rapidly. After rapid
flashing for 30 seconds (standby time), the
indicator lights will then flash slowly (twice
approximately every 2 seconds), indicat-
ing that the system has been armed forsurveillance.
If any of the doors, (rear gate or trunk lid)
is not fully closed, an electronic chirp
sounds five times, the turn signal lights
flash five times to alert you that the doors
(or the rear gate) are not properly closed.
When you close the door, the system will
automatically arm and doors will automa-
tically lock. !
To arm the system using power
door locking switches
1. Close all windows.
2. Remove the key from the ignition switch.
3. Open the doors and get out of the vehicle.
4. Make sure that the engine hood is locked.
5. Close the doors (and the rear gate on
the 5-door) but leave only the driver ’s door
or the front passenger ’s door open.
Page 191 of 414
5-10Audio/FM/AM radio operation
FM/AM radio operation &FM/AM selection
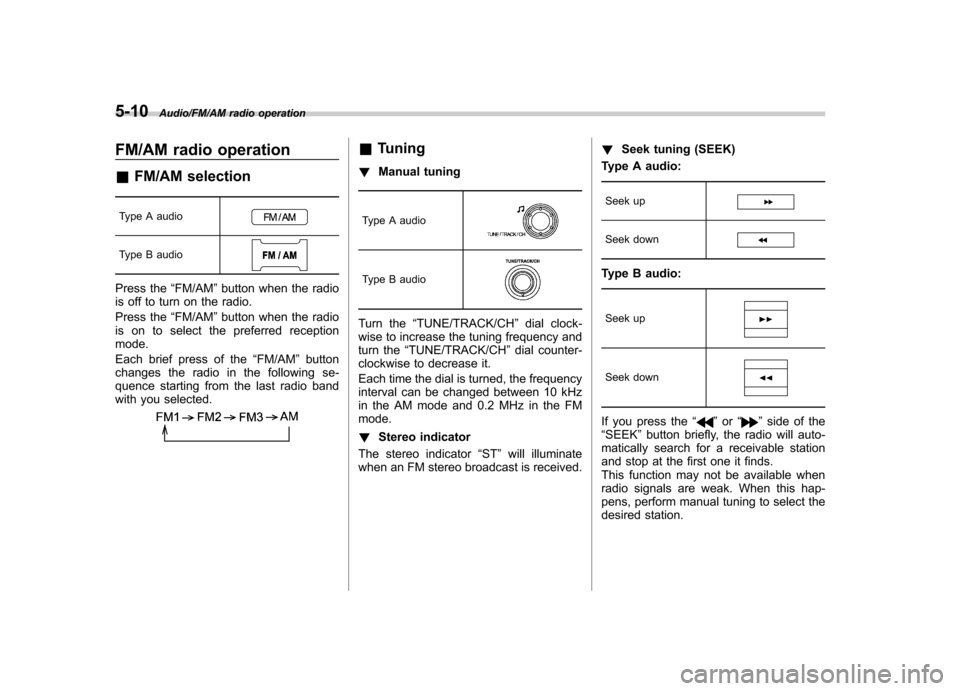
Type A audio
Type B audio
Press the “FM/AM ”button when the radio
is off to turn on the radio.
Press the “FM/AM ”button when the radio
is on to select the preferred reception mode.
Each brief press of the “FM/AM ”button
changes the radio in the following se-
quence starting from the last radio band
with you selected.
& Tuning
! Manual tuning
Type A audio
Type B audio
Turn the “TUNE/TRACK/CH ”dial clock-
wise to increase the tuning frequency and
turn the “TUNE/TRACK/CH ”dial counter-
clockwise to decrease it.
Each time the dial is turned, the frequency
interval can be changed between 10 kHz
in the AM mode and 0.2 MHz in the FMmode. ! Stereo indicator
The stereo indicator “ST ”will illuminate
when an FM stereo broadcast is received. !
Seek tuning (SEEK)
Type A audio:
Seek up
Seek down
Type B audio:
Seek up
Seek down
If you press the “”or “”side of the
“ SEEK ”button briefly, the radio will auto-
matically search for a receivable station
and stop at the first one it finds.
This function may not be available when
radio signals are weak. When this hap-
pens, perform manual tuning to select the
desired station.
Page 199 of 414
5-18Audio/CD player operation
!Loading all the magazine (full disc
loading mode)
1. If you press and hold the
button,
the player will produce beep sound and
will enter the full disc loading mode.
2. When the disc number indicator
flashes and “ALL LOAD ”indicator illumi-
nates, insert a disc within 15 seconds. If a
disc is successfully loaded during this
period, the disc number indicator will stop
blinking and will steadily light.
3. When the loading of a disc is com-
plete, the next disc number indicator will
blink. Then repeat step 2.
4. When the magazine is filled with discs
by repeating steps 2 and 3, the player will
start playback of the discs, beginning with
the one inserted first.
If you fail to insert any disc during each 15
seconds interval, the full disc loading
mode will be canceled, and the player will
start playback of the disc inserted first.
& How to insert a CD (type B)
Hold the disc with a finger in the center
hole while gripping the edge of the disc,
then insert it into the slot (with the label
side up) and the player will automatically
pull the disc into position. NOTE
DO NOT INSERT TWO DISCS INTO THE DISC INSERTION SLOT AT THE SAME TIME.
& How to play back a CD
! When there is no CD inserted
Properly insert a CD. Refer to “How to
insert a CD(s) (type A) ”F 5-17/ “How to
insert a CD (type B) ”F 5-18.
When a CD is loaded, the player will start
playback of the CD, beginning with the
first track. ! When there are CDs loaded (type A)
Press the preferred disc select button (from
to). If a disc is loaded
in any slot, the corresponding disc number
indicator will be constantly illuminated.
The player will then start playback of the
selected CD, beginning with the first track.
If a disc that the player cannot read has
been loaded, the player will display themessage “CHECK DISC ”.
! When CD is in the player (type B)
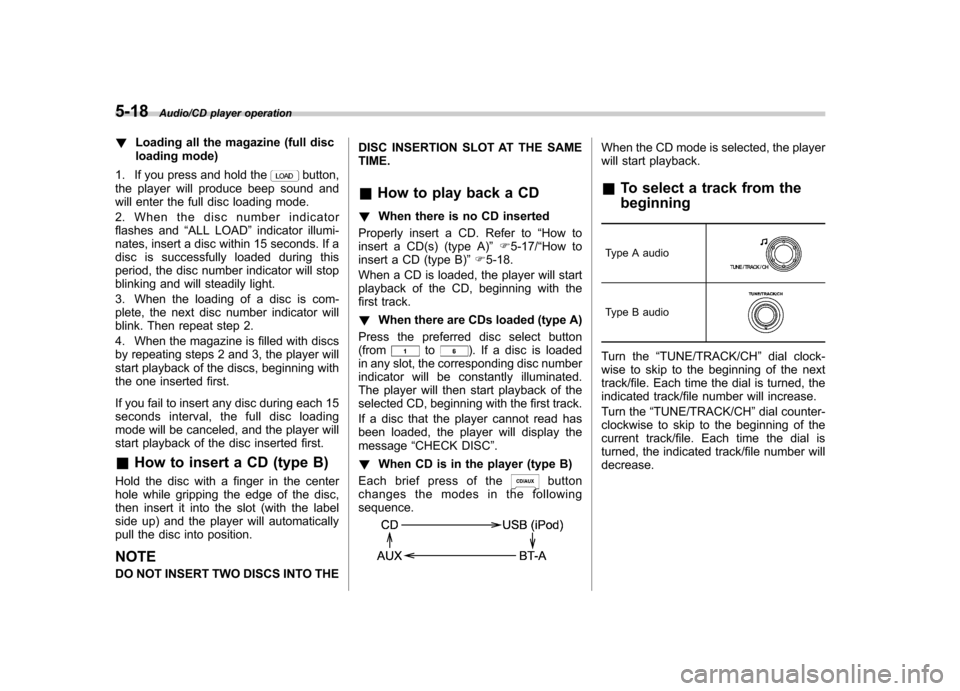
Each brief press of the
button
changes the modes in the following sequence.
When the CD mode is selected, the player
will start playback. & To select a track from the beginning
Type A audio
Type B audio
Turn the “TUNE/TRACK/CH ”dial clock-
wise to skip to the beginning of the next
track/file. Each time the dial is turned, the
indicated track/file number will increase.
Turn the “TUNE/TRACK/CH ”dial counter-
clockwise to skip to the beginning of the
current track/file. Each time the dial is
turned, the indicated track/file number willdecrease.
Page 200 of 414
NOTE
With an MP3, WMA or AAC (type B audio): .Skipping past the last track/file will
take you back to the first track/file in
the folder.. Skipping past the first track/file will
take you to the last track/file in the
folder. & Fast-forwarding and rewind- ing
Type A audio:
Fast-forward
Rewind
Type B audio:
Fast-forward
Rewind
Press and hold the “”button to fast-
forward the track. Release the button to
stop fast-forwarding.
Press and hold the “
”button to rewind
the track. Release the button to stop rewinding. NOTE . If you fast-forward to the end of the
last track, fast-forwarding will stop and
the player will start playback beginning
with the first track. For an MP3, WMA or
AAC (type B audio) folder, the player
will start playback beginning with the
first track of the next folder.. If you rewind to the beginning of the
first track, rewinding will stop and the
player will start playback. For an MP3,
WMA or AAC (type B audio) folder, the
player will start playback beginning
with the first track of the current folder. & Repeating
Type A audio
Type B audio
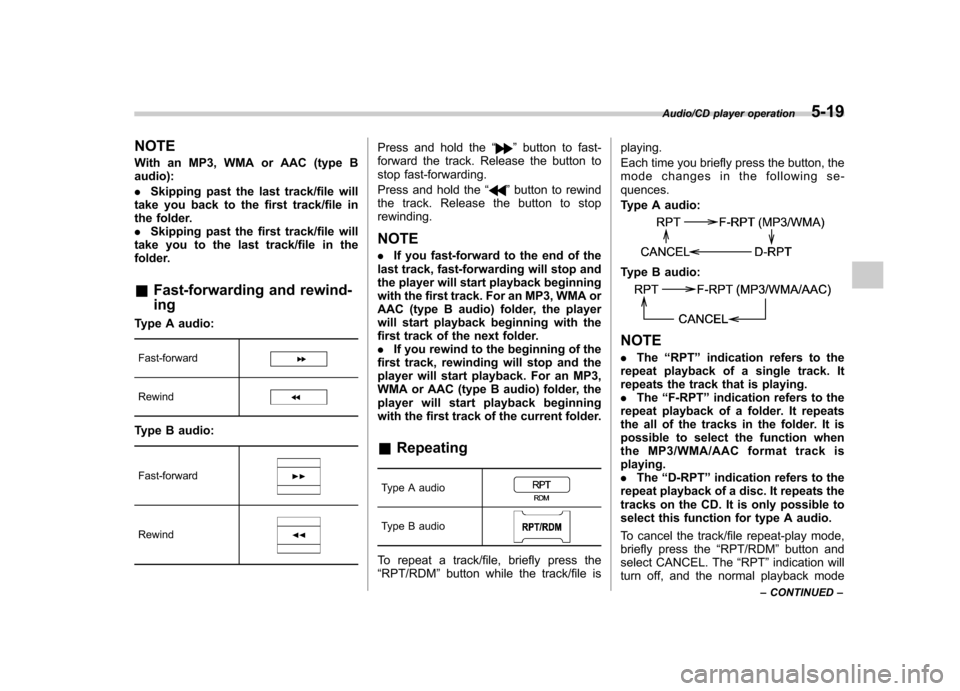
To repeat a track/file, briefly press the “ RPT/RDM ”button while the track/file is playing.
Each time you briefly press the button, the
mode changes in the following se-quences.
Type A audio:
Type B audio:
NOTE .
The “RPT ”indication refers to the
repeat playback of a single track. It
repeats the track that is playing. . The “F-RPT ”indication refers to the
repeat playback of a folder. It repeats
the all of the tracks in the folder. It is
possible to select the function when
the MP3/WMA/AAC format track isplaying.. The “D-RPT ”indication refers to the
repeat playback of a disc. It repeats the
tracks on the CD. It is only possible to
select this function for type A audio.
To cancel the track/file repeat-play mode,
briefly press the “RPT/RDM ”button and
select CANCEL. The “RPT ”indication will
turn off, and the normal playback mode
Audio/CD player operation5-19
– CONTINUED –
Page 253 of 414
7-10Starting and operating/Stopping the engine
Stopping the engine
The ignition switch should be turned off
only when the vehicle is stopped and the
engine is idling.
WARNING
Do not stop the engine when the
vehicle is moving. This will cause
loss of power to the power steering
and the brake booster, making steer-
ing and braking more difficult. It
could also result in accidental acti-
vation of the “LOCK ”position on the
ignition switch, causing the steering
wheel to lock. Remote engine start system
(dealer option)
WARNING
. Do not start the engine using the
remote start system in an en-
closed environment (e.g., in a
closed garage). Prolonged opera-
tion of a motor vehicle in an
enclosed environment can cause
a harmful build-up of Carbon
Monoxide. Carbon Monoxide is
harmful to your health. Exposure
to high levels of Carbon Monox-
ide can cause headaches, dizzi-
ness or in extreme cases uncon-
sciousness and/or death.
. Before performing any servicing
of the vehicle, temporarily place
the remote engine start system in
service mode to prevent the
system from unexpectedly start-
ing the engine.
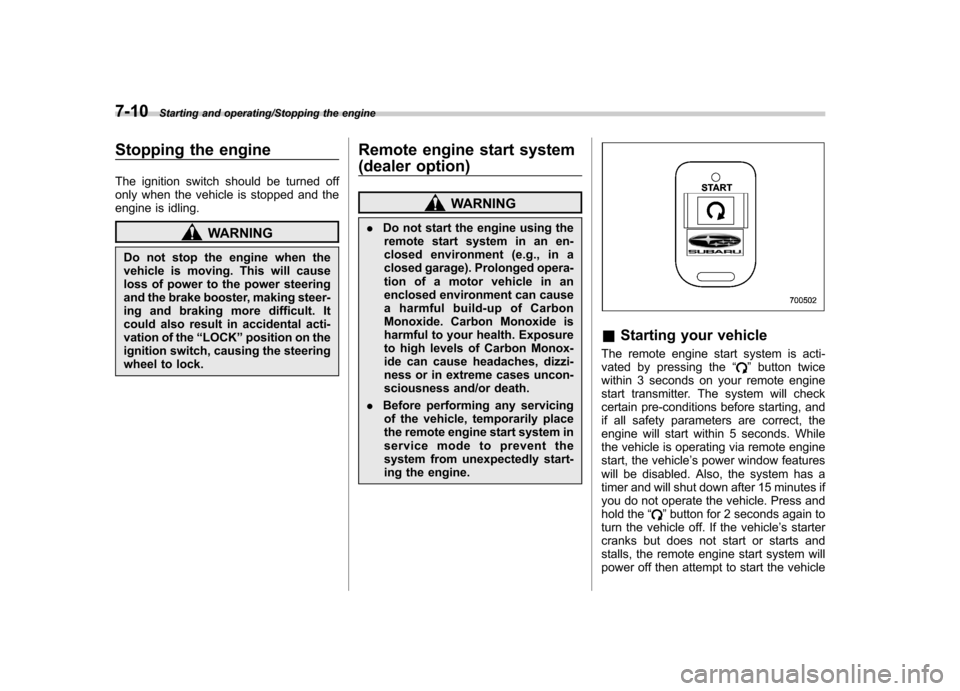
& Starting your vehicle
The remote engine start system is acti-
vated by pressing the “
”button twice
within 3 seconds on your remote engine
start transmitter. The system will check
certain pre-conditions before starting, and
if all safety parameters are correct, the
engine will start within 5 seconds. While
the vehicle is operating via remote engine
start, the vehicle ’s power window features
will be disabled. Also, the system has a
timer and will shut down after 15 minutes if
you do not operate the vehicle. Press and
hold the “
”button for 2 seconds again to
turn the vehicle off. If the vehicle ’s starter
cranks but does not start or starts and
stalls, the remote engine start system will
power off then attempt to start the vehicle
Page 254 of 414
an additional four times. If the vehicle fails
to start after the additional attempts, the
remote engine start system will abort and
return to a non-activated state. &Remote start safety features
For safety and security reasons, the
system will fail to start and beep the horn
twice or shut down the engine during
remote start operation if any of the
following conditions occur. . The brake pedal is depressed before
the vehicle ignition switch is turned “on ”.
. The key was already in the ignition
switch.. The engine hood is opened.
. The vehicle ’s engine idle speed has
reached a level over 3,000 rpm.. The alarm is triggered by opening a
door or the rear gate.
NOTE . The security indicator light on the
combination meter will stop flashing
while under remote engine start opera-
tion, but the vehicle is still protected.. If the vehicle is entered during
remote engine start operation, the
system will not record entry in the
alarm history. &
Entering the vehicle while it
is running via remote start
1. Unlock the vehicle doors using the
remote keyless entry system. If the vehi-cle ’s doors are unlocked manually using
the key, the vehicle ’s alarm system will
trigger and the remote engine start system
will turn off. Inserting the key into the
ignition switch and turning it to the “ON ”
position or pressing the unlock button “
”
on the remote keyless entry transmitter
will disarm the alarm system. Refer to“ Alarm system ”F 2-15.
2. Enter the vehicle. Do not depress the
brake pedal.
3. Insert the key into the ignition switch
and turn to the “ON ”position. If the ignition
switch is accidentally turned to the“ START ”position, the system ’s “starter
anti-grind ”feature will prevent the starter
from re-cranking.
4. Depress the brake pedal. The remote
starter disengages, the vehicle ’s power
window features are re-enabled and the
vehicle will operate normally.
& Entering the vehicle follow-
ing remote engine start shut-down
An alarm trigger may occur if the vehicle is
opened by the remote keyless entry transmitter within a few seconds immedi-
ately following remote engine start shut-down. &
Pre-heating or pre-cooling
the interior of the vehicle
Before exiting the vehicle, set the tem-
perature controls to the desired setting
and operation. After the system starts the
vehicle, the heater or air-conditioning will
activate and heat or cool the interior to
your setting. & Service mode
In service mode, the remote start function
is temporarily disabled to prevent the
system from unexpectedly starting the
engine while being serviced. ! To engage the service mode
Turntheignitionswitchtothe “ON ”
position, depress and hold the brake
pedal, then press and release the “
”
button on the remote engine start trans-
mitter three times. The system will pause
for 1 second and then flash the turn signal
lights and honk the horn three times
indicating that the system is in service
mode. When attempting to activate the
remote start system while in service
mode, the turn signal lights will flash and
the horn will honk two times and will not
Starting and operating/Remote engine start system (dealer option)7-11
– CONTINUED –
Page 282 of 414
&To temporarily cancel the
cruise control
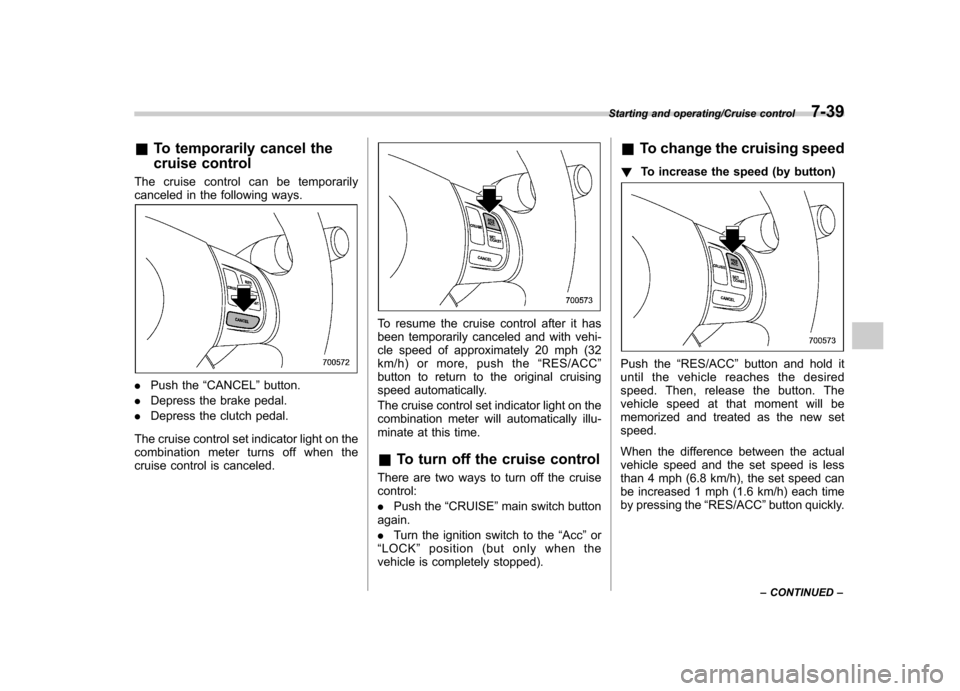
The cruise control can be temporarily
canceled in the following ways.
. Push the “CANCEL ”button.
. Depress the brake pedal.
. Depress the clutch pedal.
The cruise control set indicator light on the
combination meter turns off when the
cruise control is canceled.
To resume the cruise control after it has
been temporarily canceled and with vehi-
cle speed of approximately 20 mph (32
km/h)ormore,pushthe “RES/ACC ”
button to return to the original cruising
speed automatically.
The cruise control set indicator light on the
combination meter will automatically illu-
minate at this time. & To turn off the cruise control
There are two ways to turn off the cruise control: . Push the “CRUISE ”main switch button
again.. Turn the ignition switch to the “Acc ”or
“ LOCK ”position (but only when the
vehicle is completely stopped). &
To change the cruising speed
! To increase the speed (by button)
Push the “RES/ACC ”button and hold it
until the vehicle reaches the desired
speed. Then, release the button. The
vehicle speed at that moment will be
memorized and treated as the new setspeed.
When the difference between the actual
vehicle speed and the set speed is less
than 4 mph (6.8 km/h), the set speed can
be increased 1 mph (1.6 km/h) each time
by pressing the “RES/ACC ”button quickly.
Starting and operating/Cruise control7-39
– CONTINUED –