Page 18 of 240
16
Access
KEY
This locks and unlocks the doors on the
vehicle, opens and closes the fuel filler cap,
as well as starting and stopping the engine.
REMOTE CONTROL BATTERY
Reference: CR 2032/3 volts.
Changing the battery
- Press the button to eject the key.
- Turn the screw 1 from the closed
padlock to the open padlock using a
screwdriver with a thin lip.
- Use the screwdriver as a lever to extract the battery holder housing 2 . - Remove the housing and change the
battery 3 observing the polarities.
- Put the battery holder housing 2 back
inside the key and secure it by turning
the screw 1 .
There is a risk of damage if the
replacement battery is not of the
correct type.
Only use batteries which are identical or of
an equivalent type to those recommended
by a PEUGEOT dealer. Take used batteries
to an authorised collection point.
Page 24 of 240
22
Access
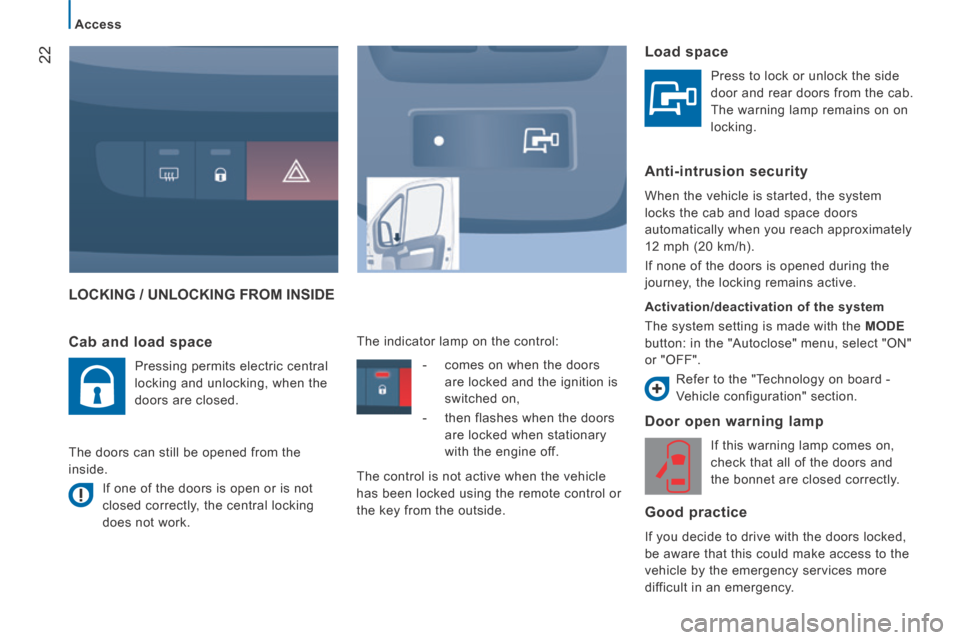
LOCKING / UNLOCKING FROM INSIDE
Door open warning lamp
If this warning lamp comes on,
check that all of the doors and
the bonnet are closed correctly.
Good practice
If you decide to drive with the doors locked,
be aware that this could make access to the
vehicle by the emergency services more
difficult in an emergency.
Cab and load space
Pressing permits electric central
locking and unlocking, when the
doors are closed.
The doors can still be opened from the
inside. If one of the doors is open or is not
closed correctly, the central locking
does not work. The indicator lamp on the control:
Load space
Press to lock or unlock the side
door and rear doors from the cab.
The warning lamp remains on on
locking.
Anti-intrusion security
When the vehicle is started, the system
locks the cab and load space doors
automatically when you reach approximately
12 mph (20 km/h).
If none of the doors is opened during the
journey, the locking remains active.
Activation/deactivation of the system
The system setting is made with the
MODE
button: in the "Autoclose" menu, select "ON"
or "OFF".
Refer to the "Technology on board -
Vehicle configuration" section.
- comes on when the doors
are locked and the ignition is
switched on,
- then flashes when the doors are locked when stationary
with the engine off.
The control is not active when the vehicle
has been locked using the remote control or
the key from the outside.
Page 75 of 240
73
3
EASE OF USE
and
COMFORT
Seats
REAR BENCH SEATS
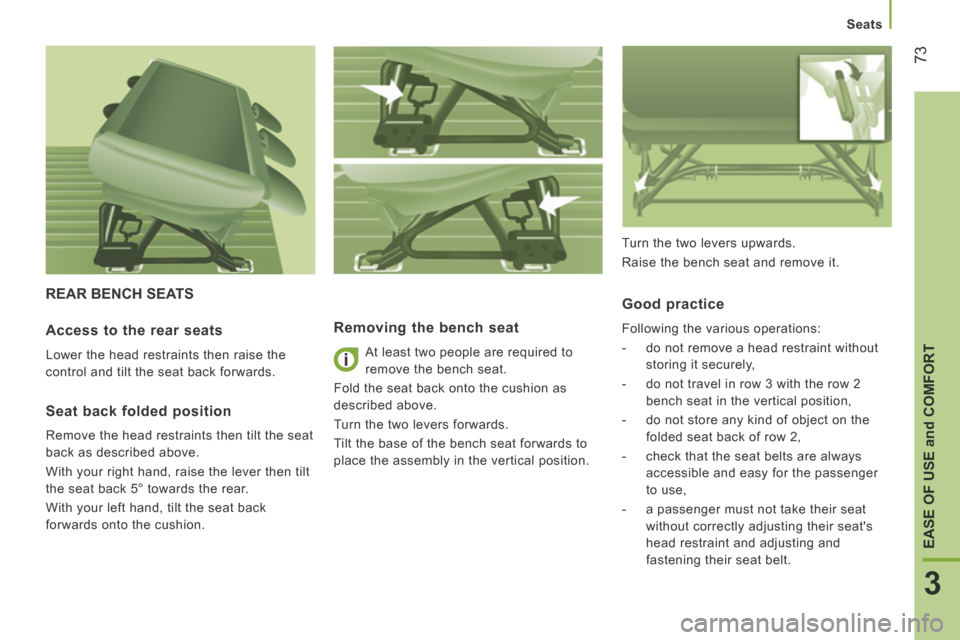
Removing the bench seat
At least two people are required to
remove the bench seat.
Fold the seat back onto the cushion as
described above.
Turn the two levers forwards.
Tilt the base of the bench seat forwards to
place the assembly in the vertical position.
Good practice
Following the various operations:
- do not remove a head restraint without storing it securely,
- do not travel in row 3 with the row 2 bench seat in the vertical position,
- do not store any kind of object on the folded seat back of row 2,
- check that the seat belts are always accessible and easy for the passenger
to use,
- a passenger must not take their seat without correctly adjusting their seat's
head restraint and adjusting and
fastening their seat belt. Access to the rear seats
Lower the head restraints then raise the
control and tilt the seat back forwards.
Seat back folded position
Remove the head restraints then tilt the seat
back as described above.
With your right hand, raise the lever then tilt
the seat back 5° towards the rear.
With your left hand, tilt the seat back
forwards onto the cushion. Turn the two levers upwards.
Raise the bench seat and remove it.
Page 76 of 240
74
Seats
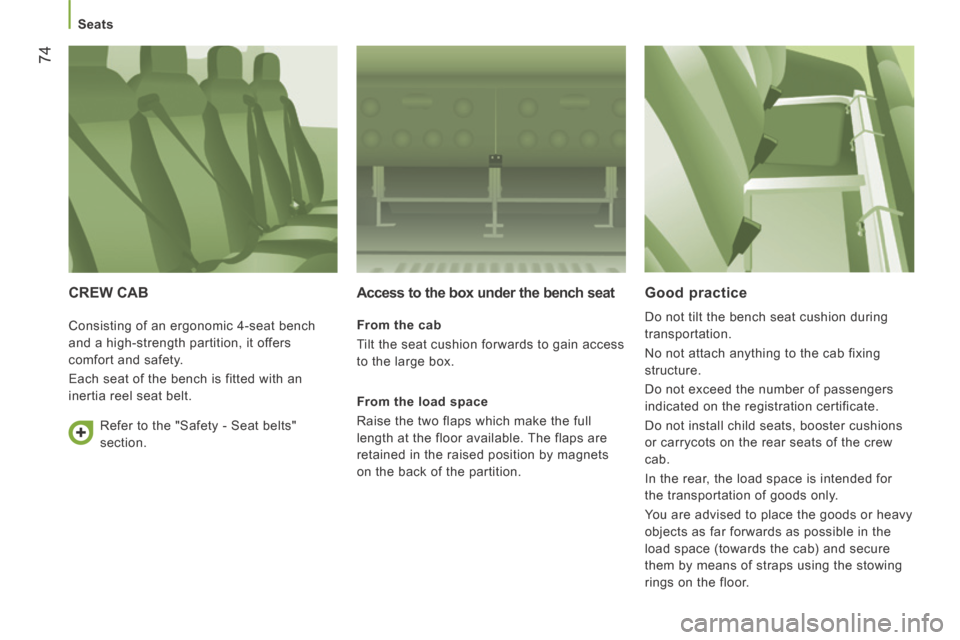
CREW CAB Access to the box under the bench seat
From the cab
Tilt the seat cushion forwards to gain access
to the large box.
From the load space
Raise the two flaps which make the full
length at the floor available. The flaps are
retained in the raised position by magnets
on the back of the partition.
Good practice
Do not tilt the bench seat cushion during
transportation.
No not attach anything to the cab fixing
structure.
Do not exceed the number of passengers
indicated on the registration certificate.
Do not install child seats, booster cushions
or carrycots on the rear seats of the crew
cab.
In the rear, the load space is intended for
the transportation of goods only.
You are advised to place the goods or heavy
objects as far forwards as possible in the
load space (towards the cab) and secure
them by means of straps using the stowing
rings on the floor.
Consisting of an ergonomic 4-seat bench
and a high-strength partition, it offers
comfort and safety.
Each seat of the bench is fitted with an
inertia reel seat belt.
Refer to the "Safety - Seat belts"
section.
Page 78 of 240
76
Practical information
Folding writing table
This is located in the centre of the fascia
panel.
The clip can be used to secure documents,
slips, ...
Pull or push the top of the table to unfold or
fold it.
Fittings/storage compartment in the door pockets Glove box
To insert or remove a CD, you must
first fold the table.
If your vehicle is fitted with a front passenger
airbag, the table cannot be raised.
Page 82 of 240
80
Practical information
LOAD SPACE FITTINGS Support for stowing rail
Supports for securing a stowing rail are
available above the trims, on each side of
the vehicle.
Maximum load: 200 kg.
12 volt socket
When used as a power socket: 180 W max. Lashing rings
Lashing rings are provided on the floor to
secure and make safe your loads: 8 for L1
and L2 length vehicles, 10 for L3 and
L4 length vehicles.
Two additional rings are located on the
partition behind the cab.
Maximum load: 500 kg.
Trims
The lower parts of the sides are fitted with
load protection trims.
As a safety precaution in case of sharp
braking, you are advised to place
heavy objects as far forwards towards the
cab as possible.
Page 83 of 240
81
3
EASE OF USE
and
COMFORT
Practical information
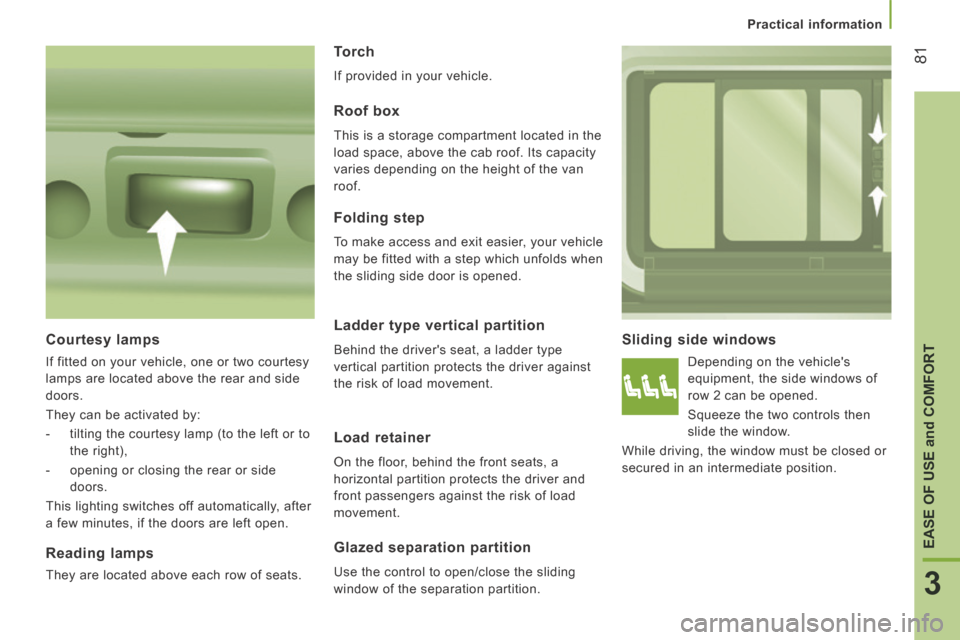
Sliding side windows
Depending on the vehicle's
equipment, the side windows of
row 2 can be opened.
Squeeze the two controls then
slide the window.
While driving, the window must be closed or
secured in an intermediate position.
Folding step
To make access and exit easier, your vehicle
may be fitted with a step which unfolds when
the sliding side door is opened.
Courtesy lamps
If fitted on your vehicle, one or two courtesy
lamps are located above the rear and side
doors.
They can be activated by:
- tilting the courtesy lamp (to the left or to the right),
- opening or closing the rear or side doors.
This lighting switches off automatically, after
a few minutes, if the doors are left open.
Reading lamps
They are located above each row of seats.
Torch
If provided in your vehicle.
Roof box
This is a storage compartment located in the
load space, above the cab roof. Its capacity
varies depending on the height of the van
roof.
Ladder type vertical partition
Behind the driver's seat, a ladder type
vertical partition protects the driver against
the risk of load movement.
Load retainer
On the floor, behind the front seats, a
horizontal partition protects the driver and
front passengers against the risk of load
movement.
Glazed separation partition
Use the control to open/close the sliding
window of the separation partition.
Page 101 of 240
99
5
Driving safely
SAFETY
Reactivation
The ASR system is reactivated automatically
every time the ignition is switched back on.
- Press this button again to reactivate it manually.
Operating fault
If this warning lamp comes on,
accompanied by an audible signal
and a message in the instrument
panel screen, this indicates a fault
with the ASR system.
Have it checked by a PEUGEOT dealer or a
qualified workshop.
Good practice
The DSC and ASR systems offer exceptional
safety in normal driving, but this should not
encourage the driver to take extra risks or
drive at high speed.
The correct operation of these systems
depend on observation of the manufacturer's
recommendations regarding the wheels
(tyres and rims), the braking components,
the electronic components and assembly
and repair procedures.
After an impact, have these systems
checked by a PEUGEOT dealer or a
qualified workshop.
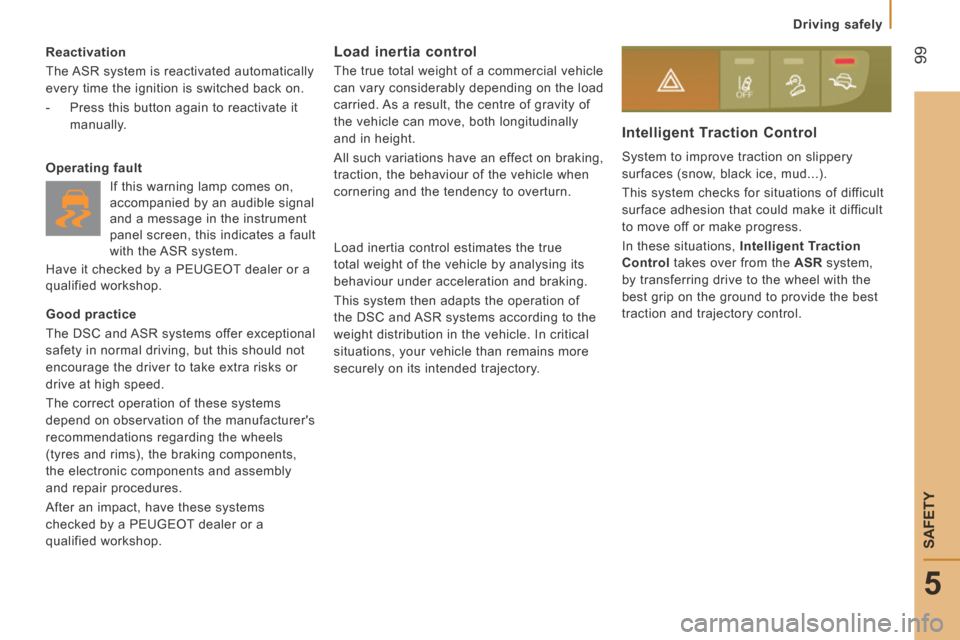
Intelligent Traction Control
System to improve traction on slippery
surfaces (snow, black ice, mud...) .
This system checks for situations of difficult
surface adhesion that could make it difficult
to move off or make progress.
In these situations, Intelligent Traction
Control takes over from the ASR system,
by transferring drive to the wheel with the
best grip on the ground to provide the best
traction and trajectory control.
Load inertia control
The true total weight of a commercial vehicle
can vary considerably depending on the load
carried. As a result, the centre of gravity of
the vehicle can move, both longitudinally
and in height.
All such variations have an effect on braking,
traction, the behaviour of the vehicle when
cornering and the tendency to overturn.
Load inertia control estimates the true
total weight of the vehicle by analysing its
behaviour under acceleration and braking.
This system then adapts the operation of
the DSC and ASR systems according to the
weight distribution in the vehicle. In critical
situations, your vehicle than remains more
securely on its intended trajectory.