Page 76 of 404

Comfort
74
Rigid panel
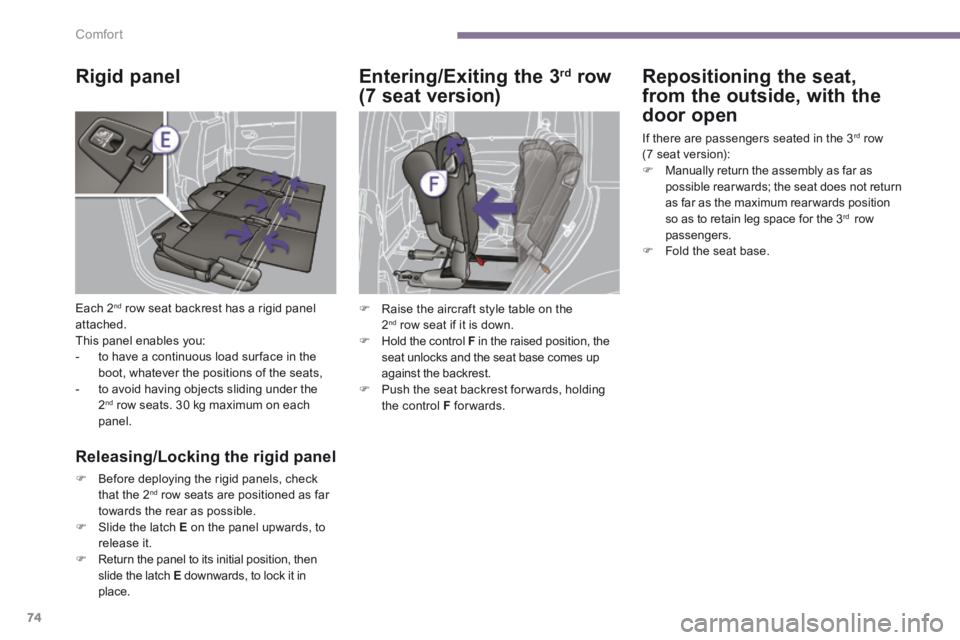
Each 2 nd row seat backrest has a rigid panel attached. This panel enables you: - to have a continuous load sur face in the boot, whatever the positions of the seats, - to avoid having objects sliding under the 2 nd row seats. 30 kg maximum on each panel.
Releasing/Locking the rigid panel
Before deploying the rigid panels, check that the 2 nd row seats are positioned as far towards the rear as possible. Slide the latch E on the panel upwards, to
release it. Return the panel to its initial position, then slide the latch E downwards, to lock it in place.
Entering/Exiting the 3 rd row
(7 seat version)
Repositioning the seat,
from the outside, with the
door open
If there are passengers seated in the 3 rd row (7 seat version): Manually return the assembly as far as possible rear wards; the seat does not return as far as the maximum rear wards position so as to retain leg space for the 3 rd row passengers. Fold the seat base.
Raise the aircraft style table on the 2 nd row seat if it is down. Hold the control F in the raised position, the seat unlocks and the seat base comes up against the backrest. Push the seat backrest for wards, holding the control F forwards.
Page 78 of 404
Comfort
76
Storing a seat
Lower the head restraints. Correctly position the concertina board vertically behind the seat. Pull on the control H , located at the bottom of the seat backrest. The seat is released. Next push the backrest gently for wards. The backrest pivots folding onto the seat base. The seat base then folds into the stowage area provided for that purpose. Reposition the concertina boards over the folded seats.
Before moving the 3 rd row seats, return the rigid panels of the 2 nd row seats to the upright position and lock them in place. Do not try to fold a 3 rd row seat that has
not first had the backrest fully locked in place. Do not leave objects either on or underneath the seat bases of the 3 rd row seats when you are folding them. Do not leave your hand on the control H as you fold the seats, as you risk trapping your fingers.
Page 86 of 404

Access
84
Electronic engine immobiliser
The key contains an electronic chip which has a special code. When the ignition is switched on, this code must be recognised in order for starting to be possible. This electronic engine immobiliser locks the engine management system a few minutes after the ignition is switched off and prevents starting of the engine by anyone who does not have the key.
Anti-theft protection
In the event of a fault, you are informed by illumination of this warning lamp, an audible signal and a message in the screen. In this case, your vehicle will not start; contact a PEUGEOT dealer as soon as possible. Keep safely the label attached to the keys given to you on acquisition of the vehicle.
Starting the vehicle
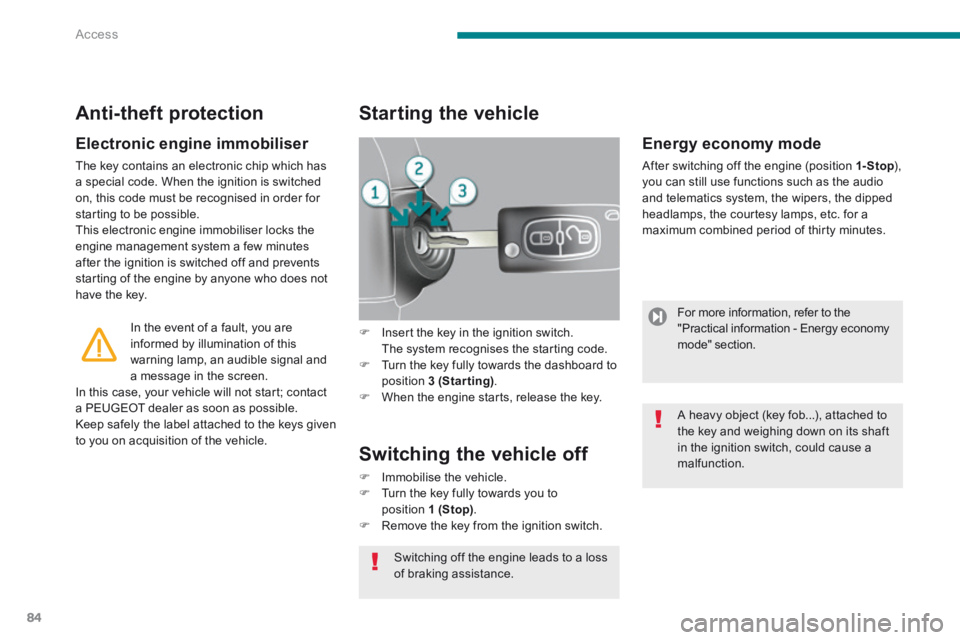
Insert the key in the ignition switch. The system recognises the starting code. Turn the key fully towards the dashboard to position 3 (Starting) . When the engine starts, release the key.
Switching the vehicle off
Immobilise the vehicle. Turn the key fully towards you to position 1 (Stop) . Remove the key from the ignition switch.
Energy economy mode
After switching off the engine (position 1- Stop ), 1- Stop ), 1- Stopyou can still use functions such as the audio and telematics system, the wipers, the dipped headlamps, the courtesy lamps, etc. for a maximum combined period of thirty minutes.
A heavy object (key fob...), attached to
the key and weighing down on its shaft in the ignition switch, could cause a malfunction.
For more information, refer to the "Practical information - Energy economy mode" section.
Switching off the engine leads to a loss of braking assistance.
Page 95 of 404

4
Access93
Emergency control
System allowing the doors to be locked and unlocked manually in the event of a malfunction of the central locking system or battery failure.
Locking the front and rear passenger doors
Locking the driver's door
Insert the key in the door lock, then turn it to the rear. You can also apply the procedure described for the passenger doors.
Unlocking the driver's door
Insert the key in the door lock, then turn it to the front.
Unlocking the front and rear passenger doors
Pull the interior door opening control.
Automatic locking
Above 6 mph (10 km/h), the doors and boot lock automatically. If one of the doors is open, the automatic central locking does not take place. If the boot is open, the automatic central locking of the doors is active.
Deactivation
Press this button again for more than two seconds.
Unlocking
Above 6 mph (10 km/h), press this button to unlock the doors and boot temporarily.
In the event of an impact, the doors unlock automatically.
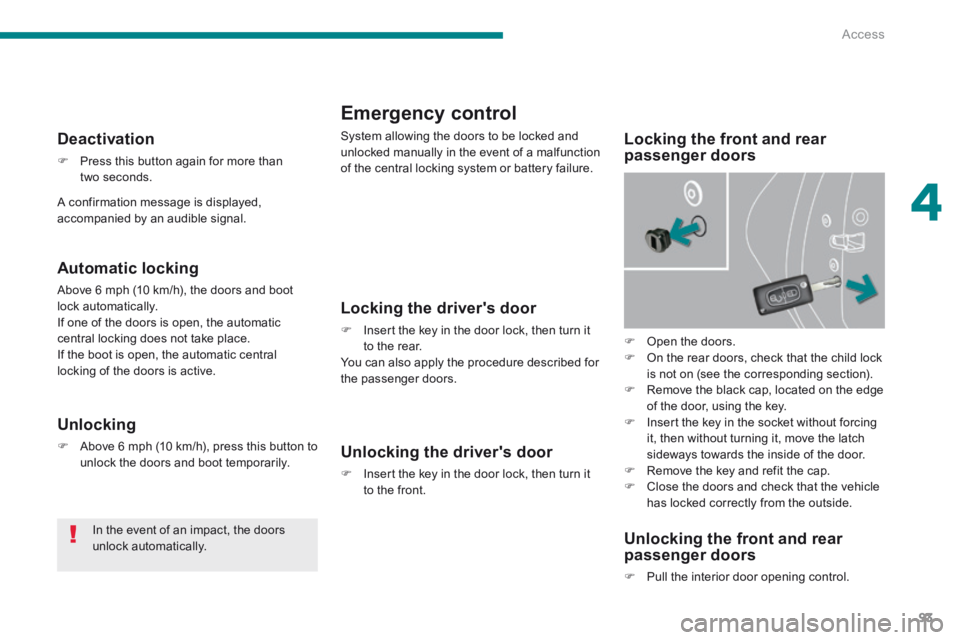
Open the doors. On the rear doors, check that the child lock is not on (see the corresponding section). Remove the black cap, located on the edge of the door, using the key. Insert the key in the socket without forcing it, then without turning it, move the latch sideways towards the inside of the door. Remove the key and refit the cap. Close the doors and check that the vehicle has locked correctly from the outside.
A confirmation message is displayed, accompanied by an audible signal.
Page 98 of 404

Access
96
Fuel tank
Low fuel level Refuelling
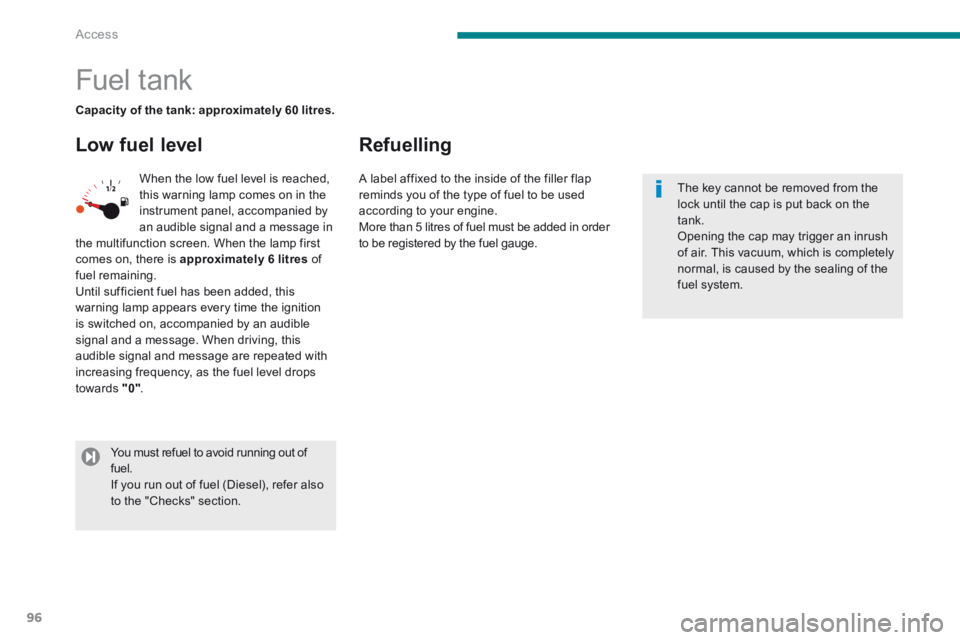
When the low fuel level is reached, this warning lamp comes on in the instrument panel, accompanied by
an audible signal and a message in the multifunction screen. When the lamp first comes on, there is approximately 6 litres of fuel remaining. Until sufficient fuel has been added, this warning lamp appears every time the ignition is switched on, accompanied by an audible signal and a message. When driving, this audible signal and message are repeated with increasing frequency, as the fuel level drops towards "0" .
Capacity of the tank: approximately 60 litres.
The key cannot be removed from the lock until the cap is put back on the tank. Opening the cap may trigger an inrush of air. This vacuum, which is completely normal, is caused by the sealing of the fuel system.
You must refuel to avoid running out of fuel. If you run out of fuel (Diesel), refer also to the "Checks" section.
A label affixed to the inside of the filler flap reminds you of the type of fuel to be used according to your engine.
More than 5 litres of fuel must be added in order to be registered by the fuel gauge.
Page 103 of 404
5
Visibility101
Model without AUTO lighting
Model with AUTO lighting
The lighting is controlled directly by the driver by means of the ring A and the stalk B .
B. Stalk for switching headlamps: pull the stalk towards you to switch the lighting between dipped and main beam headlamps.
In the lamps off and sidelamps modes, the driver can switch on the main beam headlamps temporarily ("headlamp flash") by maintaining a pull on the stalk.
Automatic illumination of headlamps.
Lighting off / daytime running lamps.
Sidelamps.
Dipped headlamps or main beam headlamps.
Displays
Illumination of the corresponding indicator lamp in the instrument panel confirms that the lighting selected is on.
Manual controls
A. Main lighting mode selection ring: turn it to position the symbol required facing the mark.
Page 113 of 404
5
Visibility111
Windscreen wash
Pull the wiper stalk towards you. The windscreen wash then the wipers operate for a set time. The headlamp wash is also activated if the dipped beam headlamps are on .
Screenwash/headlamp wash low level
In the case of vehicles fitted with headlamp washers, when the minimum level of the reservoir is reached, this warning lamp is displayed in the instrument panel, accompanied by an audible signal and a message. The warning lamp is displayed when the ignition is switched on, or every time the stalk is operated, until the reservoir is refilled. Next time you stop, refill the screenwash / headlamp wash reservoir.
Headlamp wash
Press the end of the lighting stalk to activate the headlamp wash, when the dipped beam headlamps are on.
To reduce the consumption of screenwash fluid, the headlamp washers only operate with the first operation of the screenwash.
Page 127 of 404
6
Fittings125
Boot fi ttings (5 seat version)
1. Load space cover
2. Hooks
3. 12 V accessor y socket (120 W)
4. To r c h
5. Concertina boards
6. Stowing rings on the floor
7. Cup holder
8. Storage compartments or audio amplifier
9. Storage compartment under the floor