Page 4 of 404

.
.
Contents
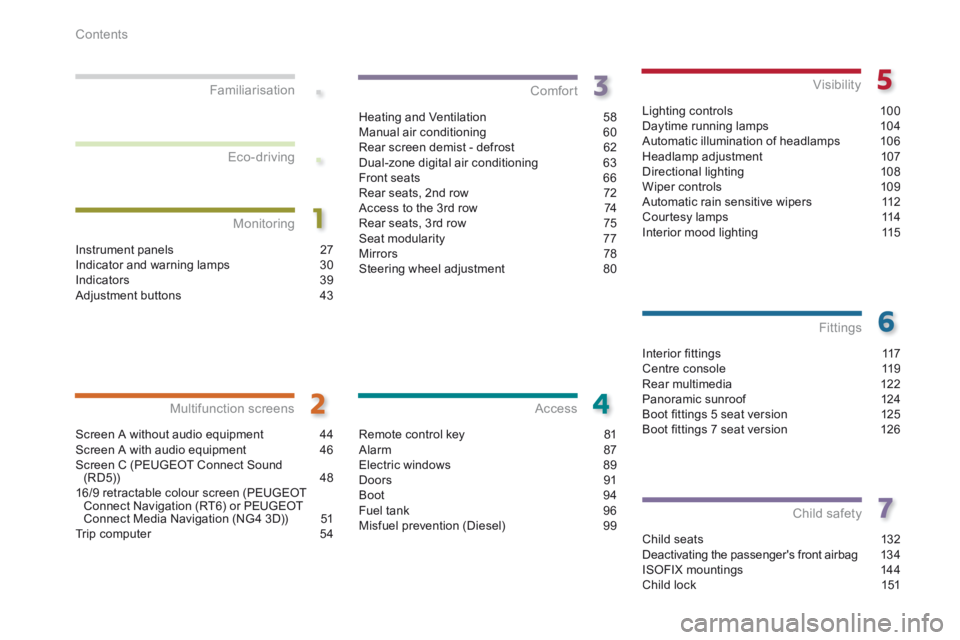
Interior fi ttings 117Centre console 119Rear multimedia 122Panoramic sunroof 124Boot fi ttings 5 seat version 125Boot fi ttings 7 seat version 126
Fittings
Child seats 132Deactivating the passenger's front airbag 13 4ISOFIX mountings 144Child lock 151
Child safety
Instrument panels 27Indicator and warning lamps 30Indicators 39Adjustment buttons 43
Monitoring
Familiarisation
Screen A without audio equipment 44Screen A with audio equipment
46Screen C (PEUGEOT Connect Sound (RD5)) 4816/9 retractable colour screen (PEUGEOT Connect Navigation (RT6) or PEUGEOT Connect Media Navigation (NG4 3D)) 51Trip computer 54
Multifunction screens
Heating and Ventilation 58Manual air conditioning 60Rear screen demist - defrost 62Dual-zone digital air conditioning 63Front seats 66Rear seats, 2nd row 72Access to the 3rd row 74Rear seats, 3rd row 75Seat modularity 77Mirrors 78Steering wheel adjustment 80
Comfort
Remote control key 81Alarm 87Electric windows 89Doors 91Boot 94Fuel tank 96Misfuel prevention (Diesel) 99
Access
Lighting controls 100Daytime running lamps 104Automatic illumination of headlamps 106Headlamp adjustment 107Directional lighting 108Wiper controls 109Automatic rain sensitive wipers 112Courtesy lamps 114Interior mood lighting 115
Visibility
Eco-driving
Page 14 of 404
68, 69
80
119, 122
Familiarisation
12
Sitting comfortably
Front seats
Head restraint height and angle
Lumbar
Steering wheel adjustment
1. Releasing the adjustment mechanism. 2. Adjustment of height and reach. 3. Locking the adjustment mechanism.
As a safety precaution, these operations must only be carried out when stationary.
Centre console
This has a large storage area (with recesses for 2 bottles, ...) for the front passengers and, according to version, a multimedia system for the rear passengers.
Page 20 of 404
73
74
74
Familiarisation
18
Arranging your seats
Rigid panel
Putting the seats back in place
Raise the seat back and push it rear wards until it locks.
From the boot
Pull the strap B to release the seat and push the seat back for wards gently.
Folding the seats in
the 2nd row
Pull the strap A upwards firmly to release the seat and continue to pull until the seat is fully folded.
Access to
the 3rd row seats
Close the aircraft style tables on the 2 nd row seats if they are open. Hold the control D up, the seat is released and the seat base rises to the seat back. Push the seat back for wards, holding the control D forwards.
7 seat version
After folding the seats, slide the catch C .
Page 21 of 404
.
75, 127
75, 127
Familiarisation19
Arranging your seats (7 seat version)
Pull the strap E and guide the seat until the assembly locks. Fold the concertina boards forwards.
Lower the head restraints and place the concertina board in the vertical position behind the seat. While pulling the strap F , push the seat F , push the seat Fback for wards gently. Remove the load space screen from its storage compartment and position it behind the 2 nd row seats.
Place the rigid panels of the 2 nd row seats upright and lock them then fold the concertina boards rearwards. Remove the load space cover and store it in its housing.
Changing from 7 to 5 seats Changing from 5 to 7 seats
Page 28 of 404

Familiarisation
26
Limit the causes of excess
consumption
Spread loads throughout the vehicle; place the heaviest items in the bottom of the boot, as close as possible to the rear seats. Limit the loads carried in the vehicle and reduce wind resistance (roof bars, roof rack, bicycle carrier, trailer...). Use a roof box in preference. Remove roof bars and roof racks after use.
At the end of winter, remove snow tyres and refit your summer tyres.
Observe the recommendations on maintenance
Check the tyre pressures regularly, when cold, referring to the label in the door aperture, driver's side.
Have your vehicle serviced regularly (engine oil, oil filter, air filter...) and observe the schedule of operations recommended by the manufacturer.
Carry out this check in particular: - before a long journey, - at each change of season, - after a long period out of use. Don't forget the spare wheel and the tyres on any trailer or caravan.
When refuelling, do not continue after the third cut-off of the nozzle to avoid any over flow.
At the wheel of your new vehicle, it is only after the first 1 800 miles (3 000 kilometres) that you will see the fuel consumption settle down to a consistent average.
Page 68 of 404
Comfort
66
Front seats with manual adjustments
Height
Pull the control upwards to raise or push it downwards to lower, as many times as required, to obtain the position required.
Seat back angle
Push the control rear wards.
Forwards-backwards
Raise the control and slide the seat for wards or backwards.
Seat consisting of a seat cushion, a seat back and a head restraint which can all be adjusted to adapt your position for ease of driving and comfort.
Before moving the seat backwards, ensure that there is nothing that might prevent the full travel of the seat, so as to avoid the risk of of jamming the seat caused by the presence of objects on the floor behind the seat or rear passengers. If the seat jams, stop the movement immediately.
Page 71 of 404
3
Comfort69
Heated seats control
With the engine running, the front seats can be heated separately. Use the adjustment dial, placed on the side of each front seat, to switch on and select the level of heating required:
0: Off. 1 : Low. 2 : Medium. 3 : High.
Manual lumbar adjustment
Turn the knob manually to obtain the desired level of lumbar support.
Page 72 of 404
Comfort
70
Table position, front passenger seat
This position, associated with that of the rear seats, allows you to transport long objects inside the vehicle. The maximum weight on the seat is 30 kg.
Folding the seat backrest
Raise the armrest and fold up the "aircraft" style table, fixed on the back of the seat. Check that no object, either on or underneath the seat, could hinder its movement. To make the operation easier, place the head restraint in the low position (if the seat is in the fully for ward position). If your vehicle is fitted with the video pack, place the protective cover on the head restraint. Lift the control, located behind the seat, then guide the seat back for wards.
Returning the seat to the normal position
Guide the seat backrest rear wards until it locks in place.
When the seat backrest is in this position, only the 2 nd row passenger seat located behind the driver can be used.