2014 NISSAN MAXIMA climate settings
[x] Cancel search: climate settingsPage 6 of 24

4
ESSE NTIAL I N FOR MATION
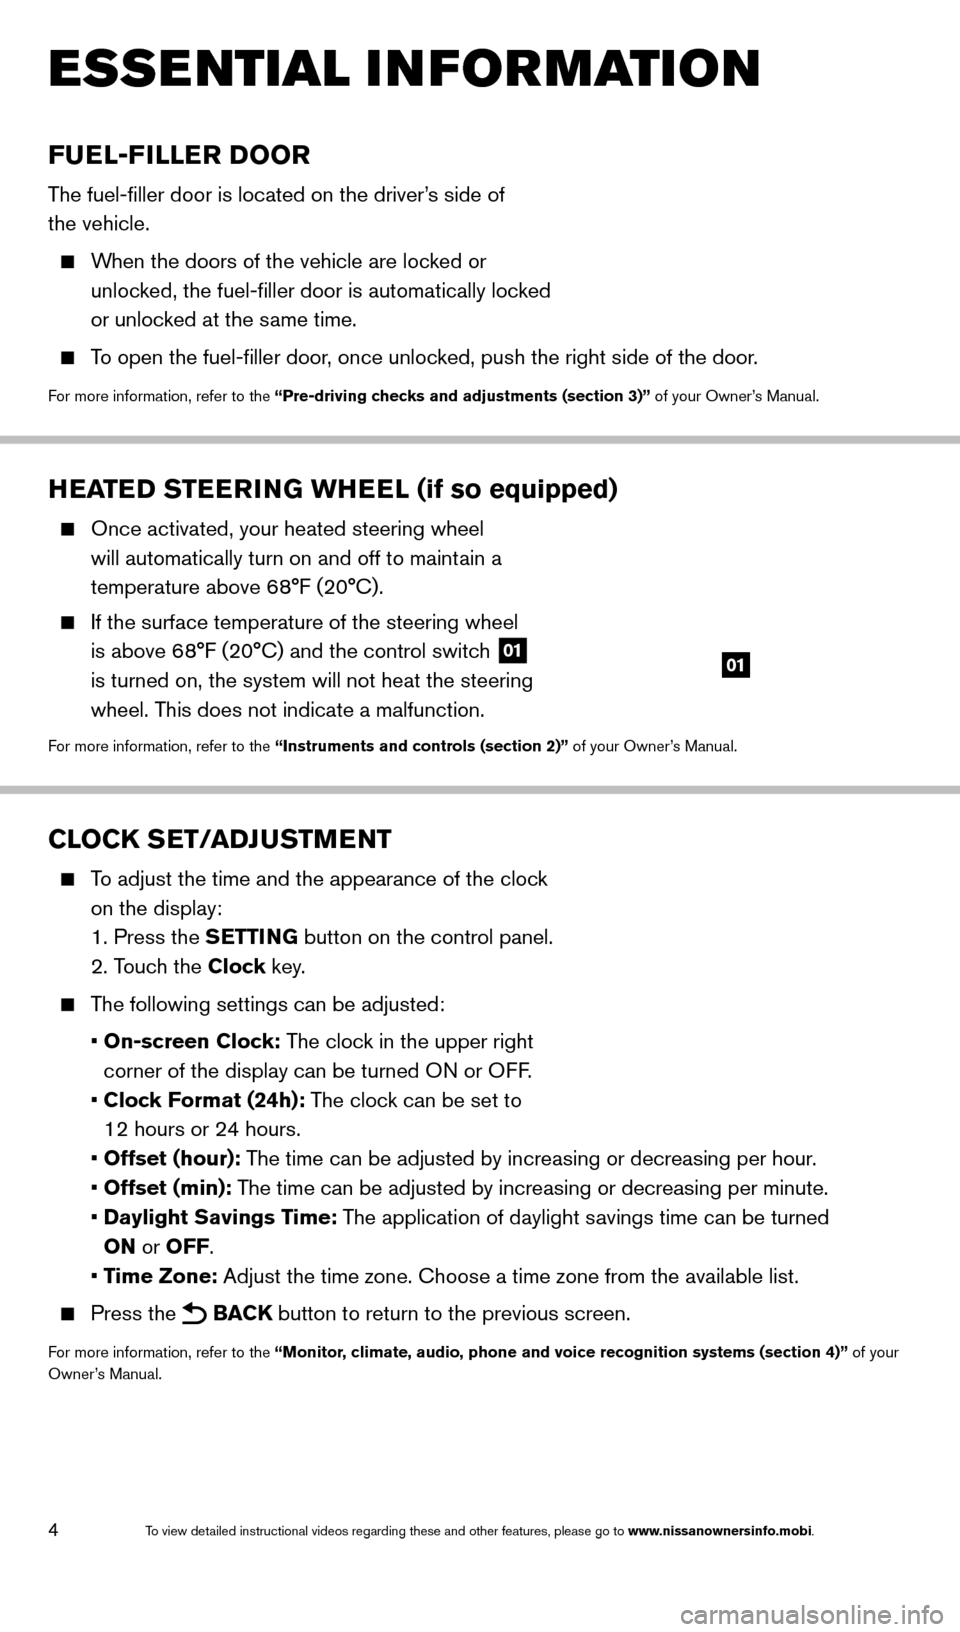
HEATED STEERING WHEEL (if so equipped)
Once activated, your heated steering wheel
will automatically turn on and off to maintain a
temperature above 68°F (20°C).
If the surface temperature of the steering wheel
is above 6 8°F (20°C) and the control switch
01
is turned on, the system will not heat the steering
wheel. This does not indicate a malfunction.
For more information, refer to the “Instruments and controls (section 2)” of your Owner’s Manual.
01
CLOCK SET/ADJUSTMENT
To adjust the time and the appearance of the clock
on the display:
1. Press the SETTING button on the control panel.
2. Touch the Clock key.
The following settings can be adjusted:
•
On-screen Clock: The clock in the upper right
corner of the display can be turned ON or OFF.
•
Clock Format (24h): The clock can be set to
12 hours or 24 hours.
•
Offset (hour): The time can be adjusted by increasing or decreasing per hour.
•
Offset (min): The time can be adjusted by increasing or decreasing per minute.
•
Daylight Savings Time: The application of daylight savings time can be turned
ON or OFF.
•
Time Zone: Adjust the time zone. Choose a time zone from the available list.
Press the BACK button to return to the previous screen.
For more information, refer to the “Monitor, climate, audio, phone and voice recognition systems (section 4)” of your
Owner’s Manual.
FUEL-FILLER DOOR
The fuel-filler door is located on the driver’s side of
the vehicle.
When the doors of the vehicle are locked or
unlocked, the fuel-filler door is automatically locked
or unlocked at the same time.
To open the fuel-filler door, once unlocked, push the right side of the door.
For more information, refer to the “Pre-driving checks and adjustments (section 3)” of your Owner’s Manual.
1655343_14b_Maxima_QRG_012914.indd 41/29/14 4:00 PM
To view detailed instructional videos regarding these and other features, please go\
to www.nissanownersinfo.mobi.
Page 12 of 24

10
FIRST DRIVE FEATURES
02 DUAL BUTTON/PASSENGER’S SIDE TEMPERATURE CONTROL DIAL
Press the
D UAL button to turn the passenger’s side temperature controls on or off. This
will allow the passenger’s side temperature to be adjusted independently from the
driver’s side by turning the passenger’s side temperature control dial.
Turn the passenger’s side temperature control dial left for cooler air or right for warmer \
air.
03 ON•OFF B UTTON/FAN SPEED CONTROL KNOB
Turn the fan speed control knob left to decrease fan speed or right to in\
crease fan speed.
Press the button to turn the system on or off.
04 MODE BUTTON
Press the MODE button
to cycle through the following air flow outlets:
Air flows from the center and side vents.
Air flows from the center, side and foot vents.
Air flows mainly from the foot vents.
Air flows from the defroster and foot vents.
05 AIR RECIRCULATION BUTTON
Press the air recirculation button to recirculate interior air inside the vehicle. The
indicator light on the button will come on. T his system is used to avoid certain outside
odors and helps to adjust the inside vehicle temperature more effectivel\
y
.
The air recirculation mode cannot be activated when the climate control s\
ystem is in the front defrosting mode
or the front defrosting and foot vent mode
.
06 FRESH AIR INTAKE BUTTON
Press the fresh air intake button
to draw outside air into the passenger
compartment. The indicator light on the button will illuminate.
07 DEFROSTING/DEFOGGING FRONT AND SIDE WINDOWS
Press the defroster control button to turn the system on. The A/C automatically turns
on when the defroster mode is selected. This feature removes humidity from the air.
Turn the temperature control dial 01 to set the desired temperature.
To defrost the front and side windows, set the temperature control 01 and fan speed
control 03 to their maximum settings.
08 DEFROSTING REAR WINDOW AND OUTSIDE MIRRORS (if so equipped)
Press the rear window defroster switc
h
REAR to turn the system on or off.
This function automatically turns off after approximately 15 minutes.
09 A/C BUTTON
Press the
A/C button to turn the air conditioner system on or off. This system helps
cool and dehumidify the air inside the cabin and defog the windows.
For more information, refer to the “Instruments and controls (section 2)” and the “Monitor, climate, audio, phone and
voice recognition systems (section 4)” of your Owner’s Manual.
1655343_14b_Maxima_QRG_012914.indd 101/29/14 4:00 PM
To view detailed instructional videos regarding these and other features, please go\
to www.nissanownersinfo.mobi.
Page 13 of 24

11
FM/AM/SiriusXM®* SATELLITE RADIO WITH CD/DVD PLAYER
(if so equipped)
01 ON•OFF B UTTON/VOL (volume) CONTROL DIAL
Press the
ON•OFF button to turn the system on or off.
Turn the VOL control dial right or left to increase or decrease the volume.
02 SEEK/CAT AND TRACK BUTTONS
To scan quickly through each broadcasting station, press the SEEK/CAT
button or
the TRACK
button to stop at the previous or next broadcast station.
For satellite radio, to switch to the first channel of the previous or next category, press the
SEEK/CAT button or the TRACK button.
To change tracks on a CD, press the SEEK/CAT button or the TRACK button.
To fast forward or rewind a track on a CD, press and hold the SEEK/CAT button or
the TRACK
button.
03 A UDIO BUTTON/TUNE/FOLDER CONTROL DIAL
Press the
AUDIO button to go to the audio settings screen.
To manually tune the radio, turn the TUNE/FOLDER control dial left or right.
04 STATION PRESET BUTTONS
Twelve stations can be set for the FM band, six for the AM band and eighteen for
satellite radio.
To store a station in a preset, you must first select a radio band by pressing the \
FM•AM button
05 or S AT
button
06, then tune to the desired FM, AM or XM satellite
radio station.
Then press and hold the desired station preset button (1-6) until the preset number is updated on the display and the sound is briefly muted. The channel indicator will then
come on and the sound will resume. Programing is now complete.
To retrieve a previously set station, select the radio band where the preset was stored, then press the corresponding station select button (1-6).
*SiriusXM® Satellite Radio is only available on vehicles equipped with an optional s\
atellite radio subscription service.
For more information, refer to the “Monitor, climate, audio, phone and voice recognition systems (section 4)” of your
Owner’s Manual.
01
0506
02
03
04
1655343_14b_Maxima_QRG_012914.indd 111/29/14 4:00 PM
To view detailed instructional videos regarding these and other features, please go\
to www.nissanownersinfo.mobi.
Page 21 of 24

19
08 Multi-function Controller
•
E
NTER – Press to select the highlighted item on the screen. If this button\
is pressed
while a map is displayed, the map menu screen is displayed.
•
Main directional buttons – Press to move across the map, highlight an\
item on the
screen or adjust a setting.
•
Additional directional buttons – Press to move across the map or high\
light an item on the
c
haracter input screen.
•
Center dial – T
urn the dial to highlight an item on the screen, adjust a setting or adj\
ust
the map scale.
09 Z OOM IN – Press to zoom the map in.
10 MAP – Press to display the map. While following a programed route, press multiple
times to change the type of route information.
11 S ETTING – Press to access the system settings.
12 BACK
– Press to return to the previous screen. In a settings screen, this\
button can
also be used to apply the setting. In a character input screen, this button can also delete
the characters that have been entered.
13 V OICE – Press to hear the current voice guidance for a programed route.
For more information, please refer to your Navigation System Owner’s Manual.
DVD PLAYER (if so equipped)
With this DVD player, you can play video files via a
DVD or CD, providing images and sound from the
front display.
You can also connect auxiliary devices, suc h as
video games, camcorders or portable video players,
to the auxiliary jacks. (Your device will be controlled
through its own control panel.)
To view movies on the front display, stop the vehicle
in a safe location, move the shift lever to the
P (PARK) position and apply the parking brake.
To reduce driver distraction, movies will not be
shown on the front display while the vehicle is in
any drive position.
For more information, refer to the “Monitor, climate, audio, phone and voice recognition systems (section 4)” of your
Owner’s Manual.
1655343_14b_Maxima_QRG_012914.indd 191/29/14 4:00 PM
To view detailed instructional videos regarding these and other features, please go\
to www.nissanownersinfo.mobi.