2014 NISSAN MAXIMA ESP
[x] Cancel search: ESPPage 7 of 24

5
NISSAN INTELLIGENT KEY® SYSTE M
The NISSAN Intelligent Key® system allows you to lock
or unlock the vehicle, open the trunk and start the engine.
It is important to make sure the Intelligent Key is with you
(that is, in your pocket or purse).
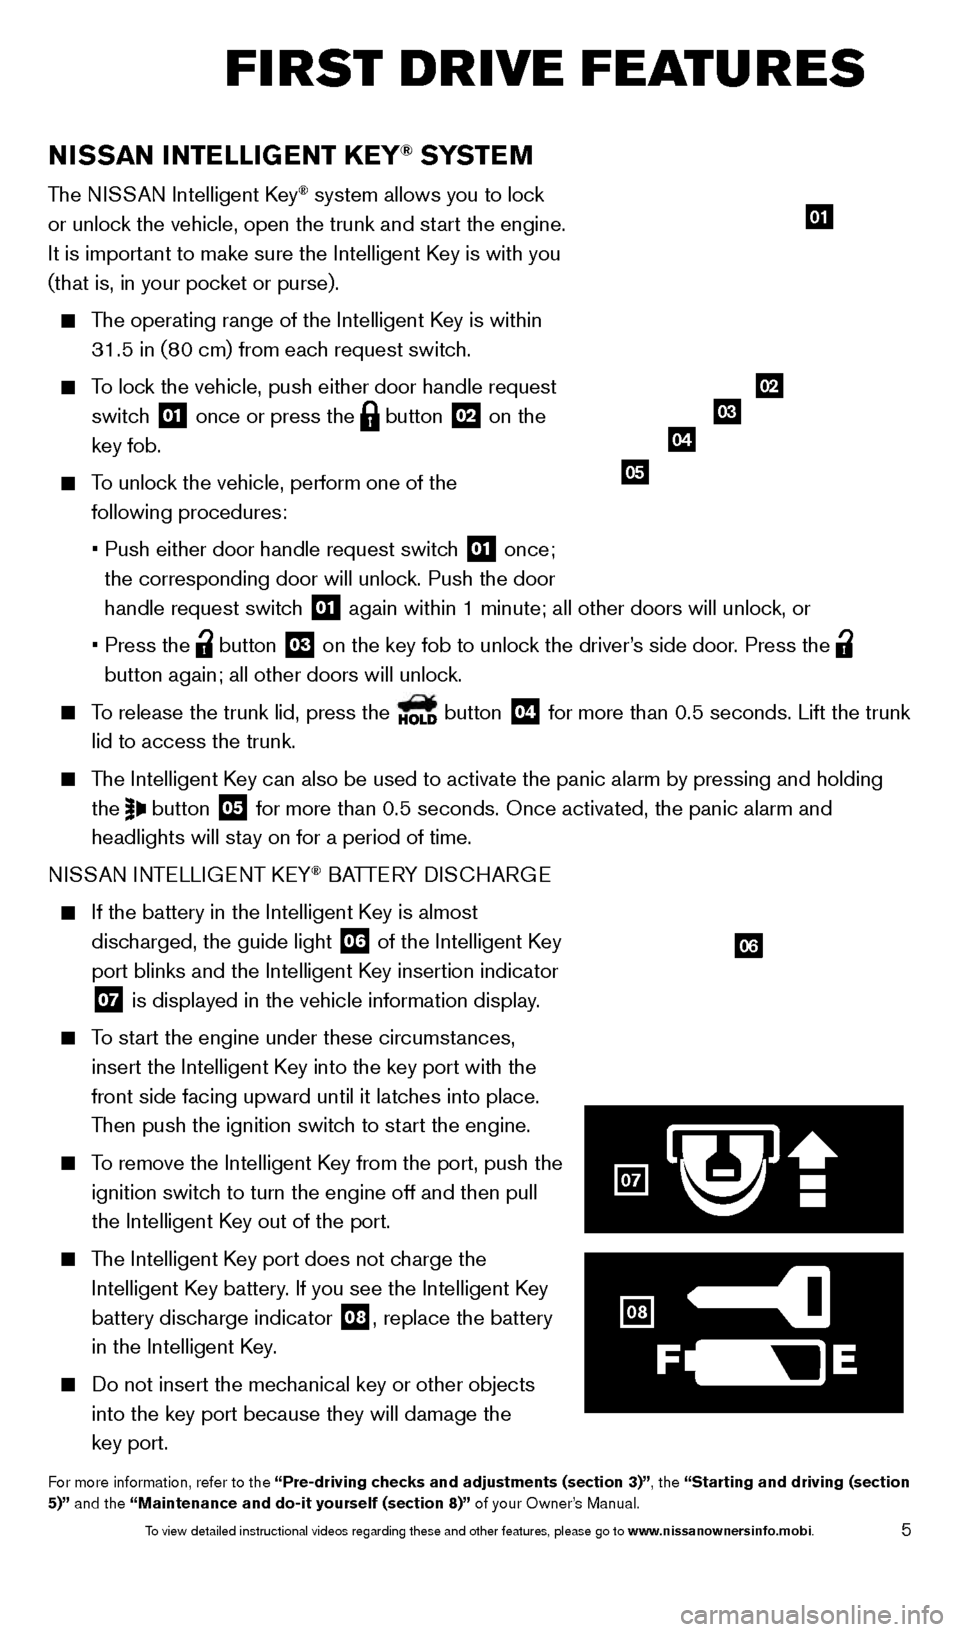
The operating range of the Intelligent Key is within 31.5 in (80 cm) from each request switch.
To lock the vehicle, push either door handle request switch
01 once or press the
button
02 on the
key fob.
To unlock the vehicle, perform one of the following procedures:
•
Push either door handle request switc
h
01 once;
the corresponding door will unlock. Push the door
handle request switch
01 again within 1 minute; all other doors will unlock, or
•
Press the button
03 on the key fob to unlock the driver’s side door. Press the
button again; all other doors will unlock.
To release the trunk lid, press the button
04 for more than 0.5 seconds. Lift the trunk
lid to access the trunk.
The Intelligent Key can also be used to activate the panic alarm by pressing and holding \
the
button
05 for more than 0.5 seconds. Once activated, the panic alarm and
headlights will stay on for a period of time.
NISSAN INTELLIGENT KEY
® BATTERY DISCHARGE
If the battery in the Intelligent K ey is almost
discharged, the guide light
06 of the Intelligent Key
port blinks and the Intelligent Key insertion indicator
07 is displayed in the vehicle information display.
To start the engine under these circumstances,
insert the Intelligent Key into the key port with the
front side facing upward until it latches into place.
Then push the ignition switch to start the engine.
To remove the Intelligent Key from the port, push the ignition switch to turn the engine off and then pull
the Intelligent Key out of the port.
The Intelligent Key port does not charge the Intelligent Key battery. If you see the Intelligent Key
battery discharge indicator
08, replace the battery
in the Intelligent Key.
Do not insert the mec hanical key or other objects
into the key port because they will damage the
key port.
For more information, refer to the “Pre-driving checks and adjustments (section 3)”, the “Starting and driving (section
5)” and the “Maintenance and do-it yourself (section 8)” of your Owner’s Manual.
01
0203
04
05
06
07
FIRST DRIVE FEATURES
08
1655343_14b_Maxima_QRG_012914.indd 51/29/14 4:00 PM
To view detailed instructional videos regarding these and other features, please go\
to www.nissanownersinfo.mobi.
Page 13 of 24

11
FM/AM/SiriusXM®* SATELLITE RADIO WITH CD/DVD PLAYER
(if so equipped)
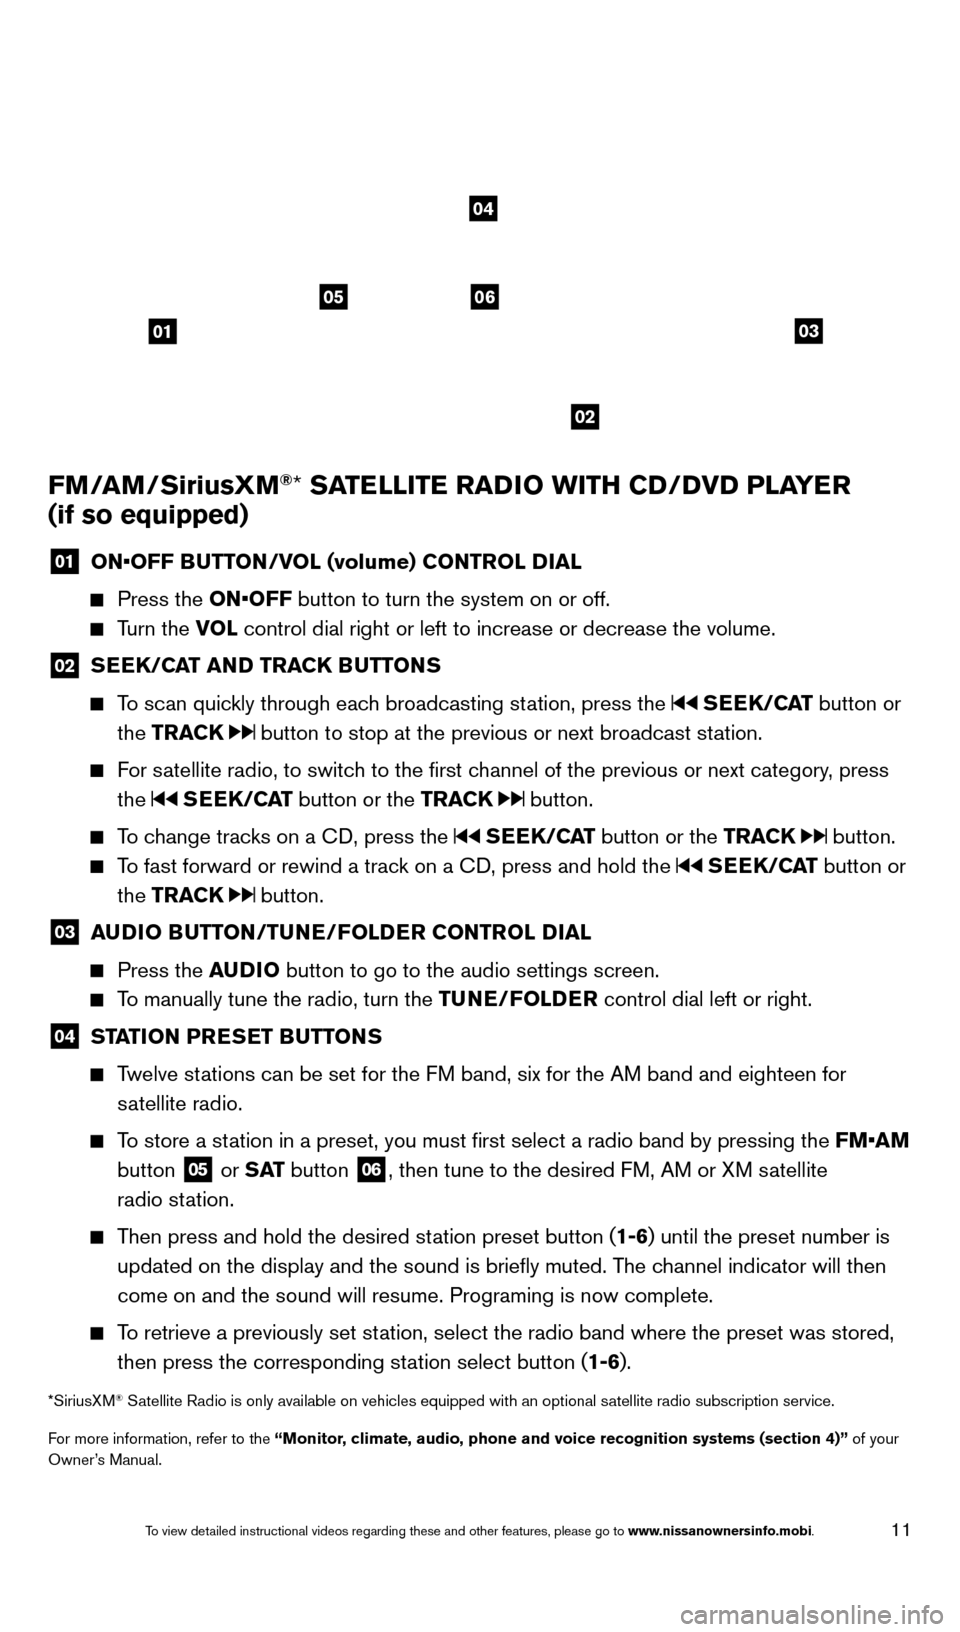
01 ON•OFF B UTTON/VOL (volume) CONTROL DIAL
Press the
ON•OFF button to turn the system on or off.
Turn the VOL control dial right or left to increase or decrease the volume.
02 SEEK/CAT AND TRACK BUTTONS
To scan quickly through each broadcasting station, press the SEEK/CAT
button or
the TRACK
button to stop at the previous or next broadcast station.
For satellite radio, to switch to the first channel of the previous or next category, press the
SEEK/CAT button or the TRACK button.
To change tracks on a CD, press the SEEK/CAT button or the TRACK button.
To fast forward or rewind a track on a CD, press and hold the SEEK/CAT button or
the TRACK
button.
03 A UDIO BUTTON/TUNE/FOLDER CONTROL DIAL
Press the
AUDIO button to go to the audio settings screen.
To manually tune the radio, turn the TUNE/FOLDER control dial left or right.
04 STATION PRESET BUTTONS
Twelve stations can be set for the FM band, six for the AM band and eighteen for
satellite radio.
To store a station in a preset, you must first select a radio band by pressing the \
FM•AM button
05 or S AT
button
06, then tune to the desired FM, AM or XM satellite
radio station.
Then press and hold the desired station preset button (1-6) until the preset number is updated on the display and the sound is briefly muted. The channel indicator will then
come on and the sound will resume. Programing is now complete.
To retrieve a previously set station, select the radio band where the preset was stored, then press the corresponding station select button (1-6).
*SiriusXM® Satellite Radio is only available on vehicles equipped with an optional s\
atellite radio subscription service.
For more information, refer to the “Monitor, climate, audio, phone and voice recognition systems (section 4)” of your
Owner’s Manual.
01
0506
02
03
04
1655343_14b_Maxima_QRG_012914.indd 111/29/14 4:00 PM
To view detailed instructional videos regarding these and other features, please go\
to www.nissanownersinfo.mobi.
Page 15 of 24

13
VEHICLE INFORMATION DISPLAY
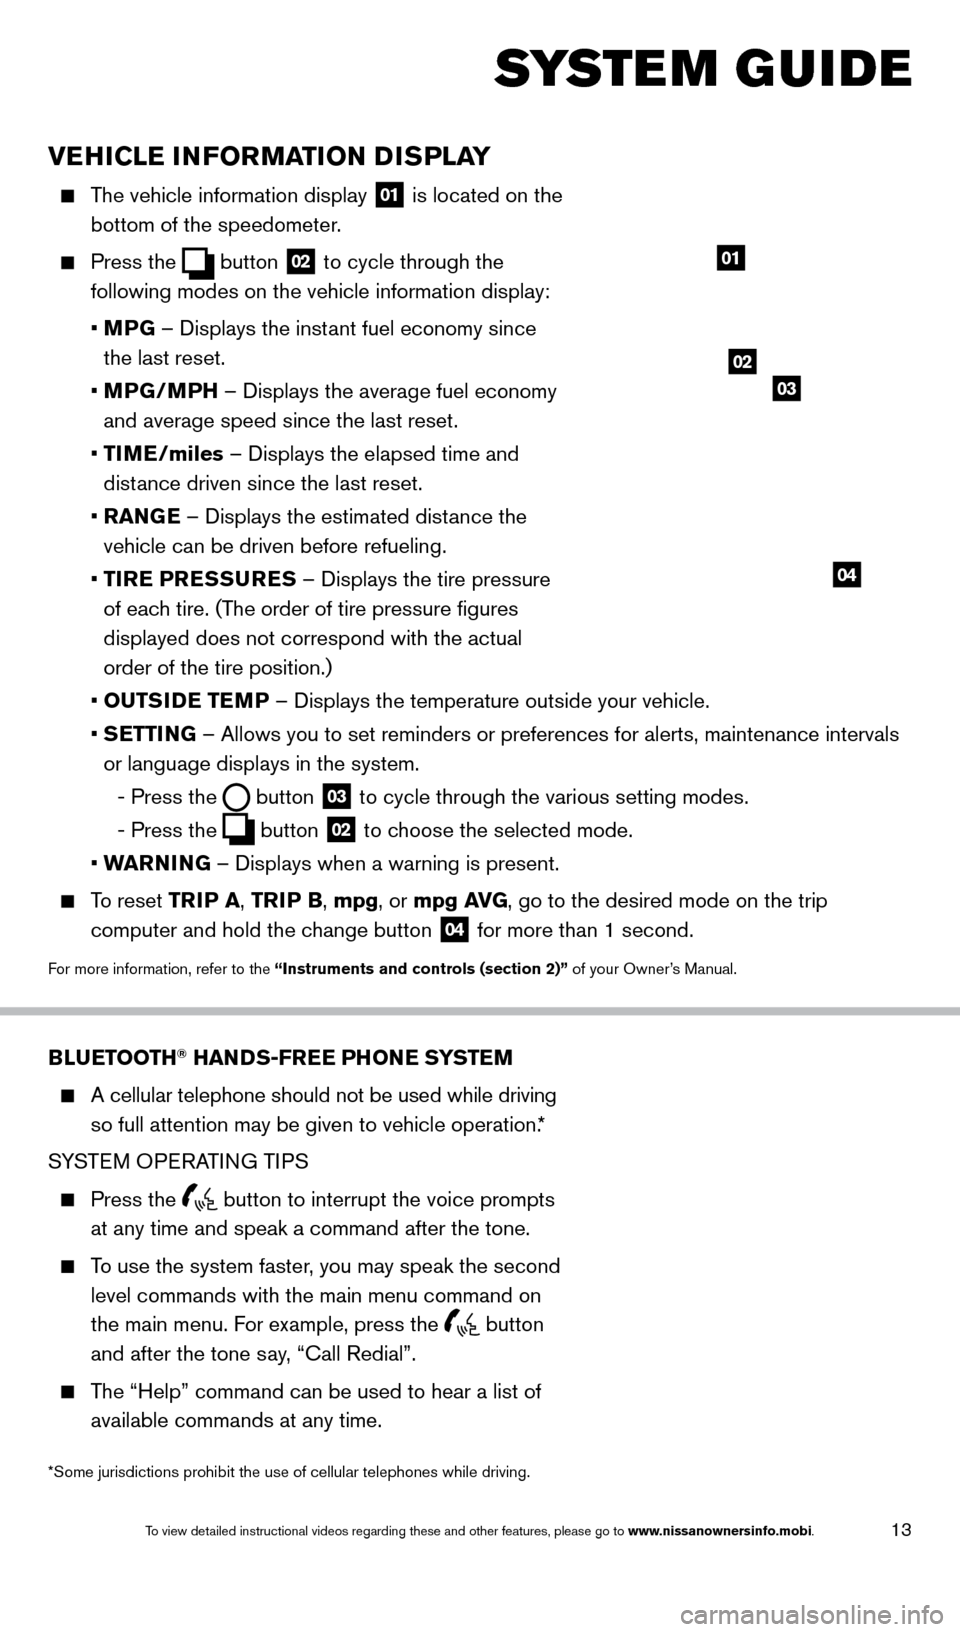
The vehicle information display 01 is located on the
bottom of the speedometer.
Press the button
02 to cycle through the
following modes on the vehicle information display:
•
M
PG – Displays the instant fuel economy since
the last reset.
•
MP
G/MPH – Displays the average fuel economy
and average speed since the last reset.
•
TI
ME/miles – Displays the elapsed time and
distance driven since the last reset.
•
RAN
GE – Displays the estimated distance the
vehicle can be driven before refueling.
•
T
IRE PRESSURES – Displays the tire pressure
of each tire. (The order of tire pressure figures
displayed does not correspond with the actual
order of the tire position.)
•
OUTS
IDE TEMP – Displays the temperature outside your vehicle.
•
SETTING – Allows you to set reminders or preferences for alerts, maintenance\
intervals
or language displays in the system.
-
Press the button
03 to cycle through the various setting modes.
-
Press the button
02 to choose the selected mode.
•
W
ARNING – Displays when a warning is present.
To reset TR IP A, TRIP B, mpg, or mpg AVG, go to the desired mode on the trip
computer and hold the change button
04 for more than 1 second.
For more information, refer to the “Instruments and controls (section 2)” of your Owner’s Manual.
01
BLUETOOTH® HANDS-FREE PHONE SYSTEM
A cellular telephone should not be used while driving
so full attention may be given to vehicle operation.*
SYSTEM OPERATING TIPS
Press the button to interrupt the voice prompts
at any time and speak a command after the tone.
To use the system faster, you may speak the second level commands with the main menu command on
the main menu. For example, press the
button
and after the tone say, “Call Redial”.
The “Help” command can be used to hear a list of available commands at any time.
SYSTEM GUIDE
*Some jurisdictions prohibit the use of cellular telephones while drivin\
g.
Bluetooth® Controls
02
03
04
1655343_14b_Maxima_QRG_012914.indd 131/29/14 4:00 PM
To view detailed instructional videos regarding these and other features, please go\
to www.nissanownersinfo.mobi.