2014 NISSAN LEAF radio antenna
[x] Cancel search: radio antennaPage 12 of 397
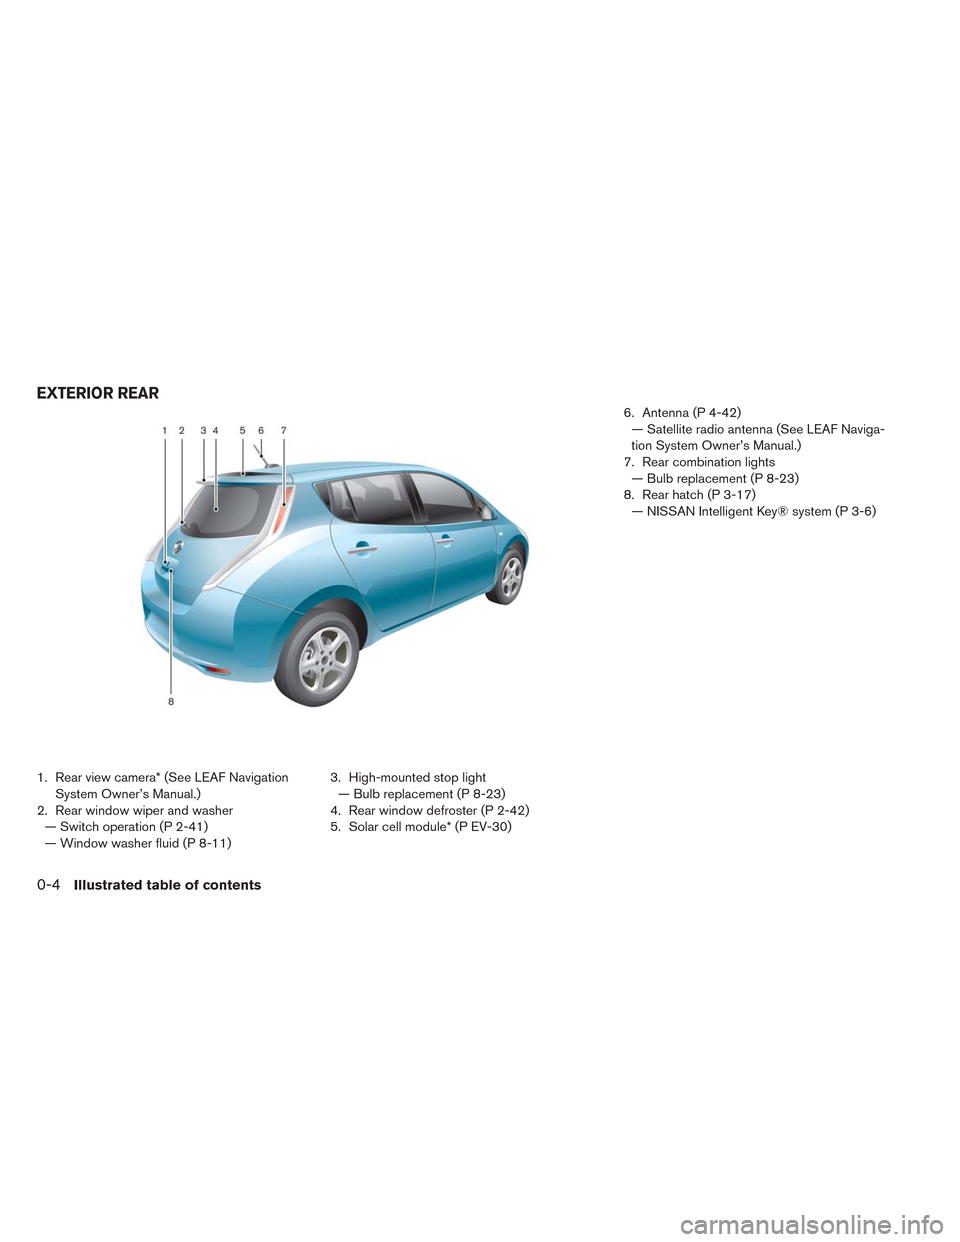
1. Rear view camera* (See LEAF Navigation
System Owner’s Manual.)
2. Rear window wiper and washer
— Switch operation (P 2-41)
— Window washer fluid (P 8-11)3. High-mounted stop light
— Bulb replacement (P 8-23)
4. Rear window defroster (P 2-42)
5. Solar cell module* (P EV-30)6. Antenna (P 4-42)
— Satellite radio antenna (See LEAF Naviga-
tion System Owner’s Manual.)
7. Rear combination lights
— Bulb replacement (P 8-23)
8. Rear hatch (P 3-17)
— NISSAN Intelligent Key® system (P 3-6)
EXTERIOR REAR
0-4Illustrated table of contents
Page 225 of 397
4 Heater, air conditioner, audio and phone
systems
Rearview monitor (if so equipped).............4-2
How to read the displayed lines.............4-3
Difference between predicted and actual
distances..........................4-3
Adjusting the screen...................4-5
Operating tips.......................4-5
Vents..............................4-6
Center vents........................4-6
Side vents.........................4-6
Climate control system....................4-7
Automatic climate control (models without
Navigation System)...................4-10
Automatic climate control (models with
Navigation System)...................4-16
Audio system (models without Navigation System). . .4-24
Radio...........................4-24
FM radio reception...................4-25
AM radio reception...................4-25
Satellite radio reception................4-25
Audio operation precautions..............4-26FM-AM-SAT radio with compact disc (CD)
player (models without Navigation System).....4-32
USB memory operation.................4-37
iPod® player operation................4-38
CD Care and cleaning.................4-40
Steering wheel switch for audio control.......4-40
Antenna..........................4-42
Car phone or CB radio.................4-42
Bluetooth® hands-free phone system without
navigation system (if so equipped)............4-43
Regulatory information.................4-44
Using the system....................4-45
Control buttons.....................4-46
Getting started......................4-47
List of voice commands................4-48
Voice adaptation (VA) mode..............4-53
Manual control......................4-54
Troubleshooting guide.................4-54
Page 249 of 397
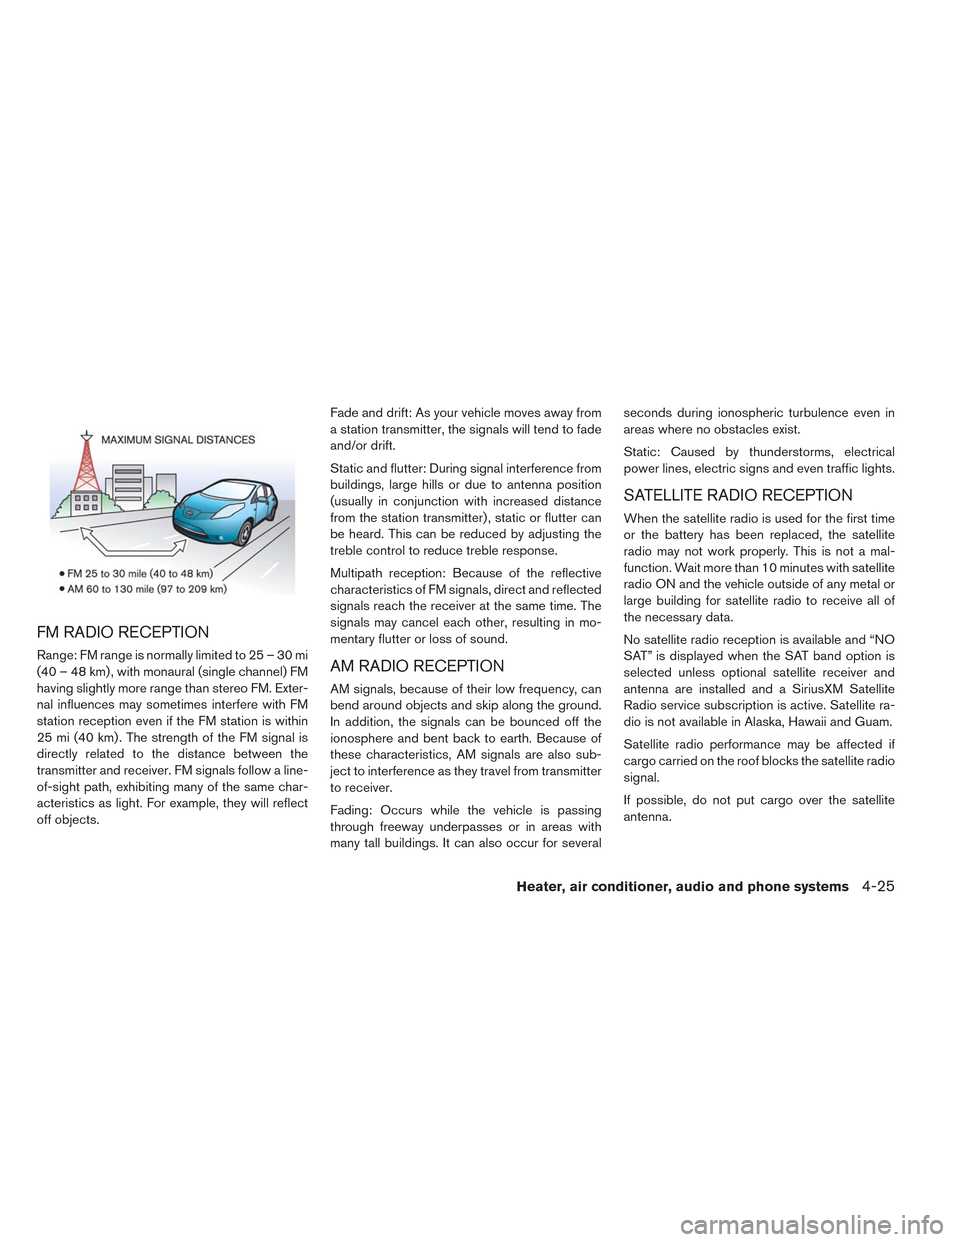
FM RADIO RECEPTION
Range: FM range is normally limited to 25 – 30 mi
(40 – 48 km) , with monaural (single channel) FM
having slightly more range than stereo FM. Exter-
nal influences may sometimes interfere with FM
station reception even if the FM station is within
25 mi (40 km) . The strength of the FM signal is
directly related to the distance between the
transmitter and receiver. FM signals follow a line-
of-sight path, exhibiting many of the same char-
acteristics as light. For example, they will reflect
off objects.Fade and drift: As your vehicle moves away from
a station transmitter, the signals will tend to fade
and/or drift.
Static and flutter: During signal interference from
buildings, large hills or due to antenna position
(usually in conjunction with increased distance
from the station transmitter) , static or flutter can
be heard. This can be reduced by adjusting the
treble control to reduce treble response.
Multipath reception: Because of the reflective
characteristics of FM signals, direct and reflected
signals reach the receiver at the same time. The
signals may cancel each other, resulting in mo-
mentary flutter or loss of sound.AM RADIO RECEPTION
AM signals, because of their low frequency, can
bend around objects and skip along the ground.
In addition, the signals can be bounced off the
ionosphere and bent back to earth. Because of
these characteristics, AM signals are also sub-
ject to interference as they travel from transmitter
to receiver.
Fading: Occurs while the vehicle is passing
through freeway underpasses or in areas with
many tall buildings. It can also occur for severalseconds during ionospheric turbulence even in
areas where no obstacles exist.
Static: Caused by thunderstorms, electrical
power lines, electric signs and even traffic lights.
SATELLITE RADIO RECEPTION
When the satellite radio is used for the first time
or the battery has been replaced, the satellite
radio may not work properly. This is not a mal-
function. Wait more than 10 minutes with satellite
radio ON and the vehicle outside of any metal or
large building for satellite radio to receive all of
the necessary data.
No satellite radio reception is available and “NO
SAT” is displayed when the SAT band option is
selected unless optional satellite receiver and
antenna are installed and a SiriusXM Satellite
Radio service subscription is active. Satellite ra-
dio is not available in Alaska, Hawaii and Guam.
Satellite radio performance may be affected if
cargo carried on the roof blocks the satellite radio
signal.
If possible, do not put cargo over the satellite
antenna.
Heater, air conditioner, audio and phone systems4-25
Page 250 of 397
A build up of ice on the satellite radio antenna can
affect satellite radio performance. Remove the
ice to restore satellite radio reception.
AUDIO OPERATION PRECAUTIONSCompact disc (CD) player
CAUTION
• Do not force a compact disc into the
CD insert slot. This could damage the
CD and/or CD player.
• Trying to load a CD with the CD door
closed could damage the CD and/or
CD player.
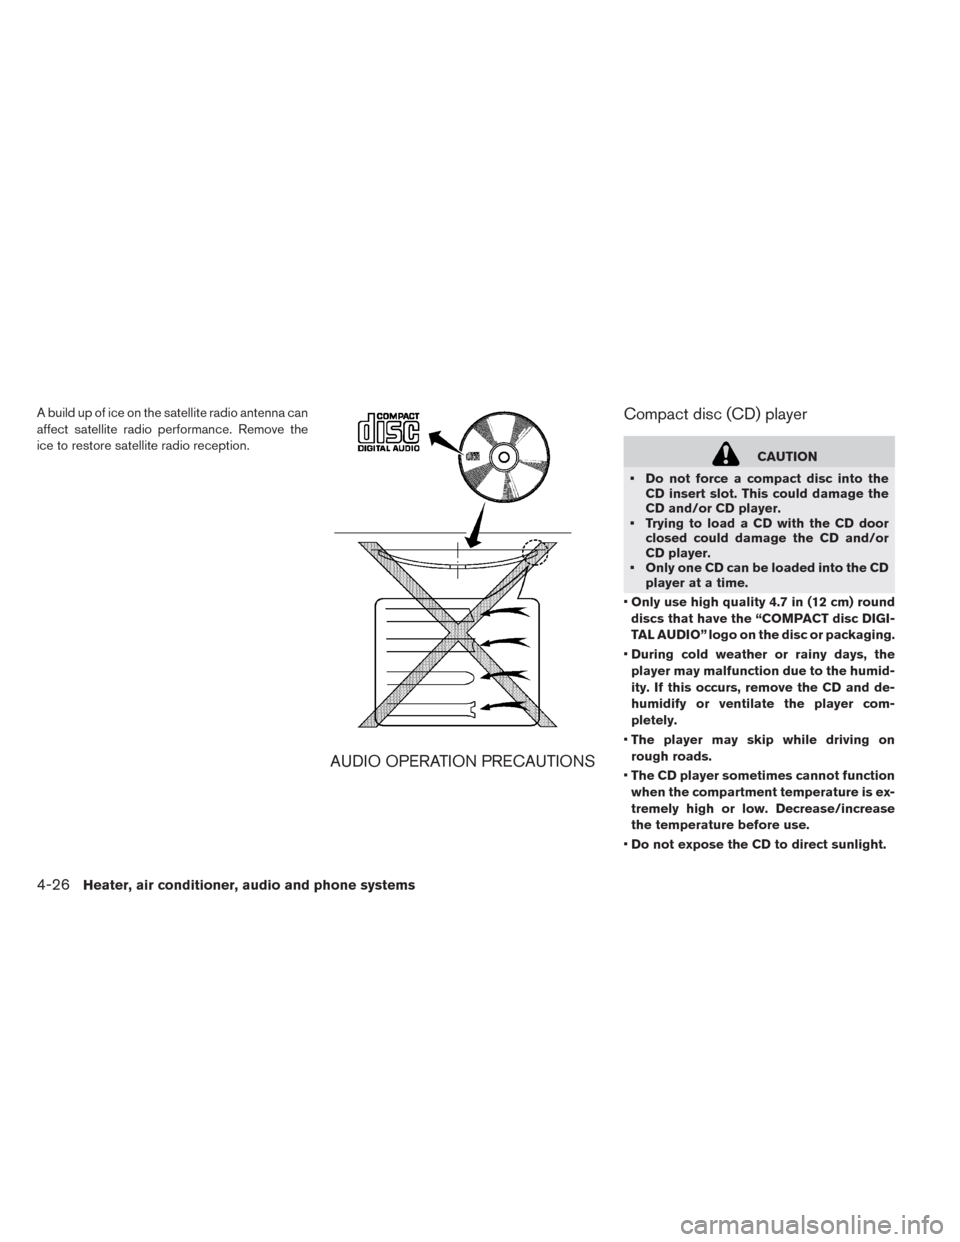
• Only one CD can be loaded into the CD
player at a time.
•Only use high quality 4.7 in (12 cm) round
discs that have the “COMPACT disc DIGI-
TAL AUDIO” logo on the disc or packaging.
•During cold weather or rainy days, the
player may malfunction due to the humid-
ity. If this occurs, remove the CD and de-
humidify or ventilate the player com-
pletely.
•The player may skip while driving on
rough roads.
•The CD player sometimes cannot function
when the compartment temperature is ex-
tremely high or low. Decrease/increase
the temperature before use.
•Do not expose the CD to direct sunlight.
4-26Heater, air conditioner, audio and phone systems
Page 257 of 397
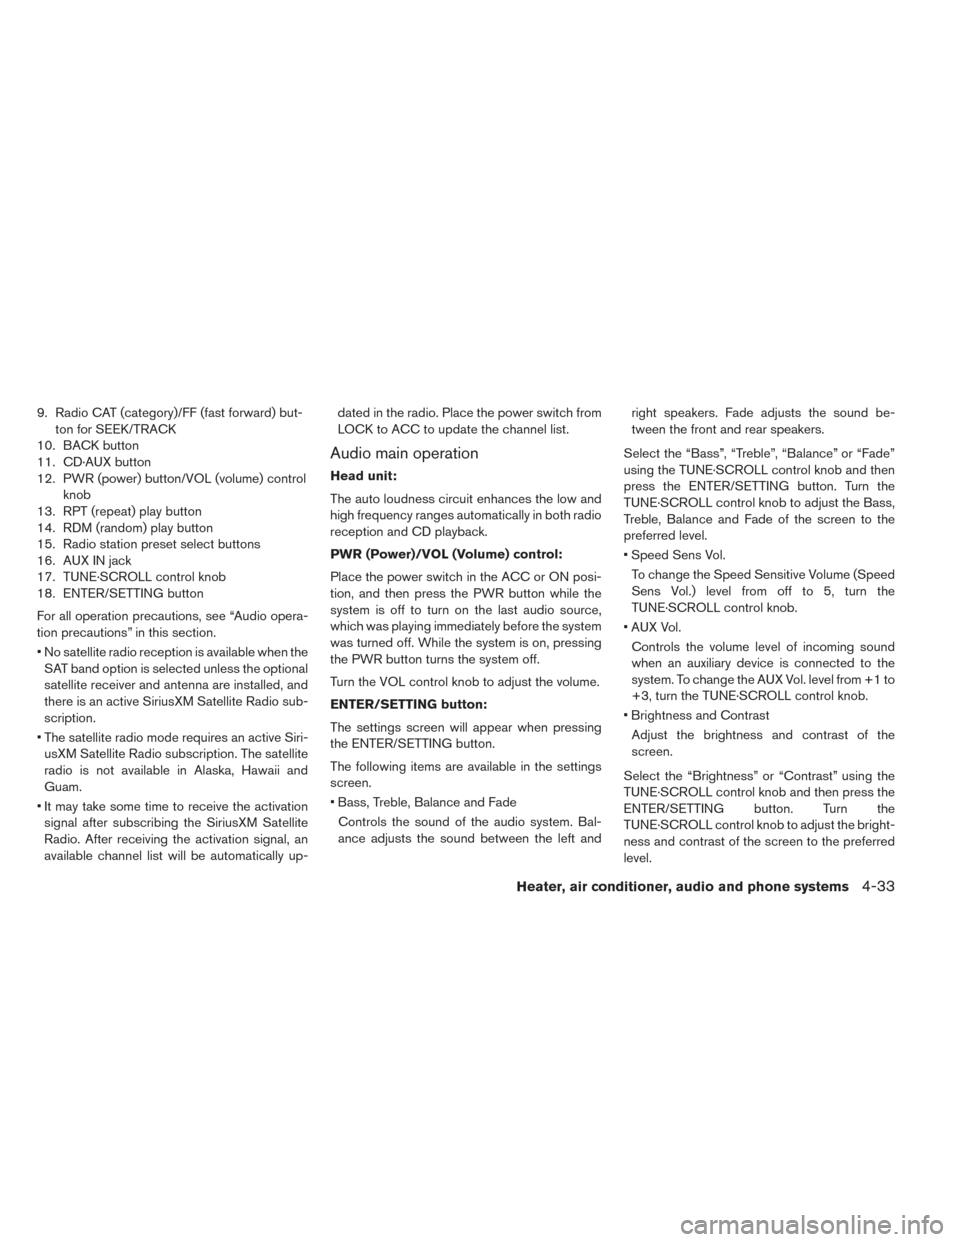
9. Radio CAT (category)/FF (fast forward) but-
ton for SEEK/TRACK
10. BACK button
11. CD·AUX button
12. PWR (power) button/VOL (volume) control
knob
13. RPT (repeat) play button
14. RDM (random) play button
15. Radio station preset select buttons
16. AUX IN jack
17. TUNE·SCROLL control knob
18. ENTER/SETTING button
For all operation precautions, see “Audio opera-
tion precautions” in this section.
• No satellite radio reception is available when the
SAT band option is selected unless the optional
satellite receiver and antenna are installed, and
there is an active SiriusXM Satellite Radio sub-
scription.
• The satellite radio mode requires an active Siri-
usXM Satellite Radio subscription. The satellite
radio is not available in Alaska, Hawaii and
Guam.
• It may take some time to receive the activation
signal after subscribing the SiriusXM Satellite
Radio. After receiving the activation signal, an
available channel list will be automatically up-dated in the radio. Place the power switch from
LOCK to ACC to update the channel list.
Audio main operation
Head unit:
The auto loudness circuit enhances the low and
high frequency ranges automatically in both radio
reception and CD playback.
PWR (Power)/VOL (Volume) control:
Place the power switch in the ACC or ON posi-
tion, and then press the PWR button while the
system is off to turn on the last audio source,
which was playing immediately before the system
was turned off. While the system is on, pressing
the PWR button turns the system off.
Turn the VOL control knob to adjust the volume.
ENTER/SETTING button:
The settings screen will appear when pressing
the ENTER/SETTING button.
The following items are available in the settings
screen.
• Bass, Treble, Balance and Fade
Controls the sound of the audio system. Bal-
ance adjusts the sound between the left andright speakers. Fade adjusts the sound be-
tween the front and rear speakers.
Select the “Bass”, “Treble”, “Balance” or “Fade”
using the TUNE·SCROLL control knob and then
press the ENTER/SETTING button. Turn the
TUNE·SCROLL control knob to adjust the Bass,
Treble, Balance and Fade of the screen to the
preferred level.
• Speed Sens Vol.
To change the Speed Sensitive Volume (Speed
Sens Vol.) level from off to 5, turn the
TUNE·SCROLL control knob.
• AUX Vol.
Controls the volume level of incoming sound
when an auxiliary device is connected to the
system. To change the AUX Vol. level from +1 to
+3, turn the TUNE·SCROLL control knob.
• Brightness and Contrast
Adjust the brightness and contrast of the
screen.
Select the “Brightness” or “Contrast” using the
TUNE·SCROLL control knob and then press the
ENTER/SETTING button. Turn the
TUNE·SCROLL control knob to adjust the bright-
ness and contrast of the screen to the preferred
level.
Heater, air conditioner, audio and phone systems4-33
Page 266 of 397
ANTENNA
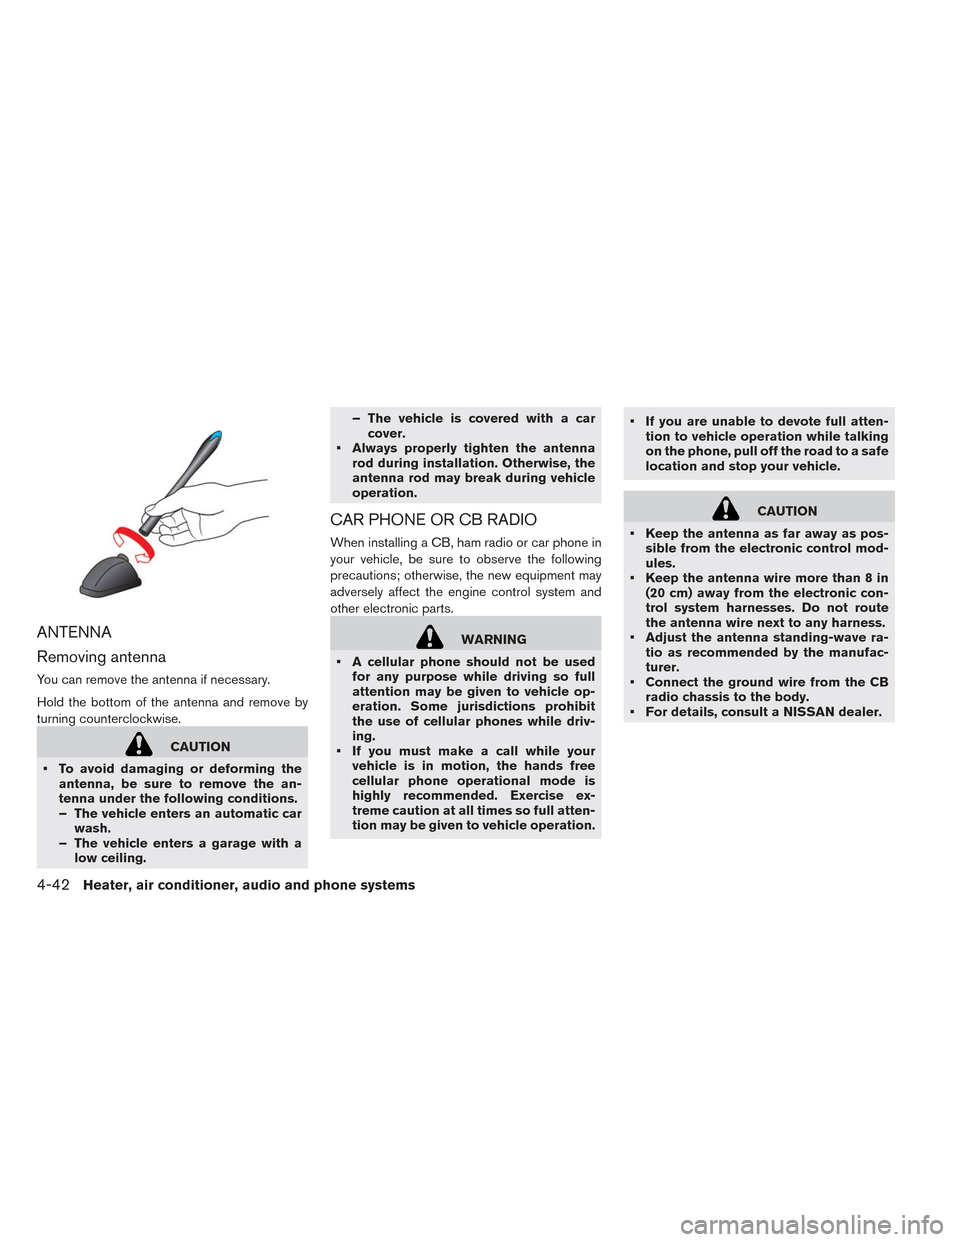
Removing antenna
You can remove the antenna if necessary.
Hold the bottom of the antenna and remove by
turning counterclockwise.
CAUTION
• To avoid damaging or deforming the
antenna, be sure to remove the an-
tenna under the following conditions.
– The vehicle enters an automatic car
wash.
– The vehicle enters a garage with a
low ceiling.– The vehicle is covered with a car
cover.
• Always properly tighten the antenna
rod during installation. Otherwise, the
antenna rod may break during vehicle
operation.
CAR PHONE OR CB RADIO
When installing a CB, ham radio or car phone in
your vehicle, be sure to observe the following
precautions; otherwise, the new equipment may
adversely affect the engine control system and
other electronic parts.
WARNING
• A cellular phone should not be used
for any purpose while driving so full
attention may be given to vehicle op-
eration. Some jurisdictions prohibit
the use of cellular phones while driv-
ing.
• If you must make a call while your
vehicle is in motion, the hands free
cellular phone operational mode is
highly recommended. Exercise ex-
treme caution at all times so full atten-
tion may be given to vehicle operation.• If you are unable to devote full atten-
tion to vehicle operation while talking
on the phone, pull off the road to a safe
location and stop your vehicle.
CAUTION
• Keep the antenna as far away as pos-
sible from the electronic control mod-
ules.
• Keep the antenna wire more than 8 in
(20 cm) away from the electronic con-
trol system harnesses. Do not route
the antenna wire next to any harness.
• Adjust the antenna standing-wave ra-
tio as recommended by the manufac-
turer.
• Connect the ground wire from the CB
radio chassis to the body.
• For details, consult a NISSAN dealer.
4-42Heater, air conditioner, audio and phone systems
Page 268 of 397
You can connect up to 5 different Bluetooth®
cellular phones to the in-vehicle phone module.
However, you can talk on only one cellular phone
at a time.
Before using the Bluetooth® Hands-Free Phone
System, refer to the following notes.
• Set up the wireless connection between a com-
patible cellular phone and the in-vehicle phone
module before using the hands-free phone sys-
tem.
• Some Bluetooth® enabled cellular phones may
not be recognized or work properly. Please visit
www.nissanusa.com/bluetooth for a recom-
mended phone list and connecting instructions.
• You will not be able to use a hands-free phone
under the following conditions:
– Your vehicle is outside of the cellular service
area.
– Your vehicle is in an area where it is difficult
to receive a cellular signal; such as in a
tunnel, in an underground parking garage,
near a tall building or in a mountainous area.
– Your cellular phone is locked to prevent it
from being dialed.
–• When the radio wave condition is not ideal or
ambient sound is too loud, it may be difficult to
hear the other person’s voice during a call.
• Do not place the cellular phone in an area
surrounded by metal or far away from the in-
vehicle phone module to prevent tone quality
degradation and wireless connection disrup-
tion.
• While a cellular phone is connected through the
Bluetooth® wireless connection, the battery
power of the cellular phone may discharge
quicker than usual. The Bluetooth® Hands-
Free Phone System cannot charge cellular
phones.
• If the hands-free phone system seems to be
malfunctioning, see “Troubleshooting guide” in
this section. You can also visit
www.nissanusa.com/bluetooth for trouble-
shooting help.
• Some cellular phones or other devices may
cause interference or a buzzing noise to come
from the audio system speakers. Storing the
device in a different location may reduce or
eliminate the noise.
• Refer to the cellular phone Owner’s Manual
regarding the telephone charges, cellular phone
antenna and body, etc.REGULATORY INFORMATION
FCC Regulatory information
CAUTION: To maintain compliance with FCC’s
RF exposure guidelines, use only the supplied
antenna. Unauthorized antenna, modification, or
attachments could damage the transmitter and
may violate FCC regulations.
Operation is subject to the following two condi-
tions:
1. This device may not cause interference and
2. this device must accept any interference, in-
cluding interference that may cause unde-
sired operation of the device.
IC Regulatory information
• Operation is subject to the following two condi-
tions: (1) this device may not cause interfer-
ence, and (2) this device must accept any inter-
ference, including interference that may cause
undesired operation of the device.
• This Class B digital apparatus meets all require-
ments of the Canadian Interference-Causing
Equipment Regulations.
BLUETOOTH® is a trademark
owned by Bluetooth SIG, Inc. and licensed to
Visteon.
4-44Heater, air conditioner, audio and phone systems
Page 284 of 397
CAUTION
• The TPMS may not function properly
when the wheels are equipped with
tire chains or the wheels are buried in
snow.
• Do not place metalized film or any
metal parts (antenna, etc.) on the win-
dows. This may cause poor reception
of the signals from the tire pressure
sensors, and the TPMS will not func-
tion properly.
Some devices and transmitters may temporarily
interfere with the operation of the TPMS and
cause the low tire pressure warning light to illu-
minate. Some examples are:
• Facilities or electric devices using similar radio
frequencies that are near the vehicle.
• If a transmitter set to similar frequencies is being
used in or near the vehicle.
• If a computer (or similar equipment) or a DC/AC
converter is being used in or near the vehicle.FCC Notice:
For USA:
This device complies with Part 15 of the
FCC Rules. Operation is subject to the fol-
lowing two conditions: (1) This device may
not cause harmful interference, and (2) this
device must accept any interference re-
ceived, including interference that may
cause undesired operation.
NOTE:
Changes or modifications not expressly ap-
proved by the party responsible for compli-
ance could void the user’s authority to op-
erate the equipment.
For Canada:
This device complies with RSS-210 of In-
dustry Canada. Operation is subject to the
following two conditions: (1) this device
may not cause interference, and (2) this
device must accept any interference, in-
cluding interference that may cause unde-
sired operation of the device.
TPMS with Easy Fill Tire Alert
When tire pressure is low, the low tire pressure
warning light illuminates.
This vehicle provides visual and audible signals to
help you inflate the tires to the recommended
COLD tire pressure.
Vehicle set-up:
1. Park the vehicle in a safe and level place.
2. Apply the parking brake and push the P (Park)
position switch on the shift lever.
3. Place the power switch in the ON position. Do
not place in the READY to drive mode.
Operation:
1. Add air to the tire.
2. After a few seconds, the hazard indicators will
start flashing.
3. When the designated pressure is reached,
the horn beeps once and the hazard indica-
tors stop flashing.
4. Perform the above steps for each tire.
• If the tire is over-inflated more than approxi-
mately 4 psi (30 kPa) , the horn beeps and the
hazard indicators flash 3 times. To correct the
pressure, push the core of the valve stem on the
5-4Starting and driving