2014 NISSAN GT-R headlights
[x] Cancel search: headlightsPage 8 of 24

NISSaN INTeLLIGeNT Ke Y® SYSTeM
The NISSAN Intelligent Key® system allows you to lock or
unlock the vehicle, open the trunk and start the engine.
NOTE: It is important to make sure the Intelligent Key is
with you (that is, in your pocket or purse).
The operating range of the Intelligent Key is within
31.5 in (8
0 cm) from each request switch.
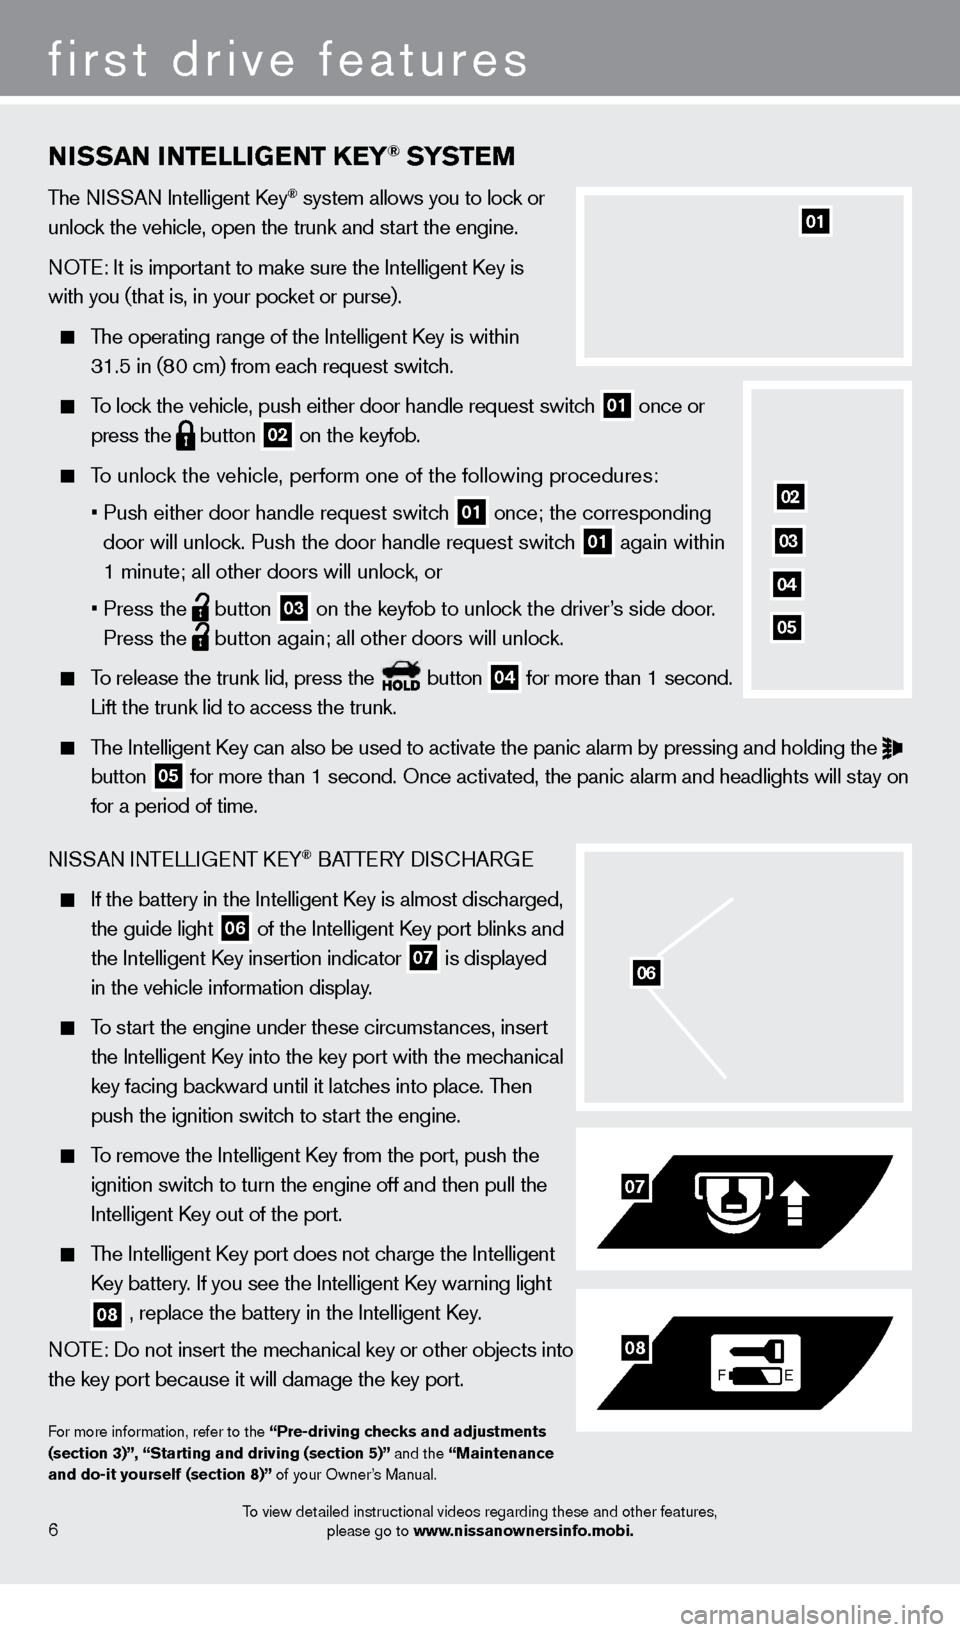
To lock the vehicle, push either door handle request switch 01 once or
press the button
02 on the keyfob.
To unlock the vehicle, perform one of the following procedures:
•
Push either door handle request switc
h
01 once; the corresponding
door will unlock. Push the door handle request switch 01 again within
1 minute; all other doors will unlock, or
•
Press the button
03 on the keyfob to unlock the driver’s side door.
Press the button again; all other doors will unlock.
To release the trunk lid, press the button
04 for more than 1 second.
Lift the trunk lid to access the trunk.
The Intelligent Key can also be used to activate the panic alarm by pressing and holding \
the
button 05 for more than 1 second. Once activated, the panic alarm and headlights w\
ill stay on
for a period of time.
NISSAN INTELLIGENT KEY
® BATTERY DISCHARGE
If the battery in the Intelligent K ey is almost discharged,
the guide light 06 of the Intelligent Key port blinks and
the Intelligent K
ey insertion indicator 07 is displayed
in the vehicle information display
.
To start the engine under these circumstances, insert
the Intelligent K
ey into the key port with the mechanical
key facing bac
kward until it latches into place. Then
push the ignition switc
h to start the engine.
To remove the Intelligent Key from the port, push the
ignition switc
h to turn the engine off and then pull the
Intelligent K
ey out of the port.
The Intelligent Key port does not charge the Intelligent
K
ey battery. If you see the Intelligent Key warning light
08 , replace the battery in the Intelligent Key.
NOTE: Do not insert the mechanical key or other objects into
the key port because it will damage the key port.
For more information, refer to the “Pre-driving checks and adjustments
(section 3)”, “Starting and driving (section 5)” and the “Maintenance
and do-it yourself (section 8)” of your Owner’s Manual.
06
F E
07
08
6
first drive features
01
02
03
04
05
To view detailed instructional videos regarding these and other features, please go to www.nissanownersinfo.mobi.
1276458_14a_GTR_QRG_Text-Insert_113012.indd 611/30/12 1:44 PM
Page 10 of 24

OuTSIDe MIr rO r c ONT rOL S w ITch
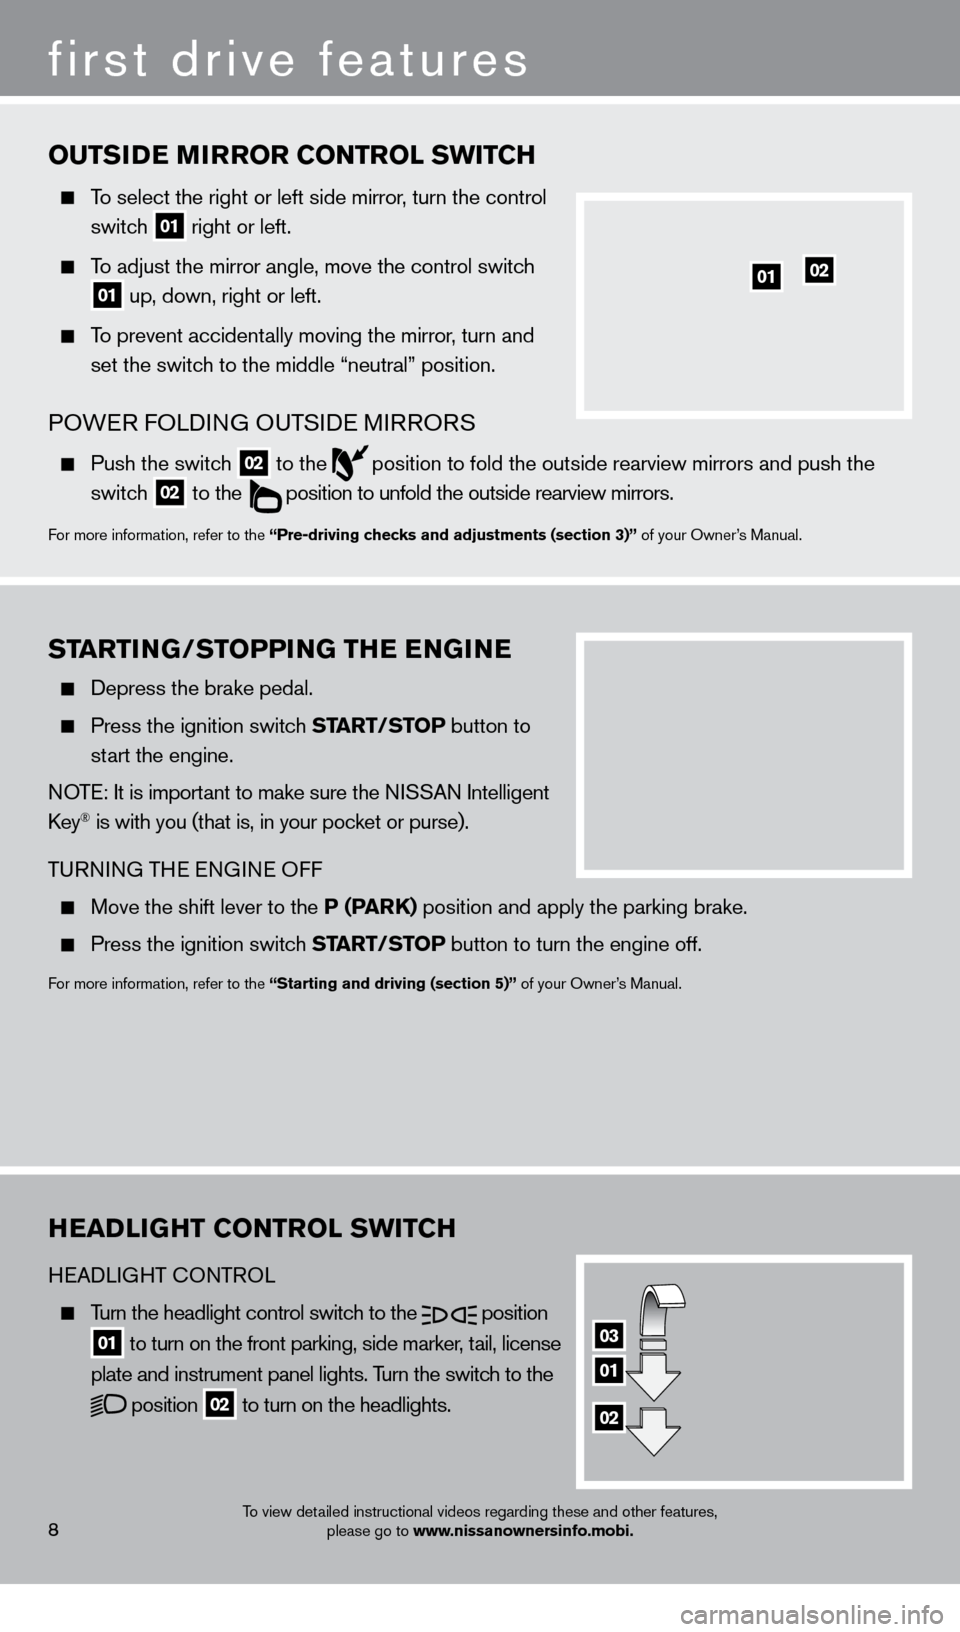
To select the right or left side mirror, turn the control
switc
h
01 right or left.
To adjust the mirror angle, move the control switch
01 up, down, right or left.
To prevent accidentally moving the mirror, turn and
set the switc
h to the middle “neutral” position.
POWER FOLDING OUTSIDE MIRRORS
Push the switc h
02 to the
position to fold the outside rearview mirrors and push the
switc
h
02 to the
position to unfold the outside rearview mirrors.
For more information, refer to the “Pre-driving checks and adjustments (section 3)” of your Owner’s Manual.
heaDLIGhT c ONT rOL S w ITch
HEADLIGHT CONTROL
Turn the headlight control switch to the
position
01 to turn on the front parking, side marker, tail, license
plate and instrument panel lights. T urn the switch to the
position
02 to turn on the headlights.
03
01
02
first drive features
8
01
STar TING/STOPPING T he eN GINe
Depress the brake pedal.
Press the ignition switch STar T/STOP button to
st
art the engine.
NOTE: It is important to make sure the NISSAN Intelligent
Key
® is with you (that is, in your pocket or purse).
TURNING THE ENGINE OFF
Move the shift lever to the P (ParK) position and apply the parking brake.
Press the ignition switch STar T/STOP button to turn the engine off.
For more information, refer to the “Starting and driving (section 5)” of your Owner’s Manual.
02
To view detailed instructional videos regarding these and other features,
please go to www.nissanownersinfo.mobi.
1276458_14a_GTR_QRG_Text-Insert_113012.indd 811/30/12 1:45 PM
Page 11 of 24

wINDShIeLD wIP er a ND w a S her Sw IT ch
The ignition switch must be in the ON position to
activate the windshield wipers.
Move the lever to the following positions to operate
the windshield wipers:
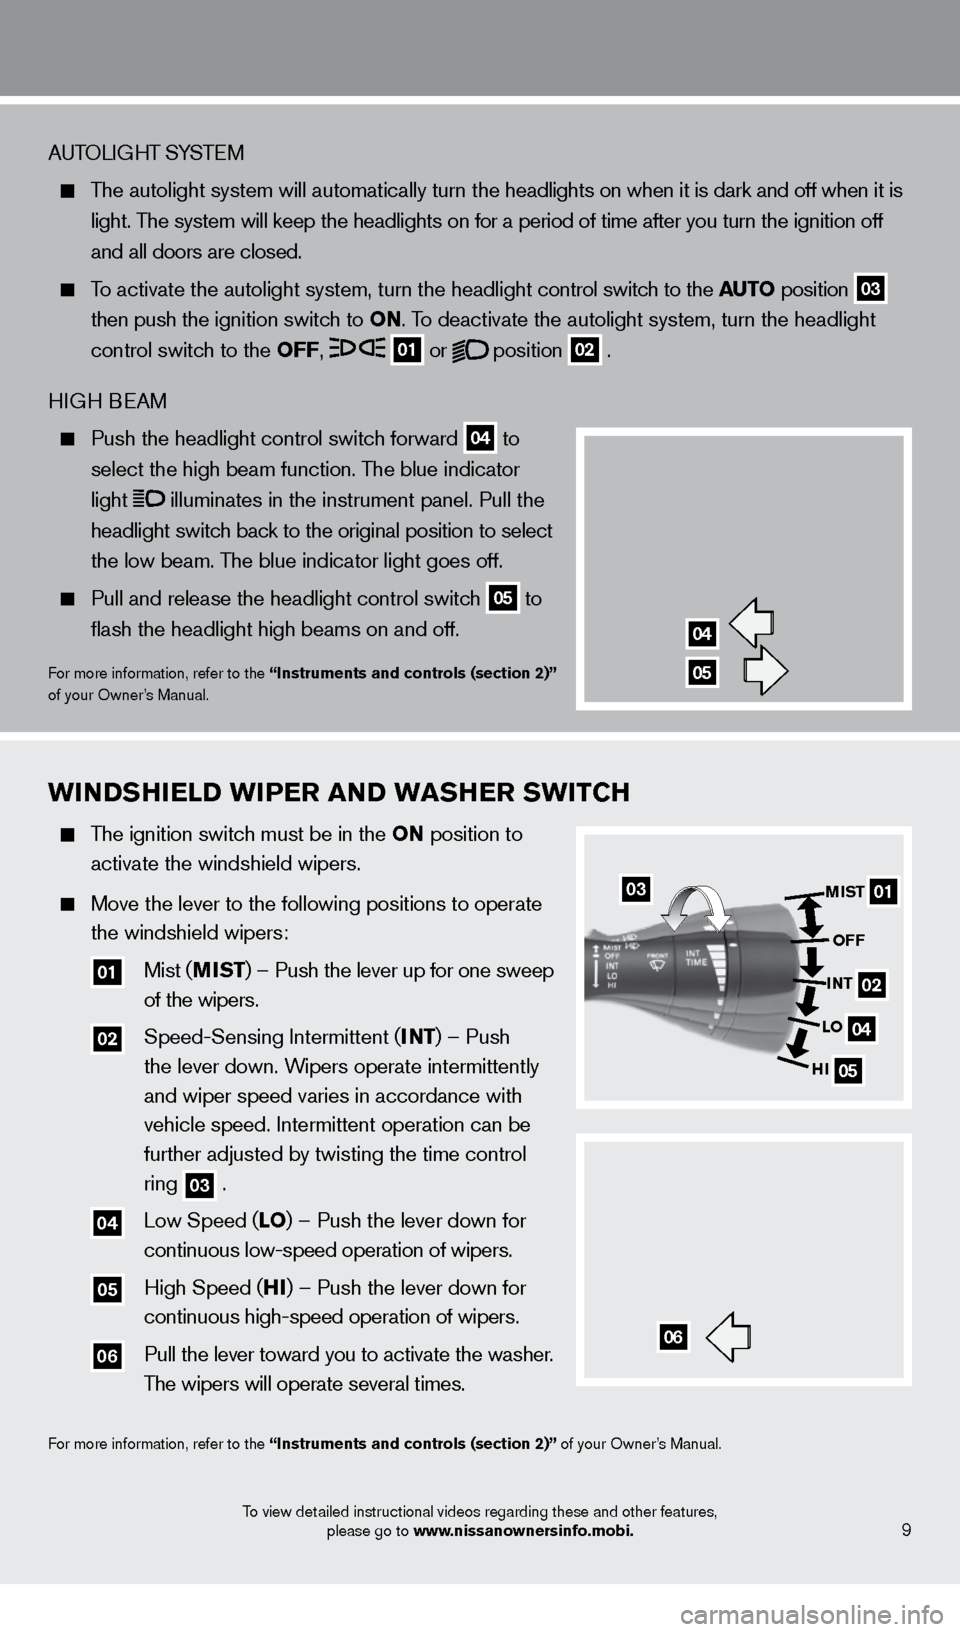
01 Mist (MIST) – Push the lever up for one sweep
of the wipers.
02 Speed-Sensing Intermittent ( INT) – Push
the lever down. W
ipers operate intermittently
and wiper speed varies in accordance with
vehicle speed. Intermittent operation can be
further adjusted by twisting the time control
ring
03 . 04 Low Speed (
LO) – Push the lever down for
continuous low-speed operation of wipers.
05 High Speed (h I) – Push the lever down for
continuous high-speed operation of wipers.
06 Pull the lever toward you to activate the washer .
T
he wipers will operate several times.
For more information, refer to the “Instruments and controls (section 2)” of your Owner’s Manual.
9
AUTOLIGHT SYSTEM
The autolight system will automatically turn the headlights on when it is dark and off when it is
light. T
he system will keep the headlights on for a period of time after you tur\
n the ignition off
and all doors are closed.
To activate the autolight system, turn the headlight control switch to the auT O position
03
t
hen push the ignition switch to ON. To deactivate the autolight system, turn the headlight
control switc
h to the OFF,
01 or
position
02 .
HIGH BEAM
Push the headlight control switc h forward 04 to
select the high beam function. T
he blue indicator
light illuminates in the instrument panel. Pull the
headlight switc
h back to the original position to select
the low beam. T
he blue indicator light goes off.
Pull and release the headlight control switc h 05 to
flash the headlight high beams on and off.
For more information, refer to the “Instruments and controls (section 2)”
of your Owner’s Manual.
04
05
01
04
05
MIST
OFF
INT
LO
h
I
06
02
03
To view detailed instructional videos regarding these and other features, please go to www.nissanownersinfo.mobi.
1276458_14a_GTR_QRG_Text-Insert_113012.indd 911/30/12 1:45 PM