2014 MINI Coupe steering
[x] Cancel search: steeringPage 192 of 288

Bluetooth mobile phone
preparation packageVehicle equipment This chapter describes all series equipment as
well as country-specific and special equipment
offered for this model series.Therefore, it also
describes equipment that may not be found in
your vehicle, for instance due to the selected
special equipment or the country version. This
also applies to safety-related functions and sys‐
tems.
At a glance The concept
Mobile phones or other external devices such
as audio players can be connected to the vehi‐
cle via Bluetooth.
Bluetooth® is a registered trademark of Blue‐
tooth® SIG, Inc.
After these devices are paired once, they are
recognized automatically when the ignition is
switched on as soon as they are in the vehicle
and can then be operated via the onboard
monitor, using the buttons on the steering
wheel, and via voice activation.
Depending on their functionality, external devi‐
ces can be used via the vehicle as a telephone
or as an audio source. The telephone functions
are described in the following. Operating the
audio functions, refer to page 175.
Up to four external devices can be paired.
Certain functions may need to be enabled by the mobile phone provider or service provider.
Using the mobile phone while driving
Make entries only when traffic and road
conditions allow. Do not hold the mobile phone
in your hand while you are driving; use thehands-free system instead. If you do not ob‐
serve this precaution, you can endanger the ve‐
hicle occupants and other road users. ◀
Snap-in adapter
The snap-in adapter is used to:▷Hold the mobile phone.▷Recharge the battery.▷Connect the mobile phone to an outside
antenna of the vehicle.
This provides for better network reception
and consistent sound quality.
Approved mobile phones
Displaying the vehicle identification
number and software part number
The vehicle identification number and software
part number are needed to determine which
mobile phones are supported by the mobile
phone preparation package. The software ver‐
sion of the mobile phone may also be required.
1."Telephone"2.Open "Options".3."Bluetooth® info"4."Display system information"
These approved mobile phones with a certain
software version, support the vehicle functions
described below.
Malfunctions may occur with other mobile
phones or software versions.
Do not operate a mobile phone that is con‐
nected to the vehicle on the mobile phone key‐
pad, as this may lead to a malfunction.
Seite 192CommunicationBluetooth mobile phone preparation package192
Online Edition for Part no. 01 40 2 911 498 - VI/13
Page 198 of 288

If more than one phone number is assigned to
a contact, only the name of the contact is dis‐
played.
For calls on the additional telephone, the num‐
ber is only displayed if it is transmitted by the
network.
An incoming call to one of the telephones is au‐
tomatically rejected if there is an active call on
the other telephone.
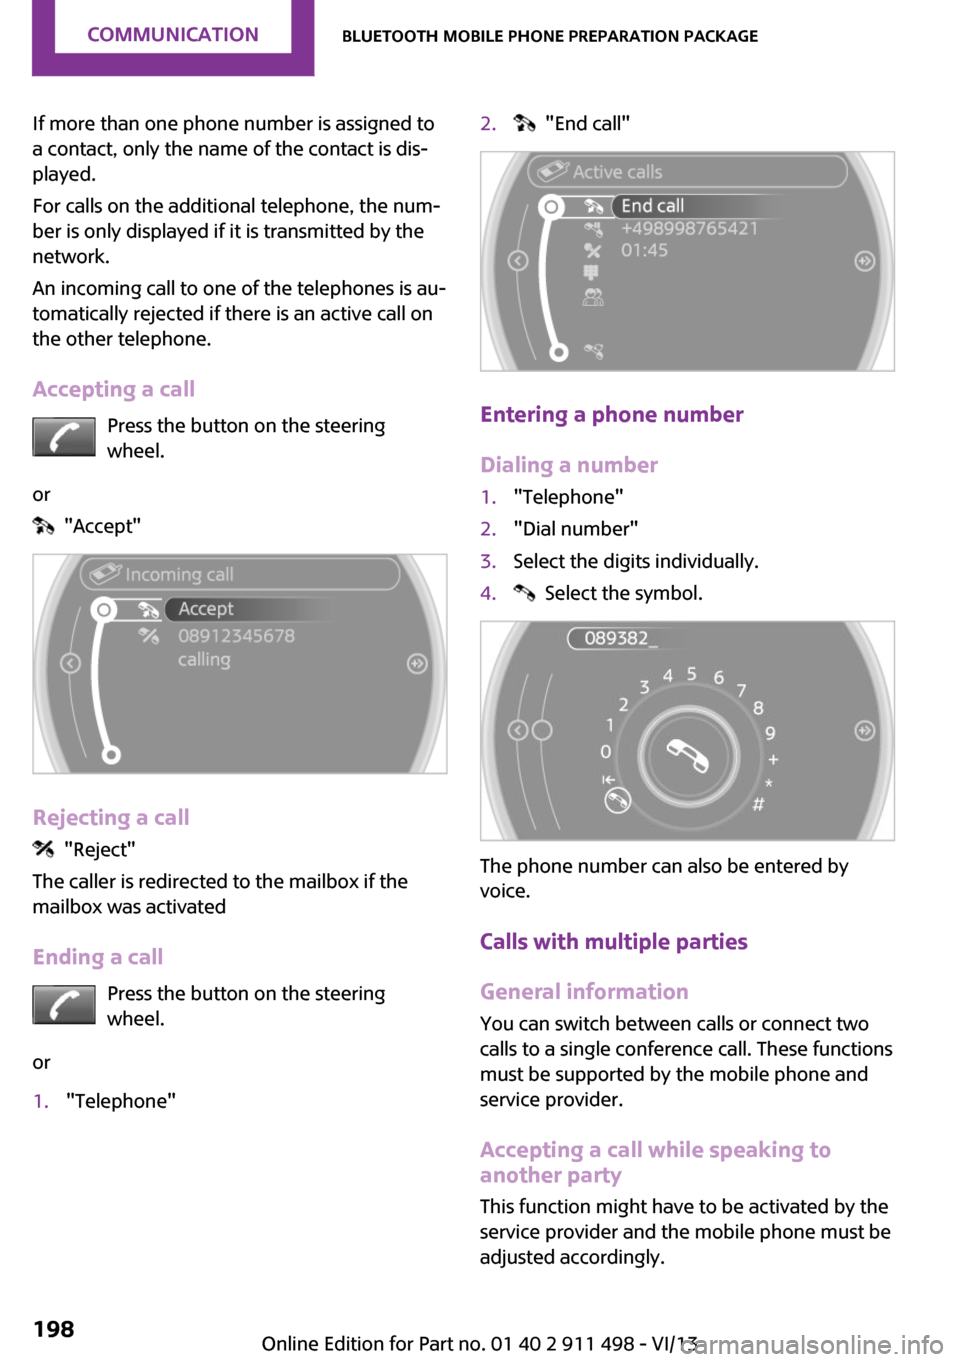
Accepting a call Press the button on the steering
wheel.
or
"Accept"
Rejecting a call
"Reject"
The caller is redirected to the mailbox if the
mailbox was activated
Ending a call Press the button on the steering
wheel.
or
1."Telephone"2. "End call"
Entering a phone number
Dialing a number
1."Telephone"2."Dial number"3.Select the digits individually.4. Select the symbol.
The phone number can also be entered by
voice.
Calls with multiple parties
General information You can switch between calls or connect two
calls to a single conference call. These functions
must be supported by the mobile phone and
service provider.
Accepting a call while speaking to
another party
This function might have to be activated by the
service provider and the mobile phone must be
adjusted accordingly.
Seite 198CommunicationBluetooth mobile phone preparation package198
Online Edition for Part no. 01 40 2 911 498 - VI/13
Page 213 of 288

Control Display and can be operated using the
MINI joystick.
The volume can be set using the following con‐
trols:▷
Buttons on the steering
wheel or
▷Volume button on the radio, refer to
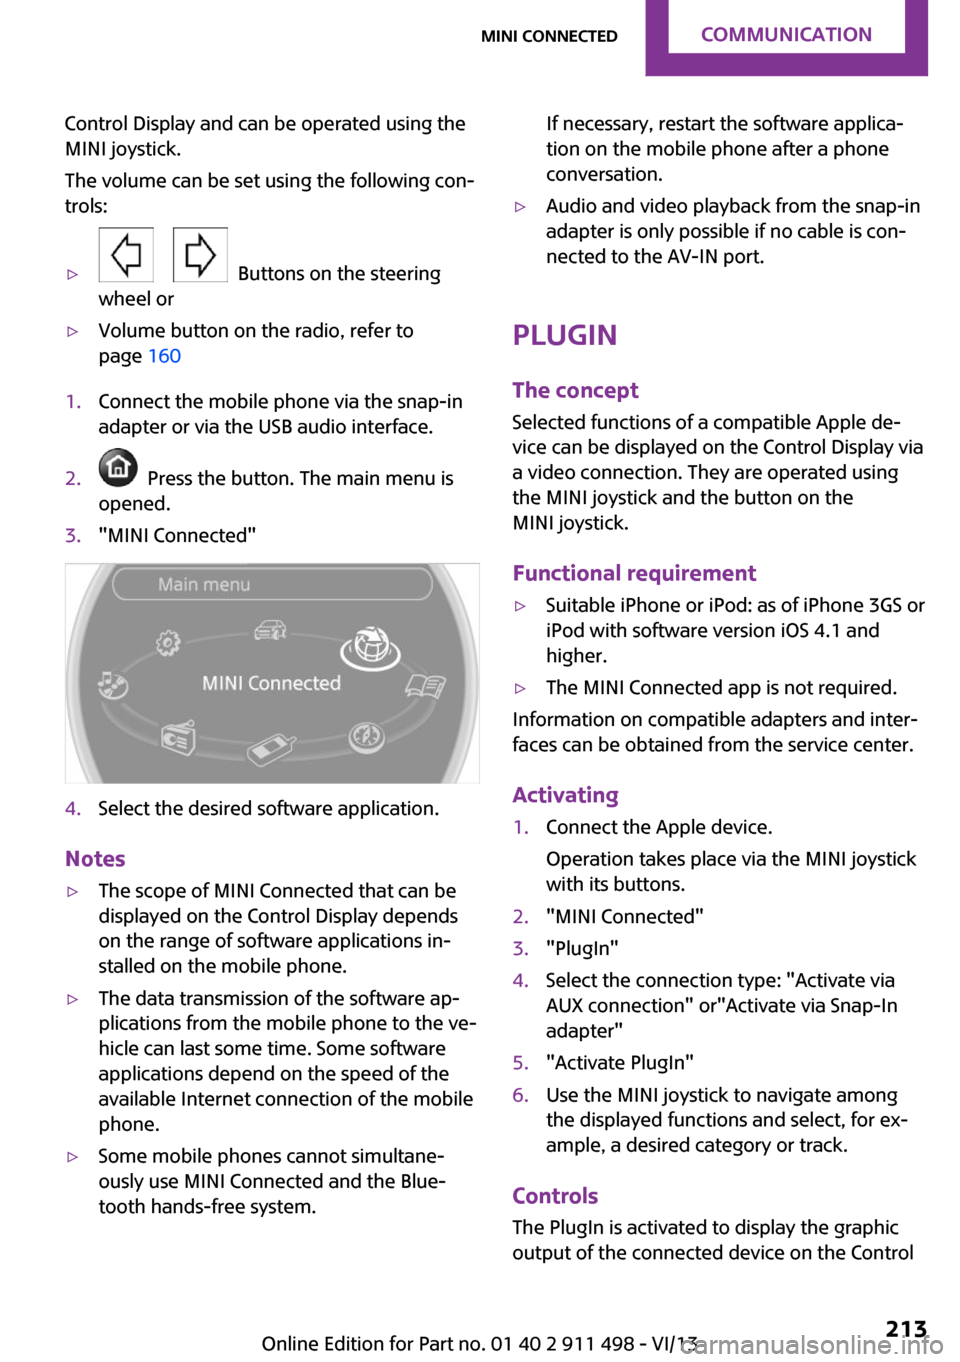
page 1601.Connect the mobile phone via the snap-in
adapter or via the USB audio interface.2. Press the button. The main menu is
opened.3."MINI Connected"4.Select the desired software application.
Notes
▷The scope of MINI Connected that can be
displayed on the Control Display depends
on the range of software applications in‐
stalled on the mobile phone.▷The data transmission of the software ap‐
plications from the mobile phone to the ve‐
hicle can last some time. Some software
applications depend on the speed of the
available Internet connection of the mobile
phone.▷Some mobile phones cannot simultane‐
ously use MINI Connected and the Blue‐
tooth hands-free system.If necessary, restart the software applica‐
tion on the mobile phone after a phone
conversation.▷Audio and video playback from the snap-in
adapter is only possible if no cable is con‐
nected to the AV-IN port.
PlugIn
The concept
Selected functions of a compatible Apple de‐
vice can be displayed on the Control Display via
a video connection. They are operated using
the MINI joystick and the button on the
MINI joystick.
Functional requirement
▷Suitable iPhone or iPod: as of iPhone 3GS or
iPod with software version iOS 4.1 and
higher.▷The MINI Connected app is not required.
Information on compatible adapters and inter‐
faces can be obtained from the service center.
Activating
1.Connect the Apple device.
Operation takes place via the MINI joystick
with its buttons.2."MINI Connected"3."PlugIn"4.Select the connection type: "Activate via
AUX connection" or"Activate via Snap-In
adapter"5."Activate PlugIn"6.Use the MINI joystick to navigate among
the displayed functions and select, for ex‐
ample, a desired category or track.
Controls
The PlugIn is activated to display the graphic
output of the connected device on the Control
Seite 213MINI ConnectedCommunication213
Online Edition for Part no. 01 40 2 911 498 - VI/13
Page 232 of 288

Maximum speed of winter tires
If the maximum speed of the vehicle is higher
than the permissible speed for the winter tires,
then display a corresponding sign in the field of
vision. You can obtain this sign from the tire
specialist or from your service center.
Maximum speed for winter tires
Do not exceed the maximum speed for
the winter tires; otherwise, tire damage and ac‐
cidents can occur. ◀
Run-flat tires When mounting new tires or changing fromsummer to winter tires or vice versa, use run-
flat tires for your own safety. Also, a compact
wheel is not available in case of a flat tire. Your
service center will be glad to advise you.
Rotating wheels between axles
Different wear patterns occur on the front and
rear axles, depending on the individual condi‐
tions of use.
To ensure even wear on the tires, the wheels
can be rotated between the axles. Your service
center will be glad to advise you.
After changing the tires, check the tire inflation
pressure and correct it if necessary.
Storage Store wheels and tires in a cool, dry place with
as little exposure to light as possible.
Always protect tires against all contact with oil,
grease and fuels.
Do not exceed the maximum tire inflation pres‐
sure indicated on the side wall of the tire.Run-flat tires
Label
The symbol identifying run-flat tires is a circle
with the letters RSC on the sidewall.
Run-flat tires are tires with special rims that
support themselves for a limited period of time.
The sidewall reinforcement ensures that the
tire can continue to be used to a limited extent
if it has lost pressure and even if it has become
completely depressurized.
For continued driving in the event of a flat tire,
refer to page 94.
Correcting a flat tire Safety measures in case of a breakdown
▷Park the vehicle as far as possible
from passing traffic and on solid
ground. Switch on the hazard warn‐
ing system.▷Let the steering wheel lock engage with the
wheels in the straight-ahead position, set
the handbrake, and engage first gear or re‐
verse, or engage selector lever position P.▷Have all vehicle occupants get out of the
vehicle and ensure that they remain out‐
side the immediate area in a safe place,
such as behind a guardrail.Seite 232MobilityWheels and tires232
Online Edition for Part no. 01 40 2 911 498 - VI/13
Page 233 of 288

▷If a warning triangle or portable hazard
warning lamp is required, set it up on the
roadside at an appropriate distance from
the rear of the vehicle. Comply with all
safety guidelines and regulations. ◀
The procedure to correct a flat tire depends on
the equipment in the vehicle:
▷Run-flat tires, refer to page 232.▷MINI Mobility System, refer to page 233.▷Wheel change with a compact wheel, refer
to page 249.
MINI Mobility System
Notes
▷Follow the instructions on using the Mobi‐
lity System found on the compressor and
sealant bottle.▷Use of the Mobility System may be ineffec‐
tive if tire damage is greater than approx.
1/8 in/4 mm in size.▷Contact the nearest service center if the tire
cannot be made drivable.▷If possible, do not remove foreign bodies
that have penetrated the tire.▷Pull the speed limit sticker off the sealant
bottle and apply it to the steering wheel.
Sealant and compressor
1Sealant bottle and speed limit sticker2Filling hose
Note the use-by date on the sealant bottle.3Holder for the sealant bottle4Compressor5Connector and cable for the lighter socket/
socket in passenger compartment 114.6Connection hose for connecting the com‐
pressor and sealant bottle or the compres‐
sor and wheel7On/off switch8Pressure gauge for displaying the tire infla‐
tion pressure9Release button for reducing the tire infla‐
tion pressure
The connector, cable, and connecting hose are
stowed in the compressor housing.
Using the Mobility System
To repair a flat tire with the Mobility System,
proceed as follows:
▷Filling the tire with sealant▷Distributing the sealant▷Correcting the tire inflation pressure
Filling the tire with sealant
Adhere to the specified sequence
Adhere to the specified sequence of the
steps; otherwise, sealant may escape under
high pressure. ◀
1.Shake the sealant bottle.2.Pull the connection hose 6 fully out of the
compressor housing and screw it onto the
sealant bottle connection. Ensure that the
connection hose is not kinked.Seite 233Wheels and tiresMobility233
Online Edition for Part no. 01 40 2 911 498 - VI/13
Page 251 of 288

driving characteristics could result, for example
reduced track stability on braking, extended
braking distance, and altered self-steering
characteristics in the limit range. In conjunction
with winter tires, these characteristics are more
pronounced. ◀
Only mount one compact wheel
Only one compact wheel may be
mounted. Restore the wheels and tires to their
original size as quickly as possible. Failure to do
so is a safety risk. ◀
Check the tire inflation pressure at the next op‐
portunity and correct it if necessary. Replace
the defective tire as soon as possible and have
the new wheel balanced.
Preparing wheel change
Observe the safety precautions regarding flat
tires, refer to page 232.
Additional safety precautions in the event
of a wheel change
Change the wheel only on a level, firm surface
which is not slippery.
The vehicle or the jack could slip to the side if
you attempt to raise the vehicle on a soft or
slippery surface, snow, ice, tiles, etc. Do not use
a wooden block or similar object as a support
base for the jack, as this would prevent it from
extending to its full support height and reduce
its load-carrying capacity.
To avoid serious or fatal injury: never lie under
the vehicle, and never start the engine while it
is supported by the jack. ◀1.Place the folding wheel chock behind the
front wheel of the other vehicle side; if the
vehicle is on an incline, place it in front of
this wheel. If the vehicle is parked on a
steep incline, additionally secure the vehi‐
cle against rolling.2.Expose the lug bolts if necessary.3.Loosen the lug bolts a half turn.Jacking up vehicle
The vehicle jack is designed for changing
wheels only.
The vehicle jack is designed for changing
wheels only. Do not attempt to raise another
vehicle model with it or to raise any load of any
kind. To do so could cause accidents and per‐
sonal injury. ◀
1.Position the vehicle jack at the jacking point
closest to the wheel.
The entire surface of the jack base must
rest on the ground vertically beneath the
jacking point.2.Guide the jack head into the rectangular re‐
cess of the jacking point when cranking up.3.Jack the vehicle up until the wheel you are
changing is raised from the ground.
Mounting the compact wheel
1.Unscrew the lug bolts and remove the
wheel.2.Remove accumulations of mud or dirt from
the mounting surfaces of the wheel and
hub. Also clean the lug bolts.Seite 251Replacing componentsMobility251
Online Edition for Part no. 01 40 2 911 498 - VI/13
Page 257 of 288

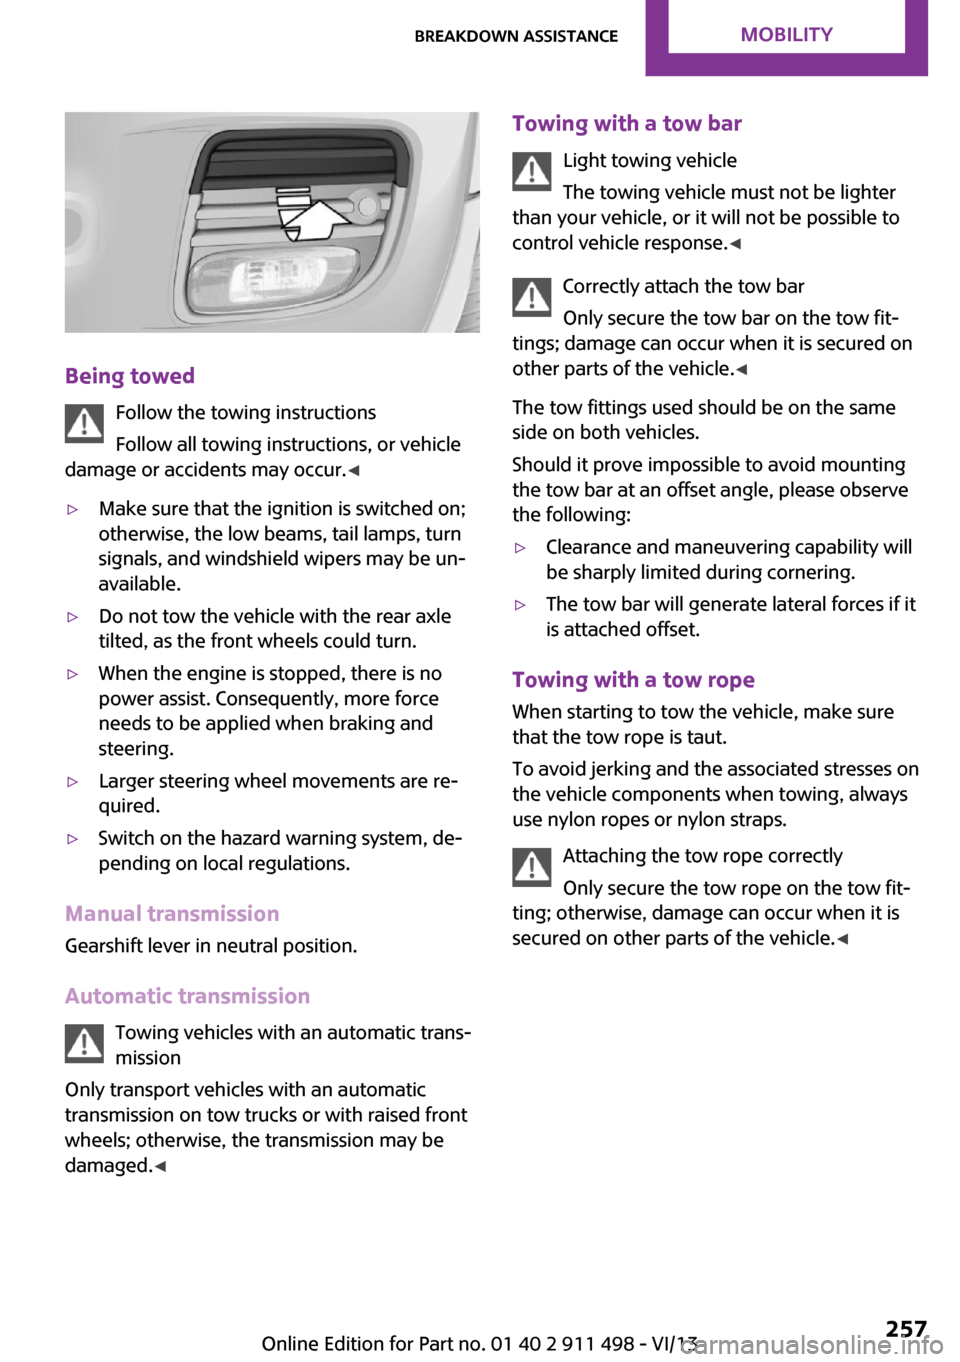
Being towedFollow the towing instructions
Follow all towing instructions, or vehicle
damage or accidents may occur. ◀
▷Make sure that the ignition is switched on;
otherwise, the low beams, tail lamps, turn
signals, and windshield wipers may be un‐
available.▷Do not tow the vehicle with the rear axle
tilted, as the front wheels could turn.▷When the engine is stopped, there is no
power assist. Consequently, more force
needs to be applied when braking and
steering.▷Larger steering wheel movements are re‐
quired.▷Switch on the hazard warning system, de‐
pending on local regulations.
Manual transmission
Gearshift lever in neutral position.
Automatic transmission Towing vehicles with an automatic trans‐
mission
Only transport vehicles with an automatic
transmission on tow trucks or with raised front
wheels; otherwise, the transmission may be
damaged. ◀
Towing with a tow bar
Light towing vehicle
The towing vehicle must not be lighter
than your vehicle, or it will not be possible to
control vehicle response. ◀
Correctly attach the tow bar
Only secure the tow bar on the tow fit‐
tings; damage can occur when it is secured on
other parts of the vehicle. ◀
The tow fittings used should be on the same
side on both vehicles.
Should it prove impossible to avoid mounting
the tow bar at an offset angle, please observe
the following:▷Clearance and maneuvering capability will
be sharply limited during cornering.▷The tow bar will generate lateral forces if it
is attached offset.
Towing with a tow rope
When starting to tow the vehicle, make sure
that the tow rope is taut.
To avoid jerking and the associated stresses on
the vehicle components when towing, always
use nylon ropes or nylon straps.
Attaching the tow rope correctly
Only secure the tow rope on the tow fit‐
ting; otherwise, damage can occur when it is
secured on other parts of the vehicle. ◀
Seite 257Breakdown assistanceMobility257
Online Edition for Part no. 01 40 2 911 498 - VI/13
Page 284 of 288

Shift lever– Automatic transmission with
Steptronic 72
Shift paddles on the steering
wheel 73
Short commands, voice acti‐ vation 270
Side airbags 90
Side windows, refer to Win‐ dows 42
Slot for remote control 65
Snap-in adapter, mobile phone 202
Socket, OBD Onboard Diagno‐ sis 242
Software applications, iPhone 212
Software part num‐ ber 182, 192
Software update 178
Special destinations, naviga‐ tion 142
Special equipment, series equipment 6
Speed, average 76
Speed limit 99
Speed limit
– Setting 99
Speedometer 16
Speed, with winter tires 232
Spoken instructions, naviga‐ tion 149
Sport button 103
Sport program, automatic transmission with Step‐
tronic 72
Stability control systems 101
Start/Stop button 65
Start/Stop button, starting the engine 66
Start/Stop button, switching off the engine 67
Starting the engine 66
Start problems, refer to Jump- starting 254
State/province, selecting for navigation 138
Stations, stored 166
Station, storing 161
Status information, onboard monitor 23
Steering wheel 59
Steering wheel– Shift paddles 73
Steering wheel, adjusting 59
Steering wheel lock 65
Stopping, engine 67
Storage, tires 232
Storing the vehicle 263
Street, entering for naviga‐ tion 139
Summer tires, refer to Wheels and tires 222
Summer tires, tread 229
Switches, refer to Cockpit 14
Switching off, engine 67
Switching off, vehicle 67
Symbols 6
T Tachometer 75
Tailgate
– Comfort Access 40– Emergency activation 39– Emergency unlocking 39– Opening/closing 37– Opening from the out‐
side 37– Unlocking manually 38– Unlocking with remote con‐
trol 35
Tail lamps 247
Tank gauge, refer to Fuel gauge 75
Tasks 209
Technical changes, refer to Safety 7
Technical data 266
Telephone 182, 192
Telephone, adjusting the vol‐ ume 185, 197
Temperature– Air conditioner 109– Automatic climate con‐
trol 112– Changing the unit of meas‐
ure 78
Temperature, coolant, refer to
Coolant temperature 75
Temperature display
– External temperature 74– External temperature warn‐
ing 74– Setting the unit 78
Temperature warning 74
Text messages 207
Theft alarm system, refer to Alarm system 41
Time
– Setting the time 79– Setting the time zone 79
Tire age 230
Tire identification marks 228
Tire inflation pressure 222
Tire inflation pressure
– Pressure loss 94, 96
Tire pressure monitor, refer to
Flat Tire Monitor 93
Tire Pressure Monitor TPM
– System limits 95– System reset 96– Warning lamp 97
Tire Quality Grading 228
Tires
– Flat tire 94– Inflation pressure 222– Inflation pressure loss 97– Pressure monitoring, refer to
Tire Pressure Monitor
TPM 95
Tires, breaking in 124
Tires, changing 231
Tires, condition 229
Tires, damage 230
Tire size 228
Tires, minimum tread 230
Tires, retreaded tires 231
Tires, storage 232
Tire tread 229
Seite 284ReferenceEverything from A to Z284
Online Edition for Part no. 01 40 2 911 498 - VI/13