2014 MERCEDES-BENZ S-CLASS COUPE ignition
[x] Cancel search: ignitionPage 179 of 413
If you or others come into contact with fuel,
observe the following:
R Wash the fuel off any affected areas of skin
with water and soap immediately.
R If you get fuel in your eyes, rinse them thor-
oughly with clean water immediately. Seek
immediate medical attention.
R If fuel is swallowed, seek immediate medi-
cal attention. Do not induce vomiting.
R Change any clothing that has come into
contact with fuel immediately. G
WARNING
Electrostatic charge can cause sparks and
thereby ignite fuel vapours. There is a risk of
fire and explosion.
Always touch the vehicle body before opening the fuel filler flap or touching the fuel pump
nozzle. This discharges any electrostatic
charge that may have built up.
Do not get into the vehicle again during the
refuelling process. Otherwise, electrostatic
charge could build up again.
! Do not use diesel to refuel vehicles with a
petrol engine. Do not switch on the ignition if you accidentally refuel with the wrong
fuel. Otherwise, fuel can enter the fuel sys- tem. Even small amounts of the wrong fuel could result in damage to the fuel system
and the engine. Notify a qualified specialist
workshop and have the fuel tank and fuel
lines drained completely.
! Overfilling the fuel tank could damage the
fuel system.
! Take care not to spill any fuel on painted
surfaces. You could otherwise damage the
paintwork.
! Use a filter when adding fuel from a fuel
can. The fuel lines and/or the diesel injec-
tion system could otherwise be blocked by particles from the fuel can. If you overfill the fuel tank, some fuel may
spray out when you remove the fuel pump
nozzle.
For further information on fuel and fuel quality (Y page 403). Refuelling
General notes Observe the important safety notes
(Y
page 175).
If you unlock/lock the vehicle from the out-
side, the fuel filler flap also unlocks/locks.
The position of the 8fuel filler cap is dis-
played in the instrument cluster. The arrow
next to the filling pump indicates the side of
the vehicle.
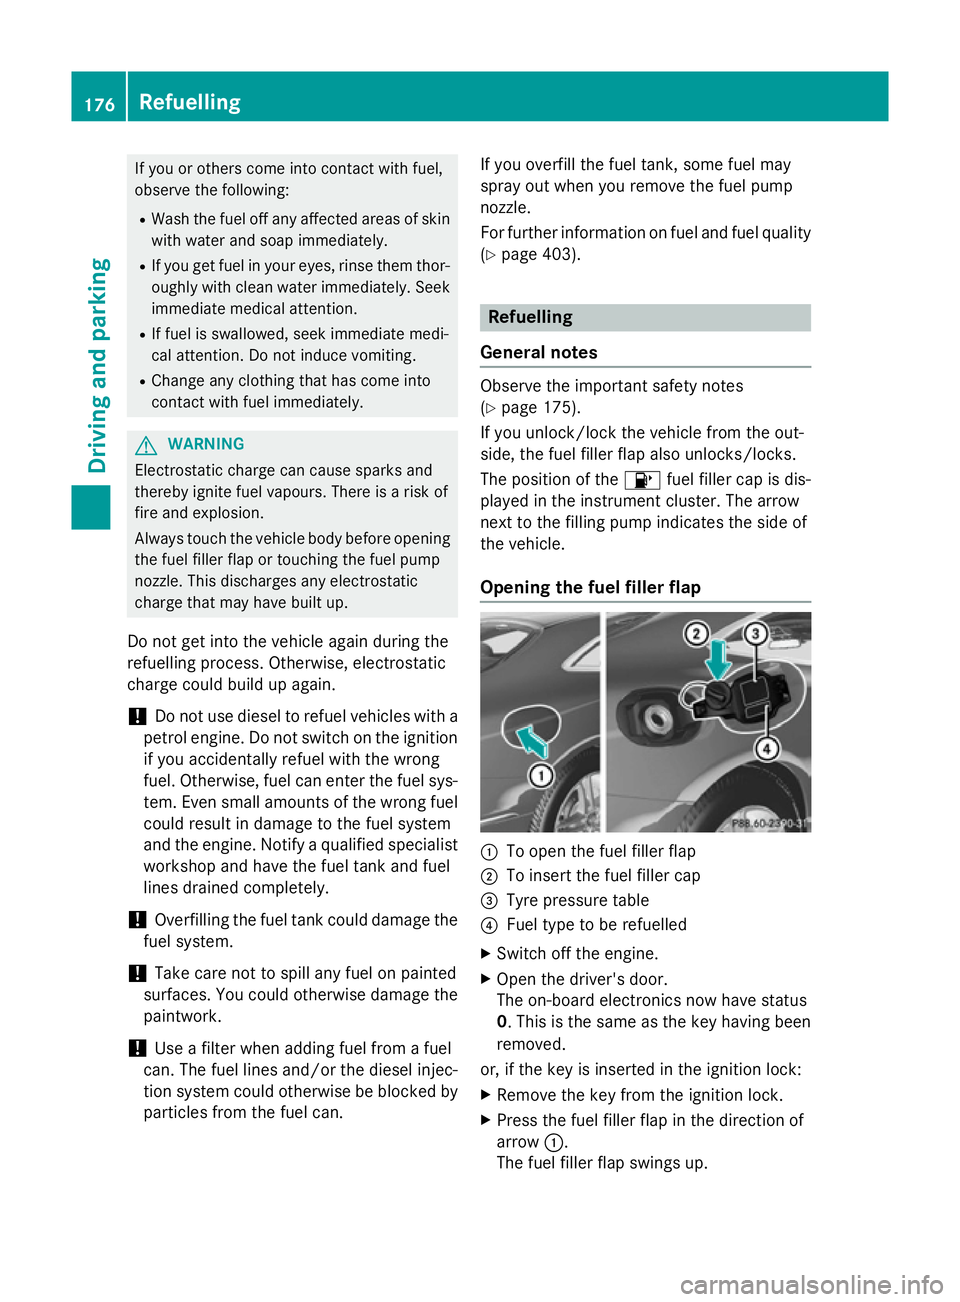
Opening the fuel filler flap :
To open the fuel filler flap
; To insert the fuel filler cap
= Tyre pressure table
? Fuel type to be refuelled
X Switch off the engine.
X Open the driver's door.
The on-board electronics now have status
0. This is the same as the key having been
removed.
or, if the key is inserted in the ignition lock:
X Remove the key from the ignition lock.
X Press the fuel filler flap in the direction of
arrow :.
The fuel filler flap swings up. 176
RefuellingDriving and parking
Page 181 of 413
Problems with the fuel and fuel tank
Problem
Possible causes/consequences and
M
MSolutions Fuel is leaking from the
vehicle. G
WARNING
The fuel line or the fuel tank is faulty.
There is a risk of fire or explosion.
X Apply the electric parking brake.
X Switch off the engine.
X Open the driver's door.
The on-board electronics now have status 0. This is the same as
the key having been removed.
or, if the key is inserted in the ignition lock:
X Remove the key from the ignition lock.
X Do not restart the engine under any circumstances.
X Consult a qualified specialist workshop. The fuel filler flap can-
not be opened. The fuel filler flap is not unlocked.
or
The key battery is discharged.
X Unlock the vehicle (Y page 85).
or
X Unlock the vehicle using the emergency key element
(Y page 87). The fuel filler flap is unlocked, but the opening mechanism is jam-
med.
X Consult a qualified specialist workshop. Parking
Important safety notes
G
WARNING
Flammable material such as leaves, grass or
twigs may ignite if they come into contact with hot parts of the exhaust system or exhaust
gas flow. There is a risk of fire.
Park the vehicle so that no flammable mate-
rial can come into contact with hot vehicle
components. In particular, do not park on dry grassland or harvested grain fields. G
WARNING
If you leave children unattended in the vehi-
cle, they may be able to set the vehicle in
motion if, for example, they:
R release the parking brake
R shift the automatic transmission out of park
position P
R start the engine
In addition, they may operate vehicle equip-
ment and become trapped. There is a risk of
an accident and injury. 178
ParkingDriving and parking
Page 182 of 413
When leaving the vehicle, always take the key
with you and lock the vehicle. Never leave
children unattended in the vehicle.
! Always secure the vehicle correctly
against rolling away. Otherwise, the vehicle
or its drivetrain could be damaged.
To ensure that the vehicle is secured against rolling away unintentionally:
R the electric parking brake must be applied
R the transmission must be in position Pand
the key must be removed from the ignition lock
R the front wheels must be turned towards
the kerb on steep uphill or downhill gradi-
ents
R the empty vehicle must be secured at the
front axle with a wheel chock or similar, for example, on uphill or downhill gradients
R a laden vehicle must also be secured at the
rear axle with a wheel chock or similar, for
example, on uphill or downhill gradients Switching off the engine
Important safety notes G
WARNING
The automatic transmission switches to neu-
tral position Nwhen you switch off the engine.
The vehicle may roll away. There is a risk of an
accident.
After switching off the engine, always switch
to parking position P. Prevent the parked vehi-
cle from rolling away by applying the parking
brake.
Using the key X
Apply the electric parking brake.
X Shift the transmission to position P.
X Turn the key to position 0in the ignition
lock and remove it.
The immobiliser is activated. If you switch the engine off with the trans-
mission in position
Ror D, the automatic
transmission shifts to Nautomatically.
If you then open the driver's door or the
front-passenger door or remove the key
from the ignition, the automatic transmis-
sion shifts to P.
If you shift the automatic transmission to N
before switching off the engine, the auto-
matic transmission remains in Neven if the
driver's door or the front-passenger door is opened.
Using the Start/Stop button X
Apply the electric parking brake.
X Shift the transmission to position P.
X Press the Start/Stop button (Y page 159).
The engine stops and all the indicator
lamps in the instrument cluster go out.
When the driver's door is closed, this cor-
responds to key position 1. When the driv-
er's door is open, this corresponds to key
position 0: "key removed".
If you use the Start/Stop button to switch
off the engine, the automatic transmission
shifts to Nautomatically. If you then open
one of the front doors, the automatic trans-
mission shifts to P.
If you drive through a car wash with a con- veyor, you can:
R switch on the ignition using the Start/
Stop button and shift the transmission to
N
R insert the key into the ignition lock,
switch on the ignition and shift the trans-
mission to N
The engine can be switched off while the vehi-
cle is in motion by pressing and holding the
Start/Stop button for about three seconds.
This function operates independently of the
ECO start/stop automatic engine switch-off
function. Parking
179Driving and parking Z
Page 183 of 413
Electric parking brake
General notes G
WARNING
If you leave children unattended in the vehi-
cle, they may be able to set the vehicle in
motion if, for example, they:
R release the parking brake
R shift the automatic transmission out of park
position P
R start the engine
In addition, they may operate vehicle equip-
ment and become trapped. There is a risk of
an accident and injury.
When leaving the vehicle, always take the key
with you and lock the vehicle. Never leave
children unattended in the vehicle.
The function of the electric parking brake is
dependent on the on-board voltage. If the on-
board voltage is low or if there is a malfunc-
tion in the system, it may not be possible to
apply the released parking brake.
X If this is the case, only park the vehicle on
level ground and secure it to prevent it from
rolling away.
X Shift the automatic transmission to posi-
tion P.
It may not be possible to release an applied
parking brake if the on-board voltage is low or
if there is a malfunction in the system. Con-
tact a qualified specialist workshop.
The electric parking brake carries out a func-
tion check at regular intervals when the
engine is switched off. Noises that occur are
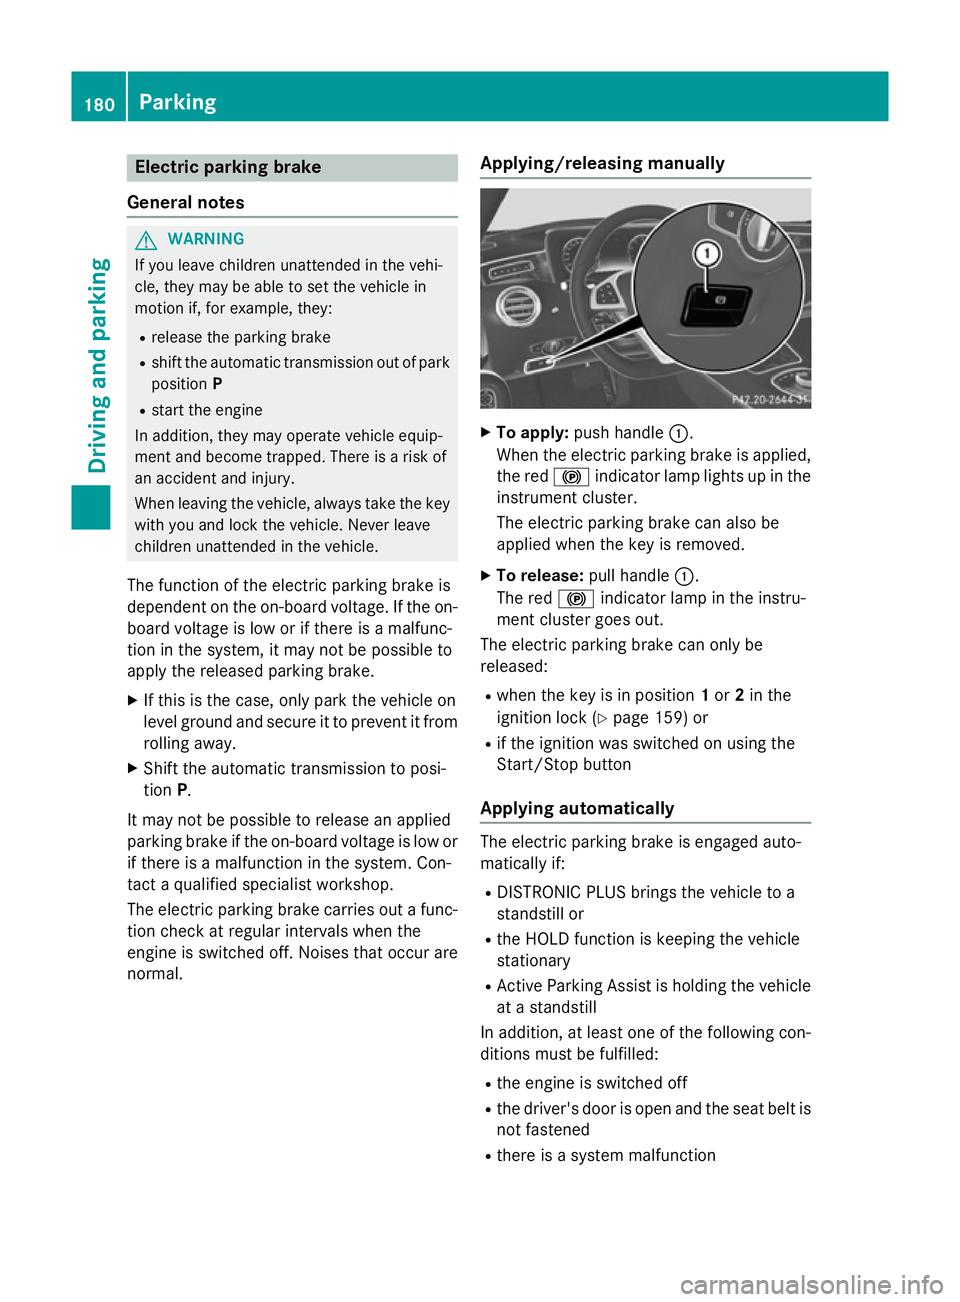
normal. Applying/releasing manually X
To apply: push handle :.
When the electric parking brake is applied, the red !indicator lamp lights up in the
instrument cluster.
The electric parking brake can also be
applied when the key is removed.
X To release: pull handle:.
The red !indicator lamp in the instru-
ment cluster goes out.
The electric parking brake can only be
released:
R when the key is in position 1or 2in the
ignition lock (Y page 159) or
R if the ignition was switched on using the
Start/Stop button
Applying automatically The electric parking brake is engaged auto-
matically if:
R DISTRONIC PLUS brings the vehicle to a
standstill or
R the HOLD function is keeping the vehicle
stationary
R Active Parking Assist is holding the vehicle
at a standstill
In addition, at least one of the following con-
ditions must be fulfilled:
R the engine is switched off
R the driver's door is open and the seat belt is
not fastened
R there is a system malfunction 180
ParkingDriving and parking
Page 184 of 413
R
the power supply is insufficient
R the vehicle is stationary for a lengthy period
The red !indicator lamp in the instrument
cluster lights up.
The electric parking brake is not automati-
cally applied if the engine is switched off by
the ECO start/stop function.
Releasing automatically The electric parking brake is released auto-
matically when all of the following conditions
are fulfilled:
R the engine is running
R the transmission is in position Dor R.
R the seat belt is fastened
R you depress the accelerator pedal
If the automatic transmission is in position R,
the boot lid must be closed.
If your seat belt is not fastened, the following conditions must be fulfilled to automatically
release the electric parking brake:
R the driver's door is closed
R you have shifted out of transmission posi-
tion Por you have previously driven faster
than 3 km/h.
Ensure that you do not depress the acceler-
ator pedal unintentionally. Otherwise, the
parking brake will be released and the vehicle will start to move.
Emergency braking The vehicle can also be braked during an
emergency by using the electric parking
brake.
X While driving, push handle :of the elec-
trical parking brake (Y page 180).
The vehicle is braked as long as you keep
handle :of the electric parking brake
pressed. The longer electric parking brake
handle :is depressed, the greater the brak-
ing force. During braking:
R a warning tone sounds
R the Release parking brake
Release parking brake message
appears
R the red !indicator lamp in the instru-
ment cluster flashes
When the vehicle has been braked to a stand- still, the electric parking brake is applied. Parking up the vehicle
If you leave the vehicle parked up for longer
than four weeks, the battery may be damaged by exhaustive discharging and further dam-
aged in the event of this occurring again.
X Disconnect the battery or connect it to a
trickle charger.
i You can obtain information about trickle
chargers from a qualified specialist work-
shop.
If you leave the vehicle parked up for longer
than six weeks, it may suffer from lack of use.
X Visit a qualified specialist workshop and
seek advice. Driving tips
General driving tips
G
WARNING
If you switch off the ignition while driving,
safety-relevant functions are only available
with limitations, or not at all. This could affect, for example, the power steering and the brake
boosting effect. You will require considerably
more effort to steer and brake. There is a risk of an accident.
Do not switch off the ignition while driving. Driving
tips
181Driving an d parking Z
Page 207 of 413
The electric parking brake secures the vehicle
automatically if the HOLD function is activa-
ted and:
R the driver's door is open and the driver's
seat belt is unfastened
R the engine is switched off, unless it is auto-
matically switched off by the ECO start/
stop function
R a system fault occurs
R the power supply is insufficient
On steep uphill or downhill inclines or if there
is a malfunction, the transmission may also
be automatically shifted into position P.MAGIC BODY CONTROL
General notes Magic Body Control consists of Active Body
Control (ABC), ROAD SURFACE SCAN, the
CURVE cornering function as well as auto-
matic vehicle stabilisation in the event of a
crosswind.
Your vehicle automatically adjusts its ride
height to reduce fuel consumption. The sus-
pension mode is adjusted according to your
selection (SPORT, COMFORT or CURVE), the
road surface conditions and the vehicle load. A multifunction camera detects bumps in the
road surface before the vehicle drives over
them. This reduces chassis movements.
Important safety notes G
WARNING
People's limbs may become trapped if they
are located underneath the vehicle or
between the vehicle body and the tyres when the vehicle is lowering. There is a danger of
injury.
When lowering the vehicle, make sure no one
is underneath the vehicle or in the immediate vicinity of the wheel arches. Crosswind Assist The crosswind stabilisation operates by
changing wheel loads through distortion of
the ABC spring struts. It reduces impairments in handling when driving in a straight line and
assists during countersteering.
Crosswind Assist is active in the speed range
between 80 km/h and 210 km/h when driv-
ing straight ahead or cornering gently.
Active Body Control ABC Vehicle level
All vehicles except AMG vehicles:
depend-
ing on the vehicle level that has been set, the vehicle automatically adjusts its height
dependent on the current speed. The vehicle
is lowered by up to 15 mm as the speed
increases. As the speed is reduced, the vehi-
cle is raised to the set vehicle height.
In the event of poor road surface conditions,
the vehicle automatically raises by up to
10 mm and harder damping is selected.
AMG vehicles: depending on the vehicle
level that has been selected, the vehicle auto- matically adjusts its height dependent on the
current speed. The vehicle is lowered by up to 10 mm below the normal level as the speed
increases. As the speed is reduced, the vehi-
cle is raised to the set vehicle height.
Select the "Normal" setting for normal road
conditions and "Raised" for driving with snow chains or on particularly poor road condi-
tions.
Your selection remains stored even if you
remove the key from the ignition lock.
The "Raised level" setting is cancelled if you:
R are driving faster than approximately
120 km/h.
R drive for approximately three minutes at a
speed over 80 km/h. 204
Driving systemsDriving and parking
Page 208 of 413
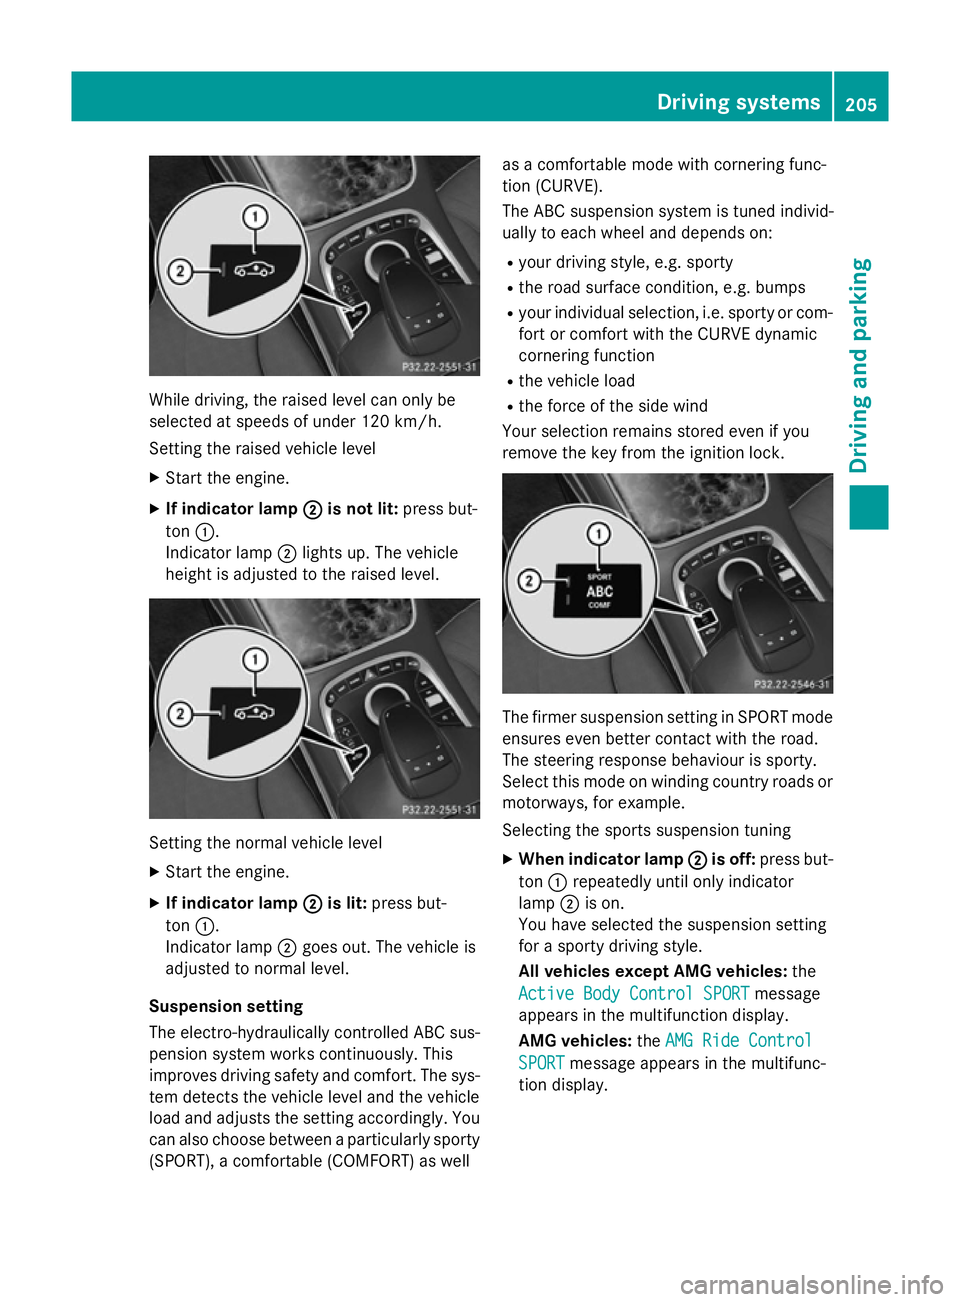
While driving, the raised level can only be
selected at speeds of under 120 km/h.
Setting the raised vehicle level
X Start the engine.
X If indicator lamp ;
;is not lit: press but-
ton :.
Indicator lamp ;lights up. The vehicle
height is adjusted to the raised level. Setting the normal vehicle level
X Start the engine.
X If indicator lamp ;
;is lit: press but-
ton :.
Indicator lamp ;goes out. The vehicle is
adjusted to normal level.
Suspension setting
The electro-hydraulically controlled ABC sus- pension system works continuously. This
improves driving safety and comfort. The sys- tem detects the vehicle level and the vehicle
load and adjusts the setting accordingly. You
can also choose between a particularly sporty
(SPORT), a comfortable (COMFORT) as well as a comfortable mode with cornering func-
tion (CURVE).
The ABC suspension system is tuned individ-
ually to each wheel and depends on:
R your driving style, e.g. sporty
R the road surface condition, e.g. bumps
R your individual selection, i.e. sporty or com-
fort or comfort with the CURVE dynamic
cornering function
R the vehicle load
R the force of the side wind
Your selection remains stored even if you
remove the key from the ignition lock. The firmer suspension setting in SPORT mode
ensures even better contact with the road.
The steering response behaviour is sporty.
Select this mode on winding country roads or
motorways, for example.
Selecting the sports suspension tuning
X When indicator lamp ; ;is off: press but-
ton :repeatedly until only indicator
lamp ;is on.
You have selected the suspension setting
for a sporty driving style.
All vehicles except AMG vehicles: the
Active Body Control SPORT Active Body Control SPORT message
appears in the multifunction display.
AMG vehicles: theAMG Ride Control AMG Ride Control
SPORT
SPORT message appears in the multifunc-
tion display. Driving systems
205Driving and parking Z
Page 210 of 413
R
there is glare, e.g. from the sun or from
oncoming traffic
R the windscreen is dirty, misted up or cov-
ered, for instance by a sticker, in the vicinity of the camera
R the road surface has no texture or is reflec-
tive, e.g. in the case of newly laid asphalt,
concrete slabs or puddles
R the distance to the vehicle in front is too
short
R sections of the route have a very small
radius of curvature
R you accelerate hard or brake sharply AIRMATIC
General notes AIRMATIC is an air suspension system with
variable damping for improved driving com-
fort. All-round level control ensures the best
possible suspension and constant ground
clearance, even with a laden vehicle. When
you drive fast, the vehicle is lowered auto-
matically to improve driving safety and to
reduce fuel consumption. There is also the
option to manually adjust the vehicle level.
AIRMATIC consists of level setting, level con-
trol and the Adaptive Damping System ADS
PLUS.
Important safety notes G
WARNING
People's limbs may become trapped if they
are located underneath the vehicle or
between the vehicle body and the tyres when the vehicle is lowering. There is a danger of
injury.
When lowering the vehicle, make sure no one
is underneath the vehicle or in the immediate vicinity of the wheel arches. Vehicle level Setting the raised vehicle level
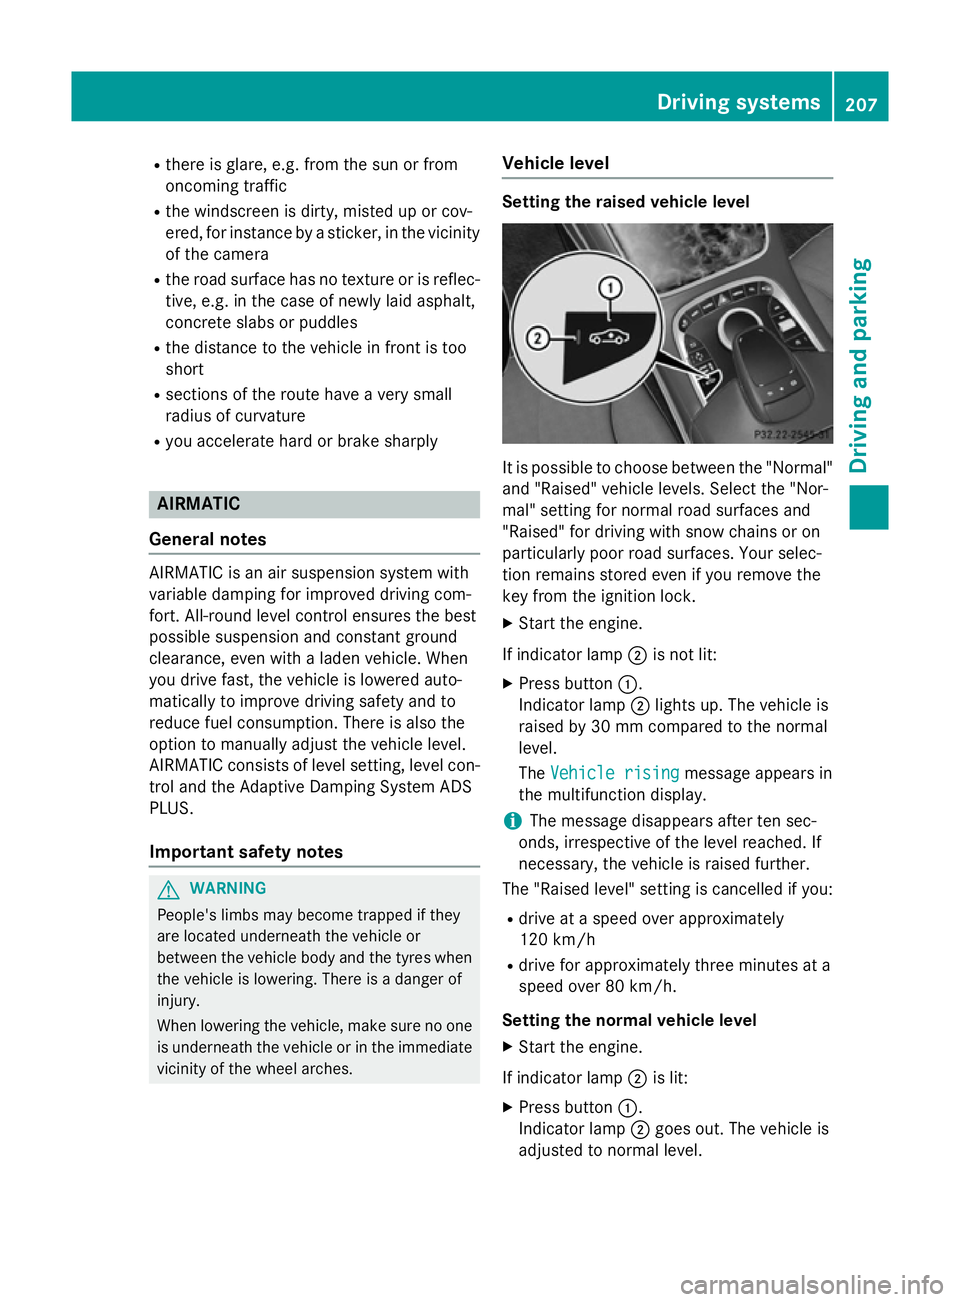
It is possible to choose between the "Normal"
and "Raised" vehicle levels. Select the "Nor-
mal" setting for normal road surfaces and
"Raised" for driving with snow chains or on
particularly poor road surfaces. Your selec-
tion remains stored even if you remove the
key from the ignition lock.
X Start the engine.
If indicator lamp ;is not lit:
X Press button :.
Indicator lamp ;lights up. The vehicle is
raised by 30 mm compared to the normal
level.
The Vehicle rising
Vehicle rising message appears in
the multifunction display.
i The message disappears after ten sec-
onds, irrespective of the level reached. If
necessary, the vehicle is raised further.
The "Raised level" setting is cancelled if you:
R drive at a speed over approximately
120 km/h
R drive for approximately three minutes at a
speed over 80 km/h.
Setting the normal vehicle level X Start the engine.
If indicator lamp ;is lit:
X Press button :.
Indicator lamp ;goes out. The vehicle is
adjusted to normal level. Driving systems
207Driving and parking Z