2014 MERCEDES-BENZ S-CLASS COUPE display
[x] Cancel search: displayPage 312 of 413
Warning/
indicator
lamp
N N
Signal type
Possible causes/consequences and M
MSolutions X
Leave the vehicle and keep a safe distance from the vehicle until the engine
has cooled down.
X Check the coolant level and top up the coolant, observing the warning notes
(Y page 340).
X If you have to top up the coolant frequently, have the engine cooling system
checked.
X Make sure that the air supply to the engine radiator is not blocked, e.g. by
frozen slush.
X At coolant temperatures below 125 †, drive to the nearest qualified spe-
cialist workshop.
X Avoid putting the engine under heavy load as you do so, e.g. driving in
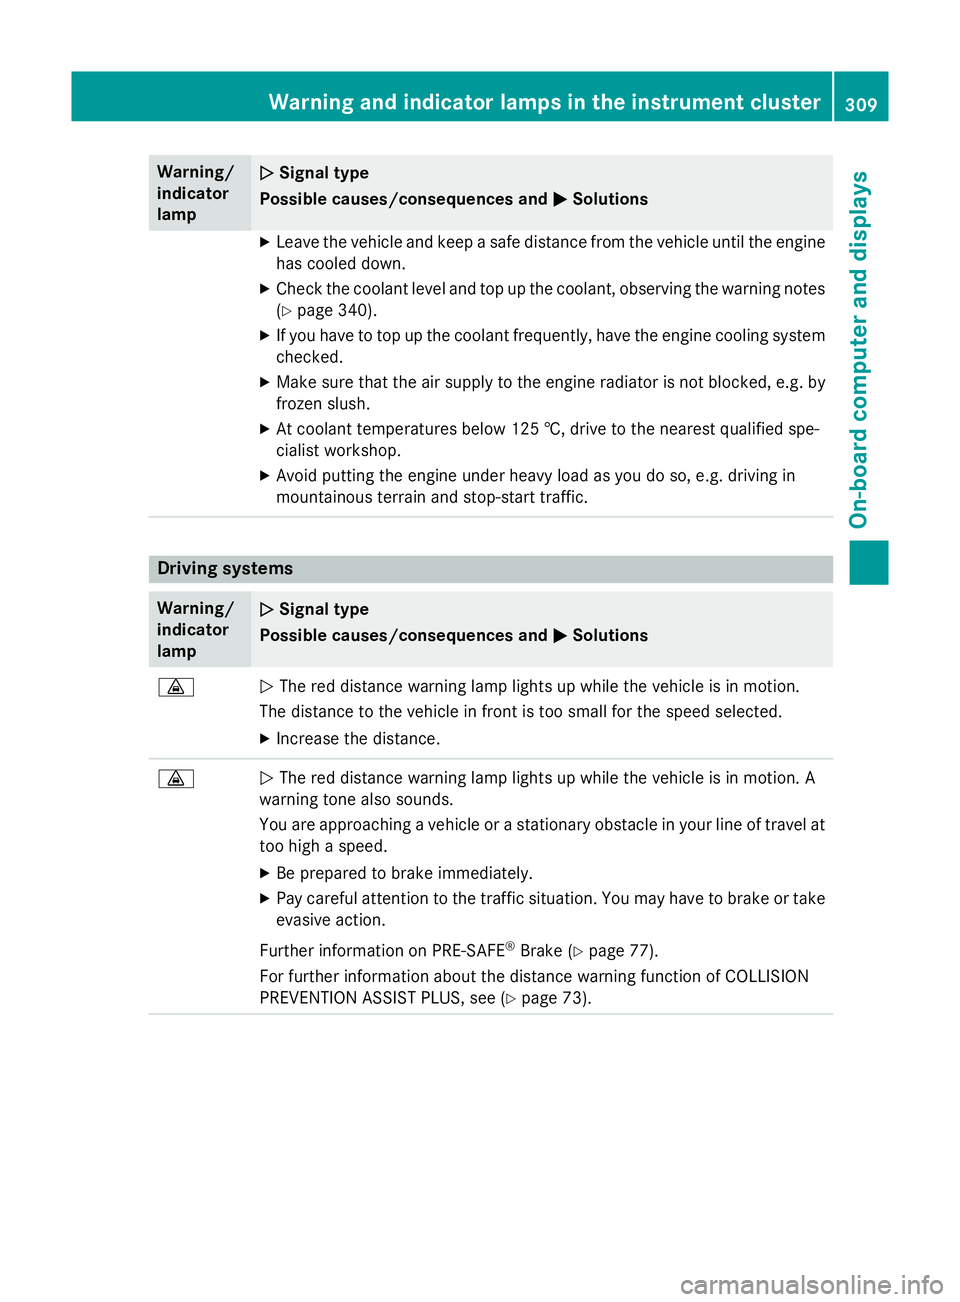
mountainous terrain and stop-start traffic. Driving systems
Warning/
indicator
lamp
N N
Signal type
Possible causes/consequences and M
MSolutions ·
N
The red distance warning lamp lights up while the vehicle is in motion.
The distance to the vehicle in front is too small for the speed selected.
X Increase the distance. ·
N
The red distance warning lamp lights up while the vehicle is in motion. A
warning tone also sounds.
You are approaching a vehicle or a stationary obstacle in your line of travel at too high a speed.
X Be prepared to brake immediately.
X Pay careful attention to the traffic situation. You may have to brake or take
evasive action.
Further information on PRE ‑SAFE®
Brake (Y page 77).
For further information about the distance warning function of COLLISION
PREVENTION ASSIST PLUS, see (Y page 73). Warning and indicator lamps in the instrument cluster
309On-board computer and displays Z
Page 313 of 413
Tyres
Warning/
indicator
lamp
N N
Signal type
Possible causes/consequences and M
MSolutions h
N
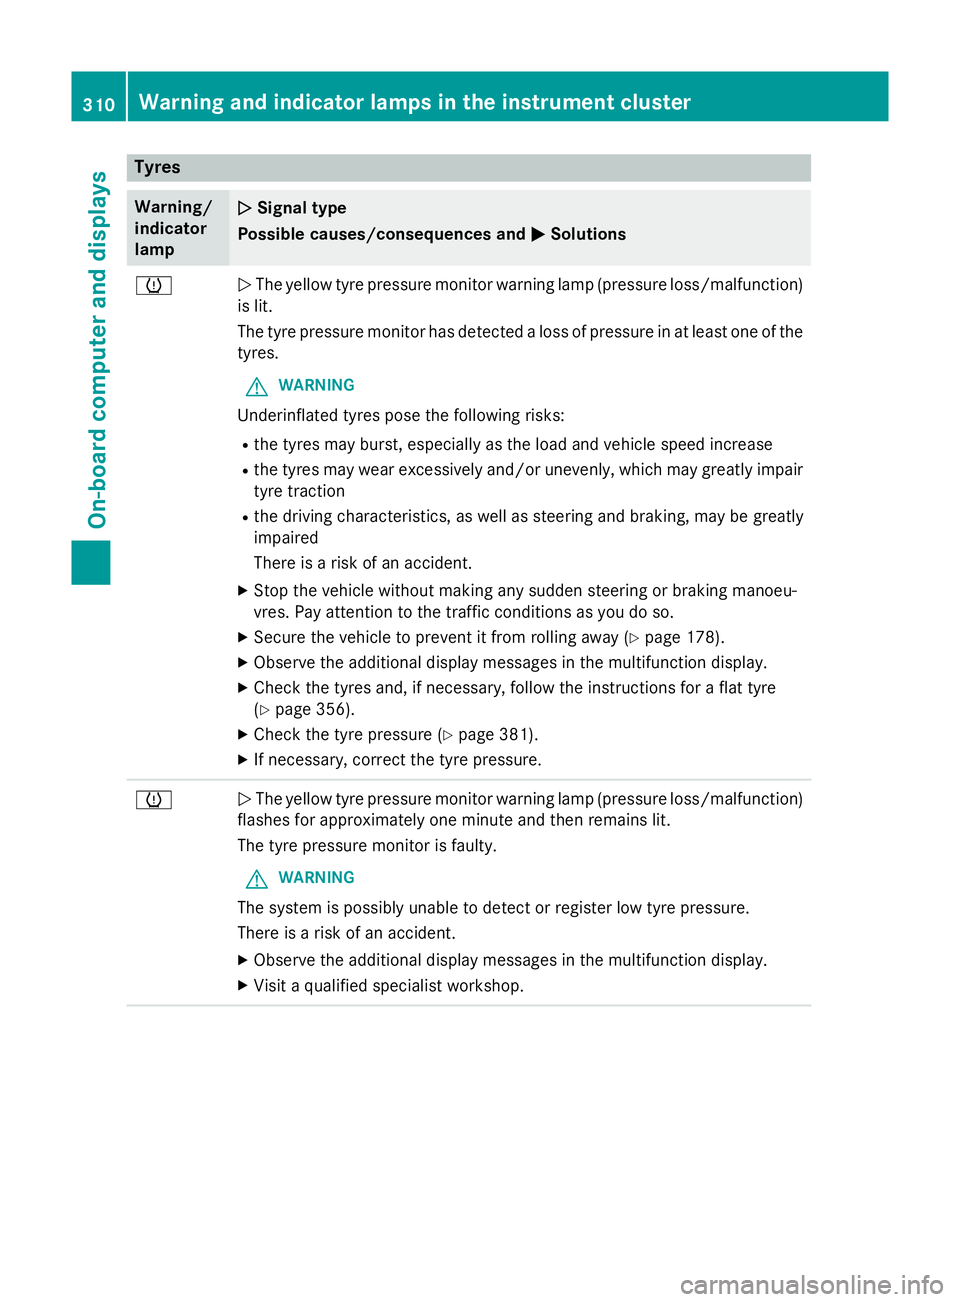
The yellow tyre pressure monitor warning lamp (pressure loss/malfunction)
is lit.
The tyre pressure monitor has detected a loss of pressure in at least one of the
tyres.
G WARNING
Underinflated tyres pose the following risks:
R the tyres may burst, especially as the load and vehicle speed increase
R the tyres may wear excessively and/or unevenly, which may greatly impair
tyre traction
R the driving characteristics, as well as steering and braking, may be greatly
impaired
There is a risk of an accident.
X Stop the vehicle without making any sudden steering or braking manoeu-
vres. Pay attention to the traffic conditions as you do so.
X Secure the vehicle to prevent it from rolling away (Y page 178).
X Observe the additional display messages in the multifunction display.
X Check the tyres and, if necessary, follow the instructions for a flat tyre
(Y page 356).
X Check the tyre pressure (Y page 381).
X If necessary, correct the tyre pressure. h
N
The yellow tyre pressure monitor warning lamp (pressure loss/malfunction)
flashes for approximately one minute and then remains lit.
The tyre pressure monitor is faulty.
G WARNING
The system is possibly unable to detect or register low tyre pressure.
There is a risk of an accident.
X Observe the additional display messages in the multifunction display.
X Visit a qualified specialist workshop. 310
Warning and indicator lamps in the instrument clusterOn-board computer and displays
Page 314 of 413
Vehicle
Warning/
indicator
lamp
N N
Signal type
Possible causes/consequences and M
MSolutions Ð
N
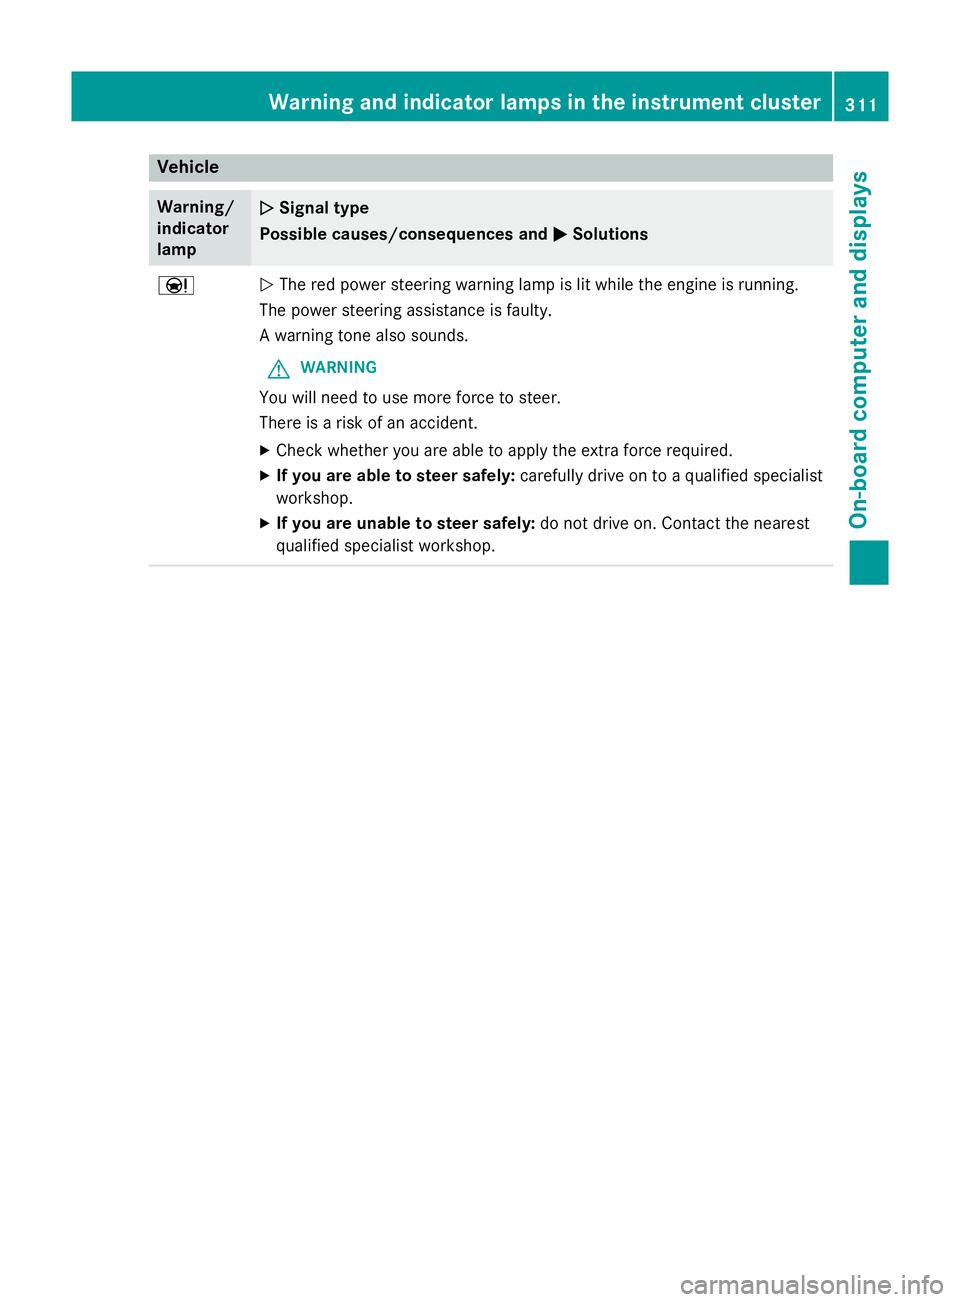
The red power steering warning lamp is lit while the engine is running.
The power steering assistance is faulty.
A warning tone also sounds.
G WARNING
You will need to use more force to steer.
There is a risk of an accident. X Check whether you are able to apply the extra force required.
X If you are able to steer safely: carefully drive on to a qualified specialist
workshop.
X If you are unable to steer safely: do not drive on. Contact the nearest
qualified specialist workshop. Warning and indicator lamps in the instrument cluster
311On-board computer and displays Z
Page 328 of 413
Removing and fitting the coolbox
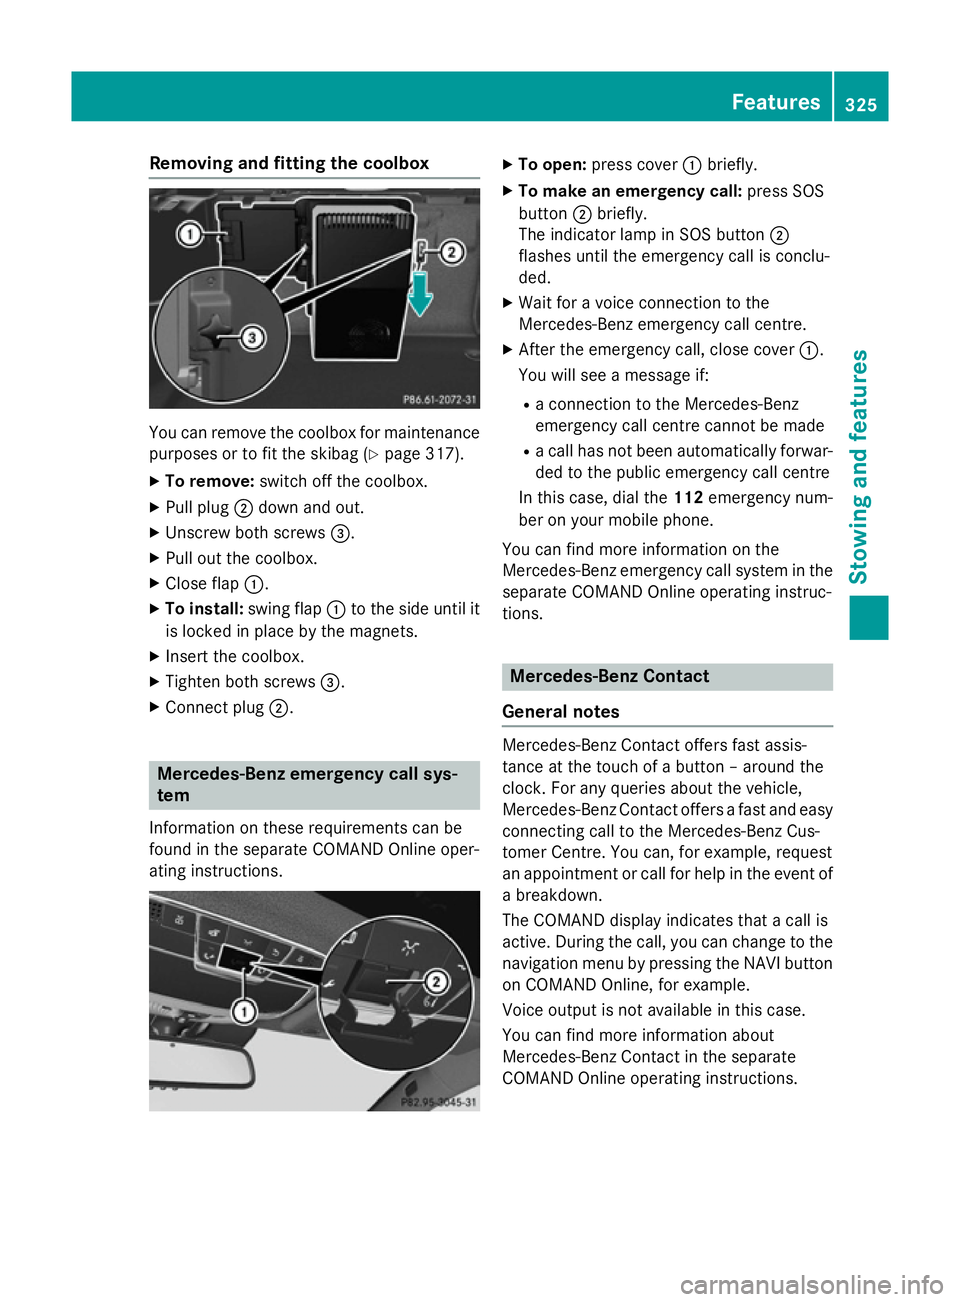
You can remove the coolbox for maintenance
purposes or to fit the skibag (Y page 317).
X To remove: switch off the coolbox.
X Pull plug ;down and out.
X Unscrew both screws =.
X Pull out the coolbox.
X Close flap :.
X To install: swing flap:to the side until it
is locked in place by the magnets.
X Insert the coolbox.
X Tighten both screws =.
X Connect plug ;. Mercedes-Benz emergency call sys-
tem
Information on these requirements can be
found in the separate COMAND Online oper-
ating instructions. X
To open: press cover :briefly.
X To make an emergency call: press SOS
button ;briefly.
The indicator lamp in SOS button ;
flashes until the emergency call is conclu-
ded.
X Wait for a voice connection to the
Mercedes-Benz emergency call centre.
X After the emergency call, close cover :.
You will see a message if:
R a connection to the Mercedes-Benz
emergency call centre cannot be made
R a call has not been automatically forwar-
ded to the public emergency call centre
In this case, dial the 112emergency num-
ber on your mobile phone.
You can find more information on the
Mercedes-Benz emergency call system in the separate COMAND Online operating instruc-
tions. Mercedes-Benz Contact
General notes Mercedes-Benz Contact offers fast assis-
tance at the touch of a button – around the
clock. For any queries about the vehicle,
Mercedes-Benz Contact offers a fast and easy
connecting call to the Mercedes-Benz Cus-
tomer Centre. You can, for example, request
an appointment or call for help in the event of a breakdown.
The COMAND display indicates that a call is
active. During the call, you can change to the
navigation menu by pressing the NAVI button
on COMAND Online, for example.
Voice output is not available in this case.
You can find more information about
Mercedes-Benz Contact in the separate
COMAND Online operating instructions. Features
325Stowing and features Z
Page 329 of 413
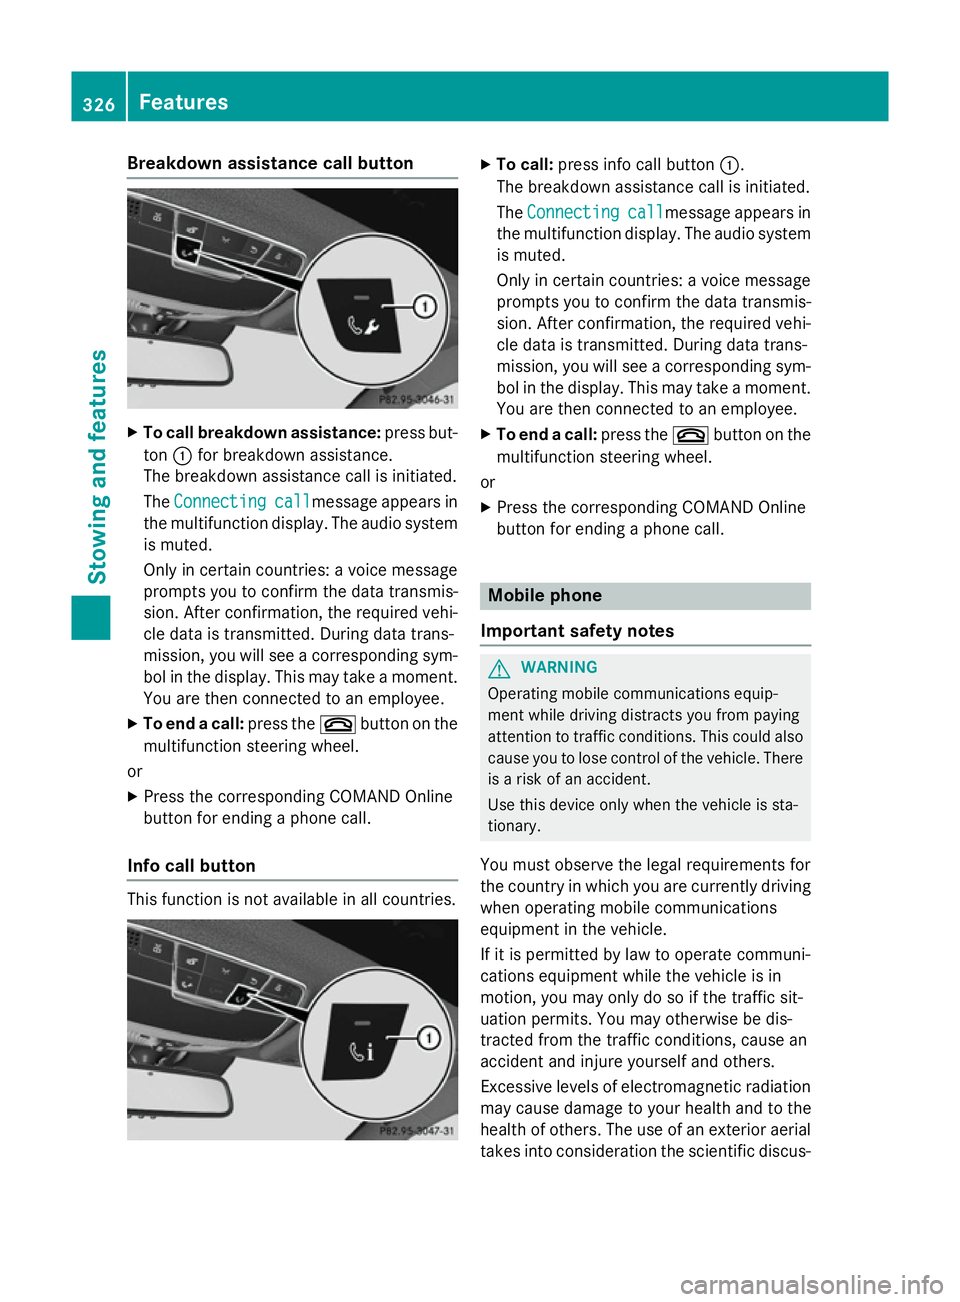
Breakdown assistance call button
X
To call breakdown assistance: press but-
ton :for breakdown assistance.
The breakdown assistance call is initiated.
The Connecting Connecting call
callmessage appears in
the multifunction display. The audio system is muted.
Only in certain countries: a voice message
prompts you to confirm the data transmis-
sion. After confirmation, the required vehi-
cle data is transmitted. During data trans-
mission, you will see a corresponding sym-
bol in the display. This may take a moment. You are then connected to an employee.
X To end a call: press the~button on the
multifunction steering wheel.
or
X Press the corresponding COMAND Online
button for ending a phone call.
Info call button This function is not available in all countries. X
To call: press info call button :.
The breakdown assistance call is initiated.
The Connecting
Connecting call
callmessage appears in
the multifunction display. The audio system is muted.
Only in certain countries: a voice message
prompts you to confirm the data transmis-
sion. After confirmation, the required vehi- cle data is transmitted. During data trans-
mission, you will see a corresponding sym-
bol in the display. This may take a moment.
You are then connected to an employee.
X To end a call: press the~button on the
multifunction steering wheel.
or
X Press the corresponding COMAND Online
button for ending a phone call. Mobile phone
Important safety notes G
WARNING
Operating mobile communications equip-
ment while driving distracts you from paying
attention to traffic conditions. This could also cause you to lose control of the vehicle. There
is a risk of an accident.
Use this device only when the vehicle is sta-
tionary.
You must observe the legal requirements for
the country in which you are currently driving when operating mobile communications
equipment in the vehicle.
If it is permitted by law to operate communi-
cations equipment while the vehicle is in
motion, you may only do so if the traffic sit-
uation permits. You may otherwise be dis-
tracted from the traffic conditions, cause an
accident and injure yourself and others.
Excessive levels of electromagnetic radiation
may cause damage to your health and to the
health of others. The use of an exterior aerial
takes into consideration the scientific discus- 326
FeaturesSto
wing an d features
Page 341 of 413
Closing the bonnet
X
Lower the bonnet and let it fall from a
height of approximately 20 cm.
X Check that the bonnet has engaged prop-
erly.
If the bonnet can be raised slightly, it is not
properly engaged. Open it again and close
it with a little more force. Radiator
Do not cover up the radiator. Do not use ther-
mal mats, insect protection covers or any-
thing similar. Doing so can cause the Onboard Diagnostics System to display inaccurate val-
ues. Some of these values are legally required
and must always be correct. Engine oil
General notes Depending on your driving style, the vehicle
consumes up to 0.8 litres of oil per 1000 km.
The oil consumption may be higher than this
when the vehicle is new or if you frequently
drive at high engine speeds.
Depending on the engine, the oil dipstick may
be installed at a different location.
When checking the oil level:
R park the vehicle on a level surface
R the engine should be switched off for
approximately five minutes if the engine is
at normal operating temperature
R if the engine is not at normal operating
temperature, e.g. if the engine was only
started briefly, wait approximately
30 minutes before carrying out the meas-
urement Checking the oil level using the oil dip-
stick (except S 65 AMG) G
WARNING
Certain components in the engine compart-
ment could be very hot, e.g. the engine, the
radiator and parts of the exhaust system.
There is a risk of injury when accessing the
engine compartment.
As far as possible, allow the engine to cool
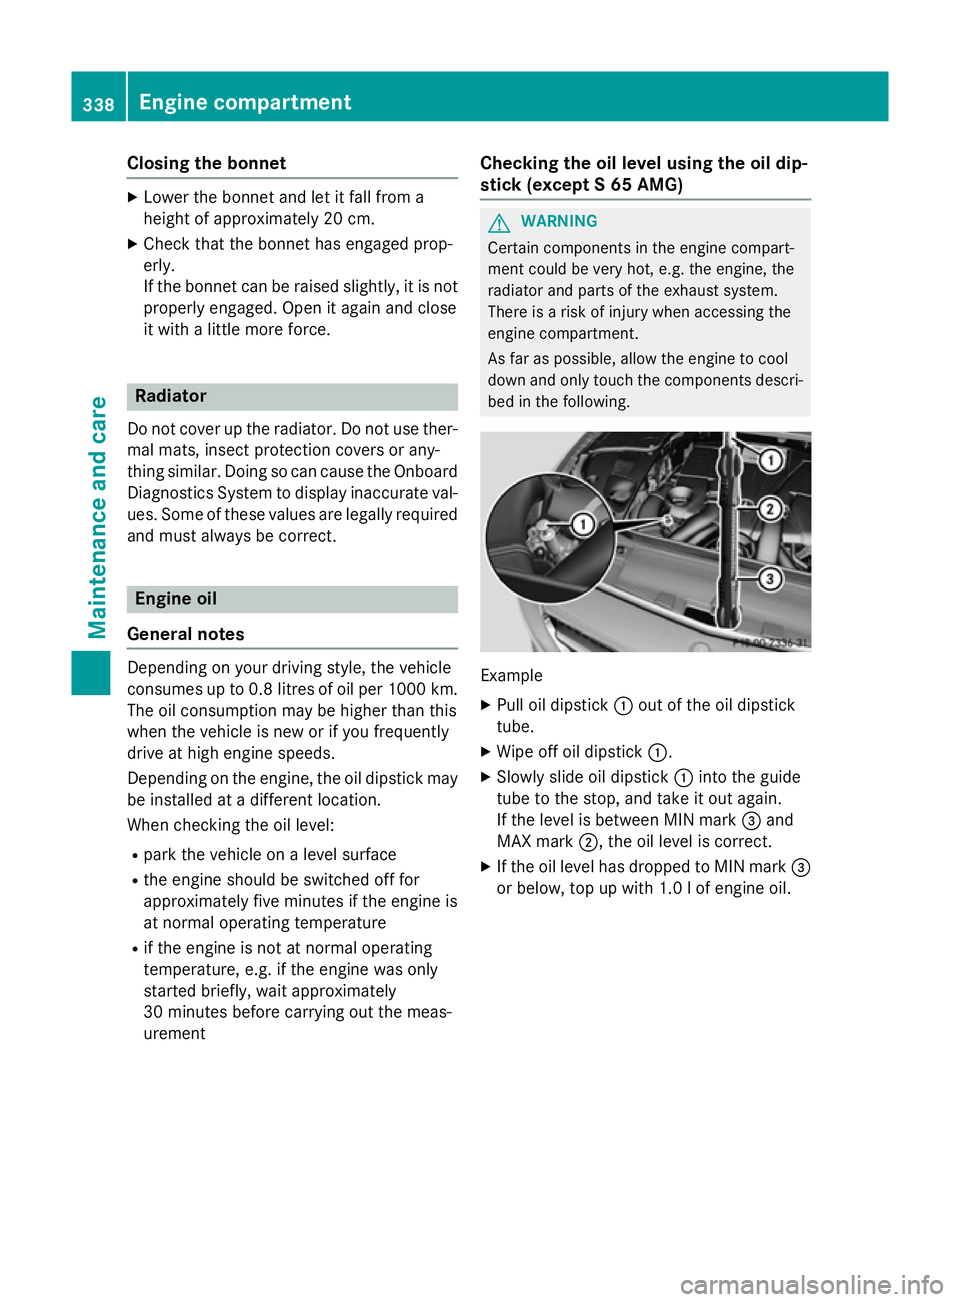
down and only touch the components descri- bed in the following. Example
X Pull oil dipstick :out of the oil dipstick
tube.
X Wipe off oil dipstick :.
X Slowly slide oil dipstick :into the guide
tube to the stop, and take it out again.
If the level is between MIN mark =and
MAX mark ;, the oil level is correct.
X If the oil level has dropped to MIN mark =
or below, top up with 1.0 l of engine oil. 338
Engine compartmentMaintenance and care
Page 342 of 413
Checking the oil level using the on-board computer (S 65 AMG)
X
Make sure that the key is in position 2in the ignition lock.
X Use ò on the steering wheel to call up the list of menus.
X Press the :or9 button on the steering wheel to select the Service
Service menu.
X Confirm by pressing aon the steering wheel.
X Use : or9 to select theEngine oil level: Engine oil level: submenu.
X Press ato confirm the selection.
The Engine
Engine oil
oillevel
level Measuring
Measuring now
nowMeasurement
Measurement accurate
accurateonly
onlyif
ifvehicle
vehicle is
is
level
levelmessage appears in the multifunction display.
The measurement takes a few seconds. You will see one of the following messages in the
multifunction display: Display messages
Possible causes/consequences and
M
MSolutions Engine
Engine
oil
oillevel
level OK
OK The oil level is correct.
Add
Add
1
1litre
litre engine
engine
oil
oil when
when next
next refu‐
refu‐
elling
elling The oil level is too low.
X Top up 1.0 litre of engine oil. Engine oil level
Engine oil level
Reduce oil level Reduce oil level The engine oil level is too high.
X Have excess engine oil siphoned off. For engine oil
For engine oil
level level
turn
turnon
onigni‐
igni‐
tion
tion The ignition is switched off.
X Turn the key to position 2in the ignition lock. Waiting
Waiting
period
periodfor
for
engine oil level
engine oil level
not observed not observed The required waiting period was not observed.
X If the engine is at normal operating temperature: repeat the
measurement after about five minutes.
If the engine is not at normal operating temperature, e.g. if the
engine was only started briefly: repeat the measurement after
approximately 30 minutes. Engine oil level Engine oil level
Not with the Not with the
engine running engine running The engine is running; oil level measurement is not possible.
X Switch off the engine.
X If the engine is at normal operating temperature: wait about five
minutes before carrying out the measurement.
If the engine is not at normal operating temperature, e.g. if theengine was only started briefly: wait approximately 30 minutes before carrying out the measurement. Engine compartment
339Maintenance and care Z
Page 344 of 413
be scalded by hot coolant spraying out when
opening the cap. There is a danger of injury.
Allow the engine to cool before opening the
cap. Wear gloves and protective eyewear
when opening. Slowly turn the cap half a turn to allow pressure to escape. X
Park the vehicle on a level surface.
Only check the coolant level if the vehicle is on a level surface and the engine has
cooled down.
X Turn the key to position 2in the ignition
lock (Y page 159).
or
X Press the Start/Stop button twice
(Y page 159).
X Check the coolant temperature display in
the instrument cluster.
The coolant temperature must be below
70 †.
X Turn the key to position 0in the ignition
lock (Y page 159).
or
X Remove the Start/Stop button from the
ignition lock (Y page 159).
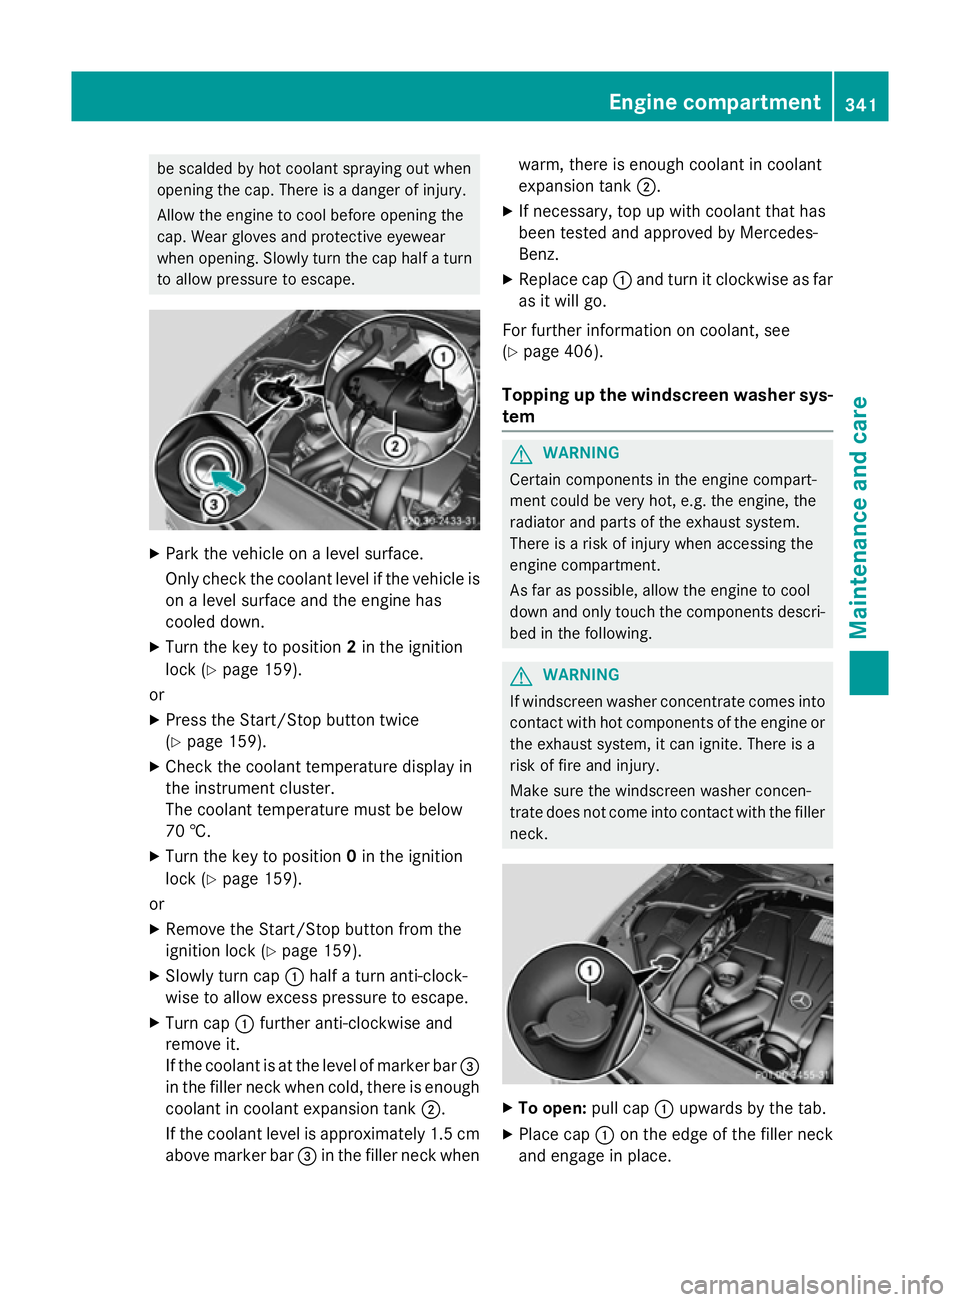
X Slowly turn cap :half a turn anti-clock-
wise to allow excess pressure to escape.
X Turn cap :further anti-clockwise and
remove it.
If the coolant is at the level of marker bar =
in the filler neck when cold, there is enough coolant in coolant expansion tank ;.
If the coolant level is approximately 1.5 cm above marker bar =in the filler neck when warm, there is enough coolant in coolant
expansion tank ;.
X If necessary, top up with coolant that has
been tested and approved by Mercedes-
Benz.
X Replace cap :and turn it clockwise as far
as it will go.
For further information on coolant, see
(Y page 406).
Topping up the windscreen washer sys-
tem G
WARNING
Certain components in the engine compart-
ment could be very hot, e.g. the engine, the
radiator and parts of the exhaust system.
There is a risk of injury when accessing the
engine compartment.
As far as possible, allow the engine to cool
down and only touch the components descri- bed in the following. G
WARNING
If windscreen washer concentrate comes into contact with hot components of the engine or
the exhaust system, it can ignite. There is a
risk of fire and injury.
Make sure the windscreen washer concen-
trate does not come into contact with the filler neck. X
To open: pull cap:upwards by the tab.
X Place cap :on the edge of the filler neck
and engage in place. Engine compartment
341Maintenance and care Z