2014 MERCEDES-BENZ S-CLASS COUPE washer fluid
[x] Cancel search: washer fluidPage 21 of 413
Important safety notes .................. 402
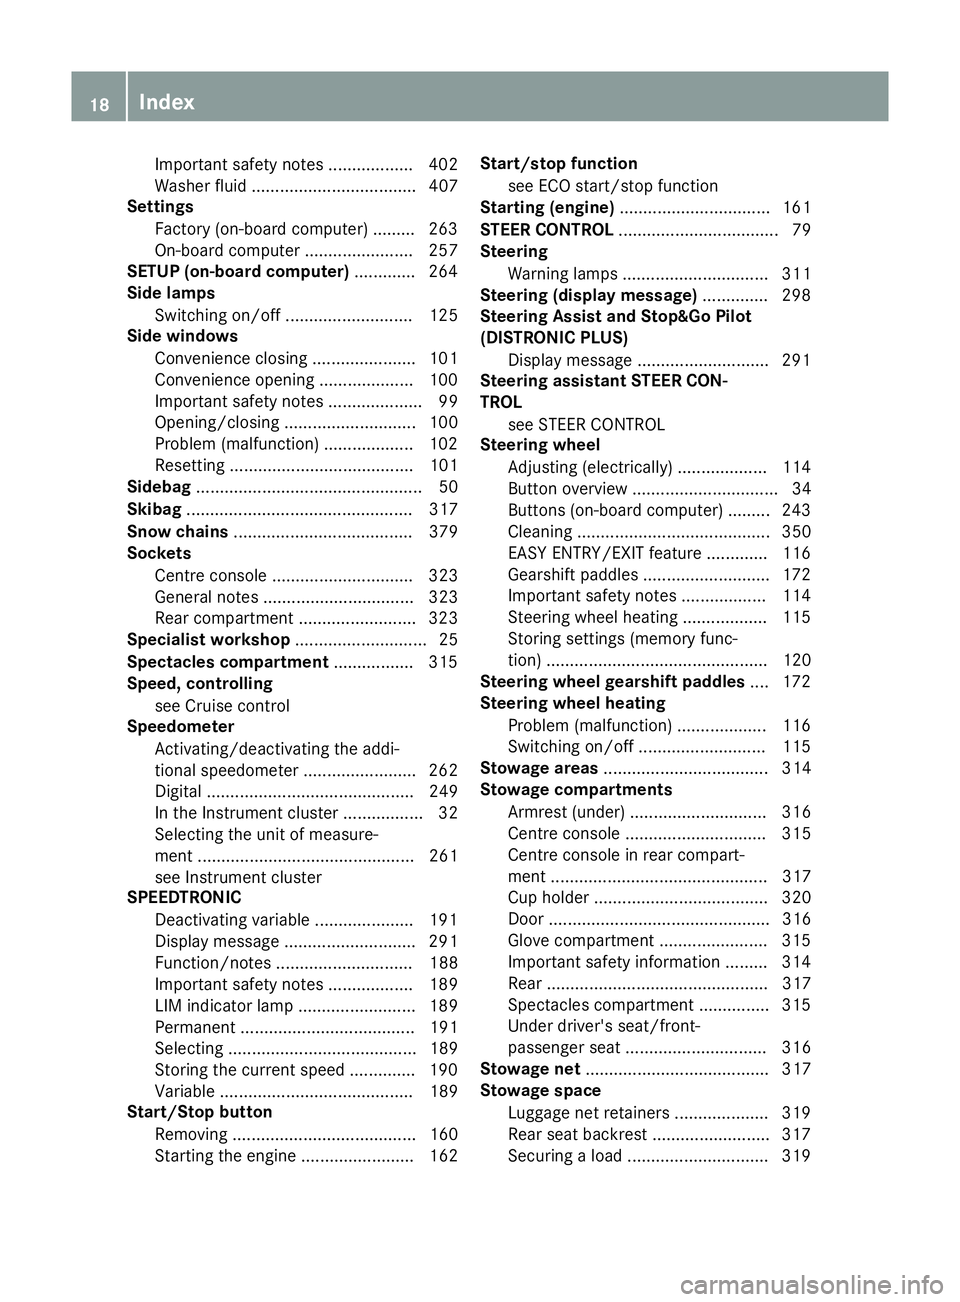
Washer fluid
................................... 407
Settings
Factory (on-board computer) ......... 263
On-board computer ....................... 257
SETUP (on-board computer) ............. 264
Side lamps
Switching on/of f........................... 125
Side windows
Convenience closing ...................... 101
Convenience opening .................... 100
Important safety notes .................... 99
Opening/closing ............................ 100
Problem (malfunction) ................... 102
Resetting ....................................... 101
Sidebag ................................................ 50
Skibag ................................................ 317
Snow chains ...................................... 379
Sockets
Centre console .............................. 323
General notes ................................ 323
Rear compartment ......................... 323
Specialist workshop ............................ 25
Spectacles compartment ................. 315
Speed, controlling
see Cruise control
Speedometer
Activating/deactivating the addi-
tional speedometer ........................ 262
Digital ............................................ 249
In the Instrument cluster ................. 32
Selecting the unit of measure-
ment .............................................. 261
see Instrument cluster
SPEEDTRONIC
Deactivating variable ..................... 191
Display message ............................ 291
Function/note s............................. 188
Important safety notes .................. 189
LIM indicator lamp ......................... 189
Permanent ..................................... 191
Selecting ........................................ 189
Storing the current speed .............. 190
Variabl e......................................... 189
Start/Stop button
Removing ....................................... 160
Starting the engine ........................ 162 Start/stop function
see ECO start/stop function
Starting (engine) ................................ 161
STEER CONTROL .................................. 79
Steering
Warning lamps ............................... 311
Steering (display message) .............. 298
Steering Assist and Stop&Go Pilot
(DISTRONIC PLUS)
Display message ............................ 291
Steering assistant STEER CON-
TROL
see STEER CONTROL
Steering wheel
Adjusting (electrically) ................... 114
Button overview ............................... 34
Buttons (on-board computer) ......... 243
Cleaning ......................................... 350
EASY ENTRY/EXIT feature ............. 116
Gearshift paddle s........................... 172
Important safety notes .................. 114
Steering wheel heating .................. 115
Storing settings (memory func-
tion) ............................................... 120
Steering wheel gearshift paddles .... 172
Steering wheel heating
Problem (malfunction) ................... 116
Switching on/of f........................... 115
Stowage areas ................................... 314
Stowage compartments
Armrest (under) ............................. 316
Centre console .............................. 315
Centre console in rear compart-
ment .............................................. 317
Cup holde r..................................... 320
Door ............................................... 316
Glove compartment ....................... 315
Important safety information ......... 314
Rear ............................................... 317
Spectacles compartment ............... 315
Under driver's seat/front-
passenger sea t.............................. 316
Stowage net ....................................... 317
Stowage space
Luggage net retainers .................... 319
Rear seat backres t......................... 317
Securing a load .............................. 319 18
Index
Page 24 of 413

Washer fluid
Display message ............................ 298
Wheel and tyre combinations
see Tyres
Wheel bolt tightening torque ........... 391
Wheel chock ...................................... 387
Wheels
Changing a wheel .......................... 385
Changing/replacing ....................... 386
Checking ........................................ 377
Cleaning ......................................... 346
Cleaning (warning) ........................ .386
Fitting a new wheel ........................ 390
Fitting a wheel ............................... 386
Important safety notes .................. 376
Removing a wheel .......................... 390
Storing .......................................... .386
Tightening torque ........................... 391
Wheel size/tyre size ..................... .391
Windowbag
Operation ......................................... 51
Windows
Cleaning ......................................... 346
see Side windows
Windscreen
Demisting ...................................... 143
Infrared reflective .......................... 334
Windscreen washer fluid
see Windscreen washer system
Windscreen washer system
Notes ............................................. 407
Topping up ..................................... 341
Windscreen wipers
Problem (malfunction) ................... 134
Replacing the wiper blades ............ 132
Switching on/off ........................... 131
Winter operation
Important safety notes .................. 378
Radiator cover ............................... 338
Slippery road surfaces ................... 185
Snow chains .................................. 379
Summer tyres ................................ 378
Winter tyres
Limiting the speed (on-board com-
puter) ............................................. 262
M+S tyres ...................................... 378
Wiper blades
Cleaning ......................................... 347 Important safety notes .................. 132
Replacing ....................................... 132
Wooden trim (cleaning instruc-
tions) ................................................. .350
Workshop
see Qualified specialist workshop Index
21
Page 134 of 413

X
To switch on/off: press the|button.
When the automatic interior lighting con-
trol is activated, the button is flush with the overhead control panel.
The interior lighting automatically switches
on if you:
R unlock the vehicle
R open a door
R remove the key from the ignition lock
The interior lighting is activated for a short
time when the key is removed from the igni-
tion lock. This delayed switch-off can be
adjusted using COMAND Online (see the sep- arate COMAND Online operating instruc-
tions).
Manual interior lighting control :
p Switches the left-hand front reading
lamp on/off
; | Switches the automatic interior
lighting control on/off
= c Switches the front interior lighting
on/off
? u Switches the rear interior lighting
on/off
A p Switches the right-hand front read-
ing lamp on/off
X To switch the front interior lighting on/
off: press the cbutton.
X To switch the rear interior lighting on/
off: press the ubutton.
X To switch the reading lamps on/off:
press the pbutton. Crash-responsive emergency lighting
The interior lighting is activated automatically
if the vehicle is involved in an accident.
X To switch off the crash-responsive
emergency lighting: press the hazard
warning lamp button.
or X Lock and then unlock the vehicle using the
key. Replacing bulbs
The front and rear light clusters of your vehi-
cle are equipped with LED light bulbs. Do not replace the bulbs yourself. Contact a qualifiedspecialist workshop which has the necessaryspecialist knowledge and tools to carry out
the work required.
Lamps are an important aspect of vehicle
safety. You must therefore make sure that
these function correctly at all times. Have the
headlamp setting checked regularly. Windscreen wipers
Switching the windscreen wipers on/
off
! Do not operate the windscreen wipers
when the windscreen is dry, as this could
damage the wiper blades. Moreover, dust
that has collected on the windscreen can
scratch the glass if wiping takes place when the windscreen is dry.
If it is necessary to switch on the wind-
screen wipers in dry weather conditions,
always operate them using washer fluid.
! If the windscreen wipers leave smears on
the windscreen after the vehicle has been
washed in an automatic car wash, this may
be due to wax or other residue. Clean the
windscreen with washer fluid after an auto-
matic car wash. Windscreen wipers
131Lights andwindscreen wipers Z
Page 135 of 413

!
Vehicles with a rain sensor: if the wind-
screen becomes dirty in dry weather con-
ditions, the windscreen wipers may be acti- vated inadvertently. This could damage the
windscreen wiper blades or scratch the
windscreen.
For this reason, you should always switch
off the windscreen wipers in dry weather. 1
$ Windscreen wipers off
2 Ä Intermittent wipe, low (rain sensor
set to low sensitivity)
3 Å Intermittent wipe, high (rain sensor
set to high sensitivity)
4 ° Continuous wipe, slow
5 ¯ Continuous wipe, fast
B í Single wipe/î to wipe the wind-
screen using washer fluid
X Switch on the power supply with the Start/
Stop button or the key (Y page 159).
X Turn the combination switch to the corre-
sponding position.
In the ÄorÅ position, the appropriate
wiping frequency is set automatically accord- ing to the intensity of the rain. In the Å
position, the rain sensor is more sensitive
than in the Äposition, causing the wind-
screen wipers to wipe more frequently.
The washer fluid is fed through the wiper
blades; when the screen is wiped with washer
fluid î, the water is emitted directly from
the blades.
If you push the combination switch beyond
the point of resistance in the direction of
arrow Band hold it in this position, the man- ual wash programme is activated. If you
briefly push the combination switch beyond
the point of resistance in the direction of
arrow B, the automatic wash programme is
activated.
If the wiper blades are worn, the windscreen
will no longer be wiped properly. This could
prevent you from observing the traffic condi-
tions. Replacing the wiper blades
Important safety notes G
WARNING
If the windscreen wipers begin to move while
you are changing the wiper blades, you can be trapped by the wiper arm. There is a risk of
injury.
Always switch off the windscreen wipers and
ignition before changing the wiper blades.
! To avoid damaging the windscreen wiper
blades, make sure that you touch only the
wiper arm of the windscreen wiper.
! Never open the bonnet if a windscreen
wiper arm has been folded away from the
windscreen.
Hold the windscreen wiper arm firmly when you change the wiper blade. If you release
the windscreen wiper arm without a wiper
blade and it falls onto the windscreen, the
windscreen may be damaged by the force
of the impact.
Mercedes-Benz recommends that you have
the wiper blades changed at a qualified
specialist workshop.
! Always position the windscreen wiper
arms vertically before folding them away
from the windscreen. By doing so, you will
avoid damage to the bonnet. 132
Windscreen wipersLights and windscreen wipers
Page 301 of 413
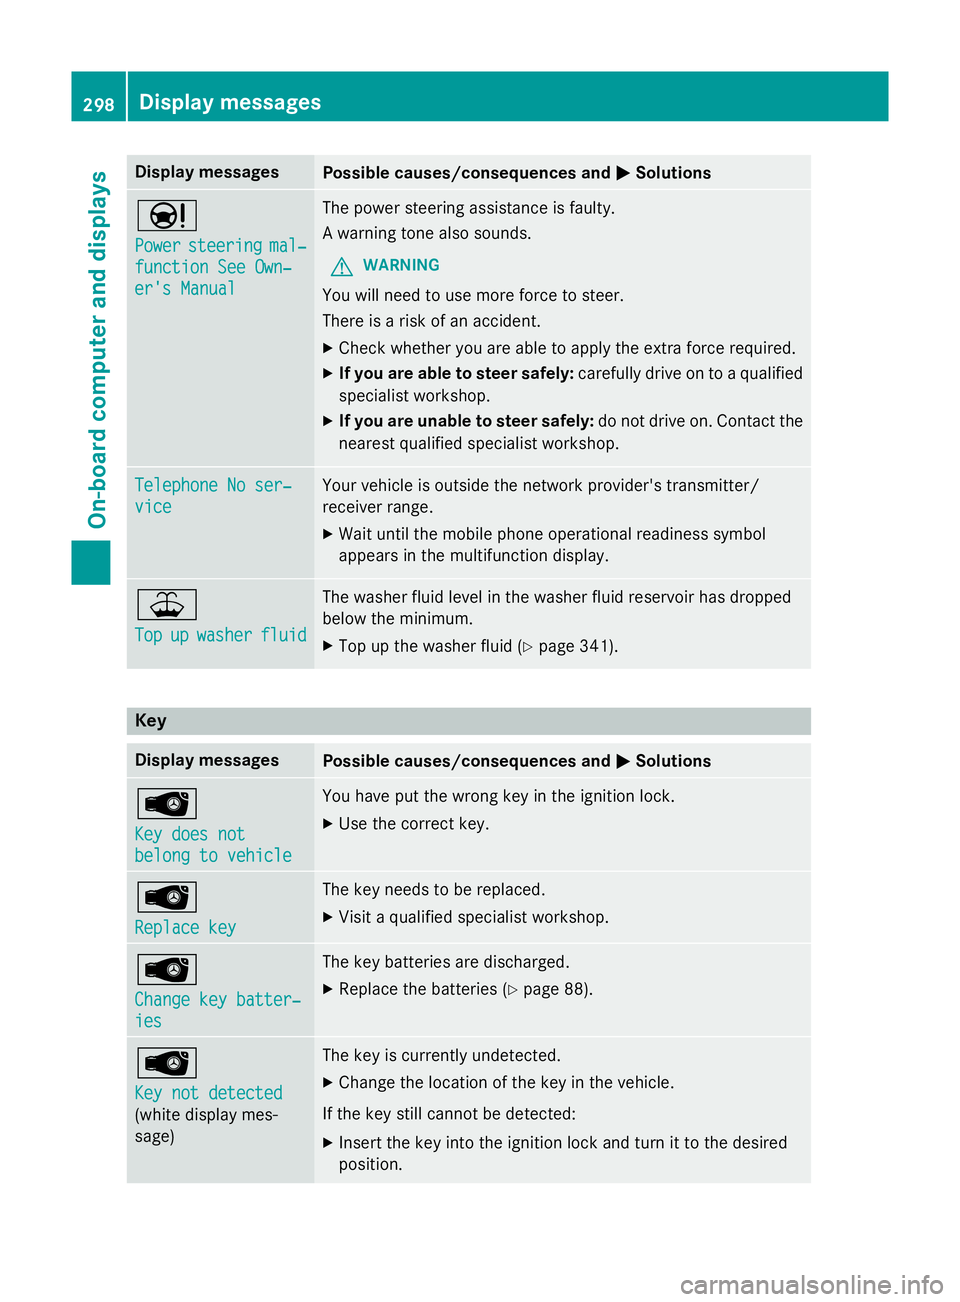
Display messages
Possible causes/consequences and
M
MSolutions Ð
Power Power
steering
steering mal‐
mal‐
function See Own‐
function See Own‐
er's Manual er's Manual The power steering assistance is faulty.
A warning tone also sounds.
G WARNING
You will need to use more force to steer.
There is a risk of an accident. X Check whether you are able to apply the extra force required.
X If you are able to steer safely: carefully drive on to a qualified
specialist workshop.
X If you are unable to steer safely: do not drive on. Contact the
nearest qualified specialist workshop. Telephone No ser‐ Telephone No ser‐
vice vice Your vehicle is outside the network provider's transmitter/
receiver range.
X Wait until the mobile phone operational readiness symbol
appears in the multifunction display. ¥
Top Top
up
upwasher
washer fluid
fluid The washer fluid level in the washer fluid reservoir has dropped
below the minimum.
X Top up the washer fluid (Y page 341).Key
Display messages
Possible causes/consequences and
M MSolutions Â
Key does not Key does not
belong to vehicle belong to vehicle You have put the wrong key in the ignition lock.
X Use the correct key. Â
Replace key Replace key The key needs to be replaced.
X Visit a qualified specialist workshop. Â
Change key batter‐ Change key batter‐
ies ies The key batteries are discharged.
X Replace the batteries (Y page 88).Â
Key not detected Key not detected
(white display mes-
sage) The key is currently undetected.
X Change the location of the key in the vehicle.
If the key still cannot be detected: X Insert the key into the ignition lock and turn it to the desired
position. 298
Display
messagesOn-board computer and displays
Page 345 of 413
X
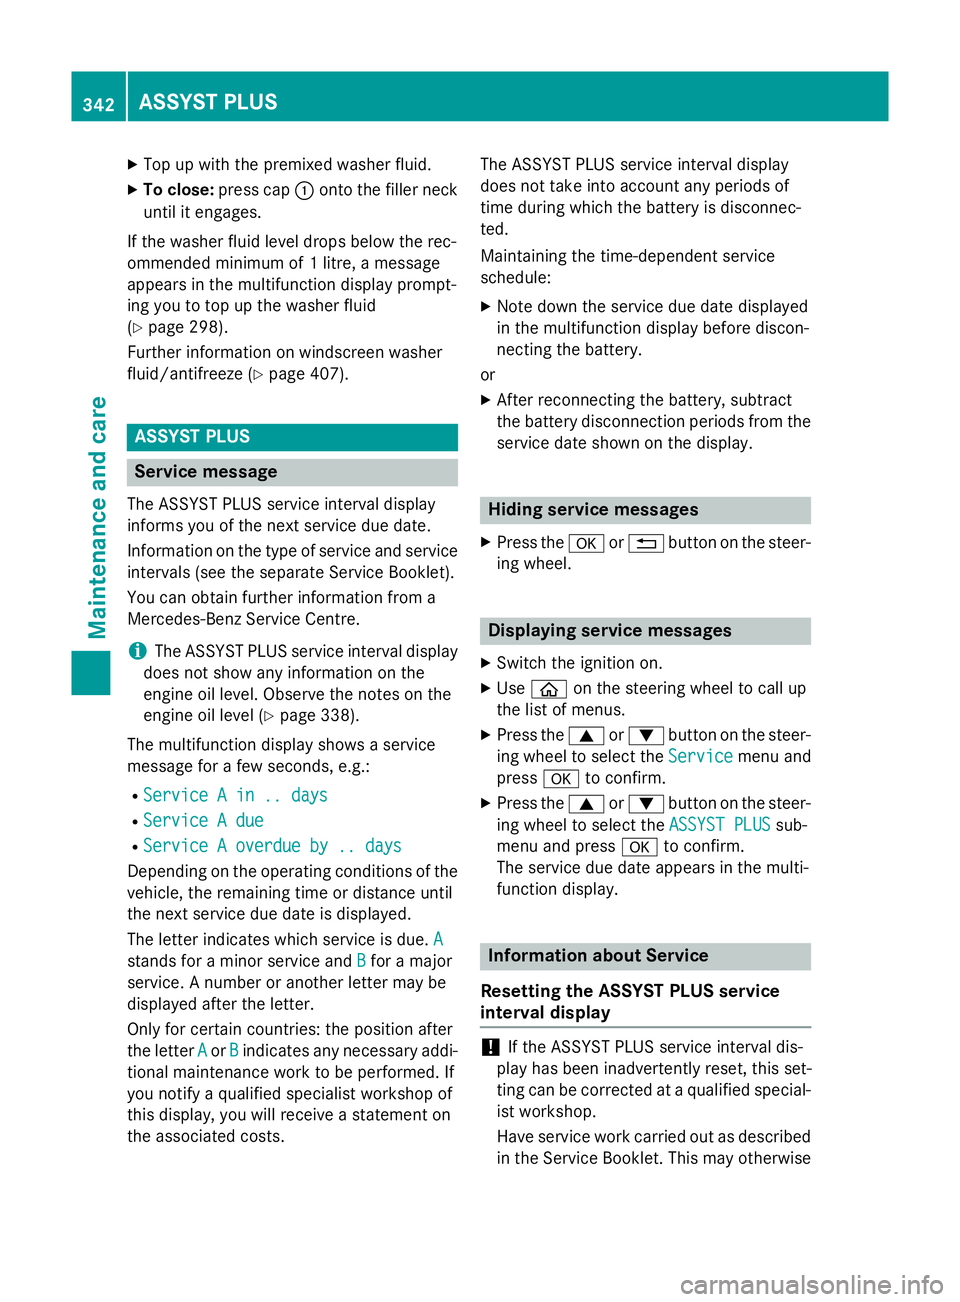
Top up with the premixed washer fluid.
X To close: press cap :onto the filler neck
until it engages.
If the washer fluid level drops below the rec-
ommended minimum of 1 litre, a message
appears in the multifunction display prompt-
ing you to top up the washer fluid
(Y page 298).
Further information on windscreen washer
fluid/antifreeze (Y page 407).ASSYST PLUS
Service message
The ASSYST PLUS service interval display
informs you of the next service due date.
Information on the type of service and service
intervals (see the separate Service Booklet).
You can obtain further information from a
Mercedes-Benz Service Centre.
i The ASSYST PLUS service interval display
does not show any information on the
engine oil level. Observe the notes on the
engine oil level (Y page 338).
The multifunction display shows a service
message for a few seconds, e.g.:
R Service A in .. days
Service A in .. days
R Service A due Service A due
R Service A overdue by .. days
Service A overdue by .. days
Depending on the operating conditions of the vehicle, the remaining time or distance until
the next service due date is displayed.
The letter indicates which service is due. A
A
stands for a minor service and B
B for a major
service. A number or another letter may be
displayed after the letter.
Only for certain countries: the position after
the letter A
A or B Bindicates any necessary addi-
tional maintenance work to be performed. If
you notify a qualified specialist workshop of
this display, you will receive a statement on
the associated costs. The ASSYST PLUS service interval display
does not take into account any periods of
time during which the battery is disconnec-
ted.
Maintaining the time-dependent service
schedule:
X Note down the service due date displayed
in the multifunction display before discon-
necting the battery.
or X After reconnecting the battery, subtract
the battery disconnection periods from the
service date shown on the display. Hiding service messages
X Press the aor% button on the steer-
ing wheel. Displaying service messages
X Switch the ignition on.
X Use ò on the steering wheel to call up
the list of menus.
X Press the 9or: button on the steer-
ing wheel to select the Service Servicemenu and
press ato confirm.
X Press the 9or: button on the steer-
ing wheel to select the ASSYST PLUS
ASSYST PLUSsub-
menu and press ato confirm.
The service due date appears in the multi-
function display. Information about Service
Resetting the ASSYST PLUS service
interval display !
If the ASSYST PLUS service interval dis-
play has been inadvertently reset, this set-
ting can be corrected at a qualified special-
ist workshop.
Have service work carried out as described in the Service Booklet. This may otherwise 342
ASSYST PLUSMaintenance and care
Page 369 of 413
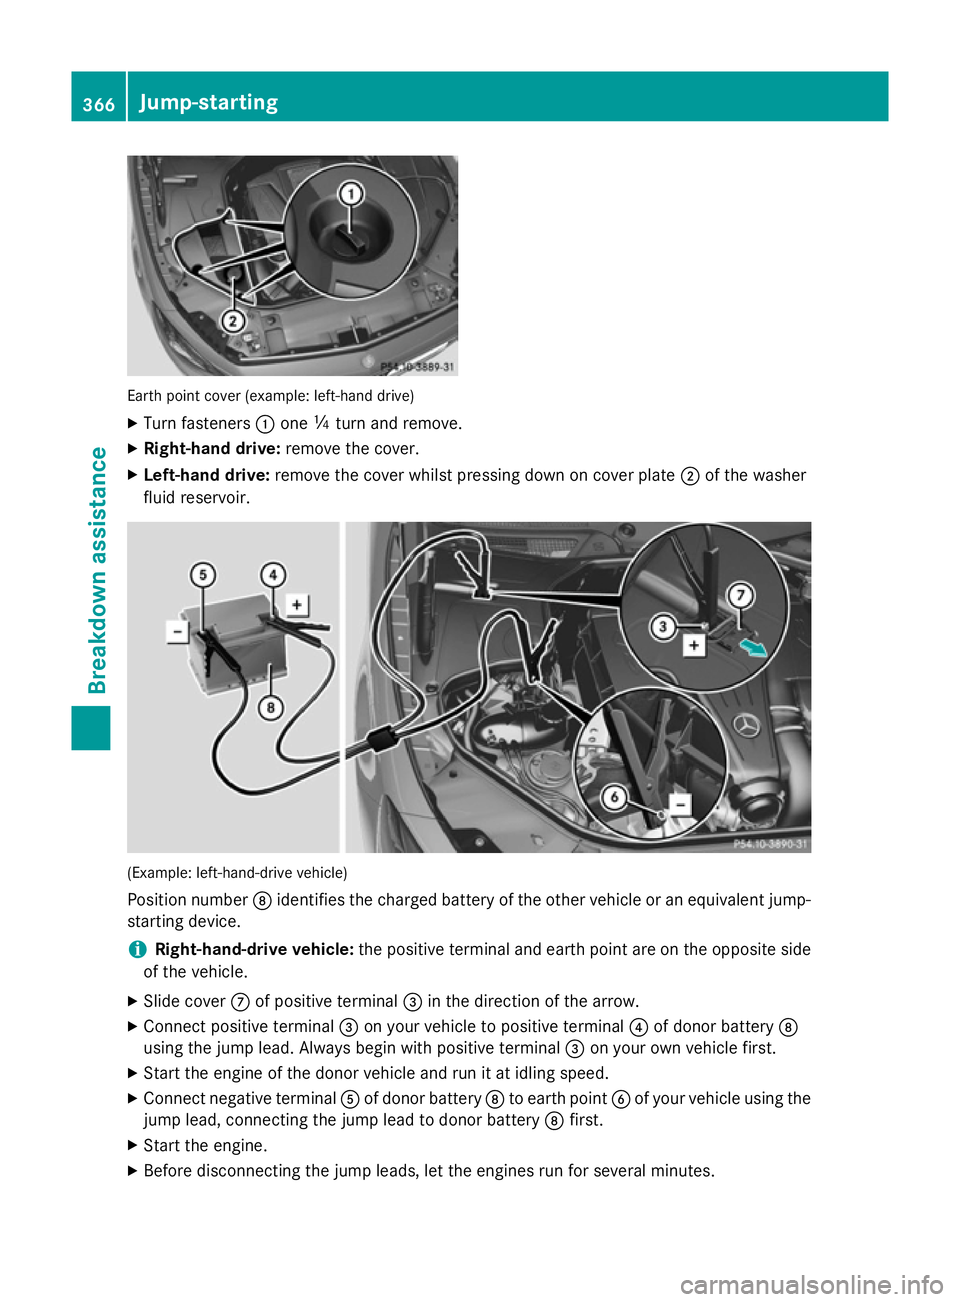
Earth point cover (example: left-hand drive)
X Turn fasteners :one Õturn and remove.
X Right-hand drive: remove the cover.
X Left-hand drive: remove the cover whilst pressing down on cover plate ;of the washer
fluid reservoir. (Example: left-hand-drive vehicle)
Position number Didentifies the charged battery of the other vehicle or an equivalent jump-
starting device.
i Right-hand-drive vehicle:
the positive terminal and earth point are on the opposite side
of the vehicle.
X Slide cover Cof positive terminal =in the direction of the arrow.
X Connect positive terminal =on your vehicle to positive terminal ?of donor battery D
using the jump lead. Always begin with positive terminal =on your own vehicle first.
X Start the engine of the donor vehicle and run it at idling speed.
X Connect negative terminal Aof donor battery Dto earth point Bof your vehicle using the
jump lead, connecting the jump lead to donor battery Dfirst.
X Start the engine.
X Before disconnecting the jump leads, let the engines run for several minutes. 366
Jump-startingBreakdo
wn assis tance
Page 406 of 413
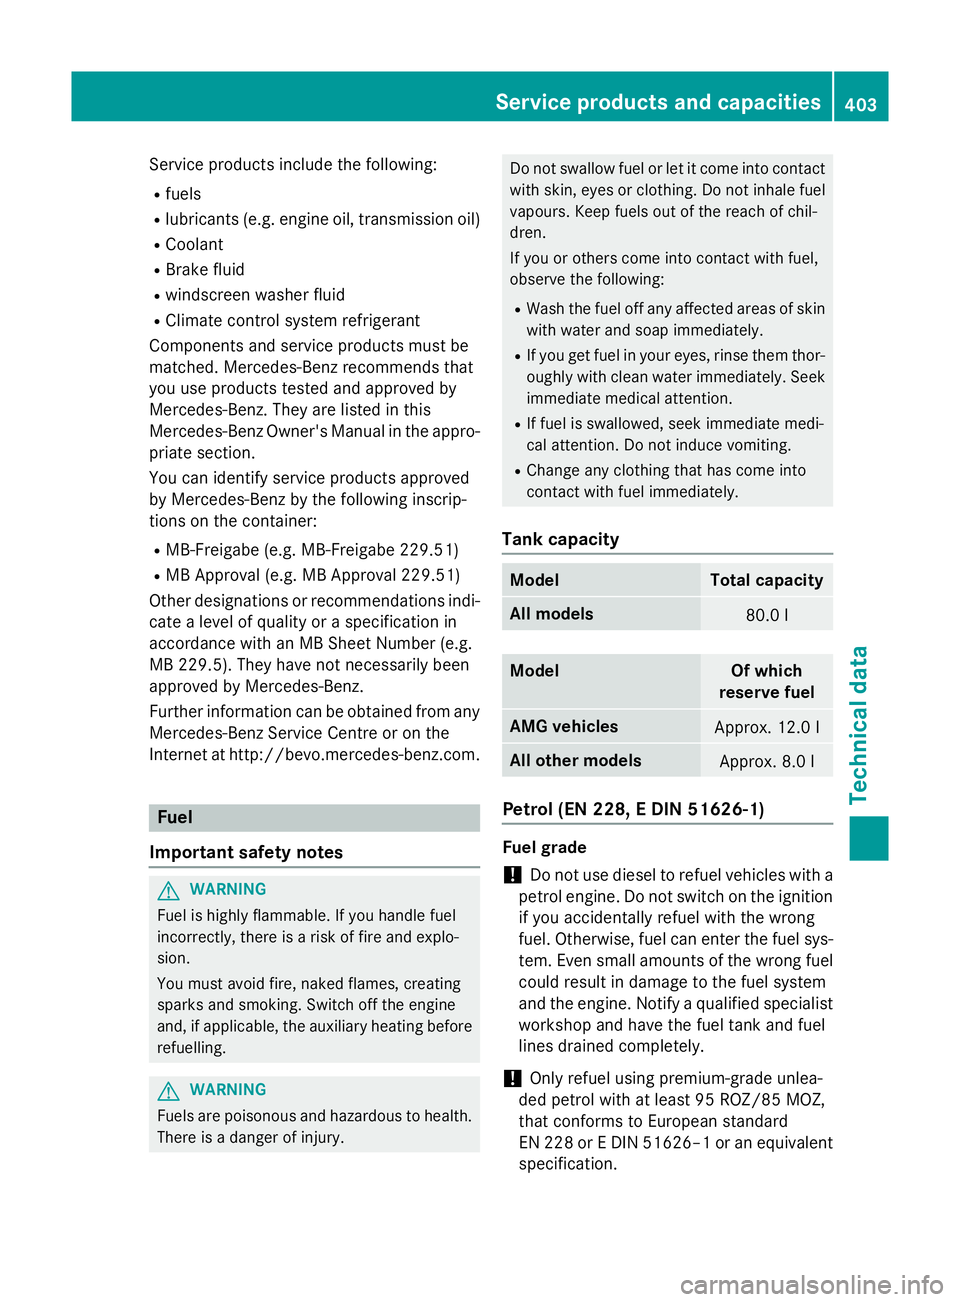
Service products include the following:
R fuels
R lubricants (e.g. engine oil, transmission oil)
R Coolant
R Brake fluid
R windscreen washer fluid
R Climate control system refrigerant
Components and service products must be
matched. Mercedes-Benz recommends that
you use products tested and approved by
Mercedes-Benz. They are listed in this
Mercedes-Benz Owner's Manual in the appro-
priate section.
You can identify service products approved
by Mercedes-Benz by the following inscrip-
tions on the container:
R MB-Freigabe (e.g. MB-Freigabe 229.51)
R MB Approval (e.g. MB Approval 229.51)
Other designations or recommendations indi- cate a level of quality or a specification in
accordance with an MB Sheet Number (e.g.
MB 229.5). They have not necessarily been
approved by Mercedes-Benz.
Further information can be obtained from any
Mercedes-Benz Service Centre or on the
Internet at http://bevo.mercedes-benz.com. Fuel
Important safety notes G
WARNING
Fuel is highly flammable. If you handle fuel
incorrectly, there is a risk of fire and explo-
sion.
You must avoid fire, naked flames, creating
sparks and smoking. Switch off the engine
and, if applicable, the auxiliary heating before refuelling. G
WARNING
Fuels are poisonous and hazardous to health. There is a danger of injury. Do not swallow fuel or let it come into contact
with skin, eyes or clothing. Do not inhale fuel
vapours. Keep fuels out of the reach of chil-
dren.
If you or others come into contact with fuel,
observe the following:
R Wash the fuel off any affected areas of skin
with water and soap immediately.
R If you get fuel in your eyes, rinse them thor-
oughly with clean water immediately. Seek
immediate medical attention.
R If fuel is swallowed, seek immediate medi-
cal attention. Do not induce vomiting.
R Change any clothing that has come into
contact with fuel immediately.
Tank capacity Model Total capacity
All models
80.0 l
Model Of which
reserve fuel AMG vehicles
Approx. 12.0 l
All other models
Approx. 8.0 l
Petrol (EN 228, E DIN 51626
‑1) Fuel grade
!
Do not use diesel to refuel vehicles with a
petrol engine. Do not switch on the ignition if you accidentally refuel with the wrong
fuel. Otherwise, fuel can enter the fuel sys-tem. Even small amounts of the wrong fuel could result in damage to the fuel system
and the engine. Notify a qualified specialist
workshop and have the fuel tank and fuel
lines drained completely.
! Only refuel using premium-grade unlea-
ded petrol with at least 95 ROZ/85 MOZ,
that conforms to European standard
EN 228 or E DIN 51626–1 or an equivalent
specification. Service products and capacities
403Technical data Z