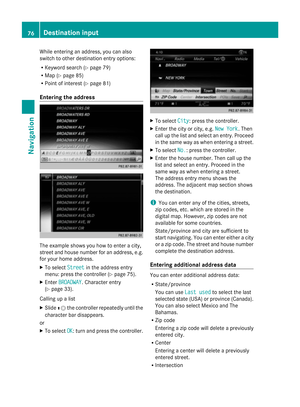
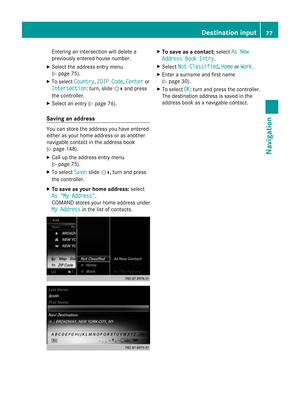
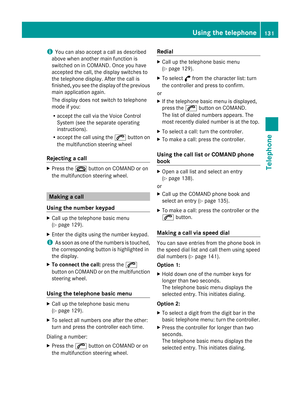
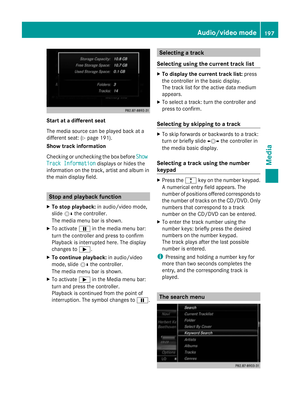
Page 49 of 278

Importing/exporting data
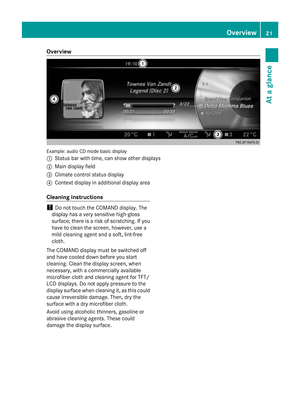
General notes
! Never remove the stick or card when
writing data to the USB stick or the memory
card. You may otherwise lose data.
Using this function, you can:
R transfer your personal COMAND data from
one system/vehicle to another.
R make a backup copy of your personal data
(export data) and load it again (import
data).
R protect your data from unwanted export by
activating a pin prompt (presetting:
deactivated 0053).
You can either use an SD memory card or a
USB storage device (e.g. a USB stick) as
temporary storage. Activating/deactivating PIN
protection
X
Press the 00D4button.
The Vehicle menu appears.
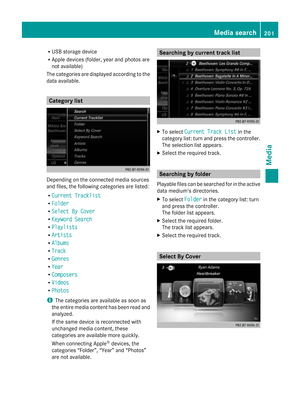
X To select System Settings System Settings: slide 005200C5,
turn and press the controller.
A menu appears.
X To select Data Import/Export
Data Import/Export: turn and
press the controller.
X Select Activate PIN Protection
Activate PIN Protection.
Activate 0073or deactivate 0053PIN
protection. When activating PIN protection,
you will be prompted to enter a PIN. X
To enter the 4-digit PIN and select 0054:
turn and press the controller.
You will be prompted to enter the PIN
again.
X Enter the PIN again and select 0054.
The PIN prompt now protects your personal
data from unwanted export.
i If you deactivate your PIN protection, you
will first be prompted to enter your PIN. If
you have forgotten your PIN, an authorized
Mercedes-Benz Center can deactivate your
PIN protection for you. Alternatively, you
can deactivate PIN protection by resetting
your personal COMAND data
(Y page 48). Importing/exporting data
X
Insert the SD memory card (Y page 195).
or
X Connect a USB device (e.g. a USB memory
stick) (Y page 195).
X Press the 00D4button.
The Vehicle menu appears. Importing/exporting data
47System settings
Page 50 of 278

X
To select System Settings
System Settings: slide 005200C5
and press the controller.
A menu appears.
X To select Data Import/Export
Data Import/Export: turn and
press the controller.
X Select Import Data
Import Data orExport Data Export Data.
i If you import data such as address data,
the existing data on COMAND is
overwritten. You will see a message to this
effect. COMAND is restarted after the data
import. If PIN protection is activated, a PIN prompt
appears when you select Export Data Export Data.
X To enter the PIN: turn the controller and
press 0054.
PIN protection is deactivated.
X To select Memory Card
Memory Card, USB 1 USB 1orUSB 2
USB 2:
turn and press the controller.
This function exports all the data to the
selected disc.
A window appears with the message that
the data has been exported.
i You can export address data, bookmarks,
system settings that you have made and
radio station lists, for example.
Personal music files in the MEDIA
REGISTER cannot be saved and imported
again using this function.
Mercedes-Benz is not liable for any loss of
data. Reset function
You can completely reset COMAND to the
factory settings. Amongst other things, this
will delete all personal COMAND data. This
includes the station presets, entries in the
destination memory and in the list of previous
destinations in the navigation system and
address book entries. In addition, an
activated PIN protection, which you have
used to protect your data against unwanted
export, will be deactivated. Resetting is
recommended before selling or transferring
ownership of your vehicle, for example.
Data on the internal hard drive, e.g. music
files in the MEDIA REGISTER, will be deleted.
You can also delete music files from the
MEDIA REGISTER using the "Delete all media
files" function (Y page 206).
Mercedes-Benz is not liable for any loss of
data.
X Press the 00D4button.
The Vehicle menu appears.
X To select System Settings
System Settings: slide 005200C5,
turn and press the controller.
A menu appears.
X To select Reset Reset: turn the controller and
press to confirm.
A prompt appears asking whether you wish
to reset.
X Select Yes YesorNo
No.
If you select No No, the process will be
canceled.
If you select Yes Yes, a prompt will appear again
asking whether you really wish to reset.
X Select Yes
YesorNo
No.
If you select Yes
Yes, a message will be shown.
COMAND is reset to the factory settings
and restarted.
If you select No No, the process will be
canceled. 48
Reset functionSystem settings
Page 51 of 278
Your COMAND equipment
..................50
Vehicle settings .................................. 50
Seats .................................................... 55
Climate control settings .....................59
Child-proof locks ................................. 63
360° camera ....................................... 64
Rear view camera ............................... 64 49Vehicle functions
Page 52 of 278

Your COMAND equipment
These operating instructions describe all
standard and optional equipment available
for your COMAND system at the time of
purchase. Country-specific differences are
possible. Please note that your
COMAND system may not be equipped with
all the features described. This also applies to
safety-relevant systems and functions.
Therefore, the equipment on your COMAND
system may differ from that in the
descriptions and illustrations. Should you
have any questions concerning equipment
and operation, please consult an authorized
Mercedes-Benz Center. Vehicle settings
Calling up vehicle settings
X
Press the 00D4button on the controller.
The vehicle menu is displayed.
X To select Vehicle Settings
Vehicle Settings : turn and
press the controller.
The menu for the vehicle settings is active.
X To select the desired vehicle setting: turn
and press the controller.
The main area with the setting element is
active.
Selecting a different vehicle setting:
X To activate the menu for selecting the
vehicle setting: slide 00520097the controller. Exiting the vehicle settings:
X
To select 0039: slide 005200C5and press the
controller. Ambient lighting
General notes i
You can set the following for the ambient
lighting:
R Zone
The zone setting determines the area in
which the brightness setting is to be
applied. If the Complete zone is selected
for longer than 0.5 seconds, the
brightness of the Front zone is adopted
for the entire vehicle.
R Brightness
This setting makes an additional change
to the brightness of the ambient lighting.
The brightness change is only effective
for the selected zone. For this reason, the
zone for which the brightness change is
to be active must be selected first.
R Color
This setting changes the color of the
ambient lighting.
Setting the brightness of the zones 50
Vehicle set
tingsVehicle fun ctions
Page 53 of 278

X
Call up vehicle settings ( Ypage 50).
X To select Ambient Light: Brightness
Ambient Light: Brightness:
turn and press the controller.
The left-hand setting element is active. The
brightness value for the currently selected
zone is displayed.
X To change the brightness value: turn the
controller.
X To select a zone: slide 00520096and turn the
controller.
You can find further information in the vehicle
Operator's Manual.
Setting the color i
Once a color is set, it is used for all zones.
The brightness of the color used can be set
separately for each zone.
X Call up vehicle settings ( Ypage 50).
X To select Ambient Light: Color
Ambient Light: Color: turn
and press the controller.
The setting element is active.
X To select a color: turn the controller.
You can find further information in the vehicle
Operator's Manual.
Activating/deactivating the ambient
lighting display This display lighting adjustment function is
only available if the vehicle is not equipped
with the "Ambient lighting" package. X
Call up vehicle settings ( Ypage 50).
X To select Ambient Light Display
Ambient Light Display: turn
and press the controller.
The function switches on or off, depending
on the previous setting.
i The brightness can be changed using the
control between the two displays.
You can find further information in the vehicle
Operator's Manual. Setting the EASY-ENTRY/EXIT feature
The EASY-ENTRY/EXIT feature makes getting
in and out of your vehicle easier.
X
Call up vehicle settings ( Ypage 50).
X To select Easy Entry/Exit Easy Entry/Exit: turn and
press the controller.
The setting element is active.
X To change the setting: turn the controller.
You can find further information in the vehicle
Operator's Manual. Vehicle settings
51Vehicle functions
Page 54 of 278

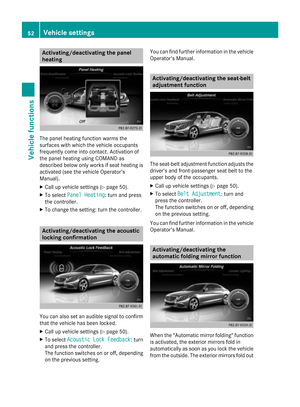
Activating/deactivating the panel
heating The panel heating function warms the
surfaces with which the vehicle occupants
frequently come into contact. Activation of
the panel heating using COMAND as
described below only works if seat heating is
activated (see the vehicle Operator's
Manual).
X Call up vehicle settings ( Ypage 50).
X To select Panel Heating
Panel Heating: turn and press
the controller.
X To change the setting: turn the controller. Activating/deactivating the acoustic
locking confirmation You can also set an audible signal to confirm
that the vehicle has been locked.
X Call up vehicle settings ( Ypage 50).
X To select Acoustic Lock Feedback
Acoustic Lock Feedback : turn
and press the controller.
The function switches on or off, depending
on the previous setting. You can find further information in the vehicle
Operator's Manual. Activating/deactivating the seat-belt
adjustment function
The seat-belt adjustment function adjusts the
driver's and front-passenger seat belt to the
upper body of the occupants.
X Call up vehicle settings ( Ypage 50).
X To select Belt Adjustment Belt Adjustment: turn and
press the controller.
The function switches on or off, depending
on the previous setting.
You can find further information in the vehicle
Operator's Manual. Activating/deactivating the
automatic folding mirror function
When the "Automatic mirror folding" function
is activated, the exterior mirrors fold in
automatically as soon as you lock the vehicle
from the outside. The exterior mirrors fold out 52
Vehicle settingsVehicle functions
Page 55 of 278

automatically again as soon as you unlock the
vehicle.
X Call up vehicle settings ( Ypage 50).
X To select Automatic Mirror Folding Automatic Mirror Folding:
turn and press the controller.
The function switches on or off, depending
on the previous setting.
You can find further information in the vehicle
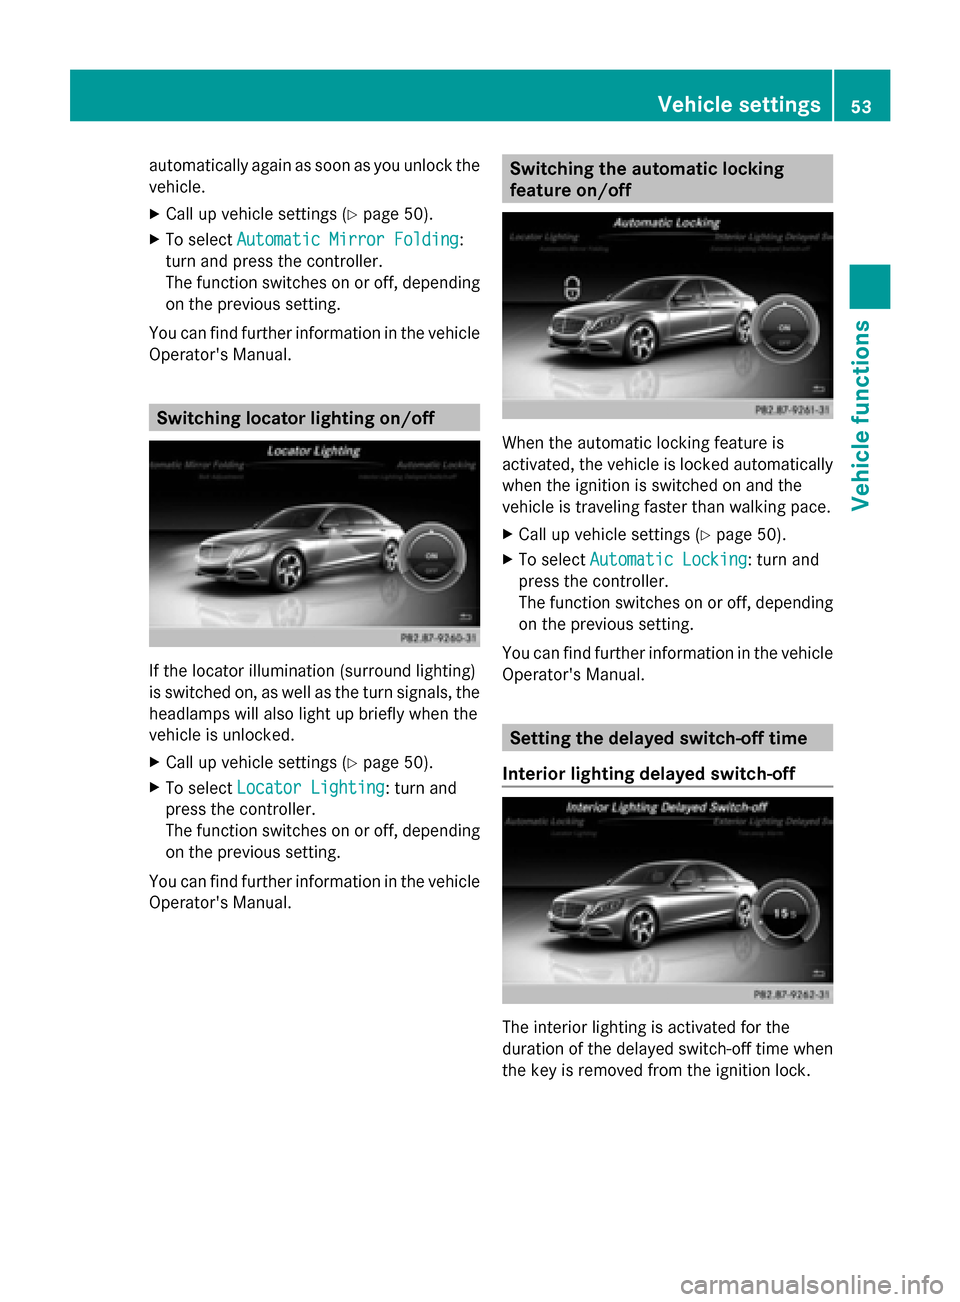
Operator's Manual. Switching locator lighting on/off
If the locator illumination (surround lighting)
is switched on, as well as the turn signals, the
headlamps will also light up briefly when the
vehicle is unlocked.
X Call up vehicle settings ( Ypage 50).
X To select Locator Lighting
Locator Lighting: turn and
press the controller.
The function switches on or off, depending
on the previous setting.
You can find further information in the vehicle
Operator's Manual. Switching the automatic locking
feature on/off
When the automatic locking feature is
activated, the vehicle is locked automatically
when the ignition is switched on and the
vehicle is traveling faster than walking pace.
X
Call up vehicle settings ( Ypage 50).
X To select Automatic Locking Automatic Locking: turn and
press the controller.
The function switches on or off, depending
on the previous setting.
You can find further information in the vehicle
Operator's Manual. Setting the delayed switch-off time
Interior lighting delayed switch-off The interior lighting is activated for the
duration of the delayed switch-off time when
the key is removed from the ignition lock. Vehicle settings
53Vehicle functions
Page 56 of 278

X
Call up vehicle settings ( Ypage 50).
X To select Interior Lighting Delayed
Interior Lighting Delayed
Switch-off
Switch-off: turn and press the controller.
The setting element is active.
X To change the delayed switch-off time: turn
the controller.
You can find further information in the vehicle
Operator's Manual.
Exterior lighting delayed switch-off The surround lighting is activated for the
duration of the delayed switch-off time when
the vehicle is unlocked using the remote
control key.
X Call up vehicle settings ( Ypage 50).
X To select Exterior Lighting Delayed
Exterior Lighting Delayed
Switch-off
Switch-off: turn and press the controller.
The setting element is active.
X To change the delayed switch-off time: turn
the controller.
You can find further information in the vehicle
Operator's Manual. Arming/deactivating the tow-away
alarm
An audible and visual alarm is triggered if your
vehicle's angle of inclination is altered while
the tow-away alarm is armed. This can occur
if the vehicle is jacked up on one side, for
example.
X Call up vehicle settings ( Ypage 50).
X To select Tow-away Alarm Tow-away Alarm : turn and press
the controller.
The function switches on or off, depending
on the previous setting. Arming/deactivating the interior
motion sensor
When the interior motion sensor is armed, a
visual and audible alarm is triggered if
movement is detected in the vehicle interior.
This can occur if someone reaches into the
vehicle interior without authorization, for
example. 54
Vehicle settingsVehicle functions