2014 LINCOLN MKZ HYBRID warning
[x] Cancel search: warningPage 228 of 445

Vehicles Sold In Canada : Using
Roadside Assistance
Canadian Roadside coverage and benefits
may differ from the United States
coverage. Please refer to your warranty
information or visit our website at
www.ford.ca for information on Canadian
services and benefits.
Canadian customers who need to obtain
roadside information, call 1-800-665-2006
or visit our website at
www.ford.ca.
HAZARD WARNING FLASHERS
Note: If used when the vehicle is not
running, the battery will lose charge. There
may be insufficient power to restart your
vehicle. The hazard warning button is
located on the instrument panel.
Use it when your vehicle is
creating a safety hazard for other
motorists.
• Press the button to turn on the hazard
warning function, and the front and
rear direction indicators will flash.
• Press the button again to turn them off.
FUEL SHUTOFF WARNING
Failure to inspect and, if necessary,
repair fuel leaks after a collision may
increase the risk of fire and serious injury.
Ford Motor Company recommends that
the fuel system be inspected by an
authorized dealer after any collision. In the event of a moderate to severe
collision, this vehicle is equipped with a
fuel pump shut-off feature that stops the
flow of fuel to the engine. Not every impact
will cause a shut-off.
Should your vehicle shut off after a
collision, you may restart your vehicle by
doing the following:
1. Turn the ignition off.
2. Turn the ignition to crank.
3. Turn the ignition off.
4.
Turn the ignition on again to re-enable
the fuel pump.
For vehicles equipped with a push button
start system:
1. Press the START/STOP button to turn
the ignition off.
2. Press the brake pedal and press the START/STOP
button (crank attempt).
3. Remove your foot from the brake pedal
and press the
START/STOP button
(ignition off ).
4. Press the
START/STOP button again
to re-enable the fuel system.
JUMP-STARTING THE VEHICLE WARNINGS
The gases around the battery can
explode if exposed to flames, sparks,
or lit cigarettes. An explosion could result
in injury or vehicle damage. Batteries contain sulfuric acid which
can burn skin, eyes and clothing, if
contacted. 226
MKZ (CC9) Roadside Emergencies
Page 230 of 445

A. Negative prong (–)
B. Positive prong (+)
Note:
In the illustration, the vehicle on the
bottom is used to designate the assisting
(boosting) battery.
Note: Remove the red cap from the
positive prong (B) on your vehicle before
connecting the cables. 1. Connect the positive (+) jumper cable
to the positive (+) prong (B) of the
discharged battery.
2. Connect the other end of the positive (+) cable to the positive (+) terminal of
the assisting battery.
3. Connect the negative (-) cable to the negative (-) terminal of the assisting
battery. 4. Make the final connection of the
negative (-) cable to the negative (-)
prong (A) of your vehicle.
Note: Do not attach the negative (-) cable
to fuel lines, engine rocker covers, the
intake manifold or electrical components
as grounding points. WARNING
Do not connect the end of the
second cable to the negative (-)
terminal of the battery to be jumped. A
spark may cause an explosion of the gases
that surround the battery. Ensure that the cables are clear of fan
blades, belts, moving parts of both
engines, or any fuel delivery system parts.
Jump Starting
1.
Start the booster vehicle and press the
accelerator pedal moderately.
2. Start the disabled vehicle. Check the instrument cluster for the Ready to
Drive light as the gasoline engine may
not start, but the electric motor may be
running.
3. Once you start the disabled vehicle, run both vehicles for an additional
three minutes before disconnecting
the jumper cables.
Removing the Jumper Cables
Remove the jumper cables in the reverse
order that they were connected.
Note: In the illustration, the vehicle on the
bottom is used to designate the assisting
(boosting) battery.
228
MKZ (CC9) Roadside EmergenciesE148861
Page 233 of 445

Post-Incident
•
Do not store a severely damaged
vehicle with a lithium-ion battery inside
a structure or within 50 feet (15 meters)
of any structure or vehicle.
• Make sure that passenger and cargo
compartments remain ventilated (i.e.,
open window, door, or trunk).
• For vehicles in the United States, notify
Ford Motor Company 1-800-392-3673
(then follow the prompts on the voice
response menu), an authorized Ford
dealer or service center as soon as
possible as there may be other steps
to secure and discharge the
high-voltage battery.
• For vehicles in Canada, notify Ford
Motor Company 1-800-565-3673 (then
follow the prompts on the voice
response menu), an authorized Ford
dealer or service center as soon as
possible as there may be other steps
to secure and discharge the
high-voltage battery.
• Call 911 if you observe leaking fluids,
sparks, smoke or flames, or hear
gurgling or bubbling from the
high-voltage battery.
POST-CRASH ALERT SYSTEM
The system flashes the turn signal lamps
and sounds the horn (intermittently) in the
event of a serious impact that deploys an
airbag (front, side, side curtain or Safety
Canopy) or the safety belt pretensioners. The horn and lamps will turn off when:
•
The hazard control button is pressed
• The panic button (if equipped) is
pressed on the remote entry
transmitter
• Your vehicle runs out of power
Spinout Detection
If a spinout is detected, the vehicle comes
to a stop and the hazard warning flashers
come on. The message Spinout Detected
Hazards Activated will also appear on the
instrument cluster. The message may not
appear if your vehicle runs out of power.
Once the hazard warning flashers have
been activated, you can turn them off by:
• Pressing the hazard warning flasher
button
• Pressing the remote control unlock
button
• Pressing the remote control panic
button
• Cycling the ignition on and off twice
231
MKZ (CC9) Roadside Emergencies
Page 241 of 445

FUSE SPECIFICATION CHART
Power Distribution Box
WARNINGS
Always disconnect the battery
before servicing high-current fuses.
To reduce risk of electrical shock,
always replace the cover to the
power distribution box before
reconnecting the battery or refilling fluid
reservoirs. The power distribution box is in the engine
compartment. It has high-current fuses that
protect your vehicle's main electrical
systems from overloads.
If you disconnect and reconnect the
battery, you will need to reset some
features. See Changing the 12V Battery
(page 260). 239
MKZ (CC9) FusesE144783
Page 251 of 445

Protected components
Fuse amp rating
Fuse or relay number
Restraints control module
5A 1
35
Continuous control damping suspension,
Auto-dimming rear view mirror, Lane
keeping system module
15A
1
36
Heated steering wheel
15A 1
37
Rear window shade
30A
38
1 Micro fuse
2 Dual micro fuse
CHANGING A FUSE
Fuses WARNING
Always replace a fuse with one that
has the specified amperage rating.
Using a fuse with a higher amperage rating
can cause severe wire damage and could
start a fire. If electrical components in the vehicle are
not working, a fuse may have blown.
Blown fuses are identified by a broken
wire within the fuse. Check the appropriate
fuses before replacing any electrical
components.
Standard Fuse Amperage Rating and Color Color
J-type fuses
M-type fuses
Dual micro fuses
Micro fuses
Fuse rating
-
-
Tan
Tan
5A
-
-
Brown
Brown
7.5A
-
-
Red
Red
10A
-
Grey
Blue
Blue
15A
Blue
Light Blue
-
Yellow
20A
249
MKZ (CC9) FusesE142430
Page 253 of 445

GENERAL INFORMATION
Have your vehicle serviced regularly to
help maintain its roadworthiness and
resale value. There is a large network of
Ford authorized dealers that are there to
help you with their professional servicing
expertise. We believe that their specially
trained technicians are best qualified to
service your vehicle properly and expertly.
They are supported by a wide range of
highly specialized tools developed
specifically for servicing your vehicle.
To help you service your vehicle, we
provide scheduled maintenance
information which makes tracking routine
service easy. See Scheduled
Maintenance (page 412).
If your vehicle requires professional
service, your authorized dealer can
provide the necessary parts and service.
Check your warranty information to find
out which parts and services are covered.
Use only recommended fuels, lubricants,
fluids and service parts conforming to
specifications. Motorcraft® parts are
designed and built to provide the best
performance in your vehicle.
Precautions
• Do not work on a hot engine.
• Make sure that nothing gets caught in
moving parts. •
Do not work on a vehicle with the
engine running in an enclosed space,
unless you are sure you have enough
ventilation.
• Keep all open flames and other
burning material (such as cigarettes)
away from the battery and all fuel
related parts.
Working with the Engine Off
1. Set the parking brake and shift to
P
(Park).
2. Turn off the engine and remove the key (if equipped).
3. Block the wheels.
Working with the Engine On WARNING
To reduce the risk of vehicle damage
and/or personal burn injuries, do not
start your engine with the air cleaner
removed and do not remove it while the
engine is running. 1. Set the parking brake and shift to
P
(Park).
2. Block the wheels
251
MKZ (CC9) Maintenance
Page 254 of 445

OPENING AND CLOSING THE
HOOD
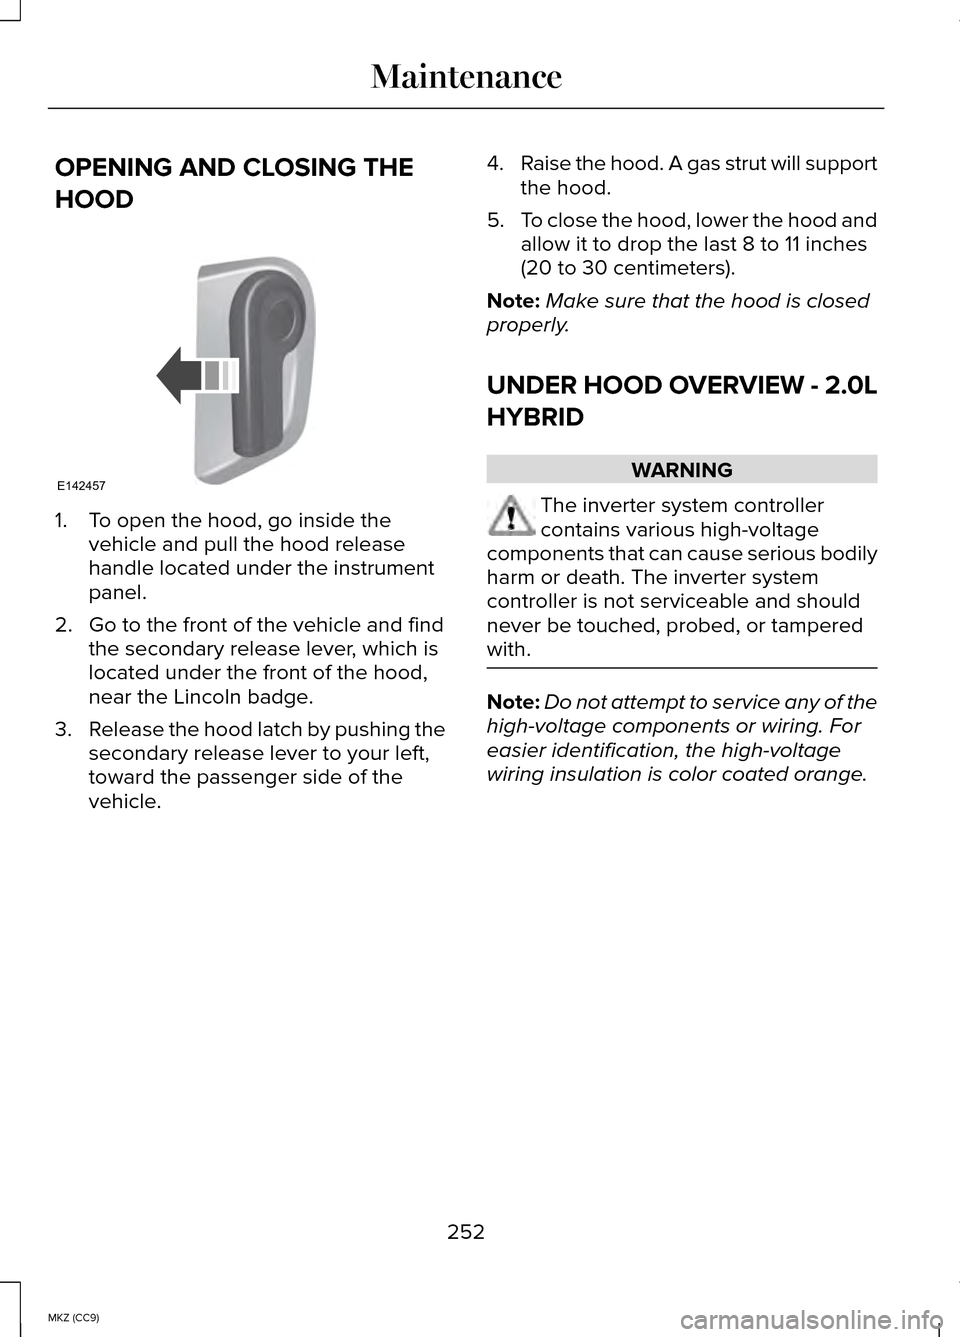
1. To open the hood, go inside the
vehicle and pull the hood release
handle located under the instrument
panel.
2. Go to the front of the vehicle and find the secondary release lever, which is
located under the front of the hood,
near the Lincoln badge.
3. Release the hood latch by pushing the
secondary release lever to your left,
toward the passenger side of the
vehicle. 4.
Raise the hood. A gas strut will support
the hood.
5. To close the hood, lower the hood and
allow it to drop the last 8 to 11 inches
(20 to 30 centimeters).
Note: Make sure that the hood is closed
properly.
UNDER HOOD OVERVIEW - 2.0L
HYBRID WARNING
The inverter system controller
contains various high-voltage
components that can cause serious bodily
harm or death. The inverter system
controller is not serviceable and should
never be touched, probed, or tampered
with. Note:
Do not attempt to service any of the
high-voltage components or wiring. For
easier identification, the high-voltage
wiring insulation is color coated orange.
252
MKZ (CC9) MaintenanceE142457
Page 258 of 445

Note:
For best results, coolant
concentration should be tested with a
refractometer such as Rotunda tool
300-ROB75240 available from your
dealer. Ford does not recommend the use
of hydrometers or coolant test strips for
measuring coolant concentrations.
Note: Automotive fluids are not
interchangeable. Do not use engine
coolant or antifreeze or windshield washer
fluid outside of its specified function and
vehicle location.
Adding Coolant WARNINGS
Do not add engine coolant when the
engine is hot. Steam and scalding
liquids released from a hot cooling system
can burn you badly. Also, you can be
burned if you spill coolant on hot engine
parts. Do not put engine coolant in the
windshield washer fluid container. If
sprayed on the windshield, engine coolant
could make it difficult to see through the
windshield. To reduce the risk of personal injury,
make sure the engine is cool before
unscrewing the coolant pressure relief cap.
The cooling system is under pressure;
steam and hot liquid can come out
forcefully when the cap is loosened
slightly. Do not add coolant further than the
MAX mark. Note:
Do not use stop leak pellets, cooling
system sealants, or additives as they can
cause damage to the cooling or heating
systems. This damage would not be
covered under your vehicle ’s warranty.
Note: During normal vehicle operation,
the coolant may change color from orange
to pink or light red. As long as the coolant
is clear and uncontaminated, this color
change does not indicate the coolant has
degraded nor does it require the coolant
to be drained, the system to be flushed,
or the coolant to be replaced.
Note: It is very important to use prediluted
coolant meeting the Ford specification in
order to avoid plugging the small coolant
passageways. Use of concentrated
coolant and water may cause coolant
passageway plugging and void the
warranty. See Capacities and
Specifications (page 302).
256
MKZ (CC9) Maintenance