Page 251 of 488

uu Audio System Basic Operation u Playing Bluetooth ® Audio
250
Features
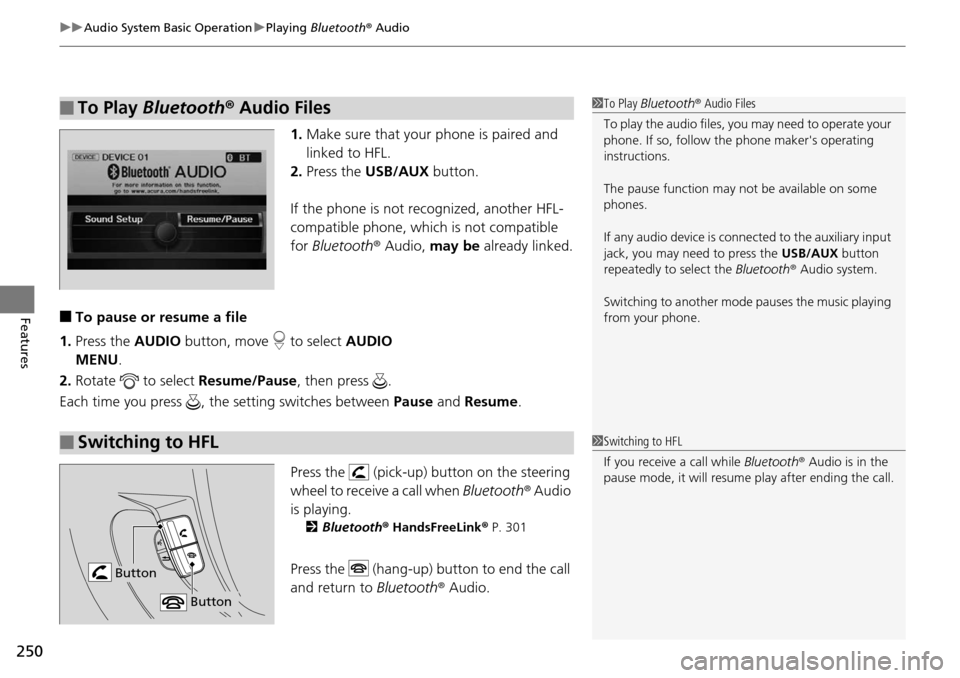
1. Make sure that your phone is paired and
linked to HFL.
2.Press the USB/AUX button.
If the phone is not recognized, another HFL-
co
mpatible phone, which is not compatible
for Bluetooth ® Audio, may be already linked.
■To pause or resume a file
1. Press the AUDIO bu
tton, move to select AUDIO
MENU .
2. Rotate
to select Resume /Pause, then press .
Each time you press , the setting switches between Paus
e and Resume .
Press the (pick-up) button on the steering
wheel to receive a call when Bl
uetooth® Audio
is playing.
2 Bluetooth ® Hand sFreeLink® P. 301
Press the (hang-up) button to end the call
and return to Bluetoot
h® Audio.
■To Play Bluetooth® Audio Files1To Play Bluetooth ® Audio Files
To play the audio files, y ou may need to operate your
phone. If so, follow the phone maker's operating
instructions.
The pause function may no t be available on some
phones.
If any audio device is conne cted to the auxiliary input
jack, you may need to press the USB/AUX button
repeatedly to select the Bluetooth® Audio system.
Switching to another mode pauses the music playing
from your phone.
■Switching to HFL1 Switching to HFL
If you receive a call while Bluetooth® Audio is in the
pause mode, it will resume play after ending the call.
Button
Button
Page 254 of 488

253
uu Rear Entertainment System * u Operating the System
Continued
Features
■System Controls and Menus for DVD
(Power) Button
Press to turn on the system.
DVD Button
Press to watch a DVD.
(Light) Button
Press to illuminate the buttons and bars for a few seconds.
SKIP Buttons
Press or to change chapters.
(Play/Pause) Button
Press to pause or play a DVD.
TITLE/SCROLL Button
Press to display the
status of the DVD
that is currently
playing.
MENU Button
The following options appear when you
play a DVD and press the
MENU button:
Top Menu
Menu
Play Mode Audio Subtitle
Angle
Search Title
Chapter
Repeat SETUP Button
The following options appear when you play a DVD and
press the
SETUP button:
Disp Adjust
( P. 259) Brightness
Contrast
Black Level
Color
CANCEL Button
Press to go back to the
previous display or operation. 3
, 4 , , and ENT Buttons
Use 3 , 4, , or to highlight a
menu item, and press the ENT Button
to make a selection.
Tint
Normal WideZoom
Full
Aspect Ratio
( P.
259)
PERSONAL SURROUND ( P. 259)
Language ( P. 259)
Rewind Button
Press and hold to reverse to chapters.
Fast-forward Button
Press and hold to fast forward to chapters.
NumInput
Page 260 of 488

Continued259
uu Rear Entertainment System * u Operating the System
Features
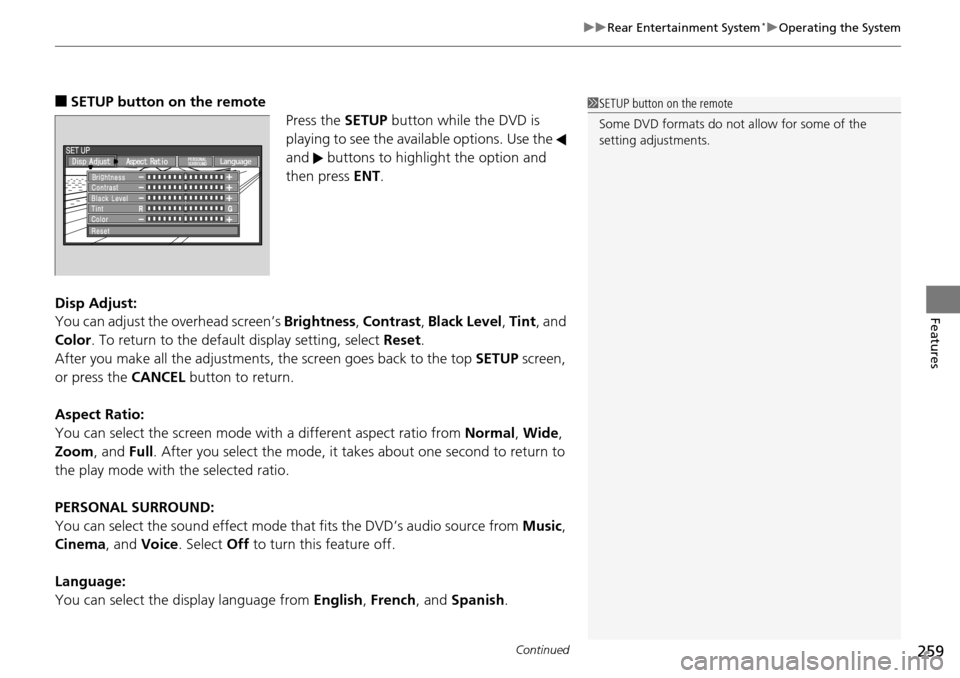
■SETUP button on the remote
Press the SE
TUP button while the DVD is
playing to see the avai lable options. Use the
and buttons to highlight the option and
then press ENT.
Disp Adjust:
You can adjust the overhe
ad screen’s Brightness , Contrast , Black Level , Tint , and
Color . To return to the default display setting, select Reset.
After you make all the adjustments, the screen goes back to the top SET
UP screen,
or press the CANCEL button to return.
Aspect Ratio:
You can select the screen mode wi th
a different aspect ratio from Normal, Wide ,
Zoom , and Full. After you select the mode, it t akes about one second to return to
the play mode with the selected ratio.
PERSONAL SURROUND:
You can select the sound effect mode th at
fits the DVD’s audio source from Music,
Cinema , and Voice . Select Off to turn this feature off.
Language:
You can select the display language from En
glish, French , and Spanish .
1SETUP button on the remote
Some DVD formats do not allow for some of the
setting adjustments.
Page 262 of 488

261
uu Rear Entertainment System * u Operating the System
Continued
Features
■System Controls and Menus for Audio
(Power) Button
Press to turn on the system.
AUX Button
Press to use a USB, iPod, auxiliary video (rear), or auxiliary audio (front). (Light) Button
Press to illuminate the buttons and bars for a few seconds.
SKIP Buttons
2 Audio System Basic Operation P. 175, 216
(Play/Pause) Button
Press to pause a playing CD.
SCROLL Button
Press to switch search mode on XM radio, and scroll titles on CD.
CANCEL Button
Press to go back to the previous
display or operation.
3
,4 , , and ENT Buttons
Use 3, 4 , , or to highlight a
menu item, and press the ENT Button
to make a selection.
CD/CDL Button *
Press to listen to a CD or CD library.
AM/FM Button
Press to listen to
AM or FM radio.
SETUP Button
2 SETUP button on the remote P. 259
XM Button
Press to listen
to XM radio.
MENU Button
Press to display audio menu for AM/FM radio, XM radio, or CD on the overhead screen.CD/HDD Button
*
Press to listen to a CD or hard disc drive.
Rewind Button
Press and hold to reverse the track.Fast-forward Button
Press and hold to fast-forward the track.
* Not available on all models
Page 263 of 488

uu Rear Entertainment System * u Operating the System
262
Features
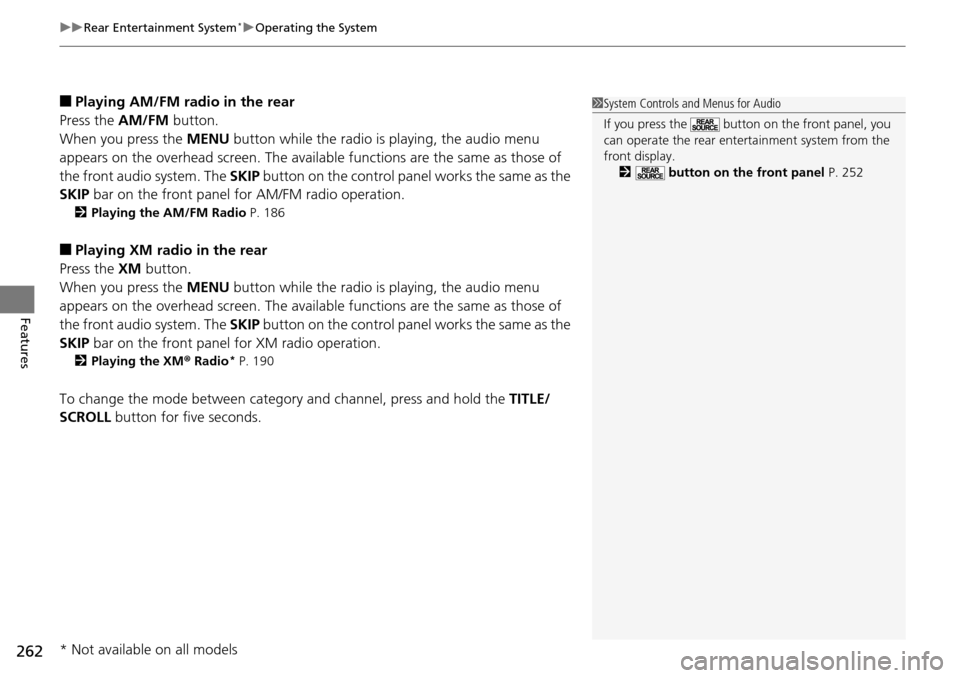
■Playing AM/FM radio in the rear
Press the AM/FM b
utton.
When you press the ME
NU button while the radio is playing, the audio menu
appears on the overhead screen. The availa ble functions are the same as those of
the front audio system. The SKIP button on the control panel works the same as the
SKIP bar on the front panel for AM/FM radio operation.
2Playing the AM/FM Radio P. 186
■Playing XM radio in the rear
Press the XM b
utton.
When you press the ME
NU button while the radio is playing, the audio menu
appears on the overhead screen. The availa ble functions are the same as those of
the front audio system. The SKIP button on the control panel works the same as the
SKIP bar on the front panel for XM radio operation.
2Playing the XM ® Radi o * P. 190
To change the mode between category and channel, press and hold the TITLE/
SCROLL button for five seconds.
1 System Controls and Menus for Audio
If you press the button on the front panel, you
can operate the rear entertainment system from the
front display.
2 button on the front panel P. 252
* Not available on all models
Page 264 of 488

263
uu Rear Entertainment System * u Operating the System
Features
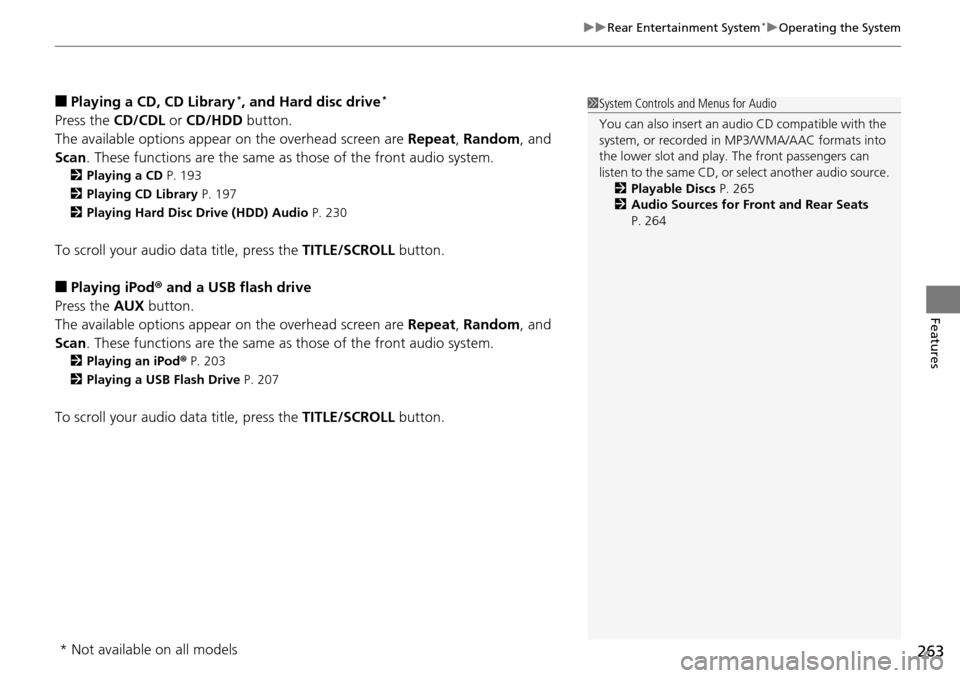
■Playing a CD, CD Library *, and Hard disc drive *
Press the CD/CDL or CD/HDD button.
The available options appear on the overhead
screen are Repeat, Random , and
Scan . These functions are the same as those of the front audio system.
2Playing a CD P. 193
2 Playing CD Library P. 197
2 Playing Hard Disc Drive (HDD) Audio P. 230
To scroll your audio data title, press the TITLE/SCROLL button.
■Playing iPod® and a USB flash drive
Press the AU
X button.
The available options appear on the overhead
screen are Repeat, Random , and
Scan . These functions are the same as those of the front audio system.
2Playing an iPod ® P. 203
2 Playing a USB Flash Drive P. 207
To scroll your audio data title, press the TITLE/SCROLL button.
1System Controls and Menus for Audio
You can also insert an audio CD compatible with the
system, or recorded in MP3/WMA/AAC formats into
the lower slot and play. The front passengers can
listen to the same CD, or select another audio source.
2 Playable Discs P. 265
2 Audio Sources for Front and Rear Seats
P. 264
* Not available on all models
Page 268 of 488

267
uu Audio Error Messages u CD Player
Features
Error MessageCauseSolution
BAD DISC PLEASE CHECK
OWNERS MANUALServo error●Press the (eject) button and remove the disc, and check that the
error message is cleared.
●Check that the disc is not dama ged or deformed, and insert the
disc again.
2 Recommended CDs P. 273
●If the error message reappears, press the button, and pull out
the disc.
●Insert a different disc. If the new di sc plays, there is a problem with
the first disc.
●If the error message repeats, or the disc cannot be removed,
contact a dealer. Do not try to fo rce the disc out of the player.
BAD DISC PLEASE CHECK
OWNERS MANUAL PUSH
EJECT
Mechanical error
MECH ERRORMechanical error
CHECK DISC
Focus error
Disc violates copyright
Disc not supported
CHECK DISC LOADLoad error
UNSUPPORTEDTrack format not supported●Current track will be skipped. The next supported track plays
automatically.
HEAT ERRORHigh temperature●Turn the audio system off and allo w the player to cool down until
the error message is cleared.
Models with navigation system
Page 269 of 488

268
uu Audio Error Messages u iPod ®/USB Flash Drive
Features
iPod ®/USB Flash Drive
If an error occurs while playing an iPod® or USB flash drive, you may see the
following error messages. If you cannot clear the error message, contact a dealer.
Error MessageSolution
USB ERRORAppears when there is a problem with the USB adapter unit. Check if the device is compatible with the
USB adapter unit.
BAD USB DEVICE PLEASE
CHECK OWNERS MANUALAppears when an incompatible device is connected. Disconnect the device. Then turn the audio system
off, and turn it on again. Do not reco nnect the device that caused the error.
NO SONGAppears when the iPod® is empty. Check that compatible files are stored on the device.
UNSUPPORTED VERAppears when an unsupported iPod ® is connected. If it appears when a supported iPod ® is connected,
update the iPod ® software to the newer version.
Retry ConnectionAppears when the system do es not acknowledge the iPod®. Reconnect the iPod ®.
UNPLAYABLE FILEAppears when the files in the USB flash drive are DRM or an unsupported format. This error message
appears for about 3 seconds, then plays the next song.
No SongAppears when the USB flash drive is empty or ther e are no MP3, WMA, or AAC files in the USB flash
drive. Check that compatible fi les are stored on the device.
UNSUPPORTEDAppears when an unsupported device is connect ed. If it appears when a supported device is
connected, reconnect the device.
Models without navigation system