Page 133 of 327
132
Changing Your Destination
Selecting a Destination on the Map
Navigation
Selecting a Destination on the MapSelect a new destination when en route by selecting a location on the map.
1.Scroll the map to position the
cursor over your desired
destination, adjusting the map
scale as necessary. Press u.
If the address displayed is not
the desired location, press the
BACK button and repeat the
procedure.
2.Rotate i to select Set as
Destination. Press u.
2Calculating the Route
P. 108
3.Move r to select Clear Current
Route. Press u.
The route is automatically
recalculated and displayed on
the map screen.
Rotate i to edit the order to
set the location as a new
waypoint. Press u.
1Selecting a Destination on the Map
If there is more than one icon or street under the
map cursor, you are prompted to select the item
from a list.
Rotate i to select an item. Press u.
Page 134 of 327
133
Changing Your Destination
Entering a New Destination
Navigation
Entering a New DestinationHMENU button (when en route)
Destination
Enter a new destination using the Destination Menu screen even when you are en
route.
1.Rotate i to select a method to
enter a new destination.
2Entering a Destination
P. 84
After entering a new
destination, the address is
displayed on the Calculate
Route screen.
2.Rotate i to select Set as
Destination. Press u.
3.Move r to select Clear Current
Route. Press u.
The route is automatically
recalculated and displayed on
the map screen.
Rotate i to edit the order to
set the location as a new
waypoint. Press u.
1Entering a New Destination
d “Display Destination”, d “Display
Navigation”
Page 135 of 327

134Navigation
Resuming Your TripStop your vehicle en route (e.g., to rest, stop for gas, etc.), and then continue on
your route.
If you did not complete your route, the Continue Trip screen is displayed when you
restart your vehicle.
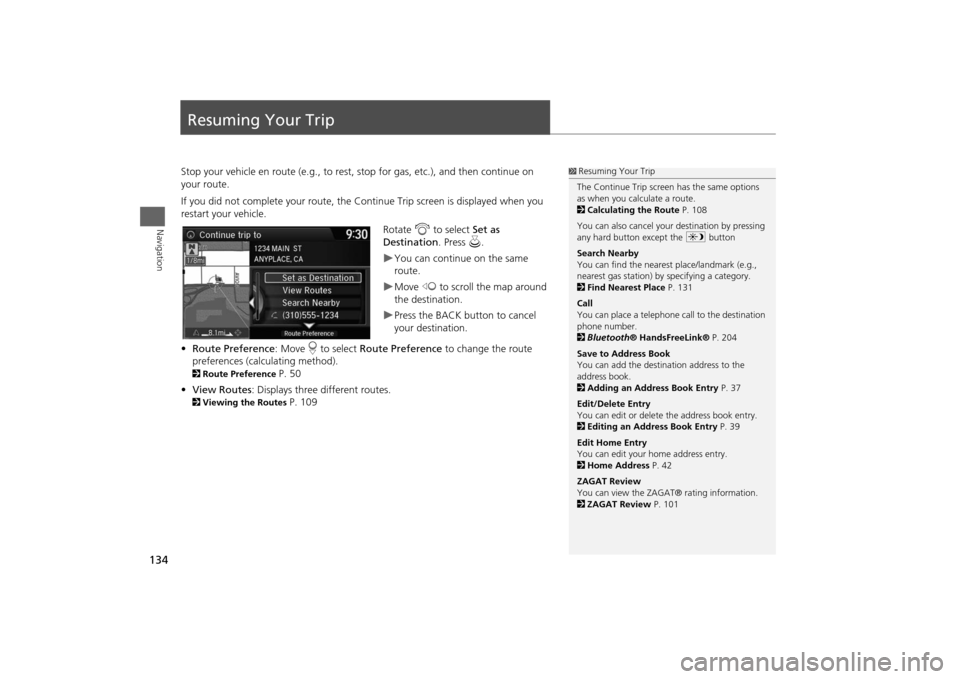
Rotate i to select Set as
Destination. Press u.
You can continue on the same
route.Move w to scroll the map around
the destination.Press the BACK button to cancel
your destination.
•Route Preference: Move r to select Route Preference to change the route
preferences (calculating method).
2Route Preference
P. 50
•View Routes: Displays three different routes.
2Viewing the Routes
P. 109
1Resuming Your Trip
The Continue Trip screen has the same options
as when you calculate a route.
2Calculating the Route P. 108
You can also cancel your destination by pressing
any hard button except the a button
Search Nearby
You can find the nearest place/landmark (e.g.,
nearest gas station) by specifying a category.
2Find Nearest Place P. 131
Call
You can place a telephone call to the destination
phone number.
2Bluetooth® HandsFreeLink® P. 204
Save to Address Book
You can add the destination address to the
address book.
2Adding an Address Book Entry P. 37
Edit/Delete Entry
You can edit or delete the address book entry.
2Editing an Address Book Entry P. 39
Edit Home Entry
You can edit your home address entry.
2Home Address P. 42
ZAGAT Review
You can view the ZAGAT® rating information.
2ZAGAT Review P. 101
Page 138 of 327
137
Audio System
USB Port
Audio
USB Port
Install the iPod® or iPhone® dock
connector or the USB flash drive to
the USB port.
1USB Port
•Do not leave the iPod® or USB flash drive in
the vehicle. Direct sunlight and high
temperatures may damage it.
•Do not connect the iPod® or USB flash drive
using a hub.
•Do not use a device such as a card reader or
hard disk drive, as the device or your files may
be damaged.
•We recommend backing up your data before
using the device in your vehicle.
•Displayed messages may vary depending on
the device model and software version.
If the audio system does not recognize the
iPod®, try reconnecting it a few times or reboot
the device. To reboot, follow the manufacturer’s
instructions provided with the iPod® or visit
www.apple.com/ipod.
Page 140 of 327
139
Audio System
Audio System Theft Protection
Audio
Audio System Theft ProtectionThe audio system is disabled when it is disconnected from the power source, such as
when the battery is disconnected or goes dead. In certain conditions, the system may
display Enter code . If this occurs, reactivate the audio system.
1. Set the power mode to ON.
2. Turn on the audio system.
3. Press and hold the audio system power button for more than two seconds.
The audio system is reac tivated when the audio c ontrol unit establishes a
connection with the vehicle control unit. If the control unit fails to recognize
the audio unit, you must go to a deal er and have the audio unit checked.
■Reactivate the audio system
Page 144 of 327

143Audio
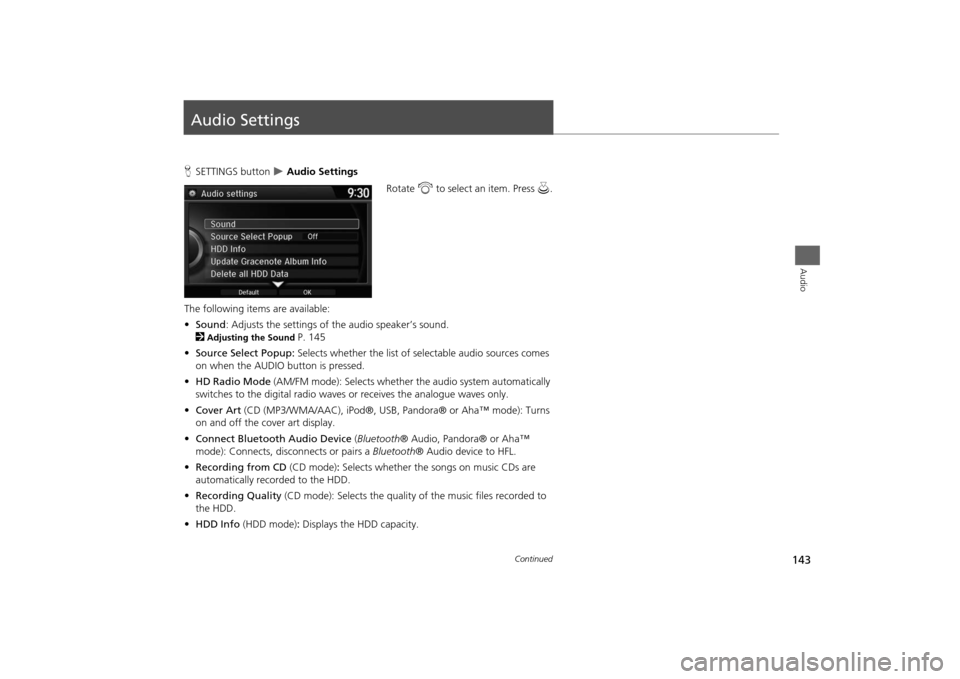
Audio SettingsHSETTINGS button
Audio Settings
Rotate i to select an item. Press u.
The following items are available:
•Sound: Adjusts the settings of the audio speaker’s sound.
2
Adjusting the Sound
P. 145
•Source Select Popup: Selects whether the list of selectable audio sources comes
on when the AUDIO button is pressed.
•HD Radio Mode (AM/FM mode): Selects whether the audio system automatically
switches to the digital radio waves or receives the analogue waves only.
•Cover Art (CD (MP3/WMA/AAC), iPod®, USB, Pandora® or Aha™ mode): Turns
on and off the cover art display.
•Connect Bluetooth Audio Device (Bluetooth® Audio, Pandora® or Aha™
mode): Connects, disconnects or pairs a Bluetooth® Audio device to HFL.
•Recording from CD (CD mode): Selects whether the songs on music CDs are
automatically recorded to the HDD.
•Recording Quality (CD mode): Selects the quality of the music files recorded to
the HDD.
•HDD Info (HDD mode): Displays the HDD capacity.
Continued
Page 145 of 327
144
Audio Settings
Steering Wheel Controls
Audio
•Update Gracenote Album Info (CD or HDD mode): Updates the Gracenote®
Album Info (Gracenote® Media Database) from CD or from USB.
2
Updating Gracenote® Album Info
P. 175
•DVD Auto Play (DVD mode): Turns the auto play feature on or off.
•Audio Language (DVD mode): Selects a language for the audio that is available
on the DVD.
•Subtitle Language (DVD mode): Selects a language for the subtitle that is
available on the DVD.
•Menu Language (DVD mode): Selects a language for the DVD menu that is
available on the DVD.
•Angle Mark (DVD mode): Sets whether to display the angle symbol.
•Dynamic Range (DVD mode): Sets whether to control the range of the loud and
low sounds.
•Delete all HDD Data (HDD mode): Resets all the menu and customized settings,
and delete all music data on the HDD.
•Default: Cancels/Resets all customized items in the Audio Settings group as
default.
Page 148 of 327

147Audio
Playing FM/AM RadioSelecting FM/AM Mode1.Press the MENU button.(in AUDIO mode)
2.Rotate i to select Change Source. Press u.
3.Rotate i to select the frequency band (FM, AM). Press u.
The band and frequency are displayed on the navigation screen.
1.Select Audio Source.
2.Select the frequency band (AM, FM) icon.
The band and frequency are displayed on the touchscreen.
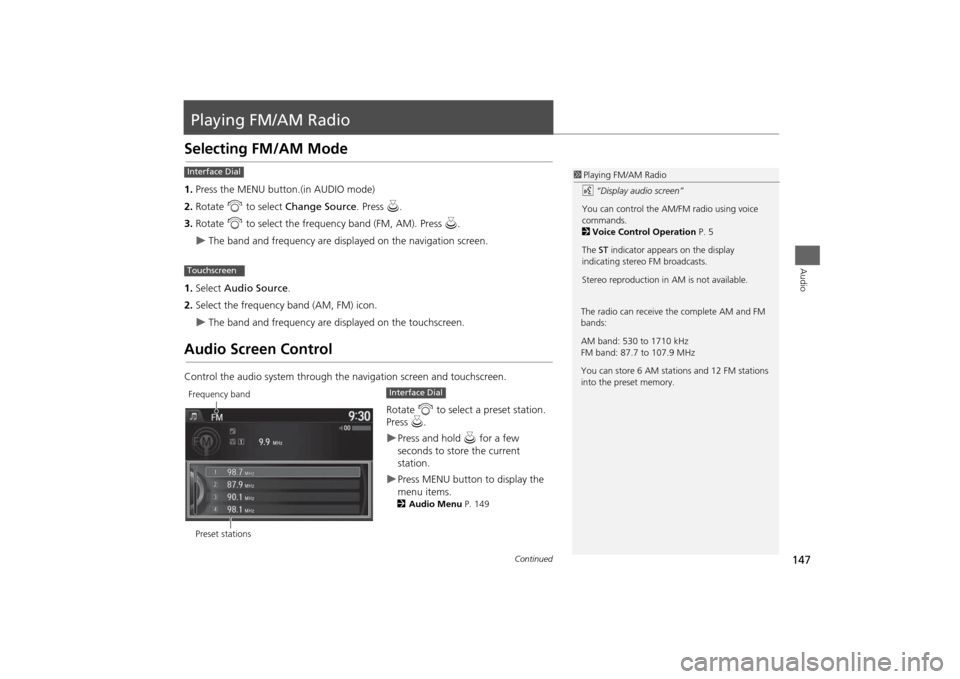
Audio Screen ControlControl the audio system through the navigation screen and touchscreen.
Rotate i to select a preset station.
Press u.
Press and hold u for a few
seconds to store the current
station.Press MENU button to display the
menu items.2Audio Menu P. 149
1Playing FM/AM Radio
d “Display audio screen”
You can control the AM/FM radio using voice
commands.
2Voice Control Operation P. 5
The ST indicator appears on the display
indicating stereo FM broadcasts.
Stereo reproduction in AM is not available.
Interface DialTouchscreen
The radio can receive the complete AM and FM
bands:
AM band: 530 to 1710 kHz
FM band: 87.7 to 107.9 MHz
You can store 6 AM stations and 12 FM stations
into the preset memory.
Preset stationsFrequency band
Interface Dial
Continued