2014 FORD SUPER DUTY light
[x] Cancel search: lightPage 126 of 458
3.
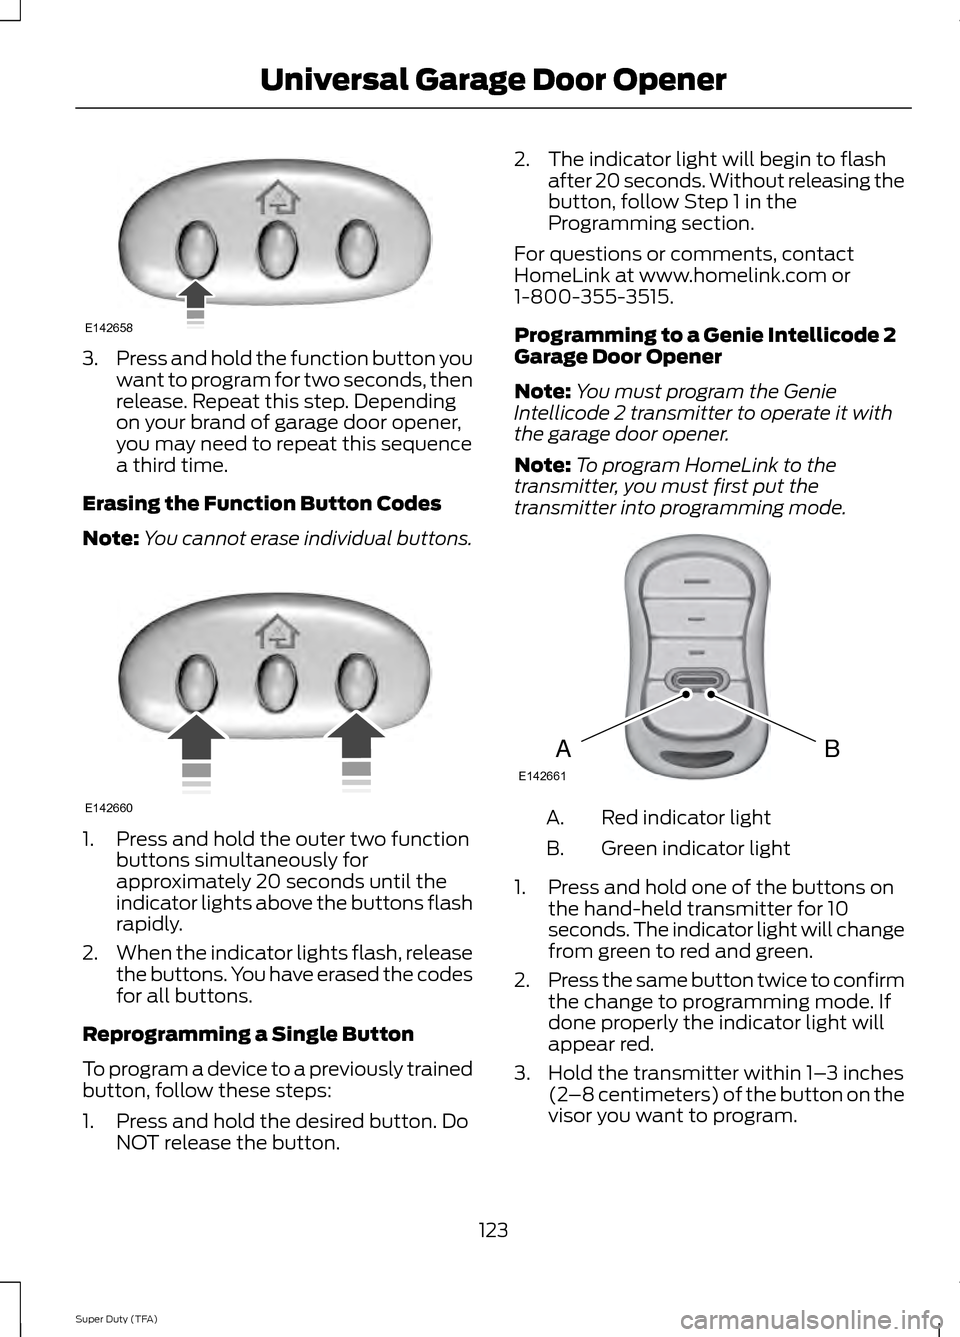
Press and hold the function button you
want to program for two seconds, then
release. Repeat this step. Depending
on your brand of garage door opener,
you may need to repeat this sequence
a third time.
Erasing the Function Button Codes
Note: You cannot erase individual buttons. 1. Press and hold the outer two function
buttons simultaneously for
approximately 20 seconds until the
indicator lights above the buttons flash
rapidly.
2. When the indicator lights flash, release
the buttons. You have erased the codes
for all buttons.
Reprogramming a Single Button
To program a device to a previously trained
button, follow these steps:
1. Press and hold the desired button. Do NOT release the button. 2. The indicator light will begin to flash
after 20 seconds. Without releasing the
button, follow Step 1 in the
Programming section.
For questions or comments, contact
HomeLink at www.homelink.com or
1-800-355-3515.
Programming to a Genie Intellicode 2
Garage Door Opener
Note: You must program the Genie
Intellicode 2 transmitter to operate it with
the garage door opener.
Note: To program HomeLink to the
transmitter, you must first put the
transmitter into programming mode. Red indicator light
A.
Green indicator light
B.
1. Press and hold one of the buttons on the hand-held transmitter for 10
seconds. The indicator light will change
from green to red and green.
2. Press the same button twice to confirm
the change to programming mode. If
done properly the indicator light will
appear red.
3. Hold the transmitter within 1– 3 inches
(2 –8 centimeters) of the button on the
visor you want to program.
123
Super Duty (TFA) Universal Garage Door OpenerE142658 E142660 BAE142661
Page 127 of 458
4. Press and hold both the programmed
Genie button on the hand-held
transmitter and the button you want
to program. The indicator light on the
visor will flash rapidly when the
programming is successful.
Note: The Genie transmitter will transmit
for up to 30 seconds. If HomeLink does not
program within 30 seconds you will need to
press the Genie transmitter again. If the
Genie transmitter indicator light displays
green and red, release the button until the
indicator light turns off before pressing the
button again.
Once you have programmed HomeLink
successfully, you must change the Genie
transmitter out of program mode. To do
this:
1. Press and hold the previously programmed Genie button on the
hand-held transmitter for 10 seconds.
The indicator light will change from red
to red and green.
2. Press the same button twice to confirm
the change. If done correctly the
indicator light will turn green.
Programming HomeLink to the Genie
Intellicode Garage Door Opener Motor
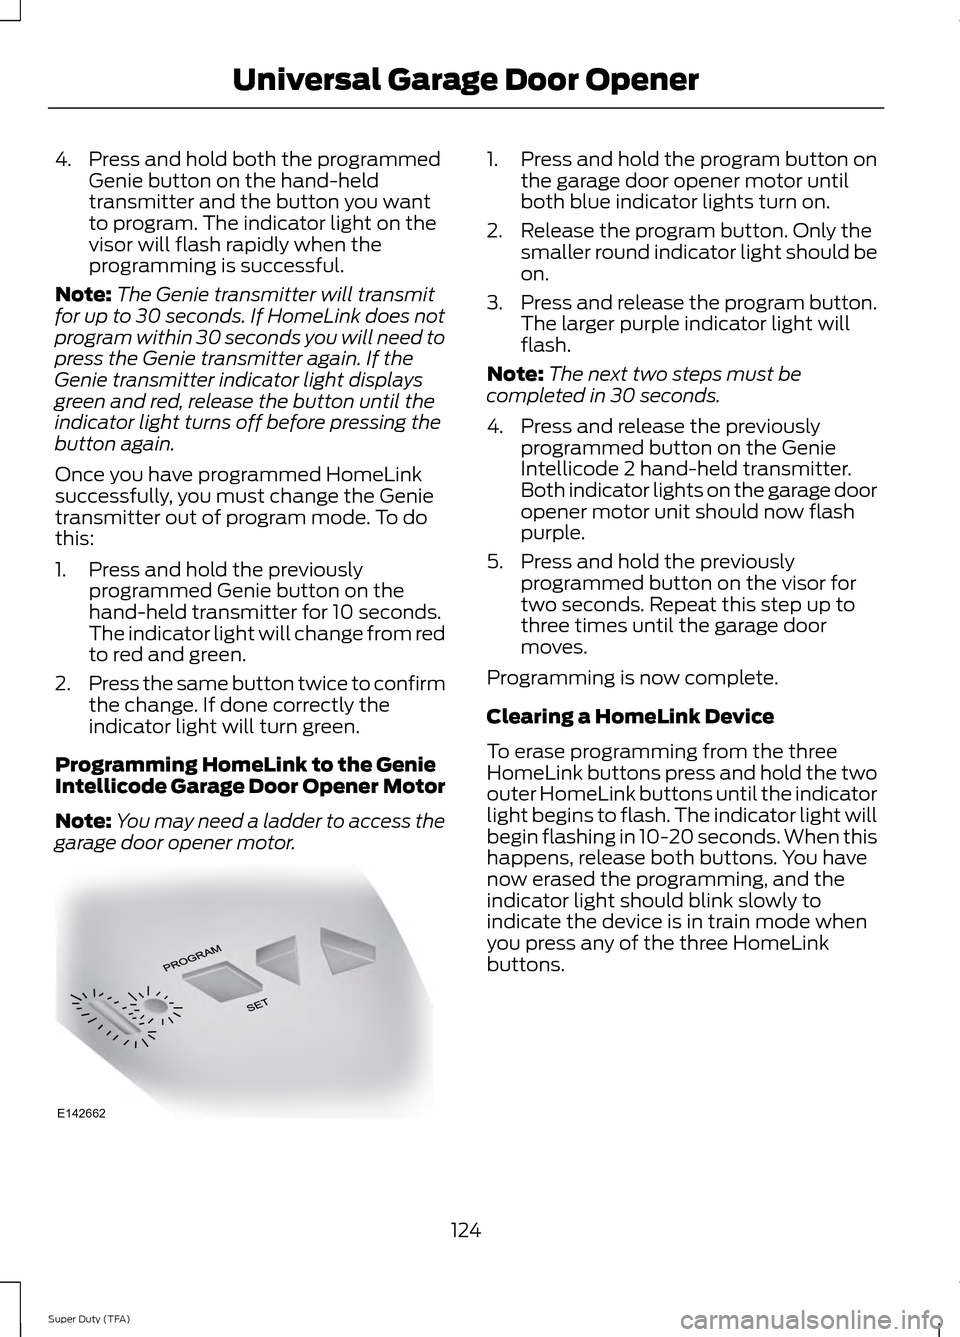
Note: You may need a ladder to access the
garage door opener motor. 1. Press and hold the program button on
the garage door opener motor until
both blue indicator lights turn on.
2. Release the program button. Only the smaller round indicator light should be
on.
3. Press and release the program button.
The larger purple indicator light will
flash.
Note: The next two steps must be
completed in 30 seconds.
4. Press and release the previously programmed button on the Genie
Intellicode 2 hand-held transmitter.
Both indicator lights on the garage door
opener motor unit should now flash
purple.
5. Press and hold the previously programmed button on the visor for
two seconds. Repeat this step up to
three times until the garage door
moves.
Programming is now complete.
Clearing a HomeLink Device
To erase programming from the three
HomeLink buttons press and hold the two
outer HomeLink buttons until the indicator
light begins to flash. The indicator light will
begin flashing in 10-20 seconds. When this
happens, release both buttons. You have
now erased the programming, and the
indicator light should blink slowly to
indicate the device is in train mode when
you press any of the three HomeLink
buttons.
124
Super Duty (TFA) Universal Garage Door OpenerE142662
Page 129 of 458
12 Volt DC Power Point
WARNING
Do not plug optional electrical
accessories into the cigar lighter
socket (if equipped). Improper use
of the lighter can cause damage not
covered by your warranty, and can result
in fire or serious injury. Note:
If used when the engine is not
running, the battery will discharge. There
may be insufficient power to restart your
engine.
Note: Do not insert objects other than an
accessory plug into the power point. This
will damage the outlet and blow the fuse.
Note: Do not hang any type of accessory or
accessory bracket from the plug.
Note: Do not use the power point over the
vehicle capacity of 12 volt DC 180 watts or
a fuse may blow.
Note: Do not use the power point for
operating a cigar lighter element.
Note: Improper use of the power point can
cause damage not covered by your
warranty.
Note: Always keep the power point caps
closed when not in use.
Run the engine for full capacity use of the
power point. To prevent the battery from
being discharged:
• do not use the power point longer than
necessary when the engine is not
running
• do not leave devices plugged in
overnight or when the vehicle is parked
for extended periods.
Locations
Power points may be found: •
On the instrument panel (two
locations).
• Inside the center console.
• On the rear of the center console.
• Inside the front under-seat storage
compartment (if equipped).
• Inside the rear under-seat storage
compartment (if equipped).
110 Volt AC Power Points (If Equipped) WARNING
Do not keep electrical devices
plugged in the power points when
the devices are not in use. Do not use
any extension cord with the 110 volt AC
power points, since it will defeat the safety
protection design. Do not use a single
power point to power multiple devices. It
may cause the power point to exceed the
150 watt load limit and overload, resulting
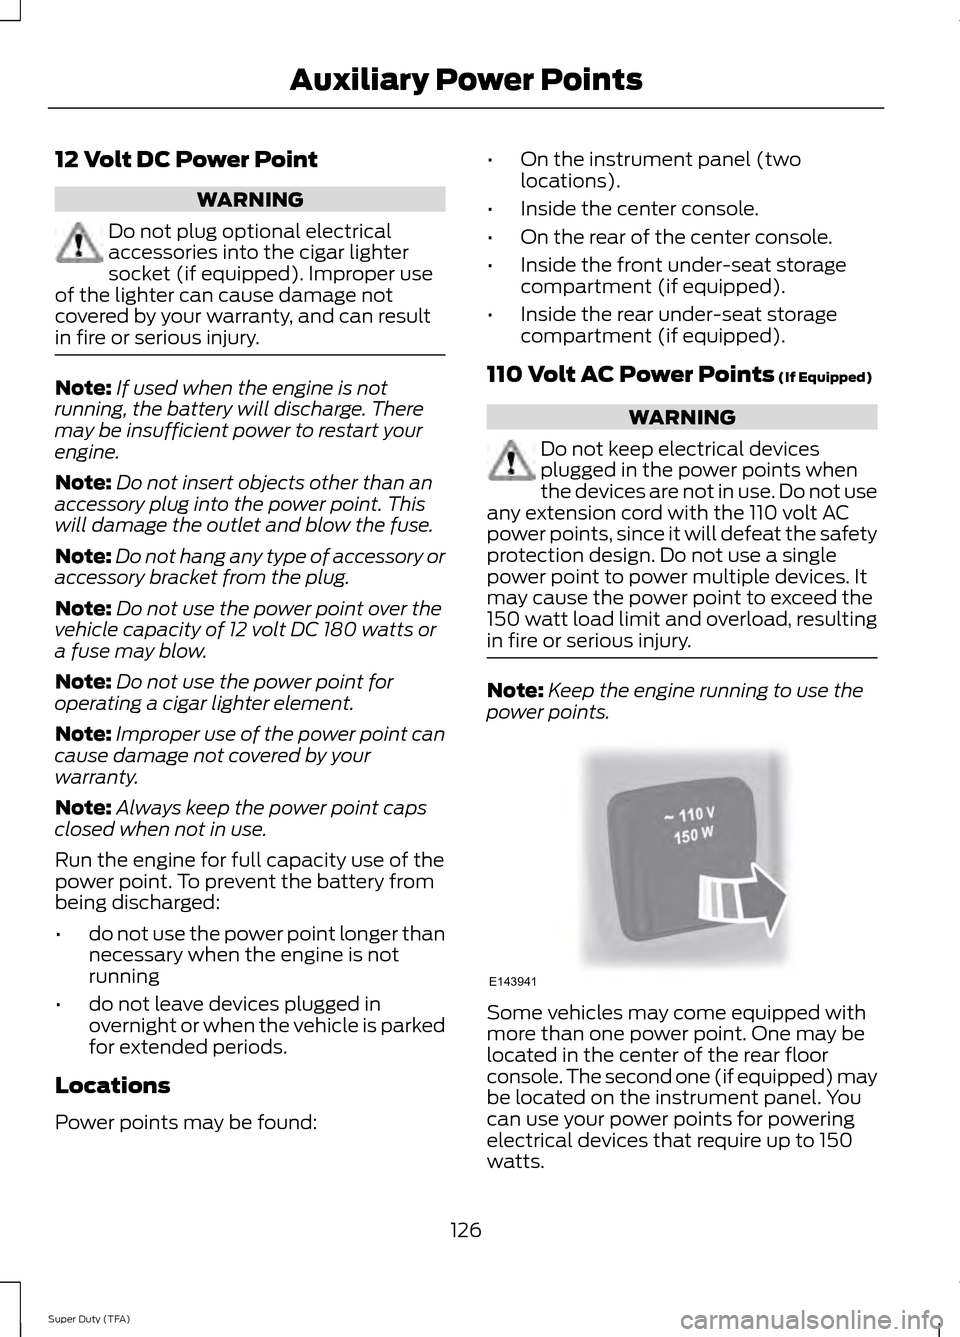
in fire or serious injury. Note:
Keep the engine running to use the
power points. Some vehicles may come equipped with
more than one power point. One may be
located in the center of the rear floor
console. The second one (if equipped) may
be located on the instrument panel. You
can use your power points for powering
electrical devices that require up to 150
watts.
126
Super Duty (TFA) Auxiliary Power PointsE143941
Page 130 of 458

When the indicator light, located on the
power point, is:
•
on — the power point is ready to supply
power.
• off — the power point power supply is
off; ignition is not on.
• flashing — the power point is in fault
mode.
The power point temporarily turns off
power if the 150 watt limit is exceeded. It
can also switch to a fault mode when it is
overloaded, overheated, or shorted. Unplug
your device and switch the ignition off, and
then switch the ignition back on for
overloading and shorting conditions. Let
the system cool off, and then turn the
ignition off, and then switch the ignition
back on for an overheating condition.
The power points are not designed for
electric devices such as:
• cathode ray tube type televisions
• motor loads, for example vacuum
cleaners, electric saws and other
electric power tools, or
compressor-driven refrigerators
• measuring devices which process
precise data, for example medical
equipment or measuring equipment
• other appliances requiring an extremely
stable power supply, for example
microcomputer-controlled electric
blankets or touch sensor lamps.
127
Super Duty (TFA) Auxiliary Power Points
Page 137 of 458
FUEL QUALITY
Note:
We recommend that you use only
high quality fuel without additives or other
engine treatments.
Note: Use of any fuel other than those
recommended may cause powertrain
damage, a loss of vehicle performance, and
repairs may not be covered under warranty.
Choosing the Right Fuel
Use only UNLEADED fuel or UNLEADED
fuel blended with a maximum of 15%
ethanol. Do not use fuel ethanol (E85),
diesel fuel, fuel-methanol, leaded fuel or
any other fuel because it could damage or
impair the emission control system. The
use of leaded fuel is prohibited by law.
Your vehicle was not designed to use fuel
or fuel additives with metallic compounds,
including manganese-based additives.
Diesel Engine
Refer to the diesel supplement for
information regarding diesel fuel
recommendations and requirements of
your diesel-powered truck.
Choosing the Right Fuel With a
Flex Fuel Vehicle (If Equipped)
Note: If your vehicle is flex fuel capable, it
will have a yellow bezel placed over the fuel
fill inlet.
Flex fuel vehicles are designed to use
unleaded gasoline or an ethanol fuel blend
that contain up to 85% ethanol. It is also
acceptable to use any mixture of unleaded
gasoline and ethanol fuel that contains up
to 85% ethanol. An ethanol fuel blend that
contains 85% ethanol is labeled as E85 at
the service station. It is best not to alternate repeatedly
between gasoline and E85. If you do switch
fuels, it is recommended that you add as
much fuel as possible—at least half a tank.
Do not add less than five gallons (18.9
liters) when refueling. You should drive the
vehicle immediately after refueling for at
least 5 miles (8 kilometers) to allow the
vehicle to adapt to the change in ethanol
concentration. If you exclusively use E85
fuel, it is recommended to fill the fuel tank
with regular unleaded gasoline at each
scheduled oil change.
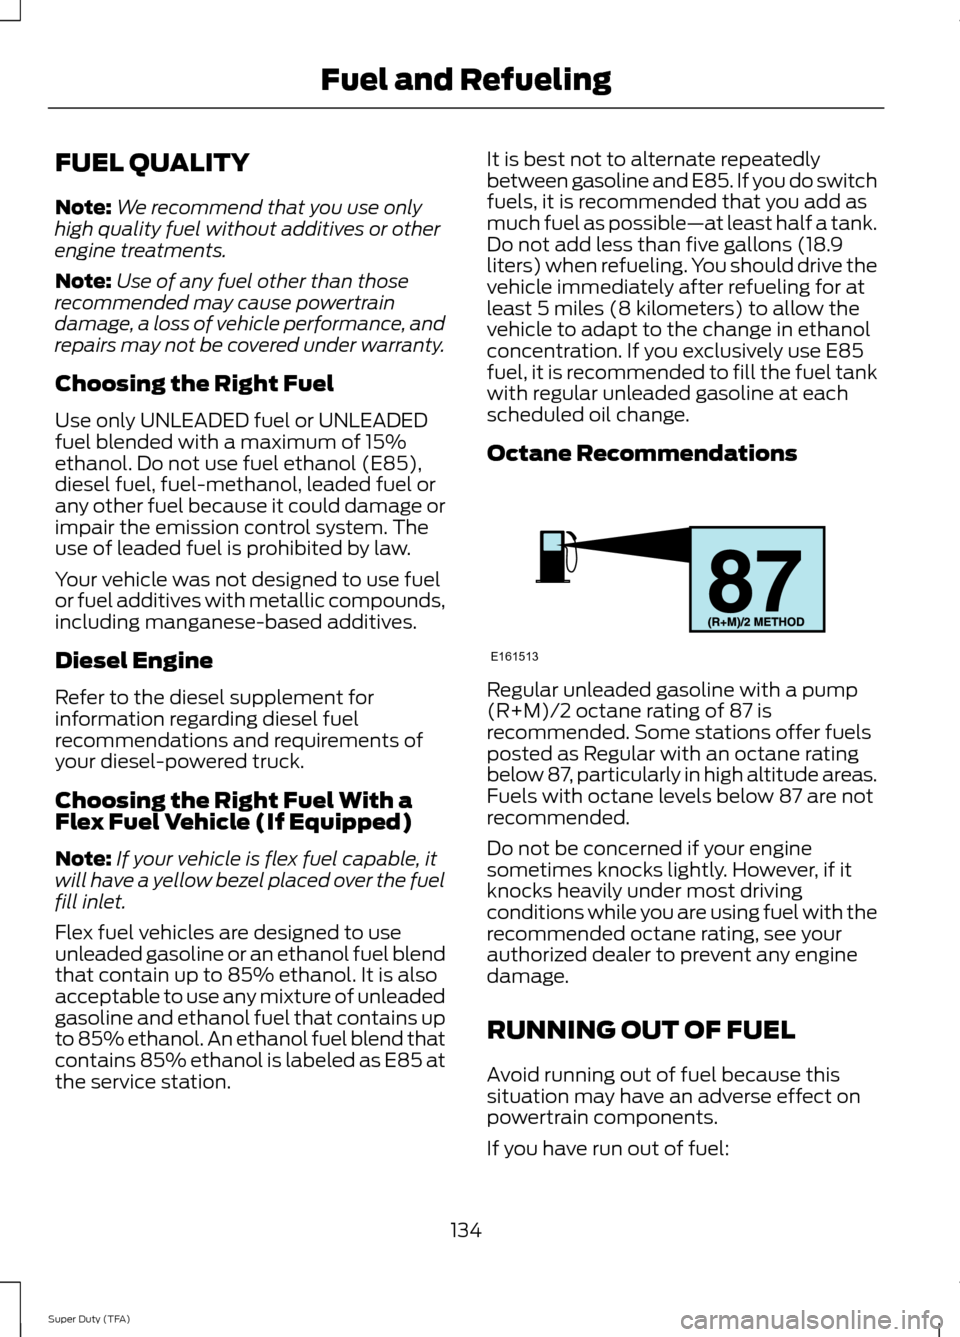
Octane Recommendations
Regular unleaded gasoline with a pump
(R+M)/2 octane rating of 87 is
recommended. Some stations offer fuels
posted as Regular with an octane rating
below 87, particularly in high altitude areas.
Fuels with octane levels below 87 are not
recommended.
Do not be concerned if your engine
sometimes knocks lightly. However, if it
knocks heavily under most driving
conditions while you are using fuel with the
recommended octane rating, see your
authorized dealer to prevent any engine
damage.
RUNNING OUT OF FUEL
Avoid running out of fuel because this
situation may have an adverse effect on
powertrain components.
If you have run out of fuel:
134
Super Duty (TFA) Fuel and RefuelingE161513
Page 139 of 458

•
Keep the fuel pump nozzle in contact
with the fuel container while filling.
• Do not use a device that would hold
the fuel pump handle in the fill position.
Fuel Filler Cap WARNINGS
The fuel system may be under
pressure. If you hear a hissing sound
near the fuel filler door, do not refuel
until the sound stops. Otherwise, fuel may
spray out, which could cause serious
personal injury. If you do not use the proper fuel filler
cap, excessive pressure or vacuum
in the fuel tank may damage the fuel
system or cause the fuel cap to disengage
in a collision, which may result in possible
personal injury. Note:
If you must replace the fuel filler cap,
replace it with a fuel filler cap that is
designed for your vehicle. The customer
warranty may be void for any damage to the
fuel tank or fuel system if the correct
genuine Ford, Motorcraft® or other certified
fuel filler cap is not used.
Your fuel tank filler cap has an indexed
design with a 1/4th turn on and off feature.
When fueling your vehicle:
1. Put the vehicle in P (Park).
2. Turn the engine off.
3. Carefully turn the filler cap counterclockwise until it spins off.
4. Pull to remove the cap from the fuel filler pipe.
5. To install the cap, align the tabs on the
cap with the notches on the filler pipe.
6. Turn the filler cap clockwise 1/4 of a turn clockwise until it clicks at least
once. If the Check Fuel Cap light or a Check Fuel
Cap message appears in the instrument
cluster and stays on after you start the
engine, the fuel filler cap may not be
properly installed.
If the fuel cap light remains on, at the next
opportunity, safely pull off of the road,
remove the fuel filler cap, align the cap
properly and reinstall it. The check fuel cap
light or Check fuel cap message may not
reset immediately; it may take several
driving cycles for the indicators to turn off.
A driving cycle consists of an engine
start-up (after four or more hours with the
engine off) followed by normal city and
highway driving.
FUEL CONSUMPTION
Empty reserve is the amount of fuel
remaining in the tank after the fuel gauge
indicates empty. The amount of usable
fuel in the empty reserve varies and should
not be relied upon to increase driving range.
•
The usable capacity of the fuel tank is
the amount of fuel that can be added
into the tank after the gauge indicates
empty
• The advertised capacity is the total fuel
tank size. See
Capacities and
Specifications (page 292). It is the
combined usable capacity plus the
empty reserve.
• Due to the empty reserve, you may not
be able to refuel the full amount of the
advertised capacity of the fuel tank
even when the fuel gauge reads empty.
Filling the Tank
For consistent results when filling the fuel
tank:
136
Super Duty (TFA) Fuel and Refueling
Page 140 of 458
•
Turn the ignition off before fueling; an
inaccurate reading results if the engine
is left running.
• Use the same fill rate
(low-medium-high) each time the tank
is filled.
• Allow no more than two automatic
click-offs when filling.
Results are most accurate when the filling
method is consistent.
Calculating Fuel Economy
Do not measure fuel economy during the
first 1000 miles (1600 kilometers) of
driving (this is your engine ’s break-in
period); a more accurate measurement is
obtained after 2000 miles - 3000 miles
(3200 kilometers - 4800 kilometers). Also,
fuel expense, frequency of fill ups or fuel
gauge readings are not accurate ways to
measure fuel economy.
1. Fill the fuel tank completely and record
the initial odometer reading.
2. Each time you fill the tank, record the amount of fuel added.
3. After at least 3 to 5 tank fill ups, fill the
fuel tank and record the current
odometer reading.
4. Subtract your initial odometer reading from the current odometer reading.
5. Calculate fuel economy by dividing miles traveled by gallons used (For
Metric: Multiply liters used by 100, then
divide by kilometers traveled).
Keep a record for at least 1 month and
record the type of driving (city or highway).
This provides an accurate estimate of the
vehicle ’s fuel economy under current
driving conditions. Additionally, keeping
records during summer and winter show
how temperature impacts fuel economy.
In general, lower temperatures mean lower
fuel economy. Conditions
•
Heavily loading a vehicle or towing a
trailer may reduce fuel economy at any
speed.
• Carrying unnecessary weight may
reduce fuel economy (approximately
1 mpg [0.4 km/L] is lost for every 400
pounds [180 kilograms] of weight
carried).
• Adding certain accessories to your
vehicle (for example bug deflectors,
rollbars/light bars, running boards, ski
racks) may reduce fuel economy.
• Using fuel blended with alcohol may
lower fuel economy.
• Fuel economy may decrease with lower
temperatures during the first 8– 10
miles (12 –16 kilometers) of driving.
• Driving on flat terrain offers improved
fuel economy as compared to driving
on hilly terrain.
• Transmissions give their best fuel
economy when operated in the top
cruise gear and with steady pressure
on the gas pedal.
• Close windows for high speed driving.
EMISSION CONTROL SYSTEM WARNINGS
Do not park, idle, or drive your vehicle
in dry grass or other dry ground cover.
The emission system heats up the
engine compartment and exhaust system,
which can start a fire. Exhaust leaks may result in entry of
harmful and potentially lethal fumes
into the passenger compartment. If
you smell exhaust fumes inside your
vehicle, have your dealer inspect your
vehicle immediately. Do not drive if you
smell exhaust fumes. 137
Super Duty (TFA) Fuel and Refueling
Page 141 of 458
Your vehicle is equipped with various
emission control components and a
catalytic converter that will enable your
vehicle to comply with applicable exhaust
emission standards. To make sure that the
catalytic converter and other emission
control components continue to work
properly:
To make sure that the catalytic converter
and other emission control components
continue to work properly:
•
Use only the specified fuel listed.
• Avoid running out of fuel.
• Do not turn off the ignition while your
vehicle is moving, especially at high
speeds.
• Have the items listed in scheduled
maintenance information performed
according to the specified schedule.
The scheduled maintenance items listed
in scheduled maintenance information are
essential to the life and performance of
your vehicle and to its emissions system.
If you use parts other than Ford, Motorcraft
or Ford-authorized parts for maintenance
replacements, or for service of
components affecting emission control,
such non-Ford parts should be the
equivalent to genuine Ford Motor Company
parts in performance and durability.
Illumination of the service engine soon
indicator, charging system warning light or
the temperature warning light, fluid leaks,
strange odors, smoke or loss of engine
power could indicate that the emission
control system is not working properly.
An improperly operating or damaged
exhaust system may allow exhaust to
enter the vehicle. Have a damaged or
improperly operating exhaust system
inspected and repaired immediately. Do not make any unauthorized changes to
your vehicle or engine. By law, vehicle
owners and anyone who manufactures,
repairs, services, sells, leases, trades
vehicles, or supervises a fleet of vehicles
are not permitted to intentionally remove
an emission control device or prevent it
from working. Information about your
vehicle
’s emission system is on the Vehicle
Emission Control Information Decal
located on or near the engine. This decal
also lists engine displacement
Please consult your warranty information
for complete details.
On-Board Diagnostics (OBD-II)
Your vehicle is equipped with an on-board
diagnostics system (OBD-II) that monitors
the engine ’s emission control system. This
system protects the environment by
ensuring that your vehicle continues to
meet government emission standards. The
OBD-II system also assists your authorized
dealer in properly servicing your vehicle. When the service engine soon
indicator illuminates, the OBD-II
system has detected a
malfunction. Temporary malfunctions may
cause the service engine soon indicator to
illuminate.
Examples of temporary malfunctions are:
• the vehicle has run out of fuel —the
engine may misfire or run poorly
• poor fuel quality or water in the
fuel —the engine may misfire or run
poorly
• the fuel fill inlet may not have been
properly closed See Refueling (page
135).
• driving through deep water —the
electrical system may be wet.
138
Super Duty (TFA) Fuel and Refueling