Page 125 of 476
INSTRUMENT CLUSTER DISPLAY
Instrument Cluster Display Description
The vehicle can be equipped with an instrument cluster
display which offers useful information to the driver.
With the ignition in the STOP/OFF position, opening/
closing of a door will activate the display for viewing, and
display the total miles or kilometers in the odometer.
Mapping And Reconfigurable Zone Display — If
Equipped
The display shows the following information, if
equipped:
ZONE LOCATIONSCONTENT
Zone 1 & 3 Date
Compass Time
Ext. Temp
Zone 2 Automatic Gear Display
Zone 4 Audio Information
Browsing Arrows
Display Menu Titles
Zone 5 Speed Display
Trip
Fuel Economy
Turn By Turn Navigation
Zone 6 Odometer Reading
Cruise Control Speed Set Speed Buzzer
Telltales Bottom Left Red
Telltales Bottom right Yellow
Mapping And Reconfigurable Zone Display
5
GETTING TO KNOW YOUR INSTRUMENT PANEL 123
Page 128 of 476
•Drive Mode Selector
– Auto Mode
– Sport Mode
– Traction/All Weather Mode
• Vehicle Info
– Tire Pressure
– Oil Temperature
– Battery Voltage
• Driver Assist
– Lane Departure Warning
• Audio
• Navigation
• Messages
• Settings
– Display
– Units
– Clock & Date
– Security
– Safety & Assistance
– Lights
– Doors & LocksTrip
This instrument cluster display menu item allows you
to view and select information about the �Trip Com-
puter”:
• Speedometer
– View and change the speedometer scale from MPH to km/h (km/h to MPH).
• Instantaneous info
– View the distance to empty(miles or km).
– View the instantaneous consumption (mpg, or l/ 100km or km/l).
• Trip A
– View and change Trip A distance (miles or km).
– View and change travel time A (hours/minutes/ seconds).
– View and change average consumption A (mpg, or l/ 100km or km/l).
– View and change average speed A (MPH or km/h).
126 GETTING TO KNOW YOUR INSTRUMENT PANEL
Page 130 of 476

•Notice LaneSense
• By selecting this function, you can select the �readi-
ness� of LaneSense, choosing between the options
�Near,�� Medium,� or�Far.�
• Intensity LaneSense
• Using this function, you can select the force applied
to the steering wheel to keep the car in the roadway
through the electrical drive system due to LaneSense.
Audio
This menu item allows you to view the instrument
cluster display and the information present on the
display of the Uconnect system.
The information displayed is:
• “Radio (AM or FM)”
• View Radio Station Name (if equipped), frequency,
and graphical icon
• �MP3”
• Title display or number song playing
• �USB�
• Title display or number song playing
• �Ipod�
• Display the song title and graphic element. •
Bluetooth Displays the song title and a graphic
element.
• SAT displays the station name and a graphic ele-
ment.
• AUX displays graphic element.
• APP displays strings and a graphic element.
Messages (Stored)
This menu item allows you to display the information
messages/malfunction stored.
The background color of the display varies according to
the priorities of the failure:
• Failed Messages with low priority displays in yellow
• Failed Messages with high priority displays in red
Settings
This menu item allows you to change the settings for
the following:
•Display
• Units
• Clock and Date
• Security
128 GETTING TO KNOW YOUR INSTRUMENT PANEL
Page 257 of 476

NOTE:
•When enabled the system operates above 37 mph
(60 km/h) and below 112 mph (180 km/h).
• Use of the turn signal suppresses the warnings.
• The system will not apply torque to the steering
wheel whenever a safety system engages. (anti-lock
brakes, traction control system, electronic stability
control, forward collision warning, etc.).
PARKVIEW REAR BACK UP CAMERA — IF
EQUIPPED
The ParkView Rear Back Up Camera that allows you to
see an on-screen image of your vehicle’s rear surround-
ings when the gear selector is put into REVERSE. The
image will be displayed on the touchscreen display
along with a note to “check entire surroundings” across
the top of the screen. After five seconds this note will
disappear. The ParkView camera is located above the
rear license plate. When the vehicle is shifted out of REVERSE (with
camera delay turned off), the rear camera mode is
exited and the navigation or audio screen appears
again.
When the vehicle is shifted out of REVERSE (with
camera delay turned on), the camera image will con-
tinue to be displayed for up to 10 seconds after shifting
out of REVERSE unless the vehicle speed exceeds
8 mph (13 km/h), the vehicle is shifted into PARK or the
ignition is switched to STOP mode.Parking Camera7
STARTING AND OPERATING 255
Page 316 of 476
Rear Cargo Fuse/Relay Distribution Unit
To access the fuses, remove the access door from the left
rear panel of the rear cargo area.Push on the left side of the access door to unhinge and
remove.
Cavity
Mini Fuse Description
F2 20 Amp Yellow Audio System
F3 20 Amp Yellow Electric Sunroof
F5 30 Amp Green Power Seat (driver side)
F6 7.5 Amp Brown Power Seat (driver side) Lumbar Adjustment
F8 20 Amp Yellow Heating Front Seats
Access Door Location
Rear Cargo Fuse Cavities
314 IN CASE OF EMERGENCY
Page 413 of 476

MULTIMEDIA
CONTENTS
�CYBERSECURITY ..................... .412
� UCONNECT SETTINGS .................413
▫ Buttons On The Faceplate ...............415
▫ Buttons On The Touchscreen .............415
▫ Customer Programmable Features — Uconnect
5.0 Settings ....................... .415
▫ Customer Programmable Features — Uconnect
6.5 NAV Settings .....................430
� UCONNECT RADIOS ..................445
� USB/MEDIA PLAYER CONTROL — IF
EQUIPPED ......................... .445
� STEERING WHEEL AUDIO CONTROLS .....446
▫ Radio Operation .....................447
▫ Media Mode ....................... .447
�
RADIO OPERATION AND MOBILE DEVICES . .447
▫ Regulatory And Safety Information ........447
� VOICE RECOGNITION QUICK TIPS .......449
▫ Introducing Uconnect ..................449
▫ Get Started ........................ .450
▫ Basic Voice Commands ................451
▫ Radio ............................ .451
▫ Media ............................ .452
▫ Phone ............................ .453
▫ Voice Text Reply .....................454
▫ Navigation (6.5 NAV) ..................455
▫ Siri Eyes Free — If Equipped ............456
▫ General Information ...................458
▫ Additional Information ................458
11
Page 417 of 476

Buttons On The Faceplate
Buttons on the faceplate are located below, and beside
the Uconnect system in the center of the instrument
panel. In addition, there is a Scroll/Enter control knob
located on the right side. Turn the control knob to scroll
through menus and change settings (i.e., 30, 60, 90),
push the center of the control knob one or more times to
select or change a setting (i.e., ON, OFF).
Your Uconnect system may also have Display Off and
back arrow buttons on the faceplate.
Push the Display Off button on the faceplate to turn off
the Uconnect screen. Push the Display Off button on the
faceplate a second time to turn the screen on.
Push the Back Arrow button on the faceplate to exit out
of a Menu or certain option on the Uconnect system.
Buttons On The Touchscreen
Buttons on the touchscreen are accessible on the
Uconnect touchscreen.
Customer Programmable Features — Uconnect
5.0 Settings
Push the Settingsbutton on the faceplate, to dis-
play the settings menu screen. In this mode the Uconnect system allows you to access programmable
features that may be equipped such as Display,
Units, Voice, Clock & Date, Safety/Assistance,
Lights, Doors & Locks, Engine Off Options, Audio,
Phone/Bluetooth, Radio Setup, Restore Settings and
Clear Personal Data.
NOTE:
Only one touchscreen area may be selected at a
time.
When making a selection, press the button on the
touchscreen to enter the desired mode. Once in the
desired mode, press and release the preferred setting
and make your selection. Once the setting is complete,
either press the Back Arrow button on the touchscreen
or the Back button on the faceplate to return to the
previous menu or press the “X” button on the touch-
screen to close out of the settings screen. Pressing the
Up or Down Arrow buttons on the right side of the
screen will allow you to toggle up or down through the
available settings.
NOTE: All settings should be changed with the ignition
in the “RUN” position.
11
MULTIMEDIA 415
Page 421 of 476

Safety/Assistance
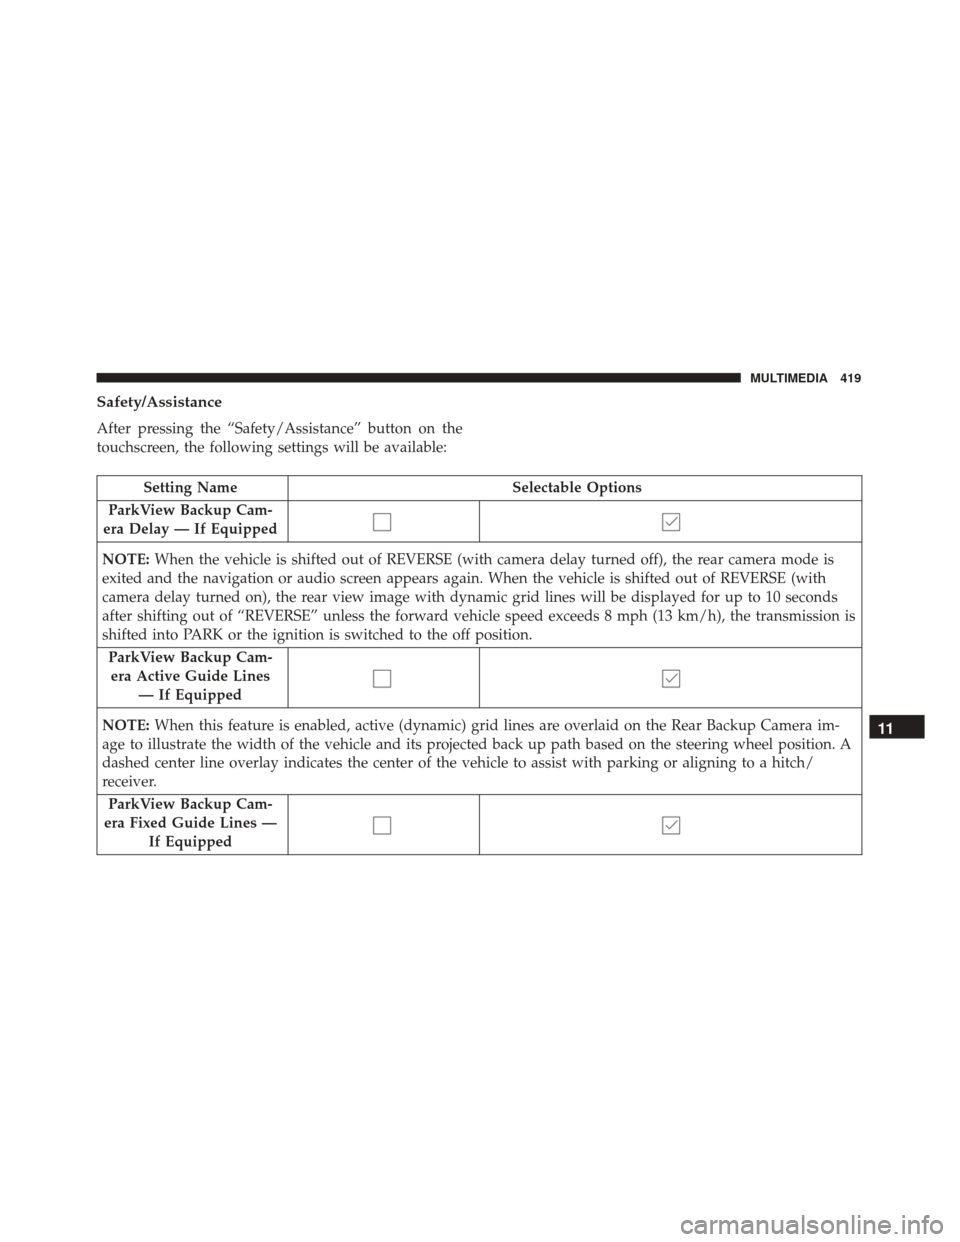
After pressing the “Safety/Assistance” button on the
touchscreen, the following settings will be available:
Setting NameSelectable Options
ParkView Backup Cam-
era Delay — If Equipped
NOTE: When the vehicle is shifted out of REVERSE (with camera delay turned off), the rear camera mode is
exited and the navigation or audio screen appears again. When the vehicle is shifted out of REVERSE (with
camera delay turned on), the rear view image with dynamic grid lines will be displayed for up to 10 seconds
after shifting out of “REVERSE” unless the forward vehicle speed exceeds 8 mph (13 km/h), the transmission is
shifted into PARK or the ignition is switched to the off position.
ParkView Backup Cam-era Active Guide Lines — If Equipped
NOTE: When this feature is enabled, active (dynamic) grid lines are overlaid on the Rear Backup Camera im-
age to illustrate the width of the vehicle and its projected back up path based on the steering wheel position. A
dashed center line overlay indicates the center of the vehicle to assist with parking or aligning to a hitch/
receiver.
ParkView Backup Cam-
era Fixed Guide Lines — If Equipped
11
MULTIMEDIA 419