Page 280 of 476

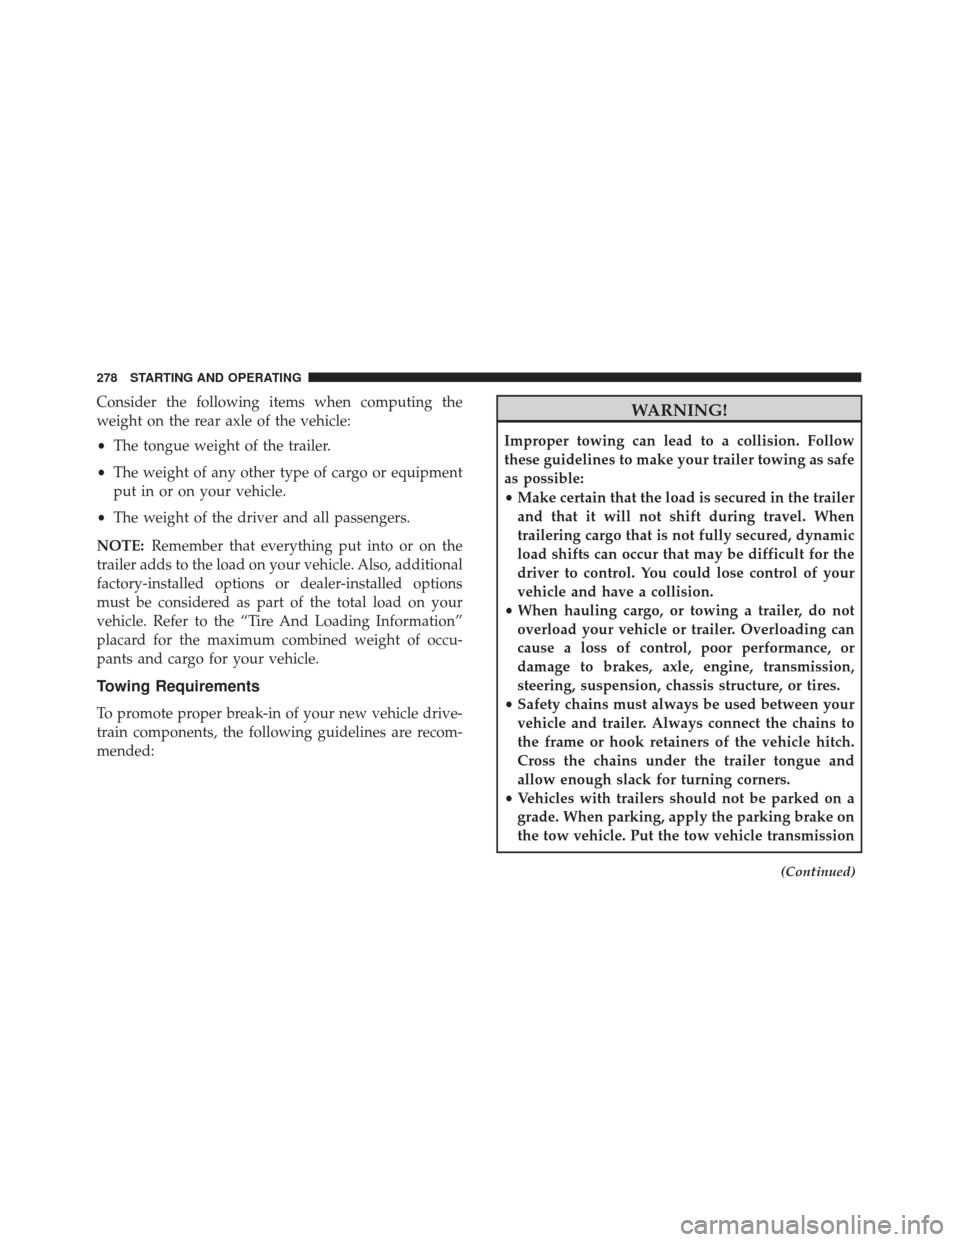
Consider the following items when computing the
weight on the rear axle of the vehicle:
•The tongue weight of the trailer.
• The weight of any other type of cargo or equipment
put in or on your vehicle.
• The weight of the driver and all passengers.
NOTE: Remember that everything put into or on the
trailer adds to the load on your vehicle. Also, additional
factory-installed options or dealer-installed options
must be considered as part of the total load on your
vehicle. Refer to the “Tire And Loading Information”
placard for the maximum combined weight of occu-
pants and cargo for your vehicle.
Towing Requirements
To promote proper break-in of your new vehicle drive-
train components, the following guidelines are recom-
mended:
WARNING!
Improper towing can lead to a collision. Follow
these guidelines to make your trailer towing as safe
as possible:
• Make certain that the load is secured in the trailer
and that it will not shift during travel. When
trailering cargo that is not fully secured, dynamic
load shifts can occur that may be difficult for the
driver to control. You could lose control of your
vehicle and have a collision.
• When hauling cargo, or towing a trailer, do not
overload your vehicle or trailer. Overloading can
cause a loss of control, poor performance, or
damage to brakes, axle, engine, transmission,
steering, suspension, chassis structure, or tires.
• Safety chains must always be used between your
vehicle and trailer. Always connect the chains to
the frame or hook retainers of the vehicle hitch.
Cross the chains under the trailer tongue and
allow enough slack for turning corners.
• Vehicles with trailers should not be parked on a
grade. When parking, apply the parking brake on
the tow vehicle. Put the tow vehicle transmission
(Continued)
278 STARTING AND OPERATING
Page 307 of 476

WARNING!(Continued)
account the technical characteristics can cause
malfunctions with the risk of fire.
• Halogen lamps contain gas under pressure, in the
event of breakage be careful of the projection of
fragments of glass.
• Halogen lamps must be handled by touching only
the metallic part. If the transparent bulb is in
contact with the fingers, reduces the intensity of
the emitted light and you can also affect the life of
the lamp. In case of accidental contact, rub the
bulb with a cloth dampened with alcohol and
allow to dry.
FUSES
WARNING!
• When replacing a blown fuse, always use an
appropriate replacement fuse with the same amp
rating as the original fuse. Never replace a fuse
with another fuse of higher amp rating. Never
replace a blown fuse with metal wires or any
(Continued)
WARNING! (Continued)
other material. Failure to use proper fuses may
result in serious personal injury, fire and/or prop-
erty damage.
• Before replacing a fuse, make sure that the igni-
tion is off and that all the other services are
switched off and/or disengaged.
• If the replaced fuse blows again, contact an au-
thorized dealer.
• If a general protection fuse for safety systems (air
bag system, braking system), power unit systems
(engine system, gearbox system) or steering sys-
tem blows, contact an authorized dealer.
General Information
The fuses protect electrical systems against excessive
current.
When a device does not work, you must check the
electrical circuit inside the fuse for a break/melt.
8
IN CASE OF EMERGENCY 305
Page 311 of 476
CavityMaxi Fuse Cartage Fuse Mini Fuse Description
F03 –20 Amp Blue –Controller Power
Supply Body Com- puter
F04 –30 Amp Pink –Brake Control Elec-
tronics Module
F05 70 Amp Tan ––Electric Power-
Assisted Steering
F06 20 Amp Yellow ––Engine Cooling fan
F07 50 Amp Red ––Engine Cooling fan
F08 –30 Amp Pink –Automatic Trans-
mission, GSM
F09 ––5 Amp Tan Control Module En-
gine
F10 ––10 Amp Red Horn
F11 ––10 Amp Red Supply Secondary
Loads
F14 ––5 Amp Tan Pump Power �After
run �
F15 40 Amp Orange ––Brake Control Mod-
ule Pump
8
IN CASE OF EMERGENCY 309
Page 314 of 476
Body Computer Fuse Center
The controller is located at the left side of the steering
column at the bottom of the instrument panel.
For the fuse replacement see your authorized dealer.
Body Controller Fuse Cavities
312 IN CASE OF EMERGENCY
Page 315 of 476

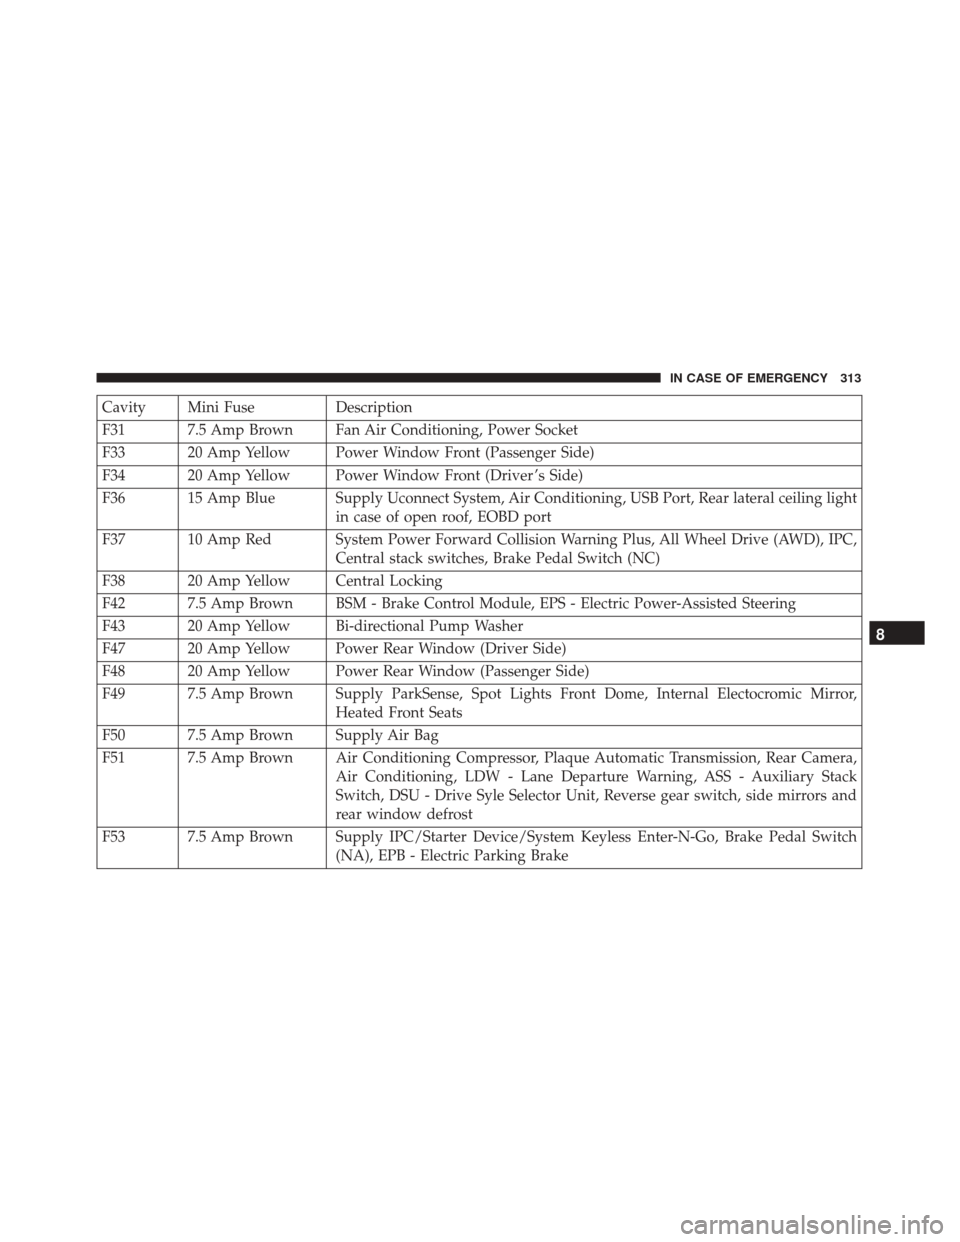
Cavity Mini FuseDescription
F31 7.5 Amp Brown Fan Air Conditioning, Power Socket
F33 20 Amp Yellow Power Window Front (Passenger Side)
F34 20 Amp Yellow Power Window Front (Driver ’s Side)
F36 15 Amp Blue Supply Uconnect System, Air Conditioning, USB Port, Rear lateral ceiling light in case of open roof, EOBD port
F37 10 Amp Red System Power Forward Collision Warning Plus, All Wheel Drive (AWD), IPC, Central stack switches, Brake Pedal Switch (NC)
F38 20 Amp Yellow Central Locking
F42 7.5 Amp Brown BSM - Brake Control Module, EPS - Electric Power-Assisted Steering
F43 20 Amp Yellow Bi-directional Pump Washer
F47 20 Amp Yellow Power Rear Window (Driver Side)
F48 20 Amp Yellow Power Rear Window (Passenger Side)
F49 7.5 Amp Brown Supply ParkSense, Spot Lights Front Dome, Internal Electocromic Mirror, Heated Front Seats
F50 7.5 Amp Brown Supply Air Bag
F51 7.5 Amp Brown Air Conditioning Compressor, Plaque Automatic Transmission, Rear Camera, Air Conditioning, LDW - Lane Departure Warning, ASS - Auxiliary Stack
Switch, DSU - Drive Syle Selector Unit, Reverse gear switch, side mirrors and
rear window defrost
F53 7.5 Amp Brown Supply IPC/Starter Device/System Keyless Enter-N-Go, Brake Pedal Switch (NA), EPB - Electric Parking Brake
8
IN CASE OF EMERGENCY 313
Page 334 of 476

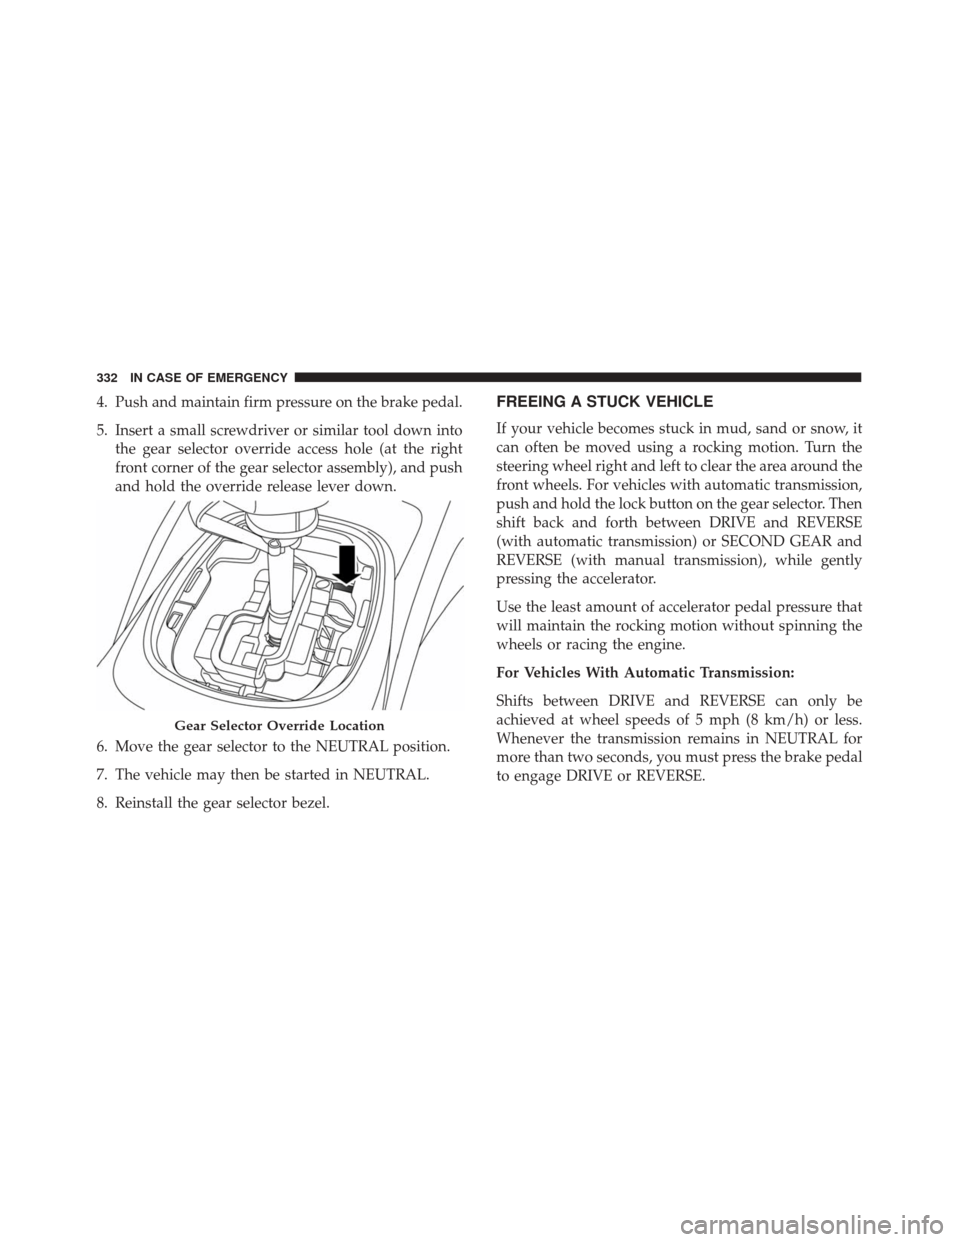
4. Push and maintain firm pressure on the brake pedal.
5. Insert a small screwdriver or similar tool down intothe gear selector override access hole (at the right
front corner of the gear selector assembly), and push
and hold the override release lever down.
6. Move the gear selector to the NEUTRAL position.
7. The vehicle may then be started in NEUTRAL.
8. Reinstall the gear selector bezel.FREEING A STUCK VEHICLE
If your vehicle becomes stuck in mud, sand or snow, it
can often be moved using a rocking motion. Turn the
steering wheel right and left to clear the area around the
front wheels. For vehicles with automatic transmission,
push and hold the lock button on the gear selector. Then
shift back and forth between DRIVE and REVERSE
(with automatic transmission) or SECOND GEAR and
REVERSE (with manual transmission), while gently
pressing the accelerator.
Use the least amount of accelerator pedal pressure that
will maintain the rocking motion without spinning the
wheels or racing the engine.
For Vehicles With Automatic Transmission:
Shifts between DRIVE and REVERSE can only be
achieved at wheel speeds of 5 mph (8 km/h) or less.
Whenever the transmission remains in NEUTRAL for
more than two seconds, you must press the brake pedal
to engage DRIVE or REVERSE.
Gear Selector Override Location
332 IN CASE OF EMERGENCY
Page 387 of 476
WARNING!
•Overloading of your tires is dangerous. Overload-
ing can cause tire failure, affect vehicle handling,
and increase your stopping distance. Use tires of
the recommended load capacity for your vehicle.
Never overload them.
• Improperly inflated tires are dangerous and can
cause collisions. Under-inflation increases tire
flexing and can result in over-heating and tire
failure. Over-inflation reduces a tire’s ability to
cushion shock. Objects on the road and chuck
holes can cause damage that results in tire failure.
Unequal tire pressures can cause steering prob-
lems. You could lose control of your vehicle.
Over-inflated or under-inflated tires can affect
vehicle handling and can fail suddenly, resulting
in loss of vehicle control. Always drive with each
tire inflated to the recommended cold tire infla-
tion pressure.
Example Tire Placard Location (Door)
Example Tire Placard Location (B-Pillar)
9
MAINTAINING AND CARING FOR YOUR VEHICLE 385
Page 391 of 476

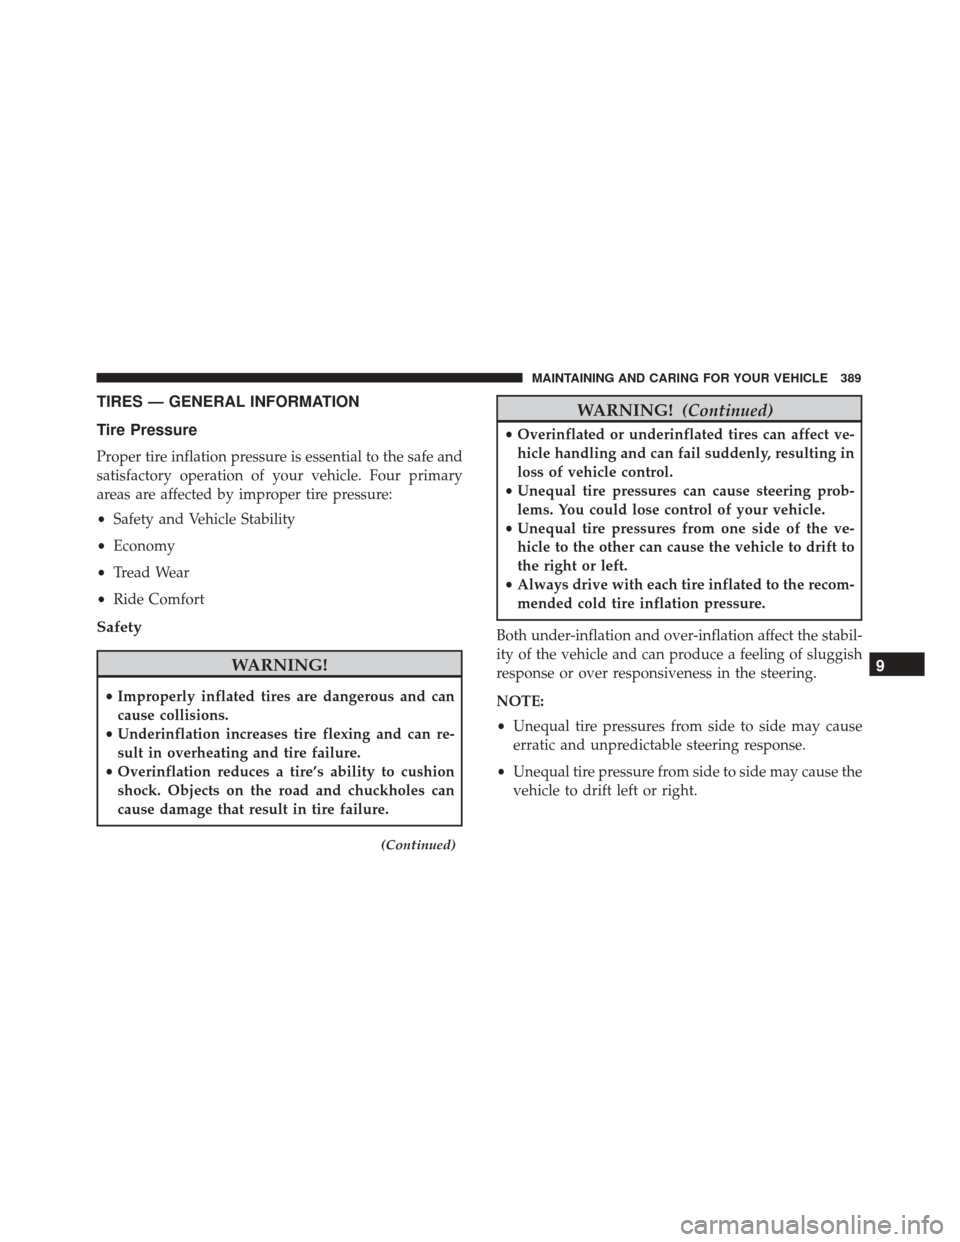
TIRES — GENERAL INFORMATION
Tire Pressure
Proper tire inflation pressure is essential to the safe and
satisfactory operation of your vehicle. Four primary
areas are affected by improper tire pressure:
•Safety and Vehicle Stability
• Economy
• Tread Wear
• Ride Comfort
Safety
WARNING!
•Improperly inflated tires are dangerous and can
cause collisions.
• Underinflation increases tire flexing and can re-
sult in overheating and tire failure.
• Overinflation reduces a tire’s ability to cushion
shock. Objects on the road and chuckholes can
cause damage that result in tire failure.
(Continued)
WARNING! (Continued)
•Overinflated or underinflated tires can affect ve-
hicle handling and can fail suddenly, resulting in
loss of vehicle control.
• Unequal tire pressures can cause steering prob-
lems. You could lose control of your vehicle.
• Unequal tire pressures from one side of the ve-
hicle to the other can cause the vehicle to drift to
the right or left.
• Always drive with each tire inflated to the recom-
mended cold tire inflation pressure.
Both under-inflation and over-inflation affect the stabil-
ity of the vehicle and can produce a feeling of sluggish
response or over responsiveness in the steering.
NOTE:
• Unequal tire pressures from side to side may cause
erratic and unpredictable steering response.
• Unequal tire pressure from side to side may cause the
vehicle to drift left or right.
9
MAINTAINING AND CARING FOR YOUR VEHICLE 389