Page 137 of 476

Operation of the Brake Warning Light can be checked
by placing the ignition in the MAR (ACC/ON/RUN)
position. The light should illuminate for approximately
two seconds. The light should then turn off unless the
parking brake is applied or a brake fault is detected. If
the light does not illuminate, have the light inspected by
an authorized dealer.The light also will turn on when the parking brake is
applied with the ignition placed in the MAR (ACC/
ON/RUN) position.
NOTE:
This light shows only that the parking brake is
applied. It does not show the degree of brake applica-
tion.
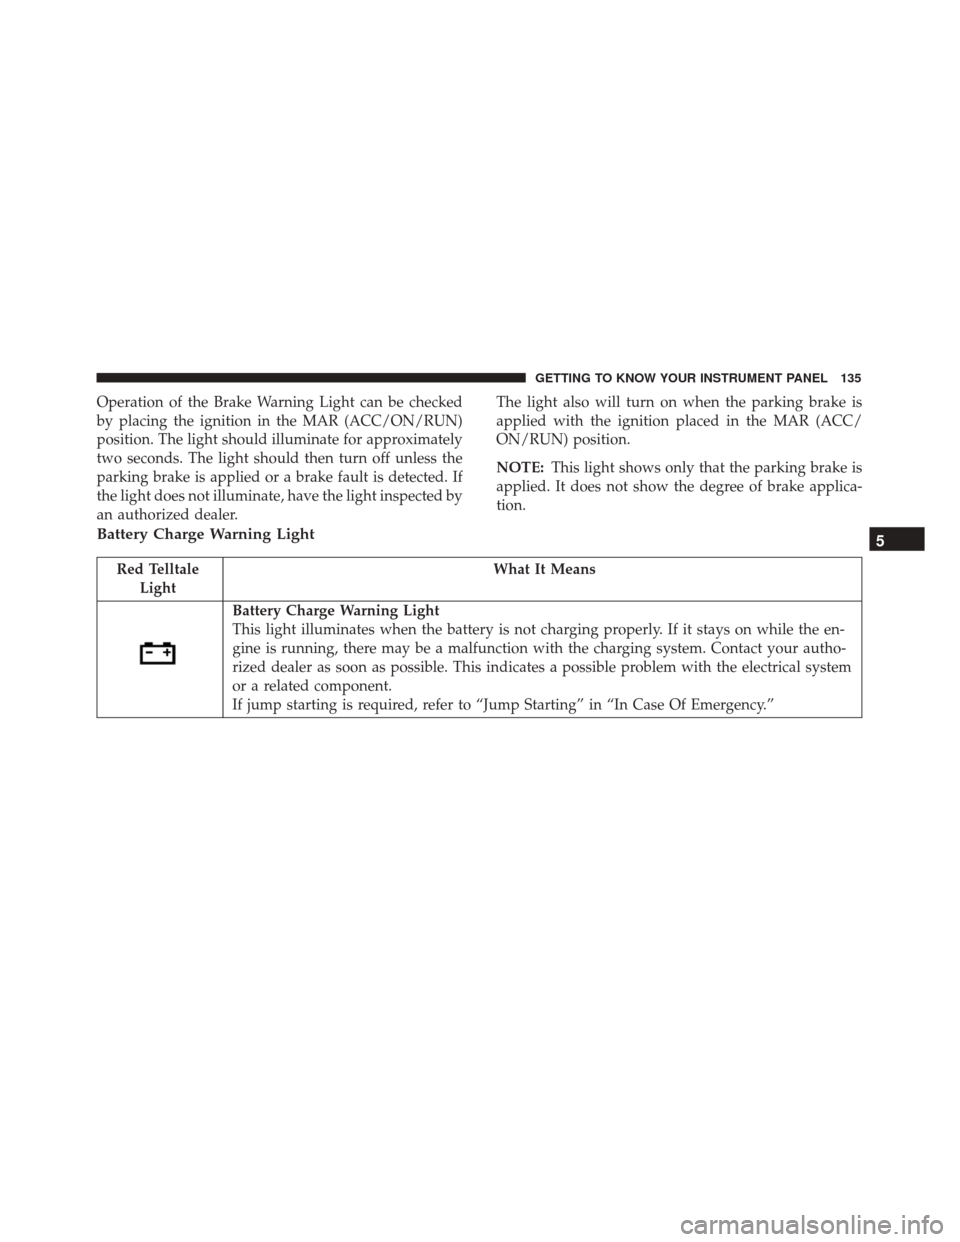
Battery Charge Warning Light
Red Telltale Light What It Means
Battery Charge Warning Light
This light illuminates when the battery is not charging properly. If it stays on while the en-
gine is running, there may be a malfunction with the charging system. Contact your autho-
rized dealer as soon as possible. This indicates a possible problem with the electrical system
or a related component.
If jump starting is required, refer to “Jump Starting” in “In Case Of Emergency.”
5
GETTING TO KNOW YOUR INSTRUMENT PANEL 135
Page 177 of 476

The ORC contains a backup power supply system that
may deploy the air bag system even if the battery loses
power or it becomes disconnected prior to deployment.
The ORC turns on the Air Bag Warning Light in the
instrument panel for approximately four to eight sec-
onds for a self-check when the ignition switch is in the
ACC/ON/RUN position. After the self-check, the Air
Bag Warning Light will turn off. If the ORC detects a
malfunction in any part of the system, it turns on the
Air Bag Warning Light, either momentarily or continu-
ously. A single chime will sound to alert you if the light
comes on again after initial startup.
The ORC also includes diagnostics that will illuminate
the instrument panel Air Bag Warning Light if a mal-
function is detected that could affect the air bag system.
The diagnostics also record the nature of the malfunc-
tion. While the air bag system is designed to be main-
tenance free, if any of the following occurs, have an
authorized dealer service the air bag system
immediately.
•The Air Bag Warning Light does not come on during
the four to eight seconds when the ignition switch is
first in the ACC/ON/RUN position. •
The Air Bag Warning Light remains on after the four
to eight-second interval.
• The Air Bag Warning Light comes on intermittently
or remains on while driving.
NOTE: If the speedometer, tachometer, or any engine
related gauges are not working, the Occupant Restraint
Controller (ORC) may also be disabled. In this condi-
tion the air bags may not be ready to inflate for your
protection. Have an authorized dealer service the air
bag system immediately.
WARNING!
Ignoring the Air Bag Warning Light in your instru-
ment panel could mean you won’t have the air bags
to protect you in a collision. If the light does not
come on as a bulb check when the ignition is first
turned on, stays on after you start the vehicle, or if
it comes on as you drive, have an authorized dealer
service the air bag system immediately.
6
SAFETY 175
Page 187 of 476

Enhanced Accident Response System
In the event of an impact, if the communication net-
work remains intact, and the power remains intact,
depending on the nature of the event, the ORC will
determine whether to have the Enhanced Accident
Response System perform the following functions:
•Cut off fuel to the engine.
• Flash hazard lights as long as the battery has power
or until the hazard light button is pressed. The
hazard lights can be deactivated by pressing the
hazard light button.
• Turn on the interior lights, which remain on as long
as the battery has power or for 15 minutes from the
intervention of the Enhanced Accident Response
System.
• Unlock the power door locks.
• Turn off the Fuel Pump Heater (if equipped).
• Turn off the HVAC Blower Motor.
• Close the HVAC Circulation Door.
Enhanced Accident Response System Reset
Procedure
After the event occurs, when the system is active, a
message regarding fuel cutoff is displayed. Turn the
ignition switch from ignition AVV/START or MAR/
ACC/ON/RUN to ignition STOP/OFF/LOCK. Care-
fully check the vehicle for fuel leaks in the engine
compartment and on the ground near the engine com-
partment and fuel tank before resetting the system and
starting the engine.
Depending on the nature of the event the left and right
turn signal lights, located in the instrument panel, may
both be blinking and will continue to blink. In order to
move your vehicle to the side of the road, you must
follow the system reset procedure.
6
SAFETY 185
Page 217 of 476

4. If the engine does not start, place the ignition in theOFF mode and wait 10-15 seconds before attempting
to restart the engine.
Tip Start Feature
Do not press the accelerator. Cycle the ignition switch
briefly to the START mode and release it. The starter
motor will continue to run but will automatically dis-
engage when the engine is running.
If Engine Fails To Start
WARNING!
Never pour fuel or other flammable liquid into the
throttle body air inlet opening in an attempt to start
the vehicle. This could result in flash fire causing
serious personal injury.
If the engine fails to start after you have followed the
�Normal Starting� or�Extreme Cold Weather� proce-
dure, and has not experienced an extended park condi-
tion as identified in �Extended Park Starting� procedure
it may be flooded. Push the accelerator pedal all the
way to the floor and hold it there. Crank the engine for
no more than 15 seconds. This should clear any excess
fuel in case the engine is flooded. Leave the ignition RUN mode, release the accelerator pedal and repeat the
“Normal Starting” procedure.
WARNING!
•
Never pour fuel or other flammable liquid into
the throttle body air inlet opening in an attempt
to start the vehicle. This could result in flash fire
causing serious personal injury.
• Do not attempt to push or tow your vehicle to get
it started. Vehicles equipped with an automatic
transmission cannot be started this way. Un-
burned fuel could enter the catalytic converter
and once the engine has started, ignite and dam-
age the converter and vehicle.
• If the vehicle has a discharged battery, booster
cables may be used to obtain a start from a
booster battery or the battery in another vehicle.
This type of start can be dangerous if done
improperly. Refer to “Jump-Starting” in “In Case
Of Emergency” for further information.
7
STARTING AND OPERATING 215
Page 218 of 476

CAUTION!
To prevent damage to the starter, do not continu-
ously crank the engine for more than 25 seconds at
a time. Wait 60 seconds before trying again.
Cold Weather Operation
To ensure reliable starting under extreme cold condi-
tions an externally powered electric block heater (avail-
able from your authorized dealer) is required for the
1.4L Turbo engine below -20°F (-29°C) and for the 2.4L
engine below -31°F (-35°C) and is recommended for the
2.4L engine below -20°F (-29°C).
To prevent possible engine damage while starting at
low temperatures, this vehicle will inhibit engine crank-
ing when the ambient temperature is less than -20°F
(-29°C) for the 1.4L Turbo engine, and -31°F (-35°C) for
the 2.4L engine, and the oil temperature sensor reading
indicates an engine block heater has not been used. The
message “plug in engine heater” will be displayed in
the instrument cluster when the ambient temperature is
below -4°F (-20°C) at the time the engine is shut off as a
reminder to avoid possible crank delays at the next cold
start.
Extended Park Starting
NOTE:Extended Park condition occurs when the ve-
hicle has not been started or driven for at least 30 days.
1. Install a battery charger or jumper cables to the battery to ensure a full battery charge during the
crank cycle.
2. Cycle the ignition to the START mode and release it when the engine starts.
3. If the engine fails to start within 10 to 15 seconds, cycle the ignition to the OFF mode, wait five seconds
to allow the starter to cool, then repeat the Extended
Park Starting procedure.
4. If the engine fails to start after eight attempts, allow the starter to cool for at least 10 minutes, then repeat
the procedure.
CAUTION!
To prevent damage to the starter, do not crank
continuously for more than 10 seconds at a time.
Wait 10 to 15 seconds before trying again.
216 STARTING AND OPERATING
Page 284 of 476
Four-Pin Connector
1 — Female Pins
2—MalePin
3 — Ground4 — Park
5 — Left Stop/Turn
6 — Right Stop/Turn
Seven-Pin Connector
1 — Battery
2 — Backup Lamps
3 — Right Stop/Turn
4 — Electric Brakes5 — Ground
6 — Left Stop/Turn
7 — Running Lamps
282 STARTING AND OPERATING
Page 291 of 476

HAZARD WARNING FLASHERS
The Hazard Warning flasher switch is located on the
switch bank below the radio.Push the switch to turn on the Hazard Warning
Flasher. When the switch is activated, all direc-
tional turn signals will flash on and off to warn oncom-
ing traffic of an emergency. Push the switch a second
time to turn off the Hazard Warning flashers.
This is an emergency warning system and it should not
be used when the vehicle is in motion. Use it when your
vehicle is disabled and it is creating a safety hazard for
other motorists.
When you must leave the vehicle to seek assistance, the
Hazard Warning flashers will continue to operate even
though the ignition is placed in OFF mode.
NOTE: With extended use the Hazard Warning flashers
may wear down your battery.
BULB REPLACEMENT
General Information
• Before you replace a bulb, check the contacts to be
sure they are not oxidized.
• Replace the bulbs with the same type and wattage.
• After replacing a light bulb, always check the correct
orientation.
• Before replacing a bulb that is not functioning, check
that the fuse is intact.
NOTE: Lens fogging can occur under certain atmo-
spheric conditions. This will usually clear as atmo-
spheric conditions change to allow the condensation to
change back into a vapor. Turning the lamps on will
usually accelerate the clearing process.
8
IN CASE OF EMERGENCY 289
Page 308 of 476
Also please be aware that when using power outlets for
extended periods of time with the engine off may result
in vehicle battery discharge.Fuse Removal
To replace a fuse use the extractor attached to the fuse
cover (located on the inside of the engine compartment
fuse cover.
Blade Fuses
1 — Electrical Circuit
2 — Blade Fuse With Good Electrical Circuit
3 — Blade Fuse With Bad Electrical Circuit
Fuse Extractor Location
306 IN CASE OF EMERGENCY