Page 417 of 476
Buttons On The Faceplate
Buttons on the faceplate are located below, and beside
the Uconnect system in the center of the instrument
panel. In addition, there is a Scroll/Enter control knob
located on the right side. Turn the control knob to scroll
through menus and change settings (i.e., 30, 60, 90),
push the center of the control knob one or more times to
select or change a setting (i.e., ON, OFF).
Your Uconnect system may also have Display Off and
back arrow buttons on the faceplate.
Push the Display Off button on the faceplate to turn off
the Uconnect screen. Push the Display Off button on the
faceplate a second time to turn the screen on.
Push the Back Arrow button on the faceplate to exit out
of a Menu or certain option on the Uconnect system.
Buttons On The Touchscreen
Buttons on the touchscreen are accessible on the
Uconnect touchscreen.
Customer Programmable Features — Uconnect
5.0 Settings
Push the Settingsbutton on the faceplate, to dis-
play the settings menu screen. In this mode the Uconnect system allows you to access programmable
features that may be equipped such as Display,
Units, Voice, Clock & Date, Safety/Assistance,
Lights, Doors & Locks, Engine Off Options, Audio,
Phone/Bluetooth, Radio Setup, Restore Settings and
Clear Personal Data.
NOTE:
Only one touchscreen area may be selected at a
time.
When making a selection, press the button on the
touchscreen to enter the desired mode. Once in the
desired mode, press and release the preferred setting
and make your selection. Once the setting is complete,
either press the Back Arrow button on the touchscreen
or the Back button on the faceplate to return to the
previous menu or press the “X” button on the touch-
screen to close out of the settings screen. Pressing the
Up or Down Arrow buttons on the right side of the
screen will allow you to toggle up or down through the
available settings.
NOTE: All settings should be changed with the ignition
in the “RUN” position.
11
MULTIMEDIA 415
Page 429 of 476
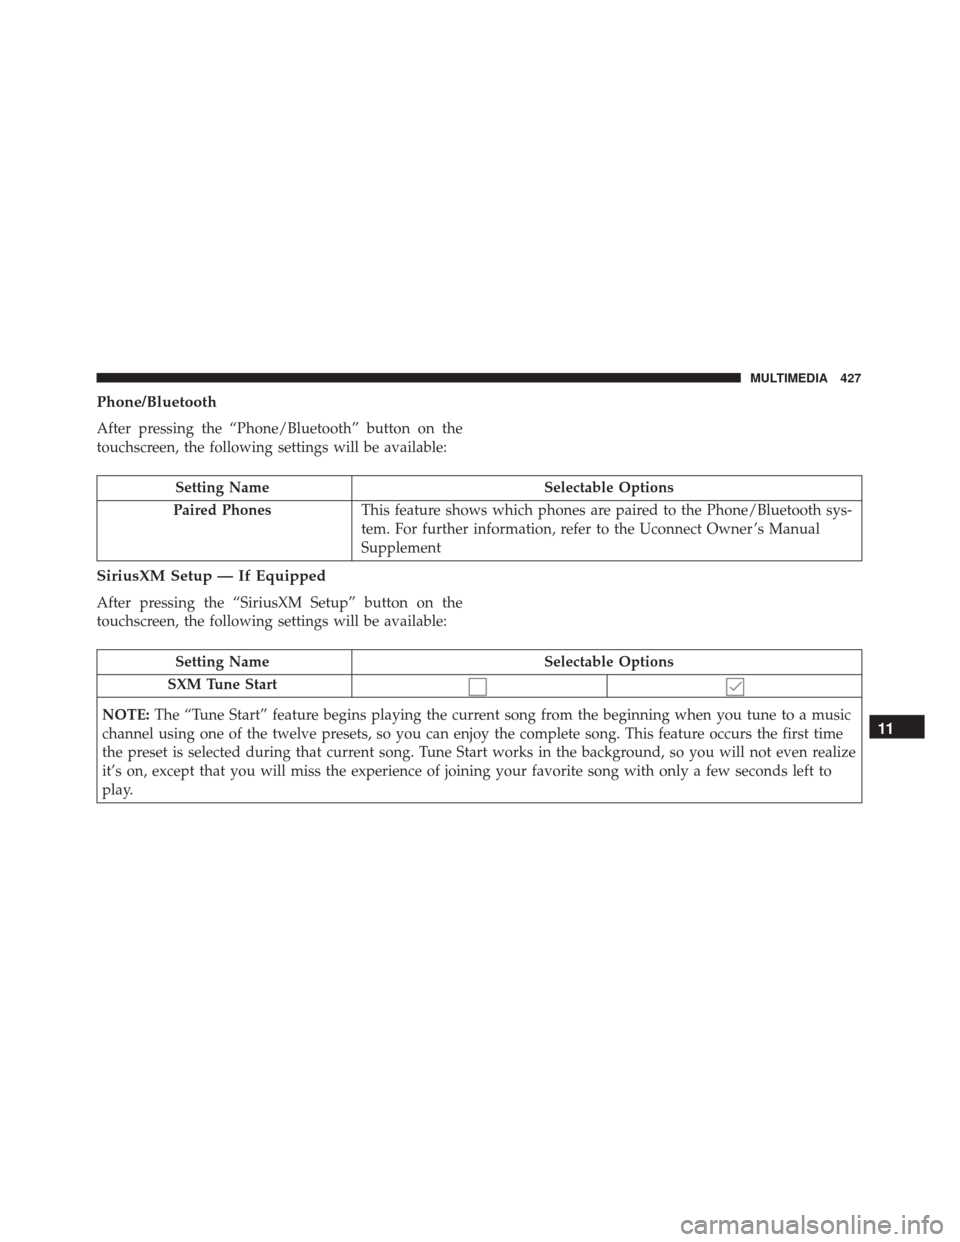
Phone/Bluetooth
After pressing the “Phone/Bluetooth” button on the
touchscreen, the following settings will be available:
Setting NameSelectable Options
Paired Phones This feature shows which phones are paired to the Phone/Bluetooth sys-
tem. For further information, refer to the Uconnect Owner ’s Manual
Supplement
SiriusXM Setup — If Equipped
After pressing the “SiriusXM Setup” button on the
touchscreen, the following settings will be available:
Setting Name Selectable Options
SXM Tune Start
NOTE: The “Tune Start” feature begins playing the current song from the beginning when you tune to a music
channel using one of the twelve presets, so you can enjoy the complete song. This feature occurs the first time
the preset is selected during that current song. Tune Start works in the background, so you will not even realize
it’s on, except that you will miss the experience of joining your favorite song with only a few seconds left to
play.
11
MULTIMEDIA 427
Page 432 of 476
Customer Programmable Features — Uconnect
6.5 NAV Settings
Press the Settings button to display the menu setting
screen. In this mode the Uconnect system allows you to
access programmable features that may be equipped
such as Display, Clock, Safety & Driving Assistance,
Lights, Doors & Locks, Engine Off Options, Audio,
Phone/Bluetooth, SiriusXM Setup, Restore Settings De-
faults, Clear Personal Data and System Information.
NOTE:
•Only one touchscreen area may be selected at a time.
• Depending on the vehicles options, feature settings
may vary. When making a selection, press the button on the
touchscreen to enter the desired mode. Once in the
desired mode, press and release the preferred setting
and make your selection. Once the setting is complete,
either press the Back Arrow button on the touchscreen
to return to the previous menu, or press the “X” button
on the touchscreen to close out of the settings screen.
Pressing the Up or Down Arrow button on the right
side of the screen will allow you to toggle up or down
through the available settings.
430 MULTIMEDIA
Page 444 of 476
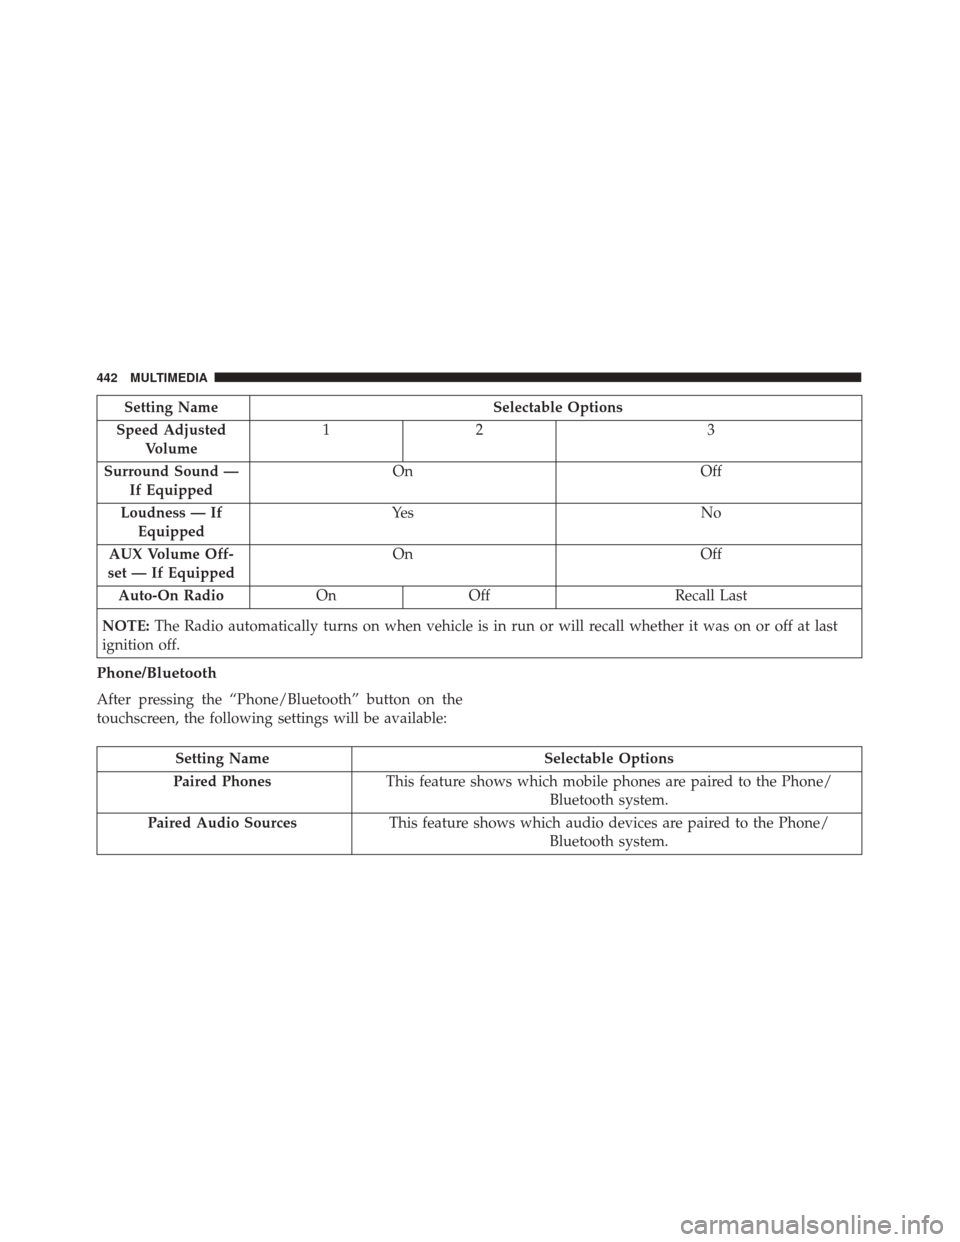
Setting NameSelectable Options
Speed Adjusted Volume 12
3
Surround Sound — If Equipped On
Off
Loudness — If Equipped Ye s
N o
AUX Volume Off-
set — If Equipped On
Off
Auto-On Radio OnOff Recall Last
NOTE: The Radio automatically turns on when vehicle is in run or will recall whether it was on or off at last
ignition off.
Phone/Bluetooth
After pressing the “Phone/Bluetooth” button on the
touchscreen, the following settings will be available:
Setting Name Selectable Options
Paired Phones This feature shows which mobile phones are paired to the Phone/
Bluetooth system.
Paired Audio Sources This feature shows which audio devices are paired to the Phone/
Bluetooth system.
442 MULTIMEDIA
Page 450 of 476
The internal wireless radio operates within guidelines
found in radio frequency safety standards and recom-
mendations, which reflect the consensus of the scientific
community.
The radio manufacturer believes the internal wireless
radio is safe for use by consumers. The level of energy
emitted is far less than the electromagnetic energy
emitted by wireless devices such as mobile phones.
However, the use of wireless radios may be restricted in
some situations or environments, such as aboard air-
planes. If you are unsure of restrictions, you are encour-
aged to ask for authorization before turning on the
wireless radio.
This device complies with Part 15 of the FCC Rules and
with Industry Canada license-exempt RSS standard(s).
Operation is subject to the following two conditions:
1. This device may not cause harmful interference.
2. This device must accept any interference received,including interference that may cause undesired
operation. NOTE:
•
This equipment has been tested and found to comply
with the limits for a Class B digital device, pursuant
to Part 15 of the FCC Rules. These limits are designed
to provide reasonable protection against harmful
interference in a residential installation. This equip-
ment generates, uses and can radiate radio frequency
energy and, if not installed and used in accordance
with the instructions, may cause harmful interference
to radio communications. However, there is no guar-
antee that interference will not occur in a particular
installation.
• If this equipment does cause harmful interference to
radio or television reception, which can be deter-
mined by turning the equipment off and on, the user
is encouraged to try to correct the interference by one
or more of the following measures:
• Increase the separation between the equipment and
receiver.
• Consult the dealer or an experienced radio technician
for help.
448 MULTIMEDIA
Page 452 of 476
Get Started
All you need to control your Uconnect system with
your voice are the buttons on your steering wheel.
1. VisitUconnectPhone.com to check mobile device
and feature compatibility and to find phone pair-
ing instructions.
2. Reduce background noise. Wind and passenger con- versations are examples of noise that may impact
recognition.
3. Speak clearly at a normal pace and volume while facing straight ahead. The microphone is positioned
on the rearview mirror and aimed at the driver.
4. Each time you give a Voice Command, you must first push either the VR or Phone button, wait until after
the beep, then say your Voice Command.
5. You can interrupt the help message or system prompts by pushing the VR or Phone button and
saying a Voice Command from current category.
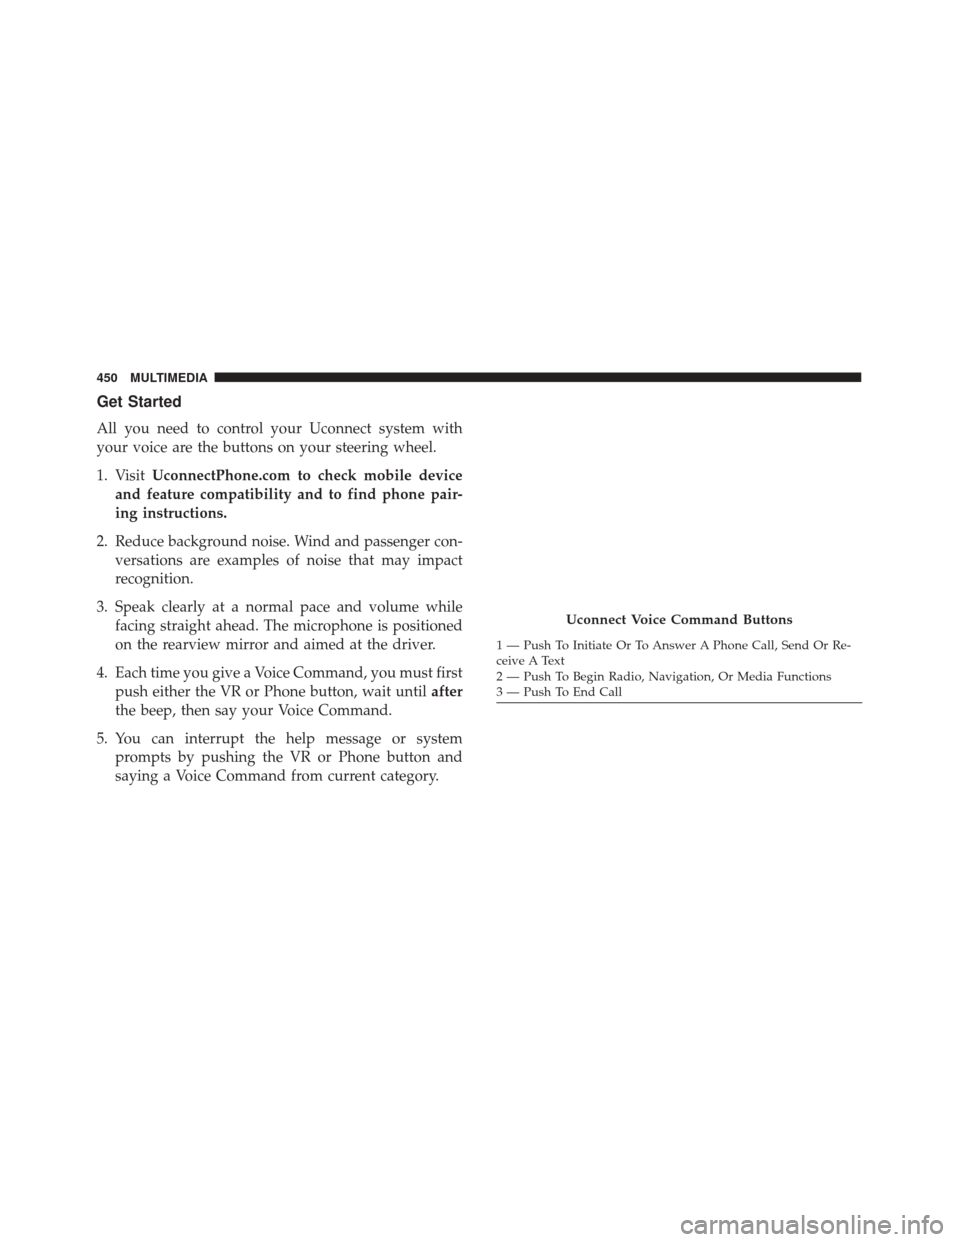
Uconnect Voice Command Buttons
1 — Push To Initiate Or To Answer A Phone Call, Send Or Re-
ceive A Text
2 — Push To Begin Radio, Navigation, Or Media Functions
3 — Push To End Call
450 MULTIMEDIA
Page 455 of 476
•Play artist Beethoven;Play album Greatest Hits;
Play song Moonlight Sonata; Play genreClassical.
TIP: Press the Browse button on the touchscreen to see
all of the music on your iPod or USB device. Your Voice
Command must match exactlyhow the artist, album,
song and genre information is displayed.
Phone
Making and answering hands-free phone calls is easy
with Uconnect. When the Phonebook button is illumi-
nated on your touchscreen, your system is ready. Check
UconnectPhone.com for mobile phone compatibility
and pairing instructions.
Push the Phone button
. After the beep, say one of
the following commands �
•Call John Smith.
• Dial 123-456-7890 and follow the system prompts.
• Redial (call previous outgoing phone number).
Uconnect 5.0 Media
Uconnect 6.5 NAV Media
11
MULTIMEDIA 453
Page 456 of 476
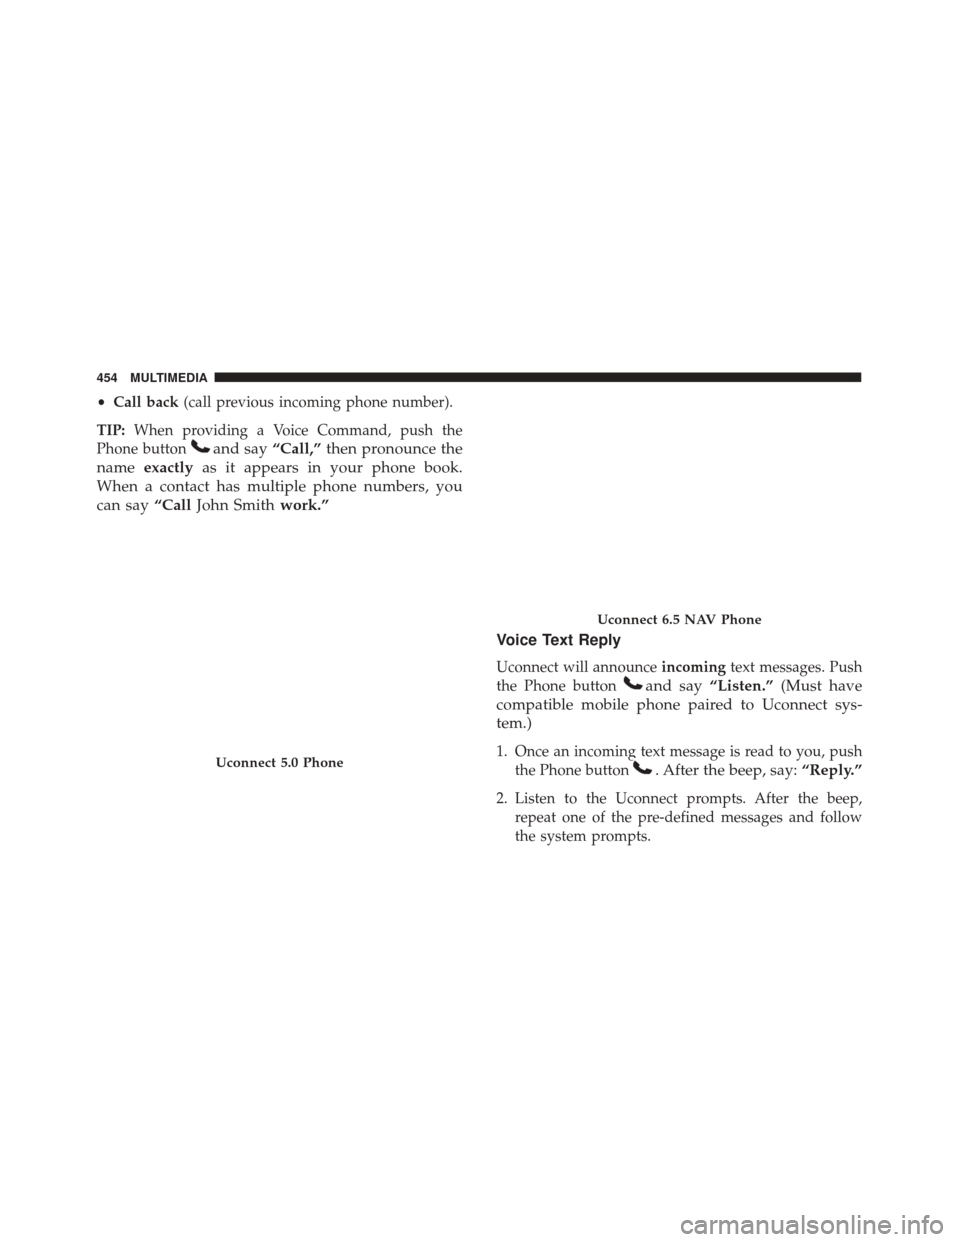
•Call back (call previous incoming phone number).
TIP: When providing a Voice Command, push the
Phone button
and say “Call,”then pronounce the
name exactly as it appears in your phone book.
When a contact has multiple phone numbers, you
can say “CallJohn Smith work.”
Voice Text Reply
Uconnect will announceincomingtext messages. Push
the Phone button
and say “Listen.” (Must have
compatible mobile phone paired to Uconnect sys-
tem.)
1. Once an incoming text message is read to you, push the Phone button
. After the beep, say: “Reply.”
2. Listen to the Uconnect prompts. After the beep,
repeat one of the pre-defined messages and follow
the system prompts.
Uconnect 5.0 Phone
Uconnect 6.5 NAV Phone
454 MULTIMEDIA