Page 69 of 476

operation of the headlights, side marker lights, daytime
running lights, fog lights and the dimming of the
instrument cluster and interior lighting.
Turning on the headlights will illuminate the instru-
ment cluster and the controls located on the instrument
panel.Automatic Lighting — If Equipped
Light Sensor
The light sensor is equipped with an infrared LED,
located on the windshield. It detects changes in light
intensity outside the vehicle, based on the sensitivity of
light set by using the Menu on the display or on the
Uconnect system.
The higher the sensitivity, the lesser the amount of
external light required for controlling the lighting.
Automatic Headlights
Turn the headlight switch to the AUTO position.
When the automatic headlights are enabled, the head-
light time delay is active. After the ignition switch is
placed in the STOP mode, the headlights will automati-
cally turn off after approximately 90 seconds depending
on the settings of the feature.
The timing of the headlights is adjustable between 0, 30,
60 and 90 seconds. Refer to “Uconnect Settings” in
“Multimedia” for further information.
NOTE:The engine must be running before the head-
lights will come on in the automatic mode.
Headlight Switch
1 — Rotate Headlight Switch
2 — Ambient Light Dimmer
3 — Instrument Panel Dimmer
4 — Push Fog Light Switch
4
GETTING TO KNOW YOUR VEHICLE 67
Page 76 of 476
NOTE:In order to preserve the life of the battery, the
light will turn off after 15 minutes.
Instrument Panel Dimmer And Ambient Light
Control
Rotate the ambient dimmer control upward or down-
ward to increase or decrease the brightness of the
ambient light located in the overhead console, door
handle lights, lower instrument panel lights, door map
pocket lights, and cubby bin lights. With the parking lights or headlights on, rotate the
instrument panel dimmer control upward or down-
ward to increase or decrease the brightness of the
instrument panel. At the top detent of the instrument
panel dimmer, all the interior lights will also illuminate.
At the bottom most setting of the thumb wheel will turn
all the interior lights to their lowest dimmable setting.
Cargo Light
Headlight Switch
1 — Ambient Light Control — If Equipped
2 — Instrument Panel Dimmer
74 GETTING TO KNOW YOUR VEHICLE
Page 80 of 476

Rear Window Wiper/Washer
The rear wiper/washer controls are located on the lever
on the right side of the steering column. The rear
wiper/washer is operated by rotating a switch, located
at the middle of the lever.Rotate the center portion of the lever upward to
the first detent for intermittent operation and to
the second detent for continuous rear wiper operation.
To use the washer, push the lever forward
and hold while spray is desired. If the lever is
pushed while in the intermittent setting, the
wiper will turn on and operate for several
wipe cycles after the end of the lever is released, and
then resume the intermittent interval previously se-
lected. NOTE:
•
As a protective measure, the pump will stop if the
switch is held for more than 30 seconds. Once the
lever is released, the pump will resume normal
operation.
• When front wipers are continuous and the vehicle is
shifted in REVERSE, the rear wiper will perform one
round up to clean the rear window.
If the lever is pushed while the wiper is in the off
position, the wiper will operate for several wipe cycles,
then turn off.
If the rear wiper is operating when the ignition is
turned to the STOP mode, the wiper will automatically
return to the “park” position.
Rear Window Defroster The rear window defroster button is located
with the Climate Controls on the instrument
panel. Push this button to turn on the rear window
defroster. An indicator in the button will illuminate
when the rear window defroster is on. The rear window
defroster automatically turns off after approximately 20
78 GETTING TO KNOW YOUR VEHICLE
Page 86 of 476
IconDescription
Panel Mode
Panel Mode
Air is directed through the outlets in the instrument panel. These outlets can be adjusted to
direct airflow. The center instrument panel outlets can be adjusted so that they are directed
toward the rear seat passengers for maximum airflow to the rear.
Bi-Level Mode
Bi-Level Mode
Air comes from the instrument panel outlets and floor outlets. A slight amount of air is
directed through the defrost and side window demister outlets.
Floor Mode
Floor Mode
Air is directed through the floor outlets with a small amount flowing through the defrost
and side window demister outlets.
Mix Mode
Mix Mode
Air is directed through the floor, defrost, and side window demister outlets. This setting
works best in cold or snowy conditions that require extra heat to the windshield. This set-
ting is good for maintaining comfort while reducing moisture on the windshield.
84 GETTING TO KNOW YOUR VEHICLE
Page 87 of 476

CAUTION!
Failure to follow these cautions can cause damage
to the heating elements:
•Use care when washing the inside of the rear
window. Do not use abrasive window cleaners on
the interior surface of the window. Use a soft
cloth and a mild washing solution, wiping paral-
lel to the heating elements. Labels can be peeled
off after soaking with warm water.
• Do not use scrapers, sharp instruments, or abra-
sive window cleaners on the interior surface of
the window.
• Keep all objects a safe distance from the window.
Rear Window Defrosting
Push and release the rear window defrost button to turn
the function on/off.
Activation of this function is indicated by the rear
defrost indicator light on the instrument panel turning
on. The function is automatically deactivated after 20
minutes. If equipped, push the rear defrost button to activate the
defrosting of door mirrors and heated rear window.
CAUTION!
To avoid causing damage to the rear window de-
froster heating filaments do not affix stickers or
other objects to the inside of the rear glass.
Air Recirculation
Push and release the Air Recirculation button so that the
LED is on, to enter recirculation mode. It is recom-
mended to turn the internal air recirculation on while
standing in traffic or in tunnels to prevent the introduc-
tion of polluted air.
Do not use the function for a long period of time,
particularly if there are many passengers in the vehicle,
to prevent the windows from misting up.
NOTE: Internal air recirculation makes it possible to
reach the required heating or cooling conditions quickly
depending on the mode selected. Do not use the inter-
nal air recirculation function on rainy/cold days as it
would considerably increase the possibility of the win-
dows misting.
4
GETTING TO KNOW YOUR VEHICLE 85
Page 92 of 476

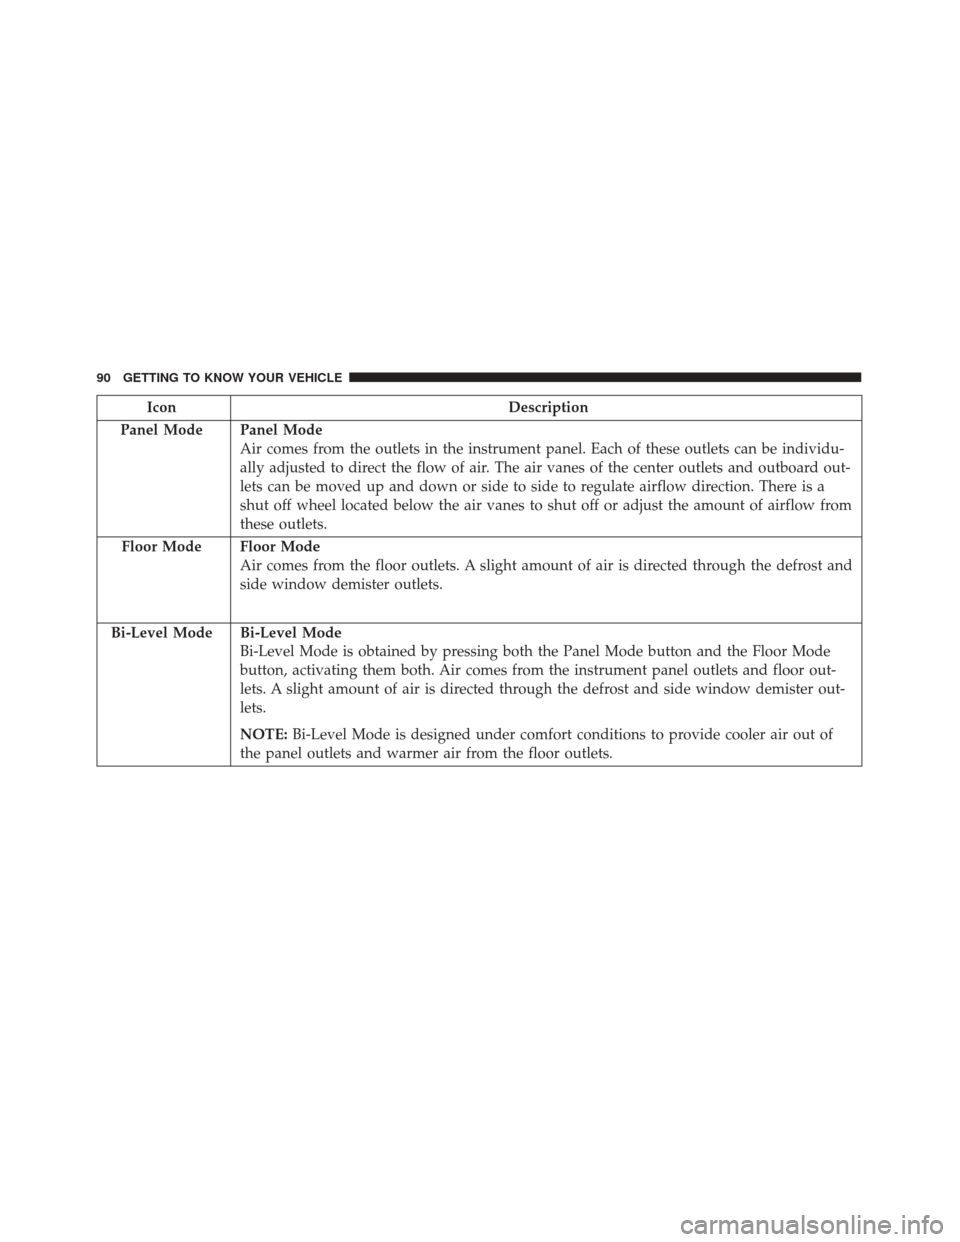
IconDescription
Panel Mode
Panel Mode
Air comes from the outlets in the instrument panel. Each of these outlets can be individu-
ally adjusted to direct the flow of air. The air vanes of the center outlets and outboard out-
lets can be moved up and down or side to side to regulate airflow direction. There is a
shut off wheel located below the air vanes to shut off or adjust the amount of airflow from
these outlets.
Floor Mode
Floor Mode
Air comes from the floor outlets. A slight amount of air is directed through the defrost and
side window demister outlets.
Bi-Level Mode
Bi-Level Mode
Bi-Level Mode is obtained by pressing both the Panel Mode button and the Floor Mode
button, activating them both. Air comes from the instrument panel outlets and floor out-
lets. A slight amount of air is directed through the defrost and side window demister out-
lets.
NOTE: Bi-Level Mode is designed under comfort conditions to provide cooler air out of
the panel outlets and warmer air from the floor outlets.
90 GETTING TO KNOW YOUR VEHICLE
Page 95 of 476

The Climate Control system carries out the following
operations:
•Turns on the air conditioning compressor when en-
vironmental conditions are suitable.
• Turns air recirculation off.
• Sets blower fan to the maximum speed.
• Directs air flow to windshield and front side window
diffusers.
• Activates the heated rear window defrost.
• Activates the heated windshield (if equipped).
• Displays the fan speed (Blower Control Indicator
LED illuminated).
When the function is activated, the AUTO button LED
turns off. With the function activated, the only possible
manual adjustments are pushing the A/C control but-
ton, adjusting the fan speed and turning the heated rear
window off.
When the Recirculation Control or AUTO buttons are
pushed, the Climate Control system will deactivate the
Front Defrost (MAX-DEF) function. Selecting the footwell/windshield or only windshield
distribution activates the Climate Control system com-
pressor and the air recirculation is set to outside air
intake.
This logic guarantees optimum visibility at the win-
dows. Max-defrost is also available in manual mode.
Rear Window Defrosting
Push and release the rear window defrost button to turn
the function on/off.
Activation of this function is indicated by the rear
defrost indicator light on the instrument panel turning
on. The function is automatically deactivated after 20
minutes. If equipped, push the rear defrost button to
activate the defrosting of door mirrors and heated rear
window.
CAUTION!
To avoid causing damage to the rear window de-
froster heating filaments do not affix stickers or
other objects to the inside of the rear glass.
4
GETTING TO KNOW YOUR VEHICLE 93
Page 106 of 476
HOOD
Opening
The hood release lever (to open the primary latch) and
safety latch (to open the secondary latch) must be
released to open the hood.
1. Pull the hood release lever located under the driver ’sside of the instrument panel. 2. Move to the outside of the vehicle.
3. Push the safety latch release lever toward the pas-
senger side of the vehicle. The safety latch is located
behind the center front edge of the hood.
4. Remove the support rod from the locking tab and insert it into the seat located on the underside of the
hood.
Hood Release Lever
Safety Latch Release lever Location
104 GETTING TO KNOW YOUR VEHICLE