Page 169 of 284
167
C3_en_Chap11_Info-pratiques_ed01-2014
Table of maxi-fuses
Fuse N°Rating Functions
MF1* 60 AFan assembly.
MF2* 30 A
a
b
S
/ ESP pump.
MF3* 30 A
a
b
S
/ ESP electrovalves.
MF4* 60 A
bu
ilt-in Systems Inter face (
bS
I) supply.
MF5* 60 A
bu
ilt-in Systems Inter face (
bS
I) supply.
MF6* -
no
t used.
MF7* 80 A
da
shboard fusebox.
MF8* -
no
t used.
*
T
he maxi-fuses provide additional protection for the electrical systems. All work on the maxi-fuses
must be carried out by a CITROËN dealer or a qualified workshop.
11
Practical information
Page 170 of 284

168
C3_en_Chap11_Info-pratiques_ed01-2014
battery
Access to the battery
The battery is located under the bonnet.
To gain access to it:
F
o
pen the bonnet using the interior release
lever, then the exterior safety catch,
F
s
ecure the bonnet stay,
F
l
ift the plastic cover on the (+) terminal.
The presence of this label, in particular
with the Stop & Start system, indicates
the use of a 12 V lead-acid battery with
special technology and specification;
the involvement of a CITR
oËn
dealer
or a qualified workshop is essential
when replacing or disconnecting the
battery.
Failure to observe this recommendation
may cause premature wear of the
battery.
af
ter refitting the battery by a CITR
oËn
dealer or a qualified workshop,
the Stop
& Start system will only
be active after a continuous period
of immobilisation of the vehicle, a
period which depends on the climatic
conditions and the state of charge of
the battery (up to about 8
hours).
Procedure for charging your battery when it is flat or for starting the engine using another battery.
Practical information
Page 171 of 284

169
C3_en_Chap11_Info-pratiques_ed01-2014
Starting using another
batteryCharging the battery using
a battery charger
When the battery on your vehicle is discharged,
the engine can be started using a slave battery
(external or on another vehicle) and jump leads. F
F ollow the instructions for use provided by
the manufacturer of the charger.
First check that the slave battery has a nominal
voltage of 12 V and a capacity at least equal to
that of the discharged battery.
do n
ot try to start the engine by connecting a
battery charger.
Do not disconnect the (+) terminal when the
engine is running.
F
C
onnect the red cable to the positive
terminal (+) of the flat battery A , then to the
positive terminal (+) of the slave battery B.
F
C
onnect one end of the green or black
cable to the negative terminal (-) of the
slave battery B (or earth point on the other
vehicle).
F
C
onnect the other end of the green or
black cable to the negative terminal C (or
the engine mounting) of the broken-down
vehicle.
F
S
tart the engine of the other vehicle and
allow it to run for a few minutes.
do n
ot disconnect the battery to charge it.
F
O
perate the starter of the broken-down
vehicle and let the engine run.
I
f the engine does not start immediately,
switch off the ignition and wait a few
moments before trying again.
F
W
ait until the engine returns to idle, then
disconnect the jump leads in reverse order.
ba
tteries contain harmful substances such
as sulphuric acid and lead. They must be
disposed of in accordance with regulations
and must not, in any circumstances, be
discarded with household waste.
Take used remote control batteries and
vehicle batteries to a special collection
point.
11
Practical information
Page 172 of 284

170
C3_en_Chap11_Info-pratiques_ed01-2014
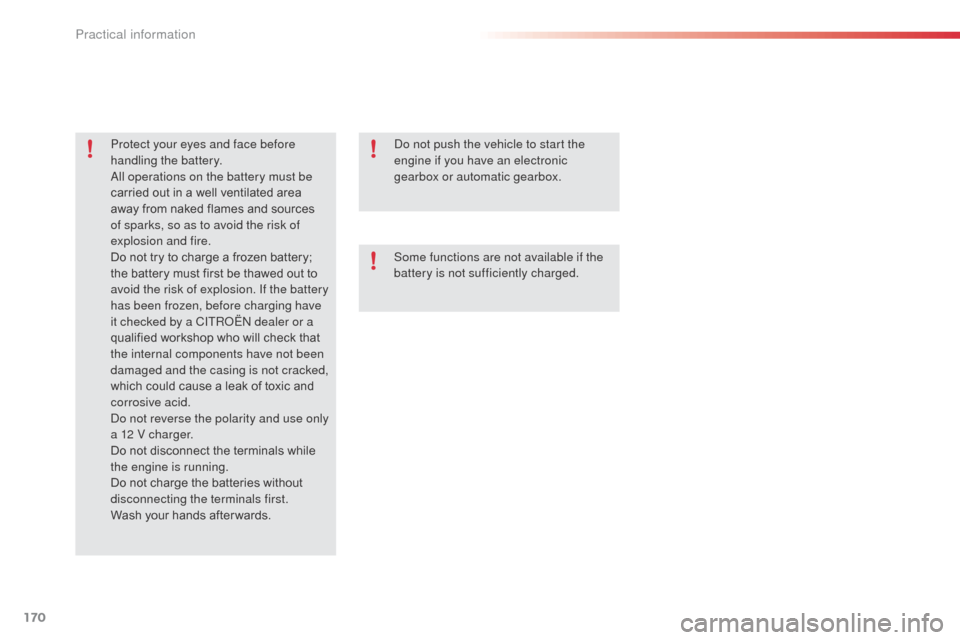
Protect your eyes and face before
handling the battery.
al
l operations on the battery must be
carried out in a well ventilated area
away from naked flames and sources
of sparks, so as to avoid the risk of
explosion and fire.
Do not try to charge a frozen battery;
the battery must first be thawed out to
avoid the risk of explosion. If the battery
has been frozen, before charging have
it checked by a CITR
oËn
dealer or a
qualified workshop who will check that
the internal components have not been
damaged and the casing is not cracked,
which could cause a leak of toxic and
corrosive acid.
do n
ot reverse the polarity and use only
a 12 V charger.
Do not disconnect the terminals while
the engine is running.
Do not charge the batteries without
disconnecting the terminals first.
Wash your hands after wards.do n ot push the vehicle to start the
engine if you have an electronic
gearbox or automatic gearbox.
Some functions are not available if the
battery is not sufficiently charged.
Practical information
Page 173 of 284

171
C3_en_Chap11_Info-pratiques_ed01-2014
Energy economy mode
Exiting economy mode
These functions are reactivated automatically
the next time the vehicle is driven.
F
I
n order to resume the use of these
functions immediately, start the engine and
let it run for a few minutes.
The time available to you will then be double
the period for which the engine is left running.
However, this period will always be between
five and thirty minutes.
Switching to economy mode
once this period has elapsed, a message
appears on the multifunction screen indicating
that the vehicle has switched to economy mode
and the active functions are put on standby.
a
flat battery prevents the engine from
starting (refer to the corresponding
paragraph).
If the telephone is being used at the
same time on the eMyWay audio
navigation system, it will be interrupted
after 10 minutes.
System which manages the period of use of
certain functions to conserve a sufficient level
of charge in the battery.
af
ter the engine has stopped, you can
still use functions such as the audio
equipment, windscreen wipers, dipped
beam headlamps, courtesy lamps, etc. for a
maximum combined period of thirty minutes.
System which manages the use of certain
functions according to the level of charge
remaining in the battery.
When the vehicle is being driven, the load
reduction function temporarily deactivates
certain functions, such as the air conditioning,
the heated rear screen...
The deactivated functions are reactivated
automatically as soon as conditions permit.
Load reduction mode
This period may be greatly reduced if
the battery is not fully charged.
11
Practical information
Page 174 of 284
172
C3_en_Chap11_Info-pratiques_ed01-2014
Changing a front or rear wiper blade
Removal
F Raise the corresponding wiper arm.
F U nclip the wiper blade and remove it.
Fitting
F At the front, check the size of the wiper blade as the shorter blade is fitted to the
passenger side of the vehicle.
F
P
ut the corresponding new wiper blade in
place and clip it.
F
F
old down the wiper arm carefully.
Before removing a front
wiper blade
F Within one minute after switching off the ignition, operate the wiper stalk to position
the wiper blades in the vertical position.
This position must be used in order to avoid
damaging the wiper blade and the bonnet.
After fitting a front wiper
blade
F Switch on the ignition.
F O perate the wiper stalk again to park the
wiper blades.
Procedure for replacing a worn wiper blade with a new one without the use of tools.
Practical information
Page 175 of 284

173
C3_en_Chap11_Info-pratiques_ed01-2014
Towing the vehicle
Access to the tools
The towing eye is installed in the boot under
t h e f l o o r.
To gain access to it:
F
o
pen the boot,
F
r
aise the floor,
F
r
emove the polystyrene storage box,
F
r
emove the towing eye from the holder.
Procedure for having your vehicle towed or for towing another vehicle using a removable towing eye.
General recommendations
observe the legislation in force in your country.
Ensure that the weight of the towing vehicle is higher than that of the towed vehicle.
The driver must remain at the wheel of the towed vehicle and must have a valid driving licence.
When towing a vehicle with all four wheels on the ground, always use an approved towing
arm; rope and straps are prohibited.
The towing vehicle must move off gently.
When towing a vehicle with the engine off, there is no longer any power assistance for
braking or steering.
In the following cases, you must always call on a professional recovery service:
-
v
ehicle broken down on a motor way or fast road,
-
f
our-wheel drive vehicle,
-
w
hen it is not possible to put the gearbox into neutral, unlock the steering, or release
the parking brake,
-
t
owing with only two wheels on the ground,
-
w
here there is no approved towing arm available...
11
Practical information
Page 176 of 284
174
C3_en_Chap11_Info-pratiques_ed01-2014
Towing your vehicle
F on the front bumper, unclip the cover by pressing at the bottom.
F
S
crew the towing eye in fully.
F
I
nstall the towing bar.
F
P
lace the gear lever in neutral (position N
for an electronic or automatic gearbox). F
on t he rear bumper, unclip the cover by
pressing at the bottom.
F
S
crew the towing eye in fully.
F
I
nstall the towing bar.
F
S
witch on the hazard warning lamps on
both vehicles.
F
M
ove off gently and drive for a short
distance only.
Towing another vehicle
Failure to observe this special condition
could result in damage to certain
components (braking, transmission...)
and the absence of braking assistance
the next time the engine is started. F
U
nlock the steering by turning the key one
notch in the ignition switch and release the
parking brake.
F
S
witch on the hazard warning lamps on
both vehicles.
F
M
ove off gently and drive for a short
distance only.
Practical information